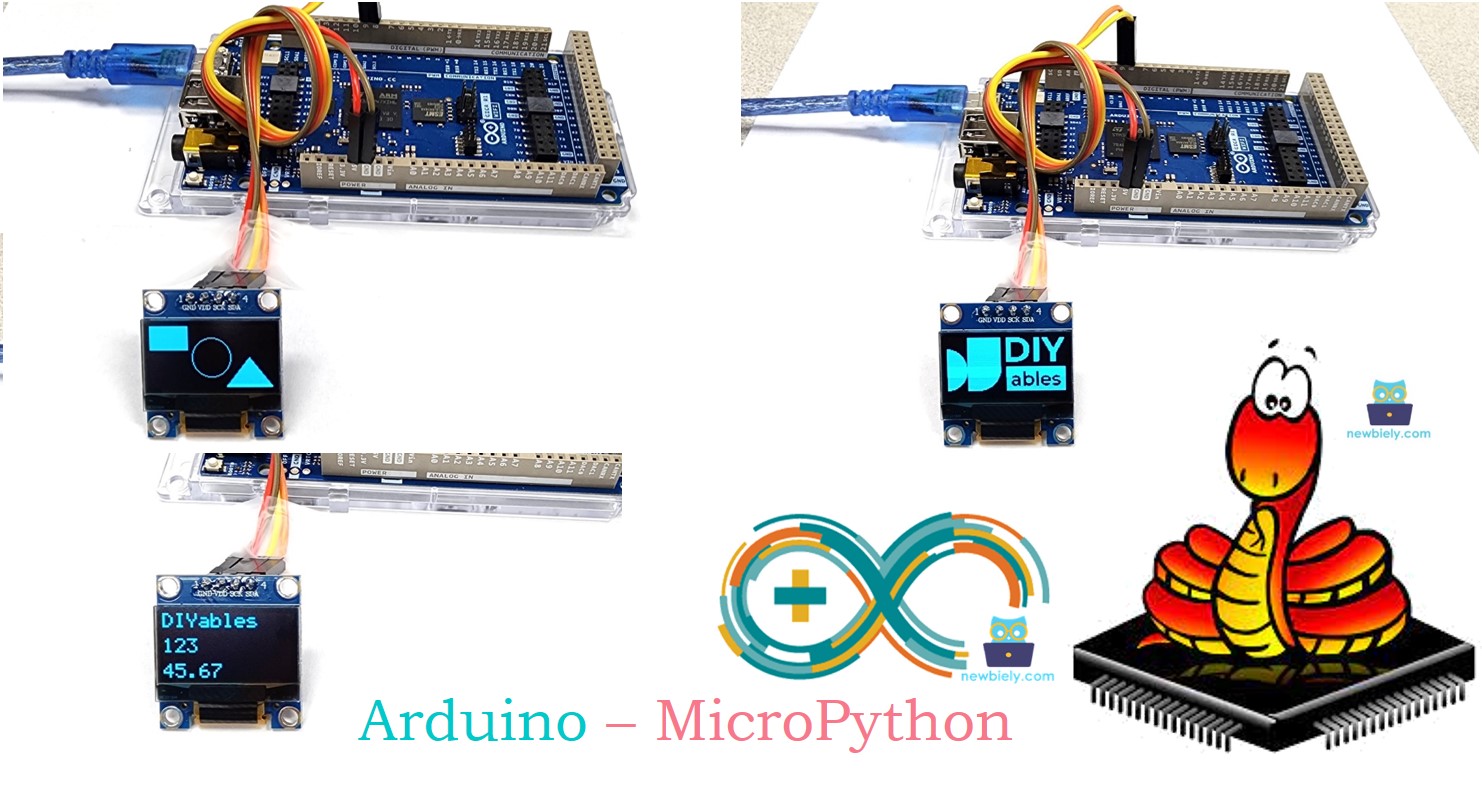
Arduino MicroPython OLED 128x64
This guide shows you how to use an Arduino with an OLED 128x64 I2C display using MicroPython. You will learn:
- How to connect an Arduino to a 128x64 OLED display
- How to write MicroPython code for Arduino to display text, integers, and float numbers on the OLED
- How to automatically center text or numbers vertically and horizontally on the OLED
- How to write MicroPython code for Arduino to display images on the OLED
- How to write MicroPython code for Arduino to draw shapes on the OLED
Hardware Preparation
Or you can buy the following kits:
| 1 | × | DIYables Sensor Kit (18 sensors/displays) |
Additionally, some of these links are for products from our own brand, DIYables .
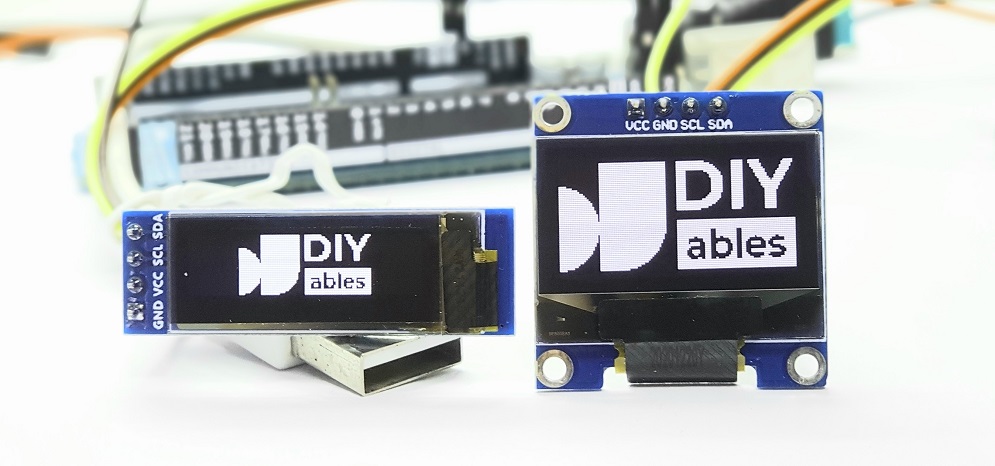
Overview of OLED Display
OLED displays vary in their communication methods, sizes, and colors.
- Sizes: 128x64, 128x32
- Colors available: white, blue, yellow...
- Communication protocol: I2C, SPI
SPI provides faster data transfer than I2C but needs more pins on the Arduino. I2C uses only two pins and can connect multiple devices. Your choice depends on whether you prefer fewer pins or higher speed. For I2C OLED displays, common drivers are SSD1306 and SH1106. This guide focuses on using the 128x64 SSD1306 I2C OLED display.
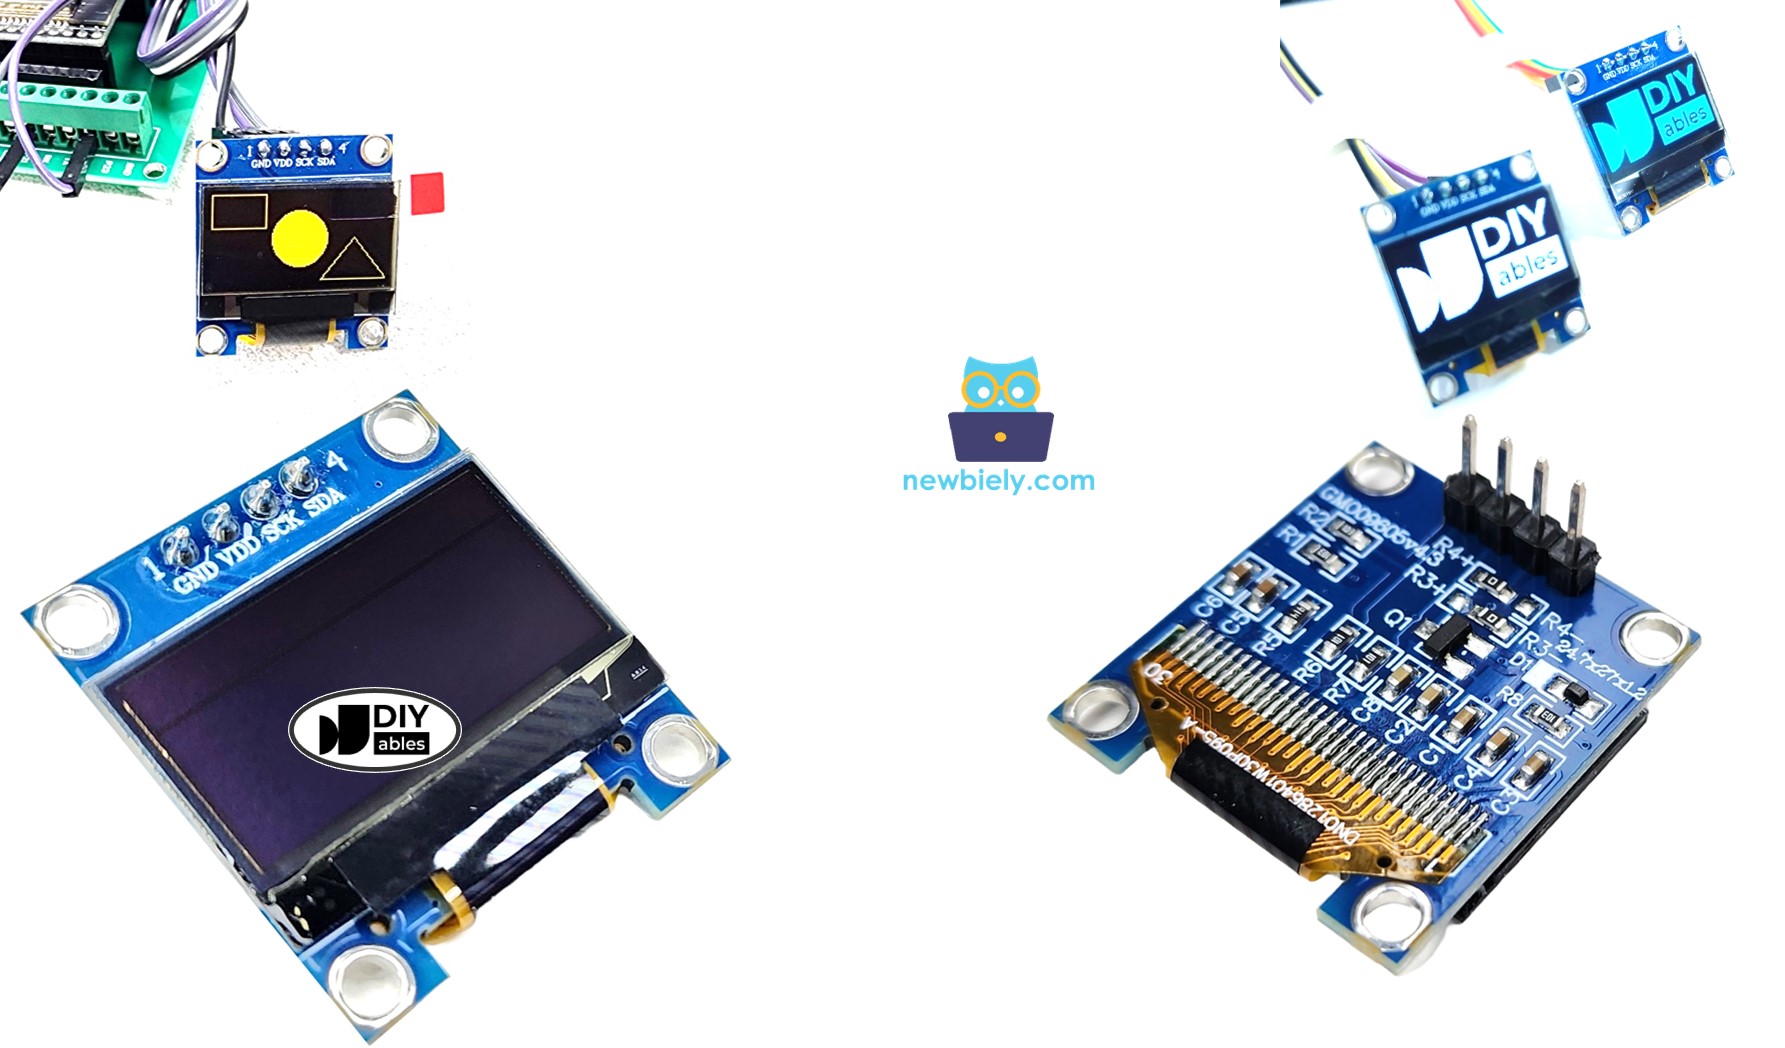
I2C OLED Display Pinout
- GND pin: Connect to the ground (GND) on the Arduino.
- VCC pin: Connect to the 5V or 3.3V pin on the Arduino for power.
- SCL pin: This is the clock pin for I2C communication.
- SDA pin: This is the data pin for I2C communication.
※ NOTE THAT:
OLED Module Pin Setup
- Pin setups vary by manufacturer and model.
- Follow the labels on your module.
This guide uses the SSD1306 I2C driver. We tested it with a DIYables OLED display.
Wiring Diagram
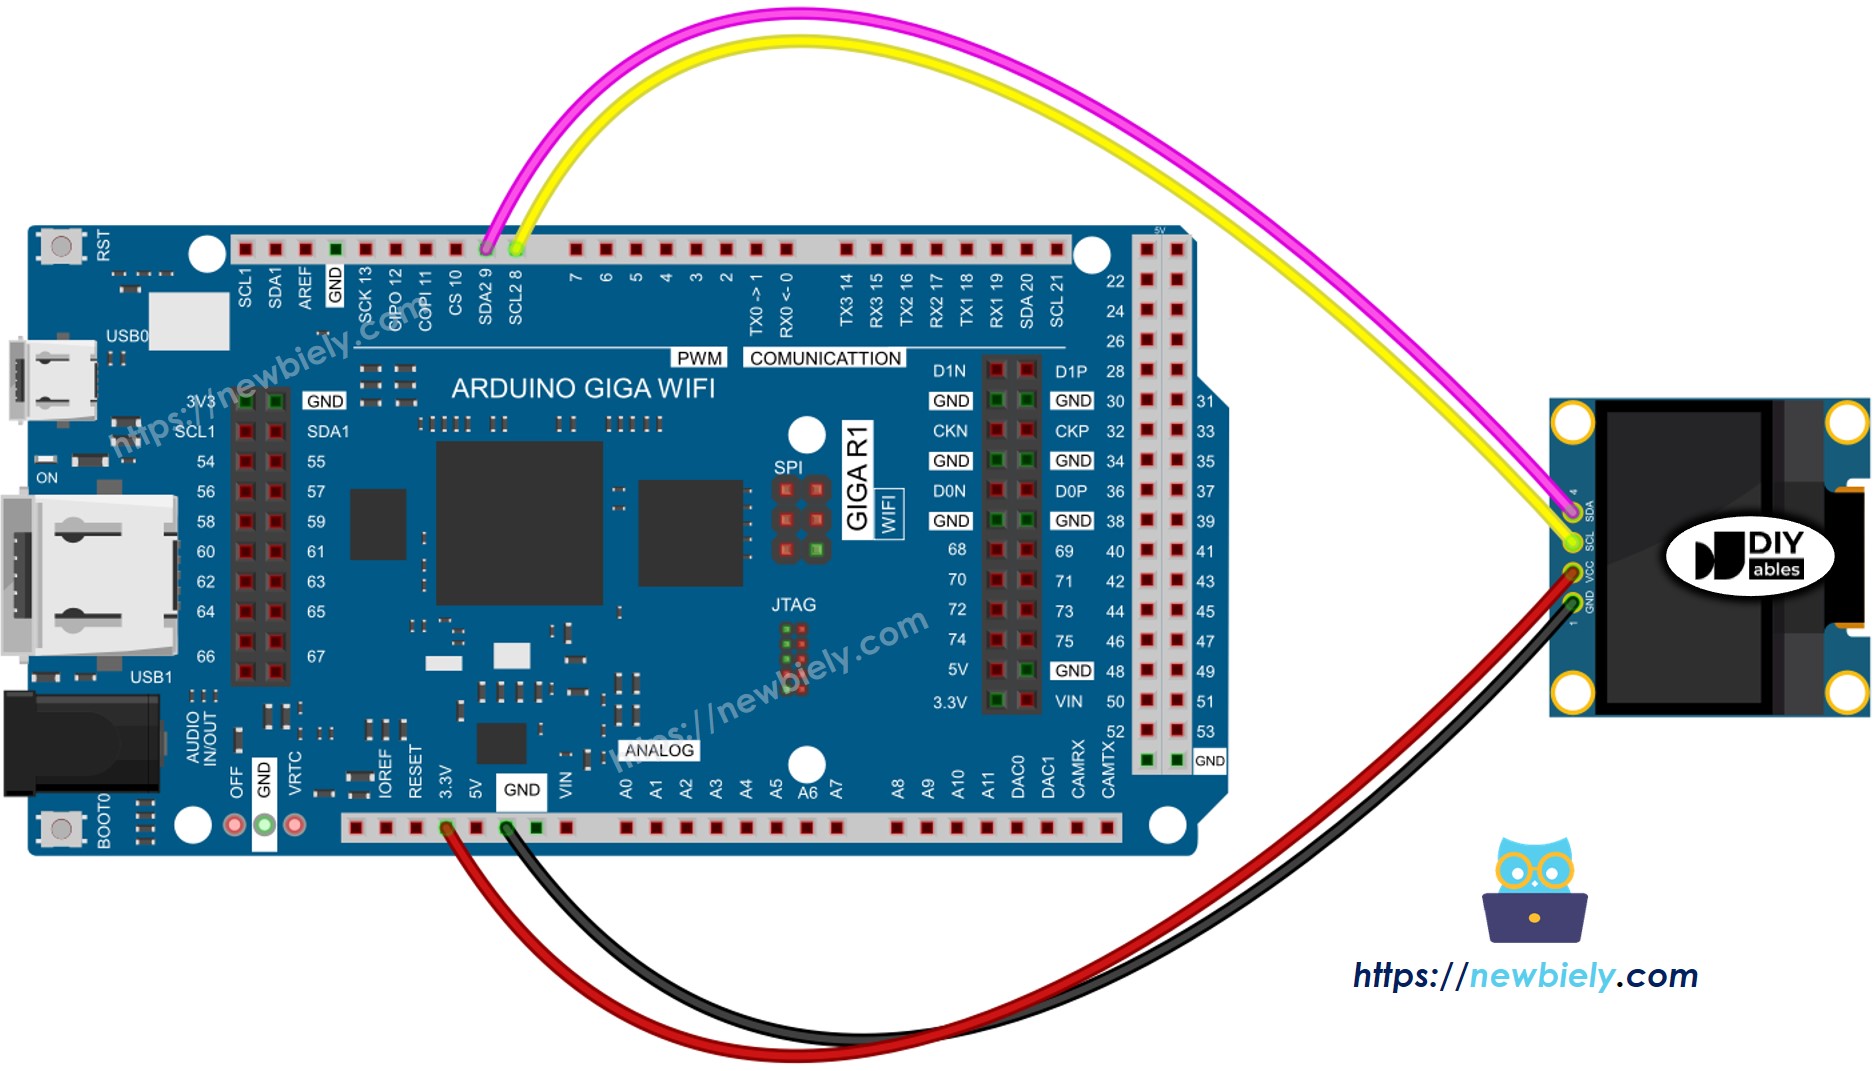
This image is created using Fritzing. Click to enlarge image
Check the table below for details on other Arduino models.
| OLED Module | Arduino Giga R1 WiFi |
|---|---|
| VCC | 3.3V |
| GND | GND |
| SDA | D9 |
| SCL | D8 |
Arduino MicroPython Code - Display Text, Integer and Float Number on OLED
Detailed Instructions
Here’s instructions on how to run the above MicroPython code on Arduino with Thonny IDE:
- Make sure Thonny IDE is installed on your computer.
- Make sure MicroPython firmware is installed on your Arduino board.
- If you are new to Arduino with MicroPython, see the Getting Started with Arduino and MicroPython.
- Connect the OLED display to the Arduino according to the provided diagram.
- Connect the Arduino board to your computer with a USB cable.
- Open Thonny IDE and go to Tools Options.
- Under the Interpreter tab, select MicroPython (generic) from the dropdown menu.
- Make sure the correct port is selected. Thonny IDE usually detects it automatically, but you might need to select it manually (like COM3 on Windows or /dev/ttyACM0 on Linux).
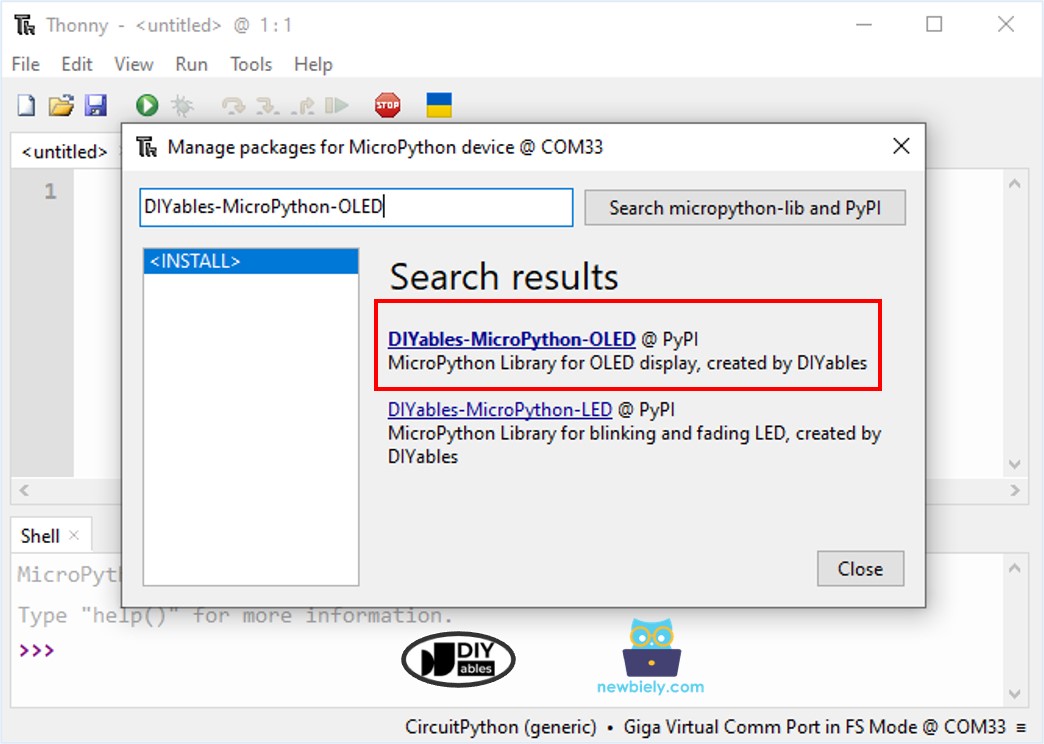
- Navigate to the Tools Manage packages on the Thonny IDE.
- Search “DIYables-MicroPython-OLED”, then find the OLED library created by DIYables.
- Click on DIYables-MicroPython-OLED, then click Install button to install OLED library.
- Copy the provided MicroPython code and paste it into Thonny\'s editor.
- Save the MicroPython code to your Arduino by:
- Clicking the Save button or pressing Ctrl+S.
- In the save dialog, choose MicroPython device and name the file main.py.
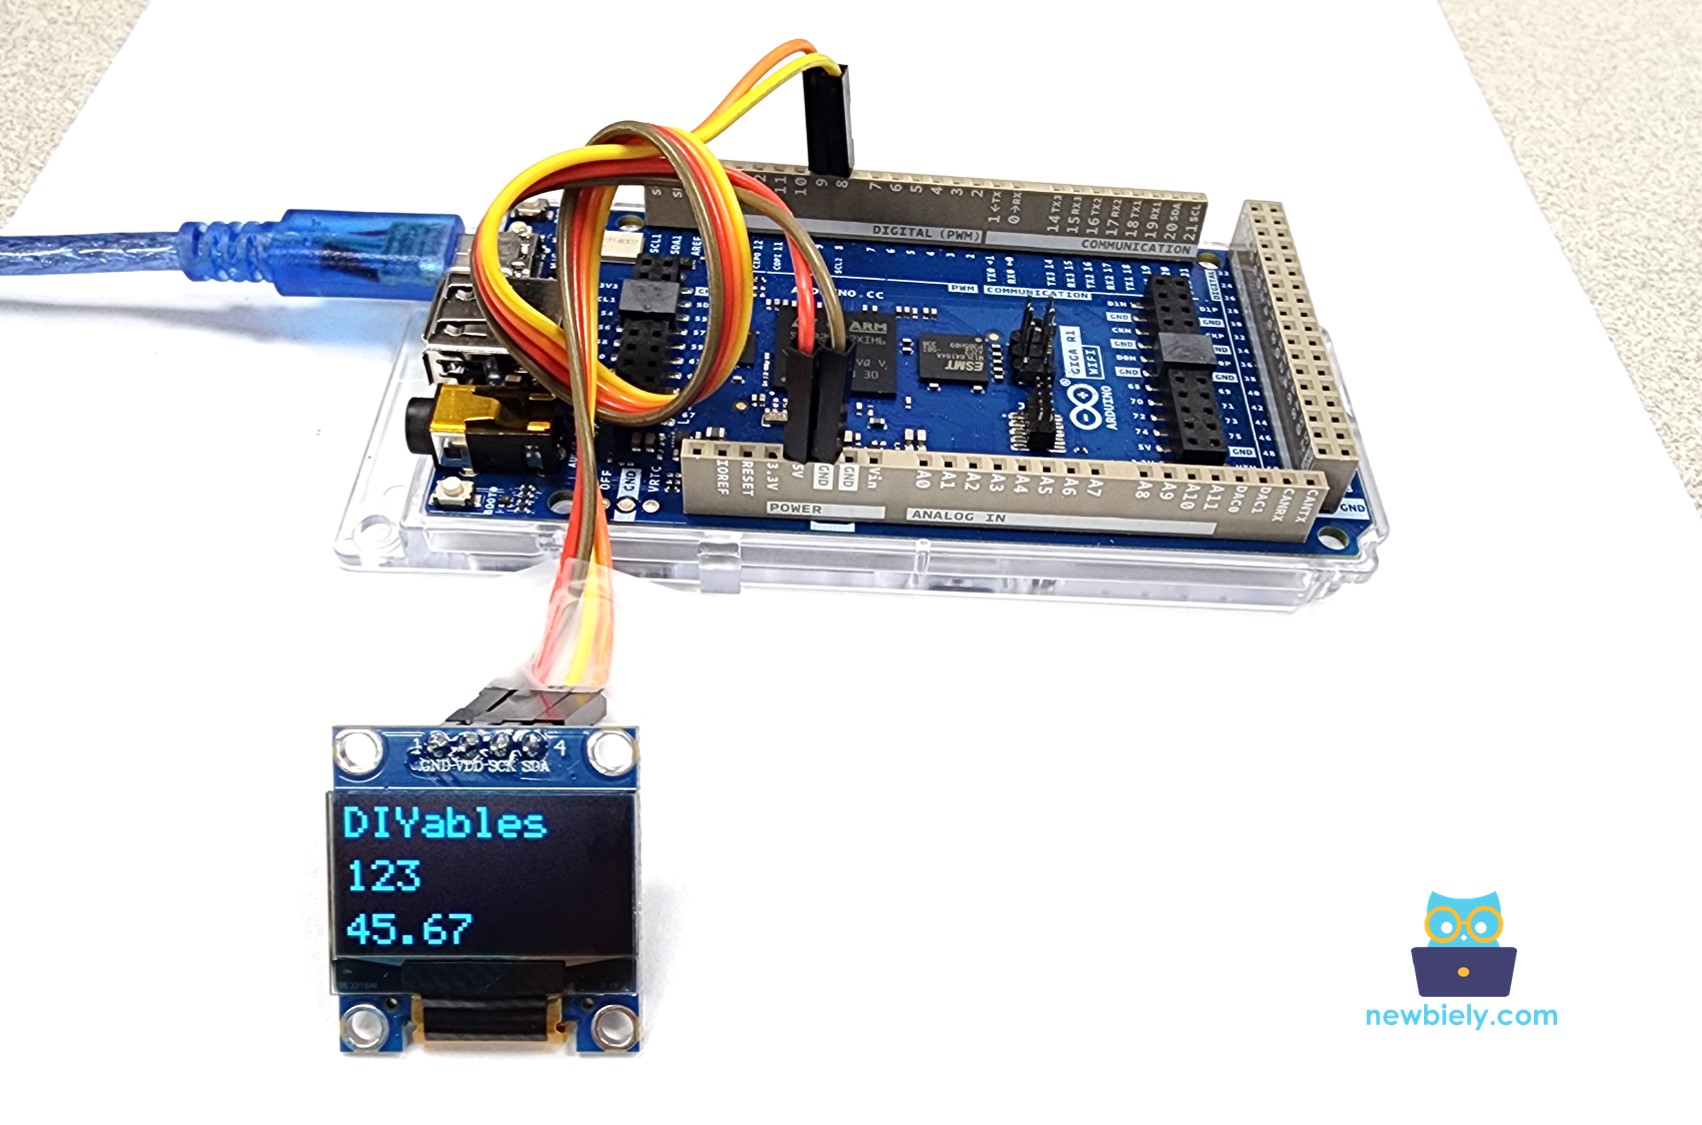
- Click the green Run button (or press F5) to execute the code.
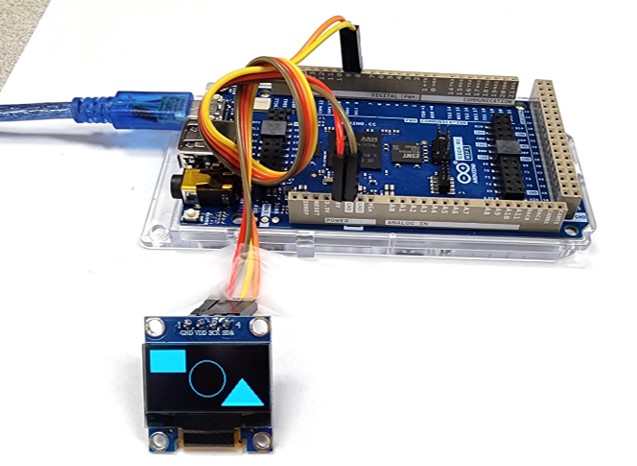
- Take a look at the result on the OLED display. It appears as shown below:
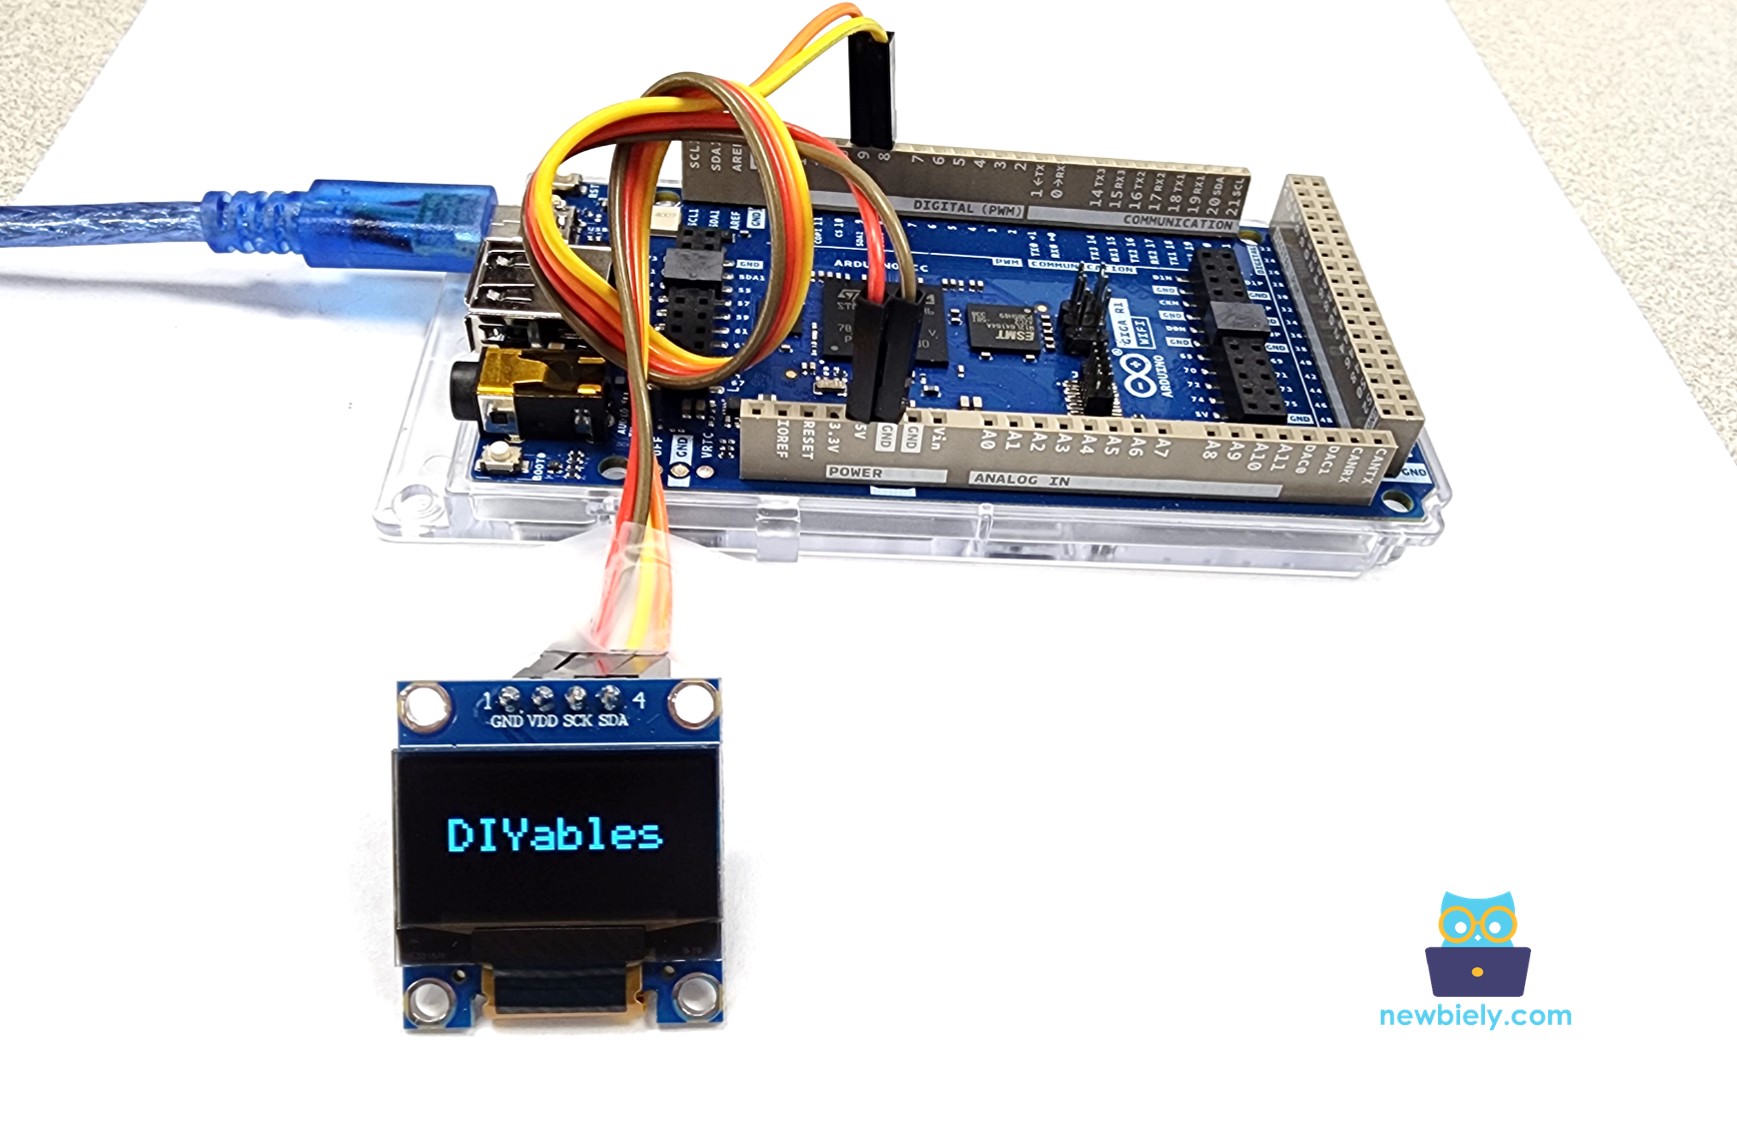
How to automatically vertical and horizontal center align text/number on OLED
The MicroPython code below automatically centers the text both vertically and horizontally on the OLED display.
After running the code, you'll see a square, circle, and triangle on the OLED screen.
Arduino MicroPython Code – Display Image on OLED
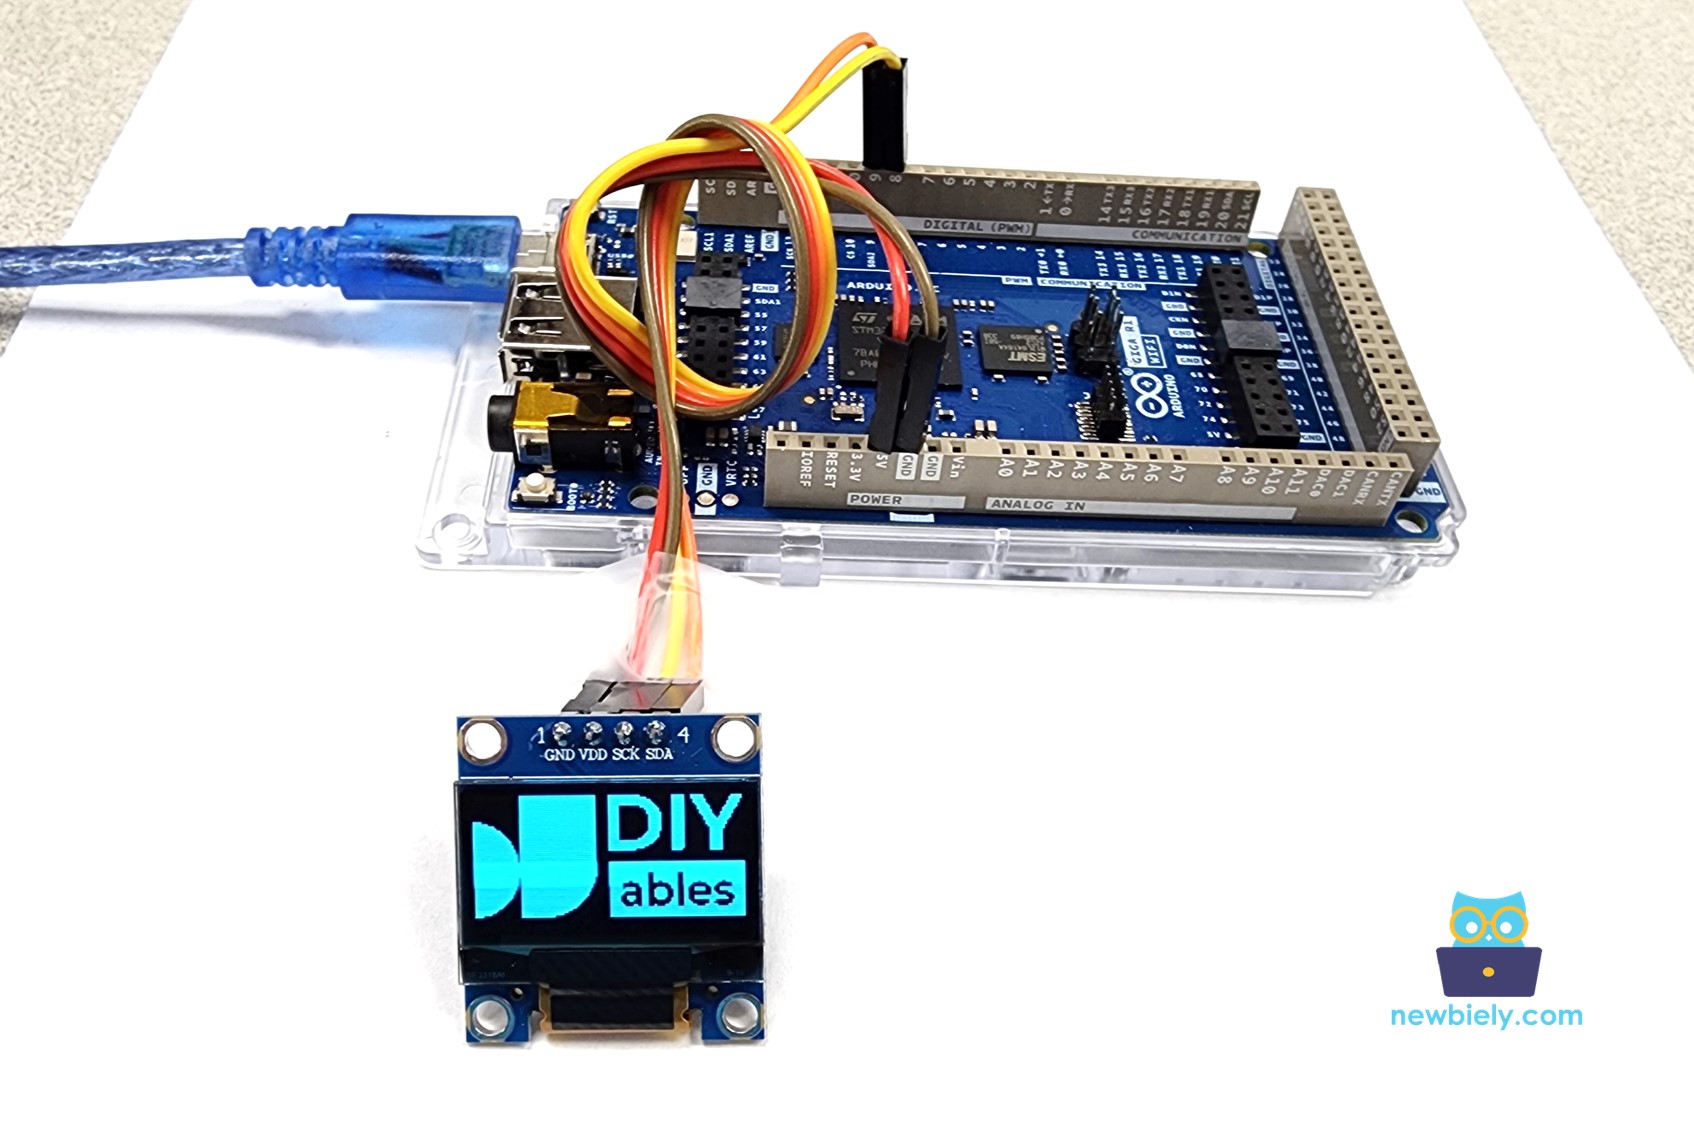
The below code draws an image to OLED display. The image is DIYables icon.
By running the above code, you'll see the image displayed on the OLED as shown below.
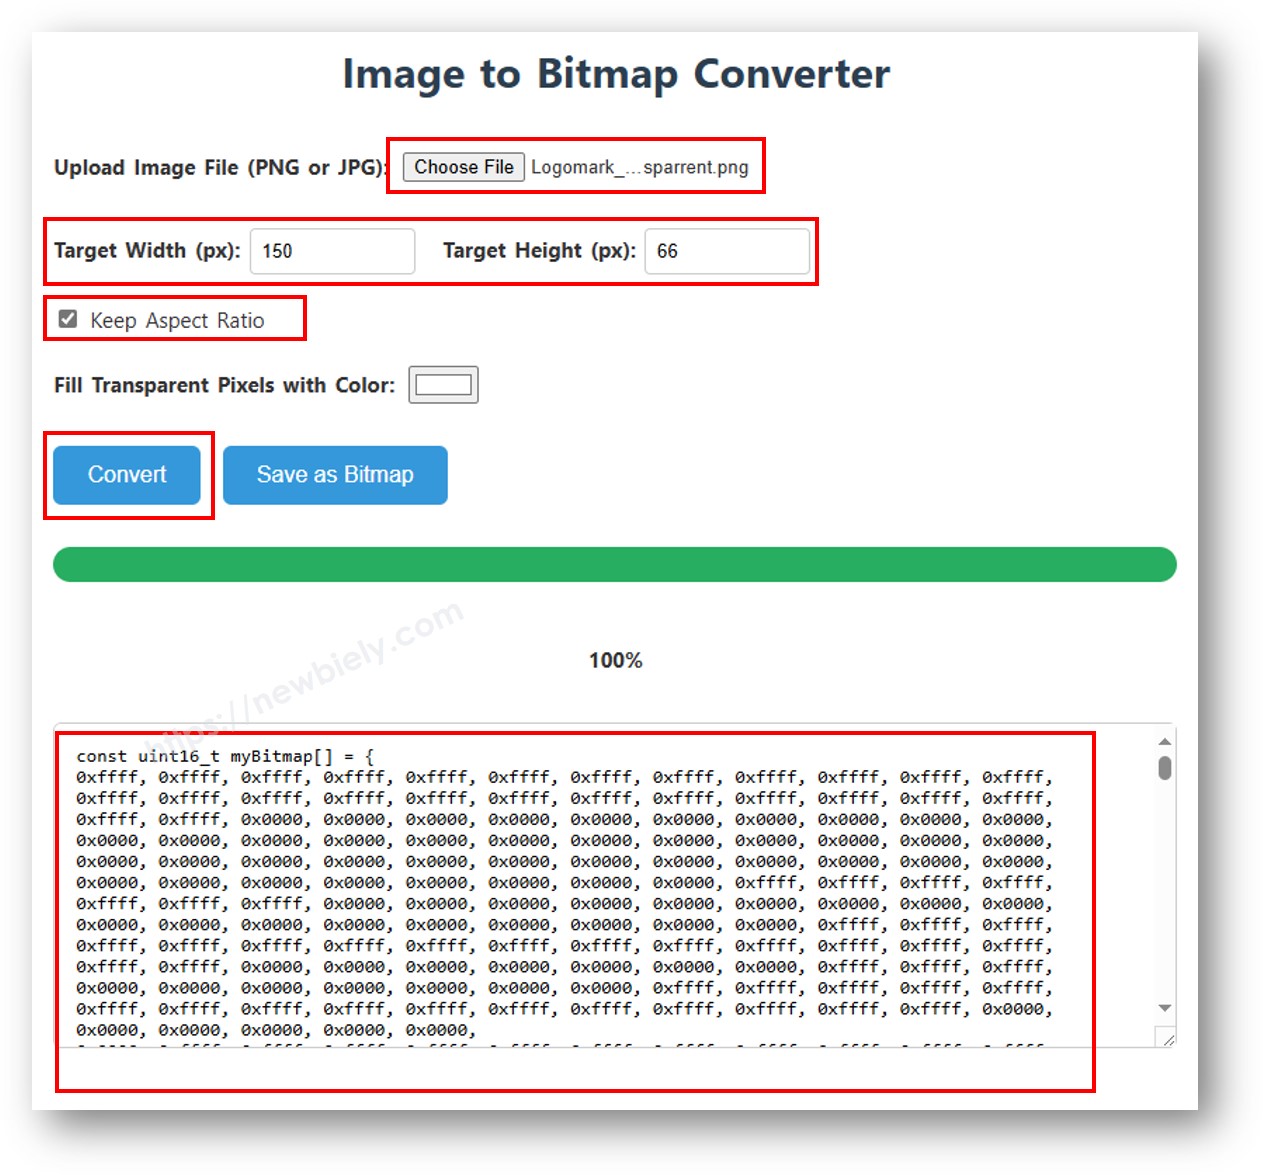
To show any other image on an OLED screen, you can follow the below steps:
- Change the image (in any format) into a bitmap array. You can use this Image to Bitmap Converter tool for conversion. See the picture below to learn how to convert an image into a bitmap array. I converted the Arduino icon into a bitmap array.
- Update the converted bitmap array into the Arduino MicroPython code with the new array code.
- Change the image width and height in the Arduino MicroPython code to match the dimension of image.
Please note that the image size should be equal to or smaller than the screen size.
Arduino MicroPython Code - Drawing Shapes on OLED
After running the code, you'll see a rectangle, circle, and triangle on the OLED screen.
OLED Troubleshooting
If nothing appears on the OLED screen, please follow these steps:
- Check that the wiring is correct.
- Make sure your I2c OLED has an SSD1306 driver.
- Find out the I2C address of your OLED by using this I2C Address Scanner code on Arduino.
Output in the Shell at the bottom of Thonny: