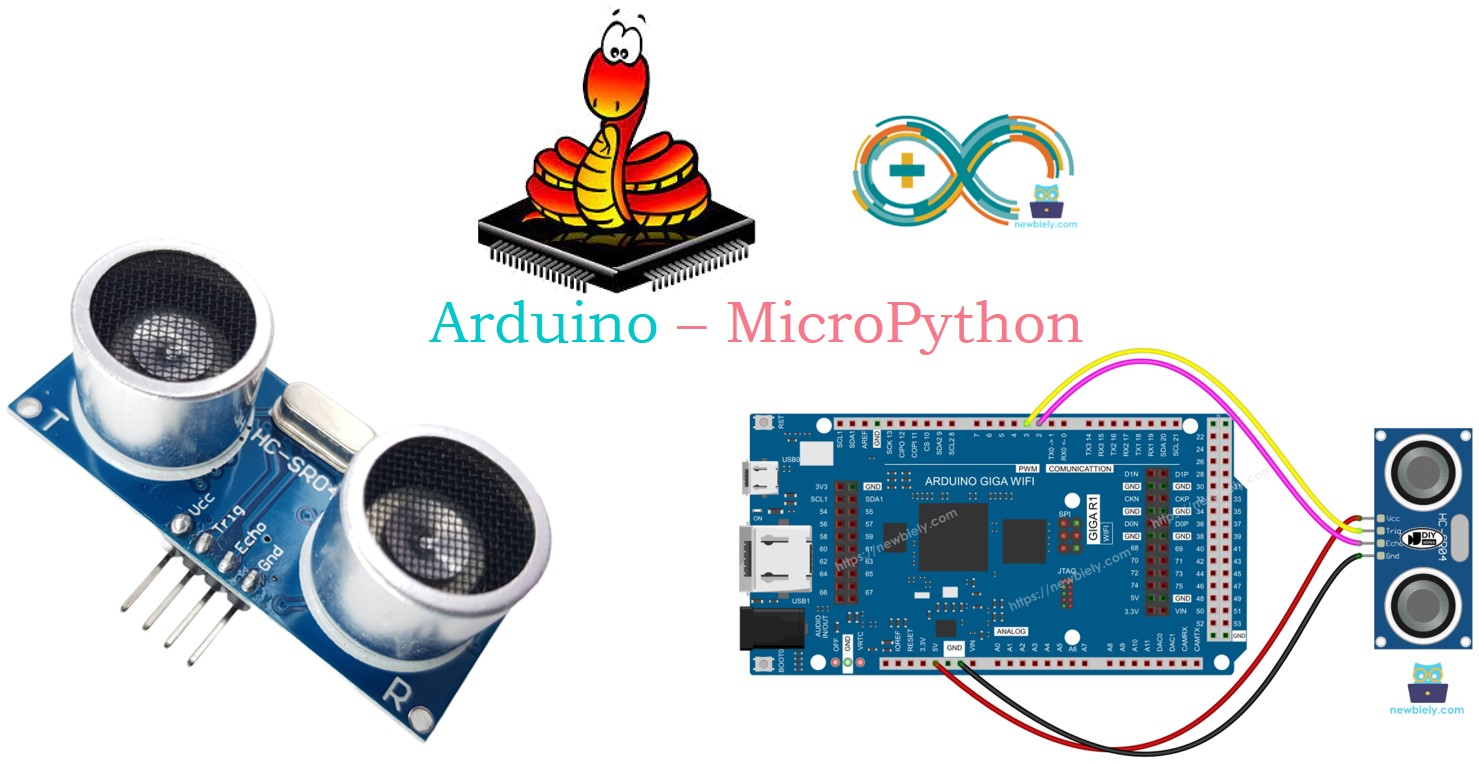
Arduino MicroPython Ultrasonic Sensor
This tutorial teaches you how to measure the distance to an object using an ultrasonic sensor with an Arduino and MicroPython. Specifically, we will cover:
- How to connect an ultrasonic sensor to an Arduino
- How to write MicroPython code for the Arduino to measure distance using the ultrasonic sensor

Hardware Preparation
Or you can buy the following kits:
| 1 | × | DIYables Sensor Kit (30 sensors/displays) | |
| 1 | × | DIYables Sensor Kit (18 sensors/displays) |
Additionally, some of these links are for products from our own brand, DIYables .
Overview of Ultrasonic Sensor
The HC-SR04 ultrasonic sensor measures the distance to objects using ultrasonic waves. It sends out a ultrasonic wave that humans can't hear and listens for the echo that returns after hitting an object. By measuring the time it takes for the ultrasonic wave to come back, the sensor determines the distance from it to the object.
Pinout
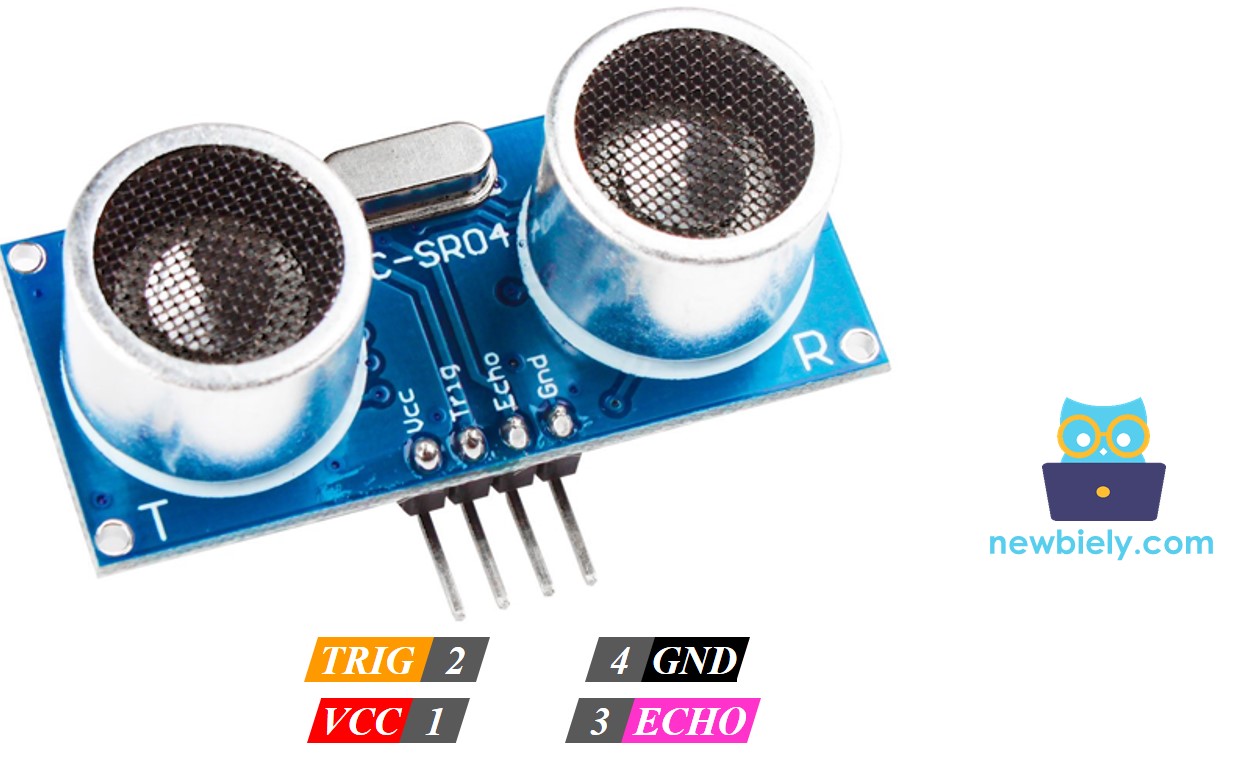
The HC-SR04 ultrasonic sensor includes four pins.
- VCC pin: Attach this pin to VCC (5 volts).
- GND pin: Attach this pin to GND (0 volts).
- TRIG pin: Link this to the Arduino to send control signals.
- ECHO pin: This sends signals back to the Arduino, which detects these signals to determine distance.

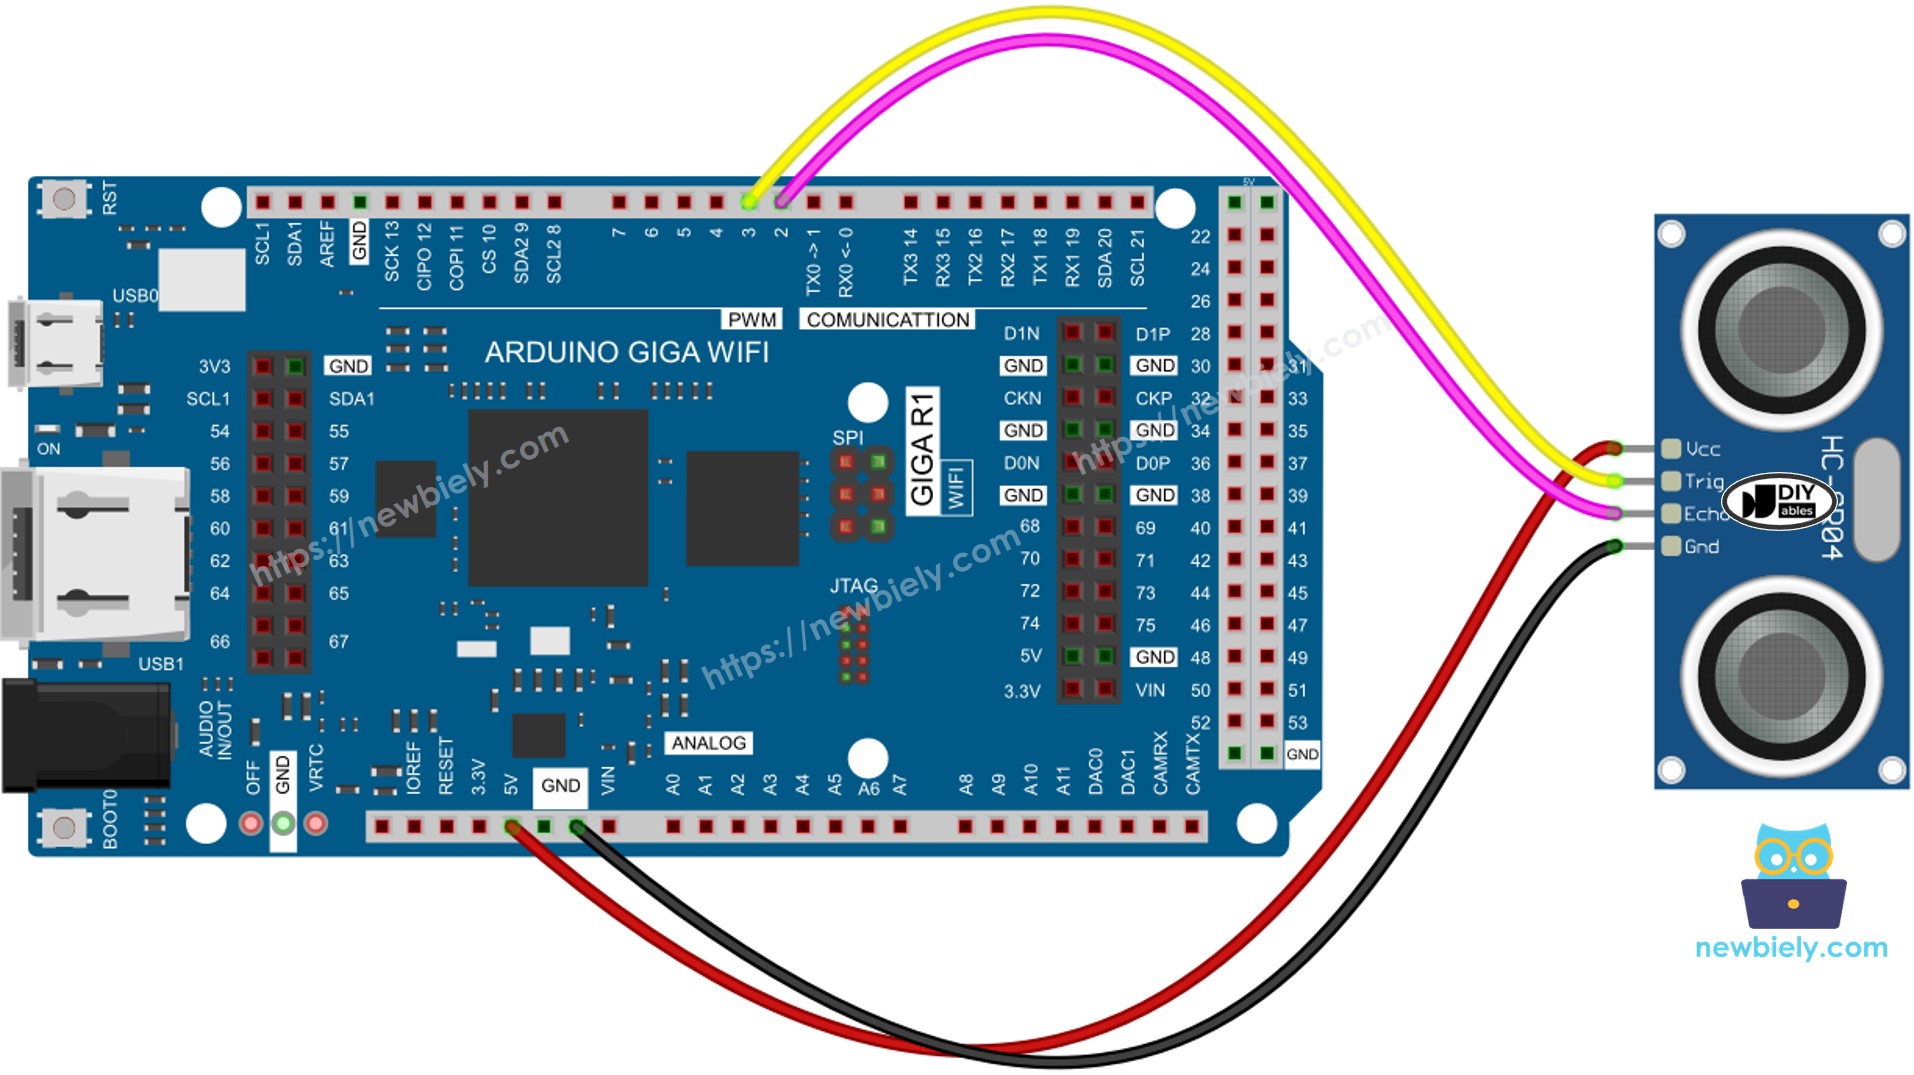
Wiring Diagram

This image is created using Fritzing. Click to enlarge image
※ NOTE THAT:
- You can use any digial I/O pin of Arduino Giga to connect directly to the TRIG pin of ultrasonic sesor.
- You can use any digial I/O pin of Arduino Giga to connect directly to the ECHO pin of ultrasonic sesor, except for the following pins: D5, D76, D77, D79, D84, D85, A0, A1, and A3. This is because these specific pins are only 3.3V tolerant. In case you need to use these pins, please use a voltage divider to reduce the 5V output from the sensor to 3.3V or lower, ensuring the voltage stays within the safe operating range for those pins.
Arduino MicroPython Code
Detailed Instructions
Here’s instructions on how to run the above MicroPython code on Arduino with Thonny IDE:
- Make sure Thonny IDE is installed on your computer.
- Make sure MicroPython firmware is installed on your Arduino board.
- If you are new to Arduino with MicroPython, see the Getting Started with Arduino and MicroPython.
- Connect the Arduino board to the ultrasonic sensor as shown in the above diagram.
- Connect the Arduino board to your computer with a USB cable.
- Open Thonny IDE and go to Tools Options.
- Under the Interpreter tab, select MicroPython (generic) from the dropdown menu.
- Select the COM port corresponding to your Arduino board (e.g., COM33 on Windows or /dev/ttyACM0 on Linux).
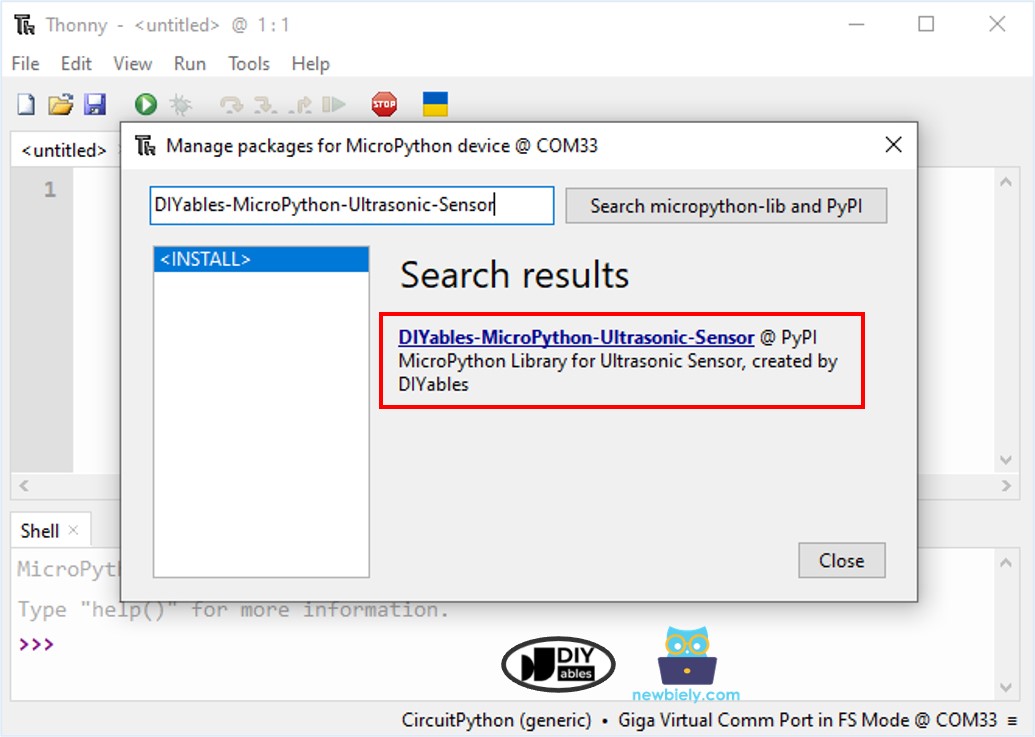
- In Thonny IDE, Navigate to the Tools Manage packages on the Thonny IDE.
- Search “DIYables-MicroPython-Ultrasonic-Sensor”, then find the Ultrasonic Sensor library created by DIYables.
- Click on DIYables-MicroPython-Ultrasonic-Sensor, then click Install button to install Ultrasonic Sensor library.

- Copy the provided Arduino MicroPython code and paste it into Thonny's editor.
- Save the MicroPython code to your Arduino by:
- Clicking the Save button or pressing Ctrl+S.
- In the save dialog, choose MicroPython device and name the file main.py.
- Click the green Run button (or press F5) to execute the code.
- Wave your hand in front of the ultrasonic sensor.
- Check the Shell at the bottom of Thonny IDE for the Arduino output.
Code Explanation
You can find the explanation in the comments of the Arduino MicroPython code mentioned above.
Video Tutorial
Ultrasonic Sensor Applications
- Avoiding Accidents
- Ensuring Capacity
- Measuring Elevation
- Detecting Proximity
