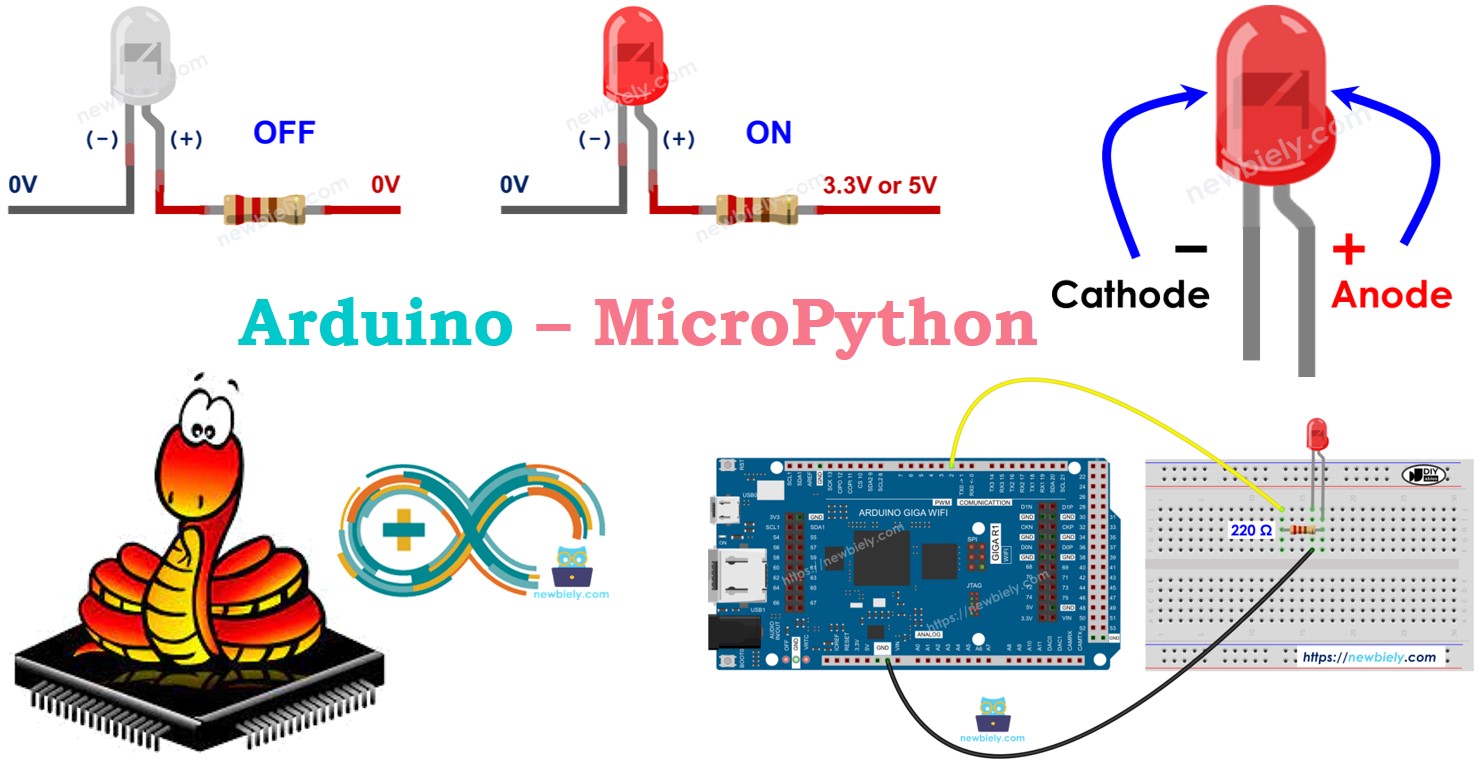
Arduino MicroPython Blink LED
This tutorial teaches you how to control an LED with an Arduino using MicroPython. It explains how to write MicroPython code to turn the LED on and off and make it blink.
Hardware Preparation
Or you can buy the following kits:
| 1 | × | DIYables Sensor Kit (18 sensors/displays) |
Additionally, some of these links are for products from our own brand, DIYables .
Buy Note: Use the LED Module for easier wiring. It includes an integrated resistor.
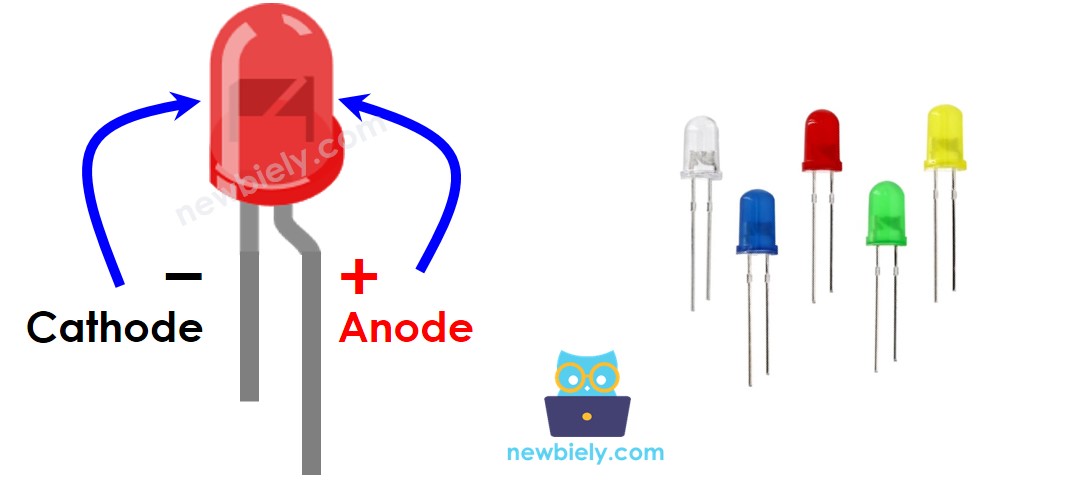
Overview of LED
Pinout
LEDs have two legs.
- Attach the negative (-) pin to the ground (0V)
- The positive (+) pin manages the LED's status
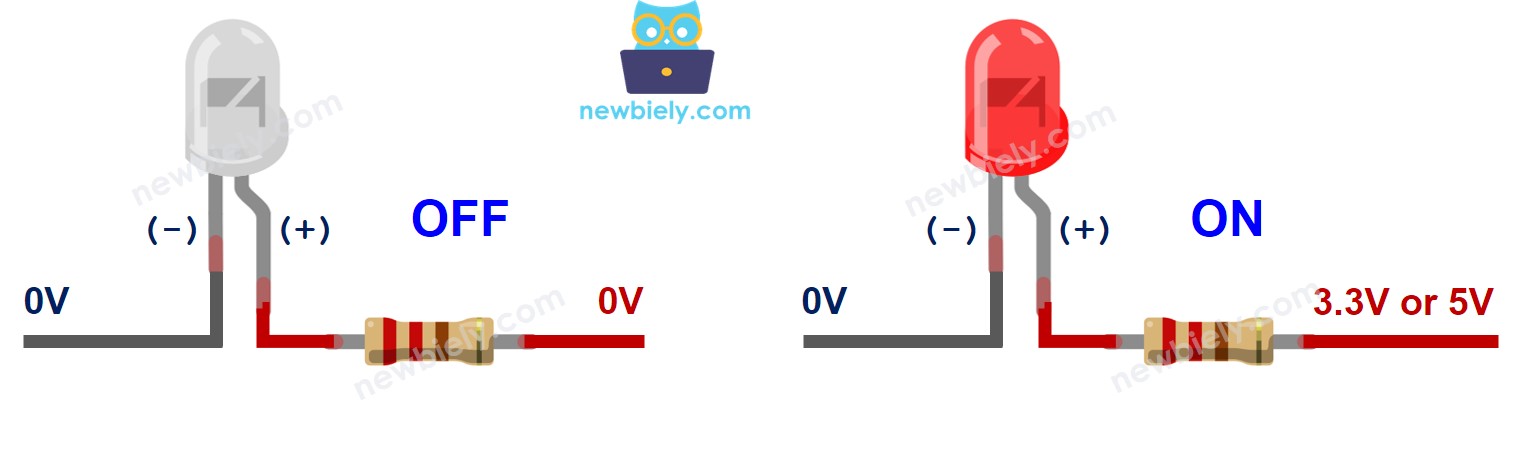
How It Works
After connecting the negative side (cathode) of the LED to the ground (GND):
- If you connect the ground (GND) to the long leg (anode) of the LED, the LED will not turn on.
- If you connect the power source (VCC) to the long leg (anode) of the LED, the LED will turn on.
You can also adjust the brightness of the LED by applying a PWM signal to the positive terminal (anode). How to change the LED light intensity using PWM is explained in detail in this tutorial.
※ NOTE THAT:
LEDs usually need a resistor to function correctly. You can connect the resistor to either the positive side (anode) that connects to the power source (VCC) or the negative side (cathode) that connects to the ground (GND). The required resistor value depends on the specific requirements of the LED. Some LEDs come with a built-in resistor, and if yours does, an additional resistor is generally not needed.
Wiring Diagram
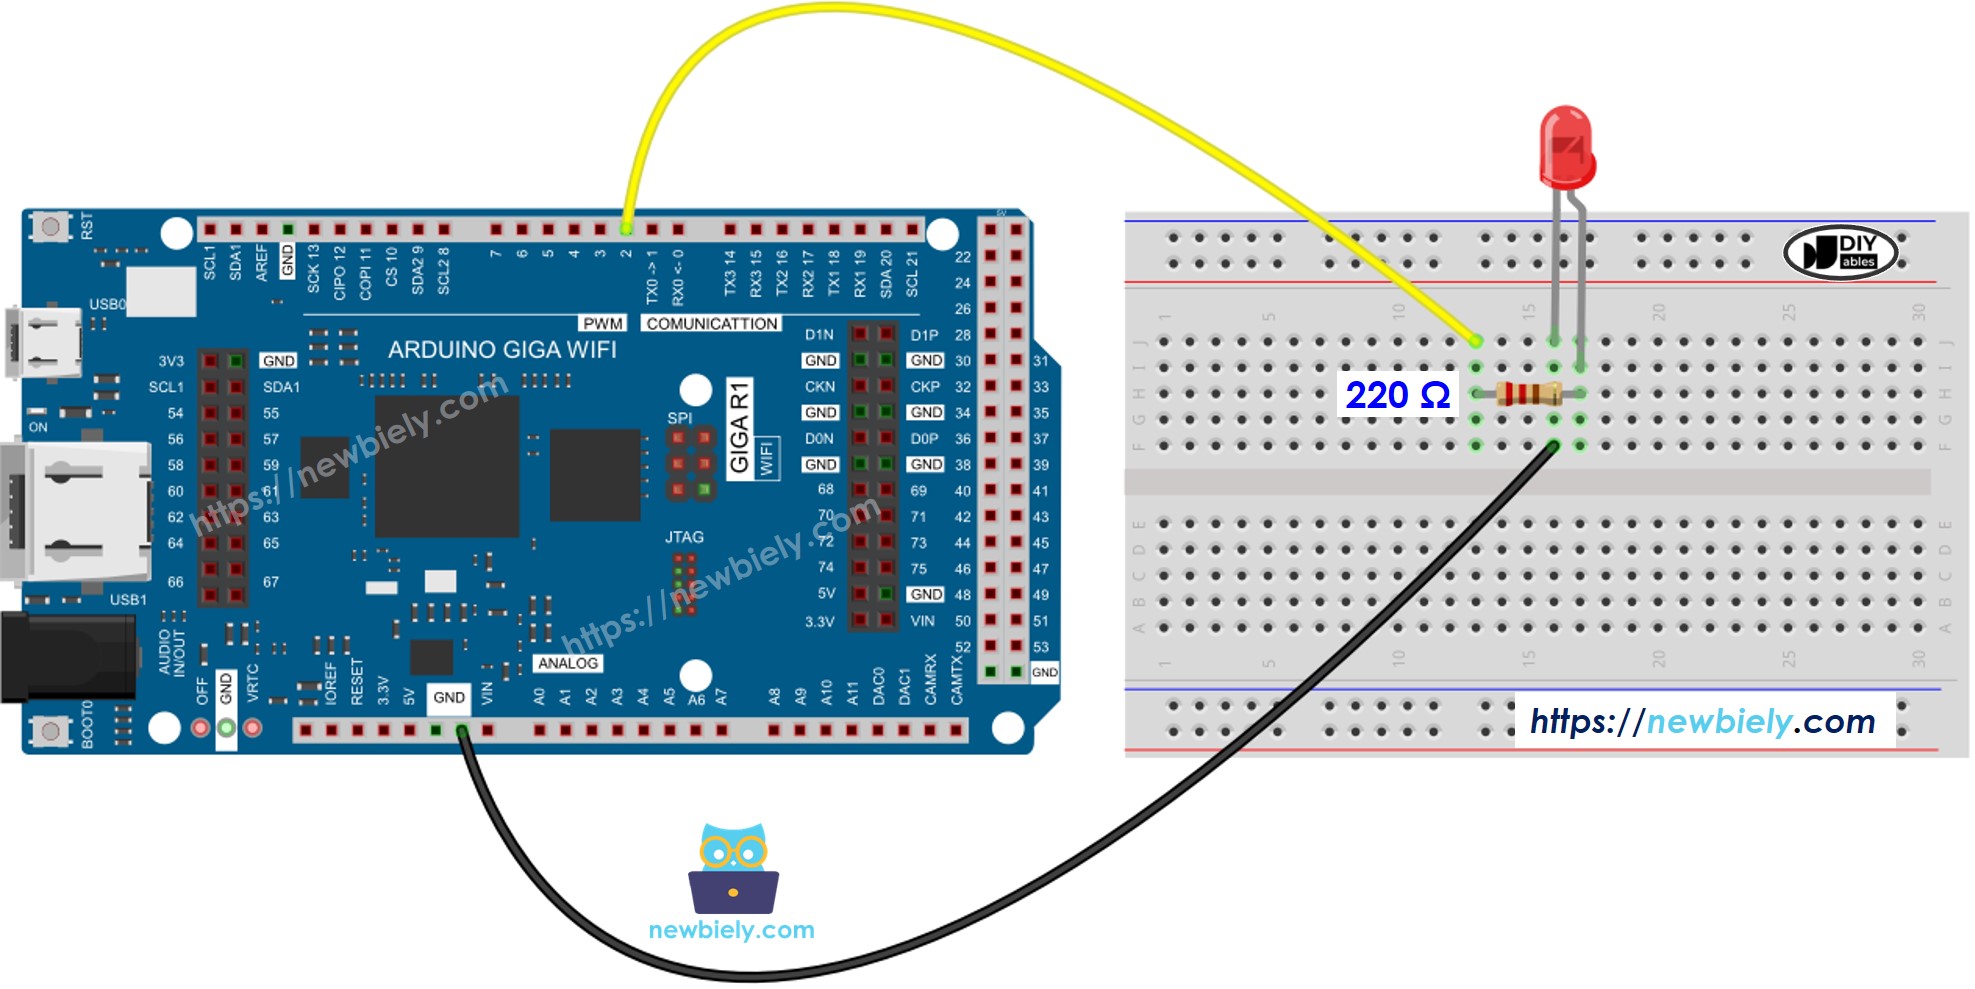
This image is created using Fritzing. Click to enlarge image
How To Program
- Configure Arduino pin GPIO18 to a digital output.
- Turn off the LED.
- Turn on the LED.
Arduino MicroPython Code
Detailed Instructions
Here’s instructions on how to run the above MicroPython code on Arduino with Thonny IDE:
- Make sure Thonny IDE is installed on your computer.
- Make sure MicroPython firmware is installed on your Arduino board.
- If you are new to Arduino with MicroPython, see the Getting Started with Arduino and MicroPython.
- Connect the LED to the Arduino as shown in the diagram.
- Connect the Arduino board to your computer with a USB cable.
- Open Thonny IDE and go to Tools Options.
- Under the Interpreter tab, select MicroPython (generic) from the dropdown menu.
- Select the COM port corresponding to your Arduino board (e.g., COM33 on Windows or /dev/ttyACM0 on Linux).
- Copy the provided Arduino MicroPython code and paste it into Thonny's editor.
- Save the MicroPython code to your Arduino by:
- Clicking the Save button or pressing Ctrl+S.
- In the save dialog, choose MicroPython device and name the file main.py.
- Click the green Run button (or press F5) to execute the code.
- Look at the LED to see if it's working.
Code Explanation
You can find the explanation in the comments section of the Arduino MicroPython code mentioned above.
※ NOTE THAT:
The code you're looking at uses sleep(), which prevents the Arduino from doing other things at the same time. If your project has to manage several tasks, avoid using this function because it stops the Arduino. Instead, think about using a method that keeps the Arduino active.