Arduino MicroPython Potentiometer
This guide teaches you how to use a potentiometer with an Arduino and MicroPython. In detail, you will learn:
- How a potentiometer works.
- How to connect a potentiometer to an Arduino.
- How to write MicroPython code for the Arduino to read values from the potentiometer and convert them into useful data.

Hardware Preparation
Or you can buy the following kits:
| 1 | × | DIYables Sensor Kit (18 sensors/displays) |
Additionally, some of these links are for products from our own brand, DIYables .
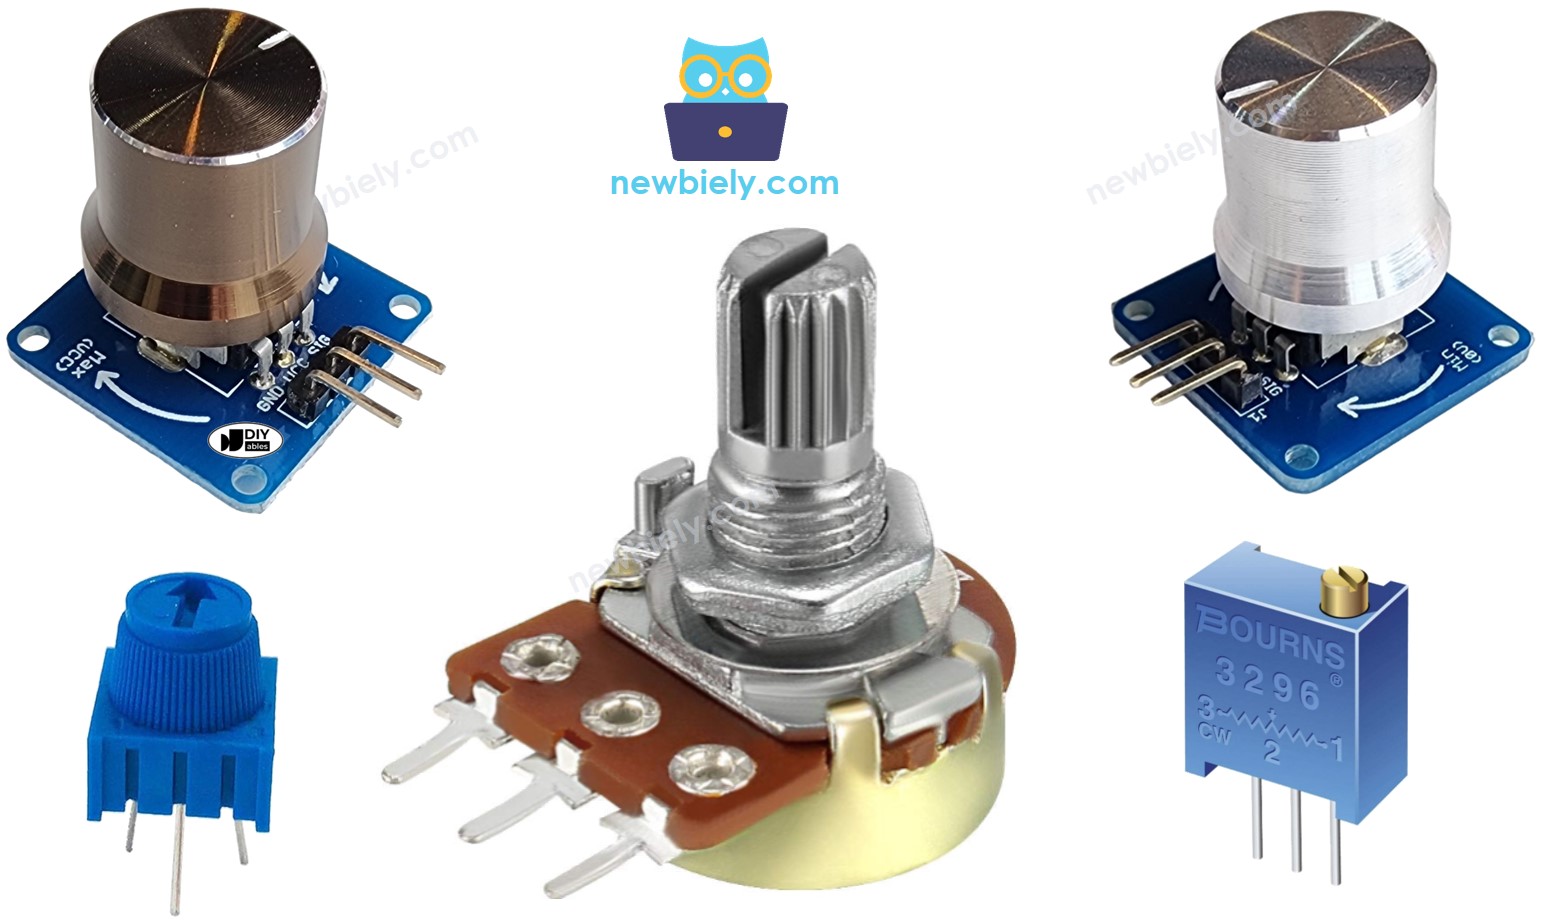
Overview of Potentiometer
A rotary potentiometer, which is also called a rotary angle sensor, is used to adjust settings manually like stereo volume, lamp brightness, or how much you zoom in on an oscilloscope.
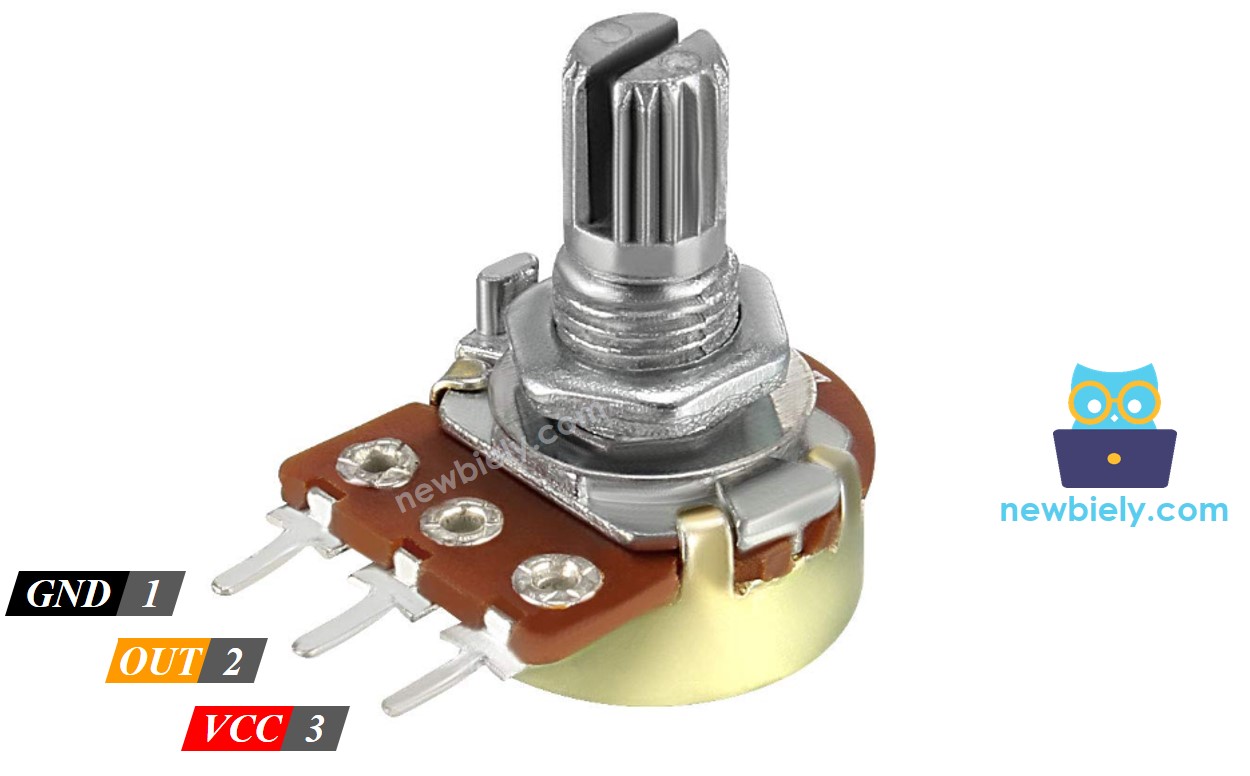
Pinout
A potentiometer usually has three pins.
- GND pin: connect to GND (0 volts)
- VCC pin: connect to VCC (3.3 volts)
- Output pin: sends voltage to Arduino's input pin.
※ NOTE THAT:
You can switch the positions of the GND pin and the VCC pin.
How It Works
The potentiometer's shaft turns from 0 degrees, near the GND, to a maximum position near the VCC pin, called ANGLE_MAX.
The voltage at the output pin ranges from the ground (GND) voltage to the supply voltage (VCC). As you rotate the shaft, the output voltage changes accordingly.
- If the angle is 0 degrees, there is no voltage (0 volts) at the output pin.
- If the angle is ANGLE_MAX, the output pin's voltage is the same as VCC’s voltage.
- For angles between 0 degrees and ANGLE_MAX, the output voltage is calculated as: angle × VCC / ANGLE_MAX.
※ NOTE THAT:
The value of ANGLE_MAX changes depending on the manufacturer. Normally, we do not focus on the value of ANGLE_MAX unless we need to calculate the rotation angle (see the use cases section).
Arduino - Rotary Potentiometer
The Arduino's ADC pins work as analog inputs, converting a voltage range from 0 volts to VCC into numbers between 0 and 4095. These numbers are called ADC values or analog values.
You can connect a potentiometer's output pin to one of the Arduino's analog input pins, allowing the Arduino to read the ADC value and convert it into a usable number.
The number received by the Arduino isn't an angle or a direct voltage but a value between 0 and 4095. This value can then be mapped or adjusted to a different range depending on the application.
Use Cases
- Converting the ADC value into an angle.
- Converting the ADC value into a voltage.
- Converting the ADC value into a controllable value (like adjusting the volume of a stereo, the brightness of a light, or the speed of a motor). This is one of the most common applications.
Rescale Range
| FROM | TO | |||
|---|---|---|---|---|
| Angle | rotated by user | 0° | → | ANGLE_MAX |
| Voltage | from potentiometer's pin | 0V | → | 3.3V |
| ADC value | read by Arduino | 0 | → | 4095 |
| Other value | converted by Arduino | VALUE_MIN | → | VALUE_MAX |
Wiring Diagram
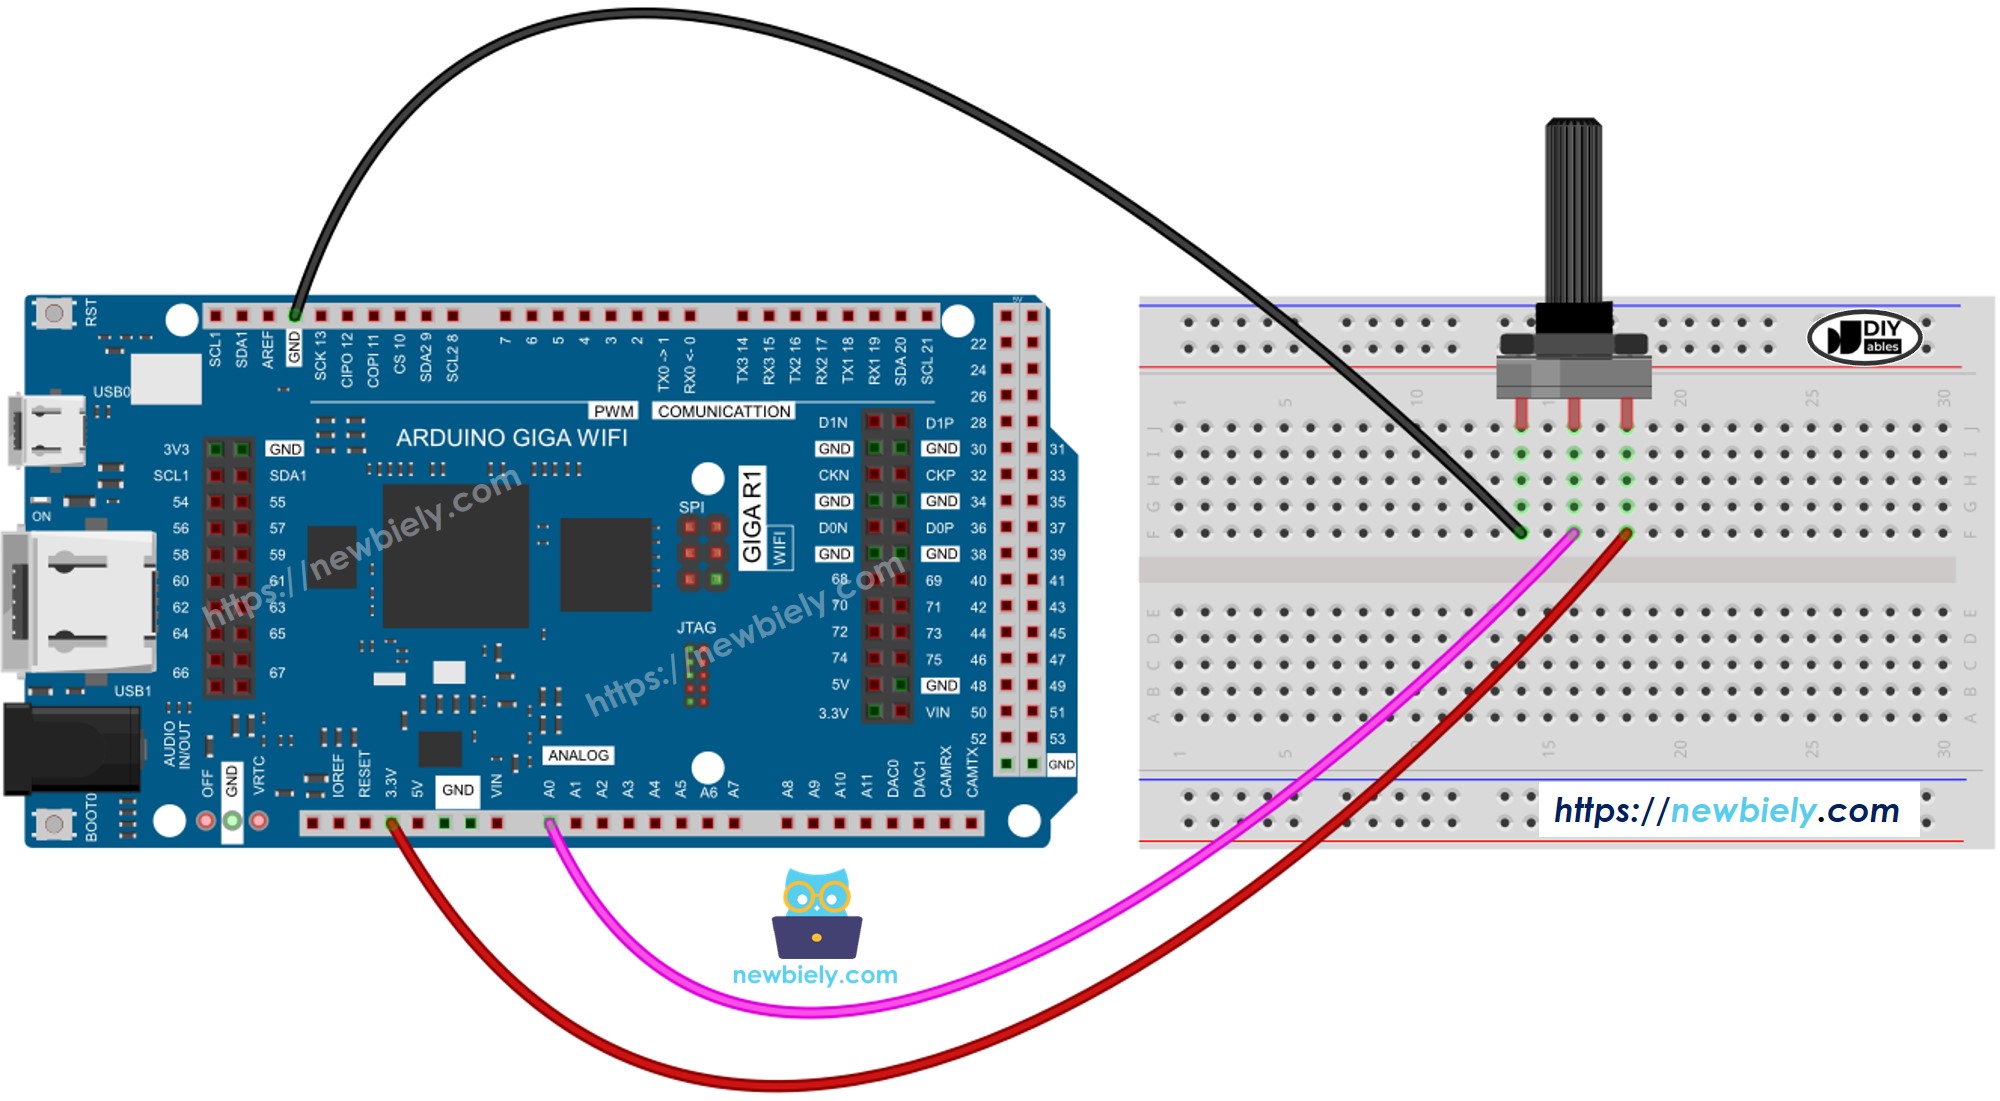
This image is created using Fritzing. Click to enlarge image
Arduino MicroPython Code
Detailed Instructions
Here’s instructions on how to run the above MicroPython code on Arduino with Thonny IDE:
- Make sure Thonny IDE is installed on your computer.
- Make sure MicroPython firmware is installed on your Arduino board.
- If you are new to Arduino with MicroPython, see the Getting Started with Arduino and MicroPython.
- Connect the Arduino board to the potentiometer according to the provided diagram.
- Connect the Arduino board to your computer with a USB cable.
- Open Thonny IDE and go to Tools Options.
- Under the Interpreter tab, select MicroPython (generic) from the dropdown menu.
- Select the COM port corresponding to your Arduino board (e.g., COM33 on Windows or /dev/ttyACM0 on Linux).
- Copy the provided Arduino MicroPython code and paste it into Thonny's editor.
- Save the MicroPython code to your Arduino by:
- Clicking the Save button or pressing Ctrl+S.
- In the save dialog, choose MicroPython device and name the file main.py.
- Click the green Run button (or press F5) to execute the code.
- Adjust the potentiometer
- Check out the message in the Shell at the bottom of Thonny.