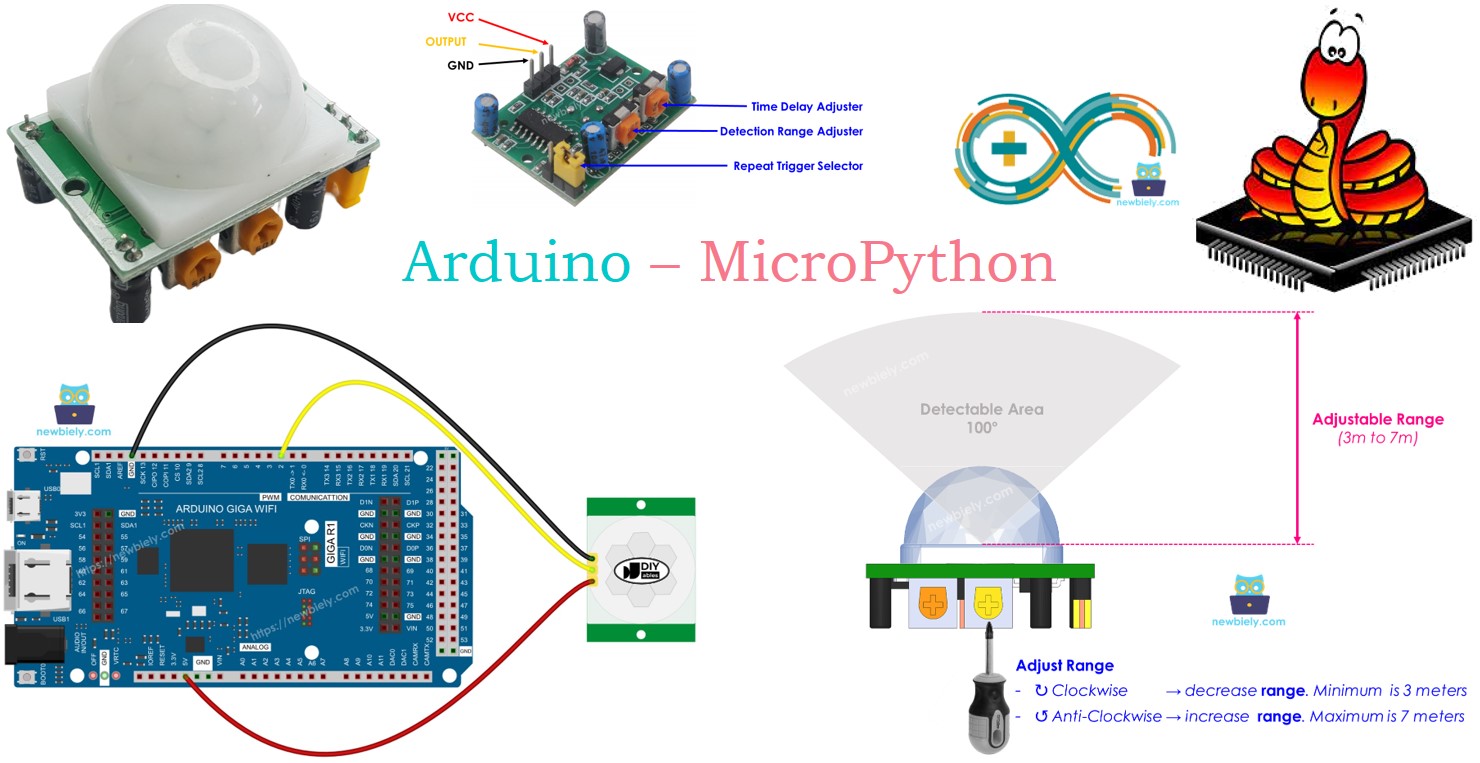
Arduino MicroPython Motion Sensor
This tutorial teaches you how to detect human presence using an HC-SR501 motion sensor with an Arduino and MicroPython. Specifically, we will cover:
- How the HC-SR501 motion sensor works
- How to connect the Arduino to the HC-SR501 motion sensor
- How to write MicroPython code for the Arduino to read the state of the HC-SR501 motion sensor
Hardware Preparation
Or you can buy the following kits:
| 1 | × | DIYables Sensor Kit (18 sensors/displays) |
Additionally, some of these links are for products from our own brand, DIYables .
Overview of HC-SR501 Motion Sensor
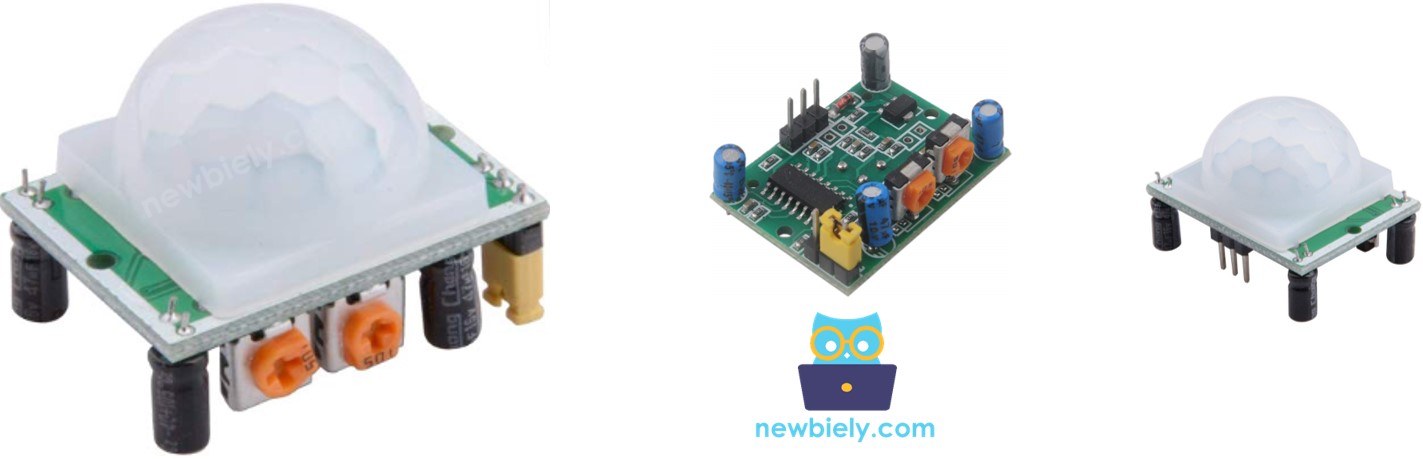
The HC-SR501 PIR sensor is a motion detector that can detect the movement of humans or animals. It's commonly used in various applications, such as:
- Automatic lighting: Switching lights on and off in response to motion.
- Door control: Automatically opening and closing doors.
- *Escalator control: Activating or deactivating escalators.
- Security systems: Detecting intruders.
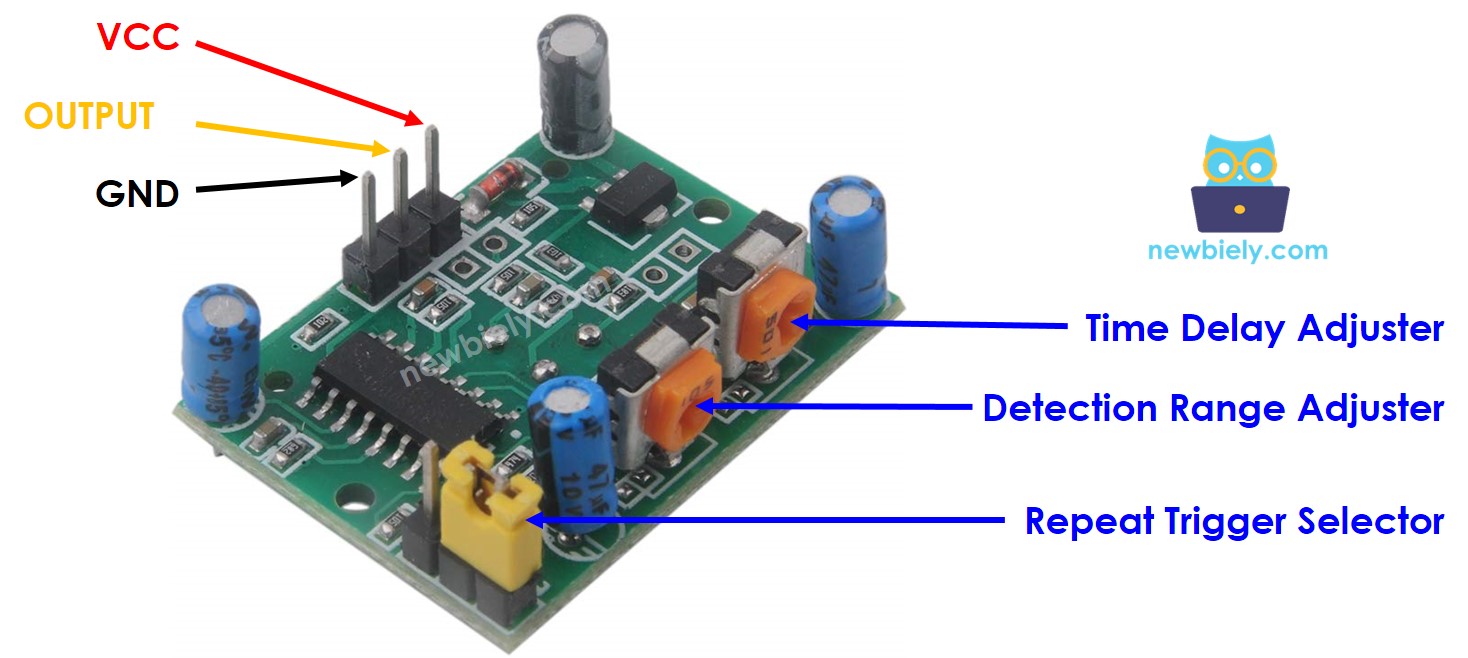
Pinout
The HC-SR501 motion sensor includes three pins.
- GND pin: Connect to ground (0V).
- VCC pin: Connect to power (5V).
- OUTPUT Pin: Outputs a LOW signal when no movement is detected and a HIGH signal when movement is detected. Connect this pin to an input pin on the Arduino.
The HC-SR501 sensor features one jumper and two potentiometers that allow you to adjust its settings. For more details, refer to the Advanced Uses of Motion Sensor.
How It Works
The HC-SR501 motion sensor detects movement by sensing changes in infrared radiation. For the sensor to detect an object, two conditions must be met:
- The object must be in motion.
- The object must emit infrared radiation.
As a result:
- Moving objects that do not emit infrared radiation (like some toys) will not be detected.
- Objects that emit infrared radiation but remain stationary (like a person standing still) will not be detected.
Since humans and animals emit infrared radiation, the sensor is effective at detecting their movements.
Output Pin Behavior:
- No motion: When no person or animal is within the sensor's detection range, the OUTPUT pin remains LOW.
- Motion detected: When a person or animal enters the detection range, the OUTPUT pin switches from LOW to HIGH.
- Motion ended: When the person or animal leaves the detection range, the OUTPUT pin returns from HIGH to LOW.
The below video demonstrates the basic operation of the motion sensor. In real-world applications, its behavior may vary slightly depending on its settings, as detailed in the Advanced Uses section.
Arduino - HC-SR501 Motion Sensor
When you configure a pin on the Arduino as a digital input, it can detect whether the connected object is in a LOW or HIGH state. Connect the Arduino's pin to the OUTPUT pin of the HC-SR501 sensor, and then program the Arduino to monitor the value of the OUTPUT pin to detect motion.
Wiring Diagram
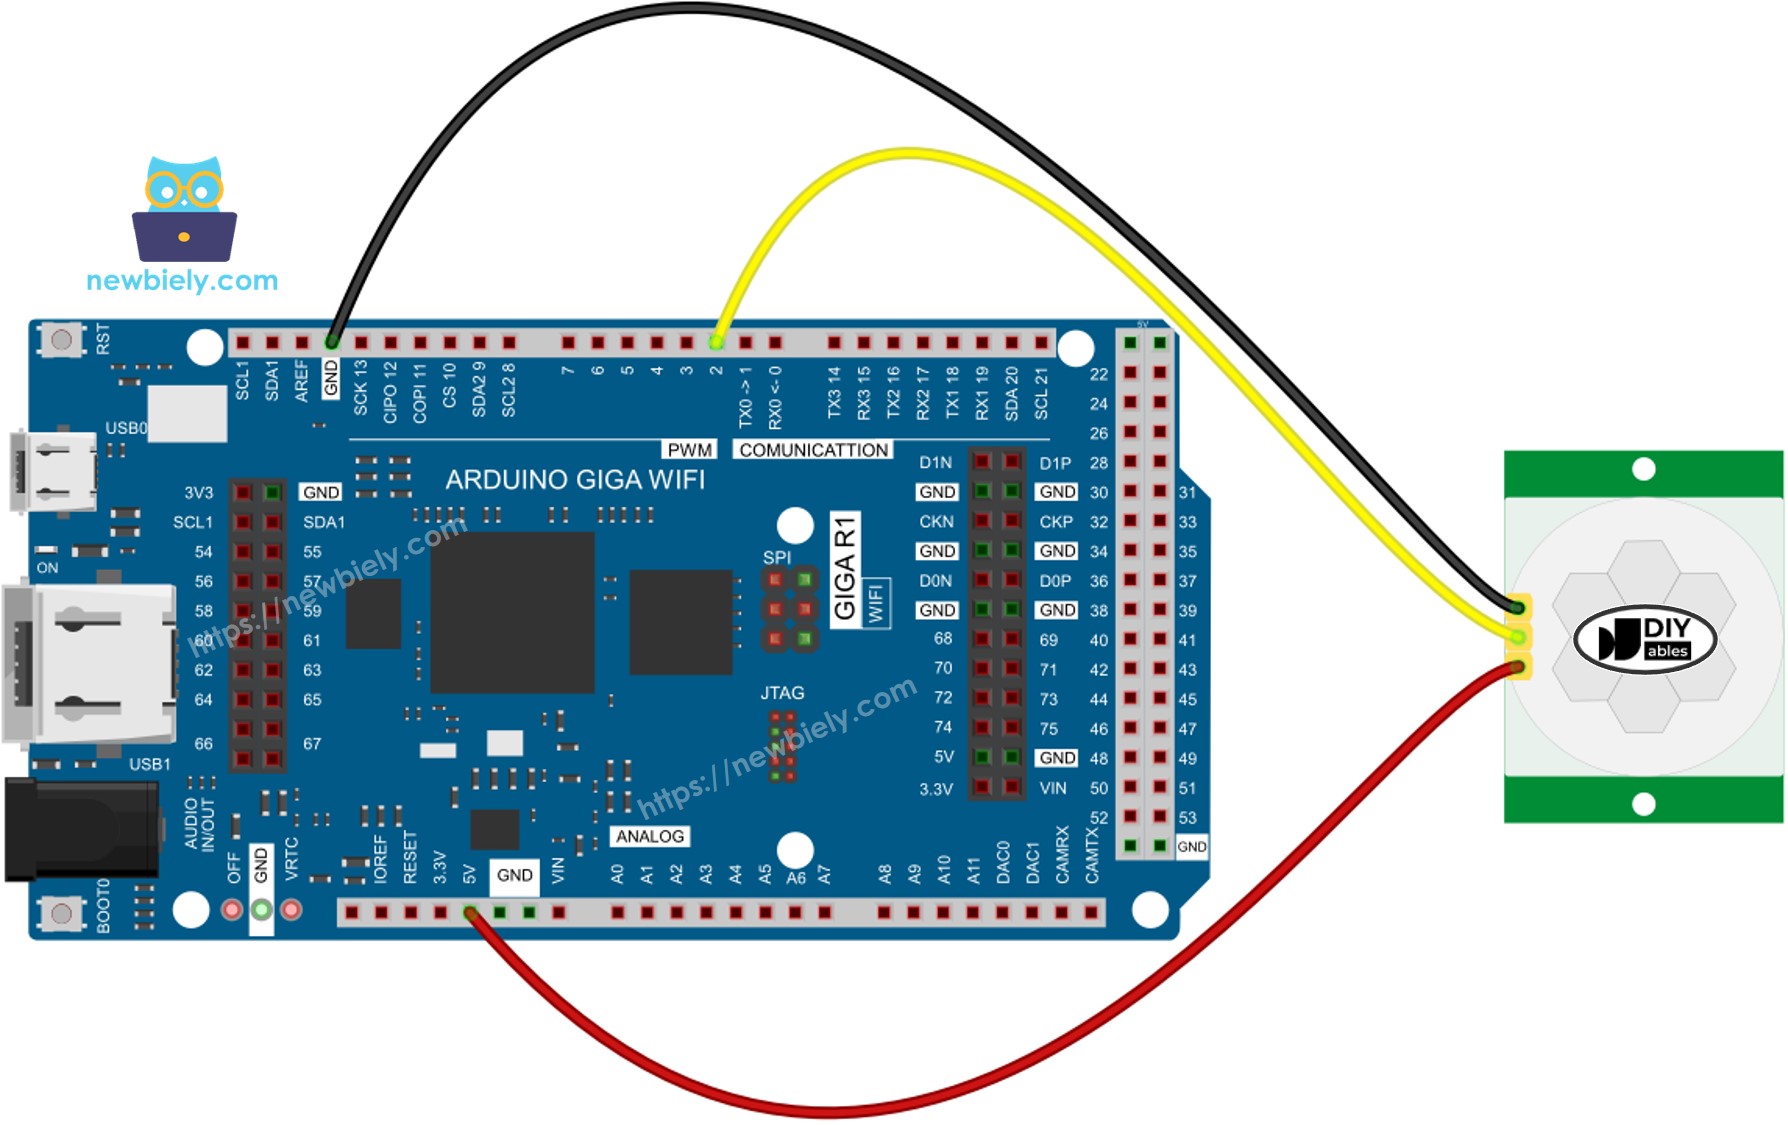
This image is created using Fritzing. Click to enlarge image
Please note that the OUTPUT pin of the motion sensor provides 5V when movement is detected. You can connect this OUTPUT pin directly to most of the digital input pins on the Arduino Giga, except for the following pins: D5, D76, D77, D79, D84, D85, A0, A1, and A3. This is because these specific pins are only 3.3V tolerant. In case you need to use these pins, please use a voltage divider to reduce the 5V output from the sensor to 3.3V or lower, ensuring the voltage stays within the safe operating range for those pins.
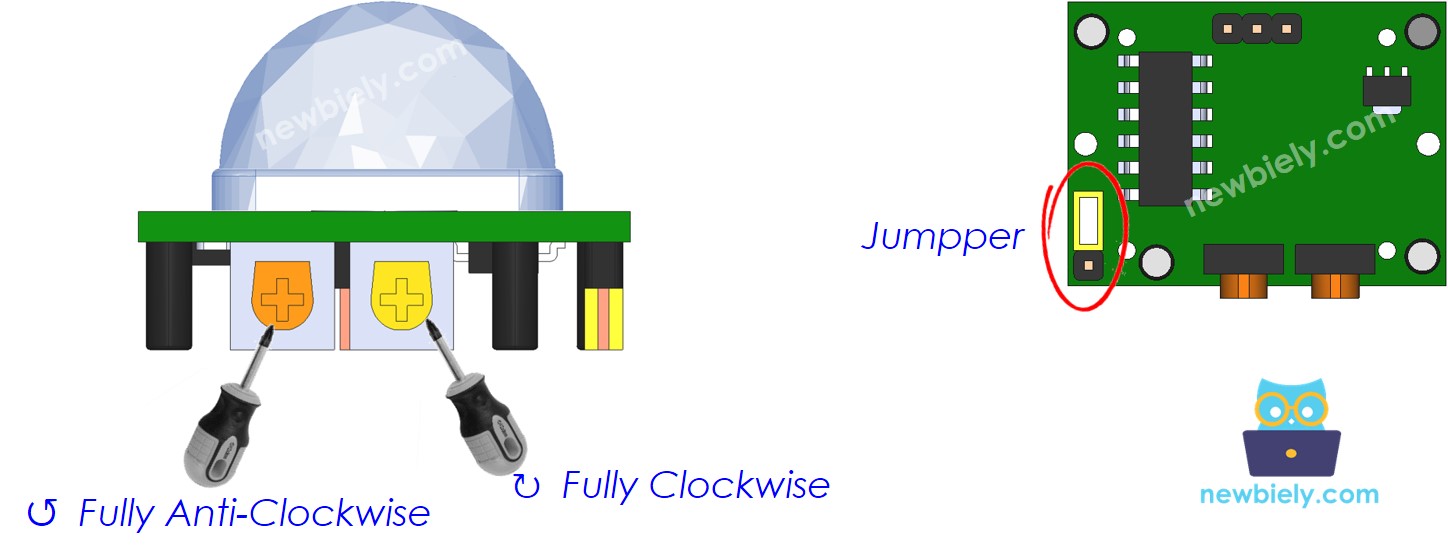
Initial Setting
| Time Delay Adjuster | Screw it in anti-clockwise direction fully. |
| Detection Range Adjuster | Screw it in clockwise direction fully. |
| Repeat Trigger Selector | Put jumper as shown on the image. |
How To Program For Motion Sensor
- Set up an Arduino pin as a digital input.
- Check the sensor's OUTPUT pin condition.
Arduino MicroPython Code
Detailed Instructions
Here’s instructions on how to run the above MicroPython code on Arduino with Thonny IDE:
- Make sure Thonny IDE is installed on your computer.
- Make sure MicroPython firmware is installed on your Arduino board.
- If you are new to Arduino with MicroPython, see the Getting Started with Arduino and MicroPython.
- Connect your Arduino board to the HC-SR501 motion sensor as shown in the diagram.
- Connect your Arduino to the computer using a USB cable..
- Open Thonny IDE and go to Tools Options.
- Under the Interpreter tab, select MicroPython (generic) from the dropdown menu.
- Select the COM port corresponding to your Arduino board (e.g., COM33 on Windows or /dev/ttyACM0 on Linux).
- Copy the provided Arduino MicroPython code and paste it into Thonny's editor.
- Save the MicroPython code to your Arduino by:
- Clicking the Save button or pressing Ctrl+S.
- In the save dialog, choose MicroPython device and name the file main.py.
- Click the green Run button (or press F5) to execute the code.
- Wave your hand in front of the sensor.
- Check the Shell at the bottom of Thonny IDE for the Arduino output.