ESP32 MicroPython Button LED
This tutorial will walk you through how to control an LED with an ESP32 and a button, using MicroPython. We'll explore two different methods:
Method 1: LED matches button status
Method 2: LED switches state on button press
Each time the button is pressed, the LED will switch between on and off.
The LED will not change state when the button is released.
For Method 2, we'll discuss the importance of debouncing the button. Debouncing prevents accidental multiple presses caused by contact bounce. We'll observe the LED's behavior with and without debouncing in the MicroPython code.
Or you can buy the following kits:
Disclosure: Some of the links provided in this section are Amazon affiliate links. We may receive a commission for any purchases made through these links at no additional cost to you.
Additionally, some of these links are for products from our own brand,
DIYables .
Buy Note: Use the LED Module for easier wiring. It includes an integrated resistor.
If you're new to LED, Button, or MicroPython programming for the ESP32, I recommend checking out these tutorials:
These tutorials will provide you with a comprehensive understanding of LED and Button pinouts, how to connect these components to the ESP32, and how to effectively control their behavior using MicroPython code.

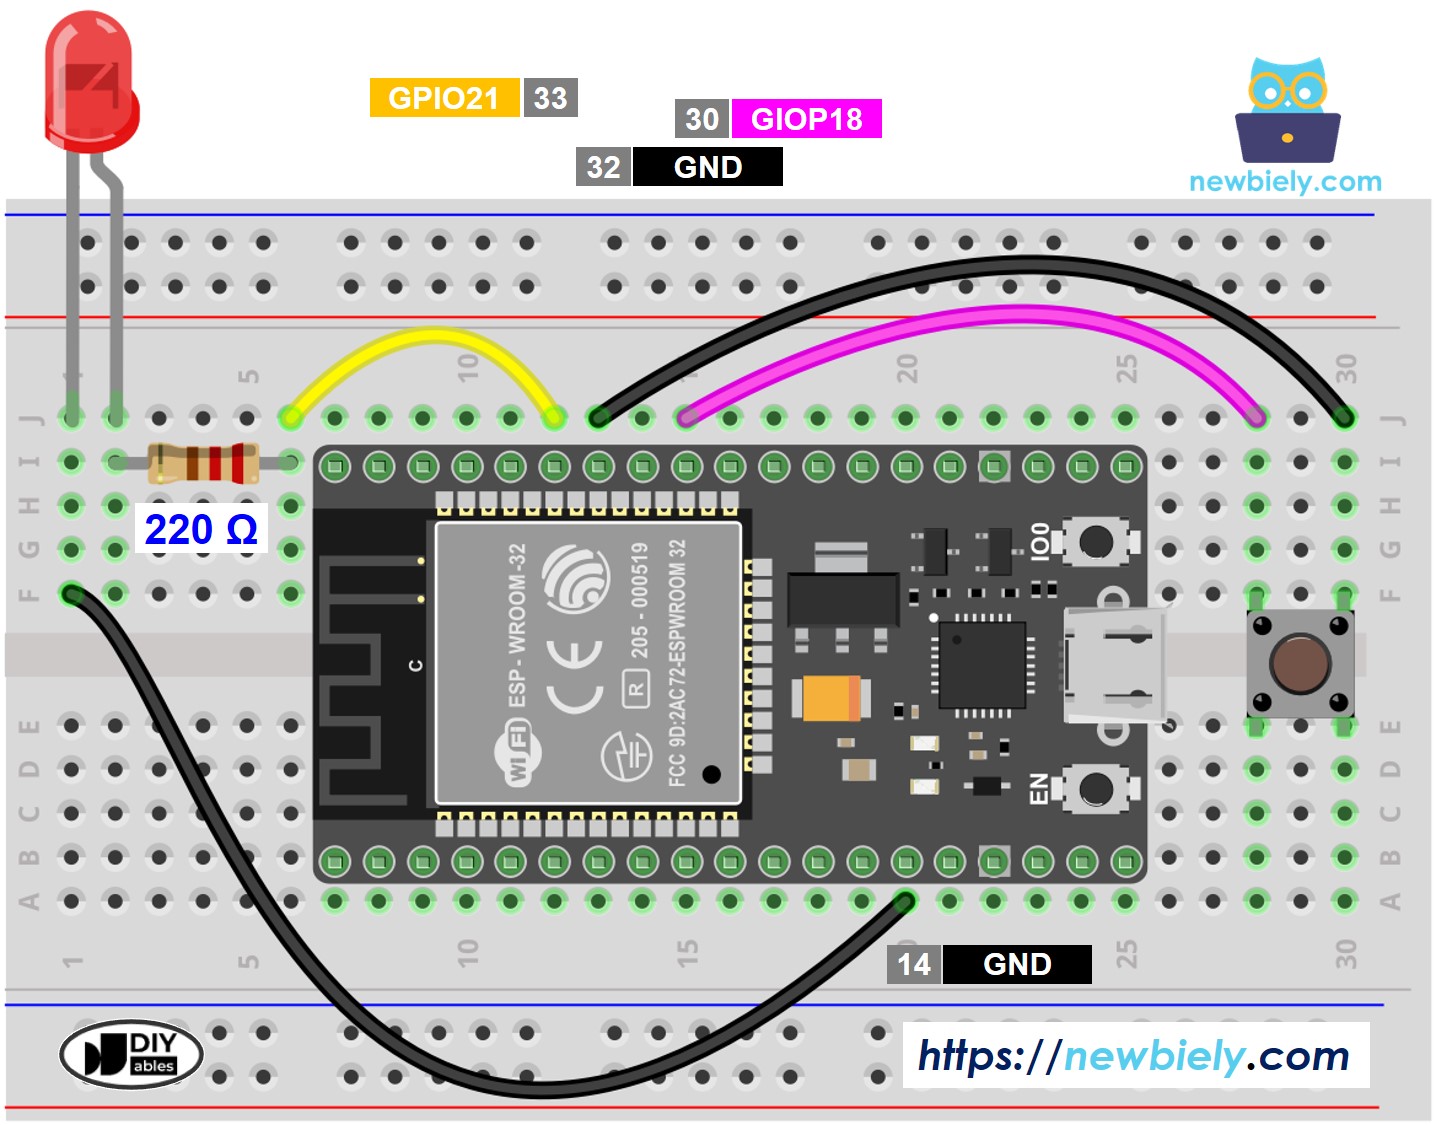
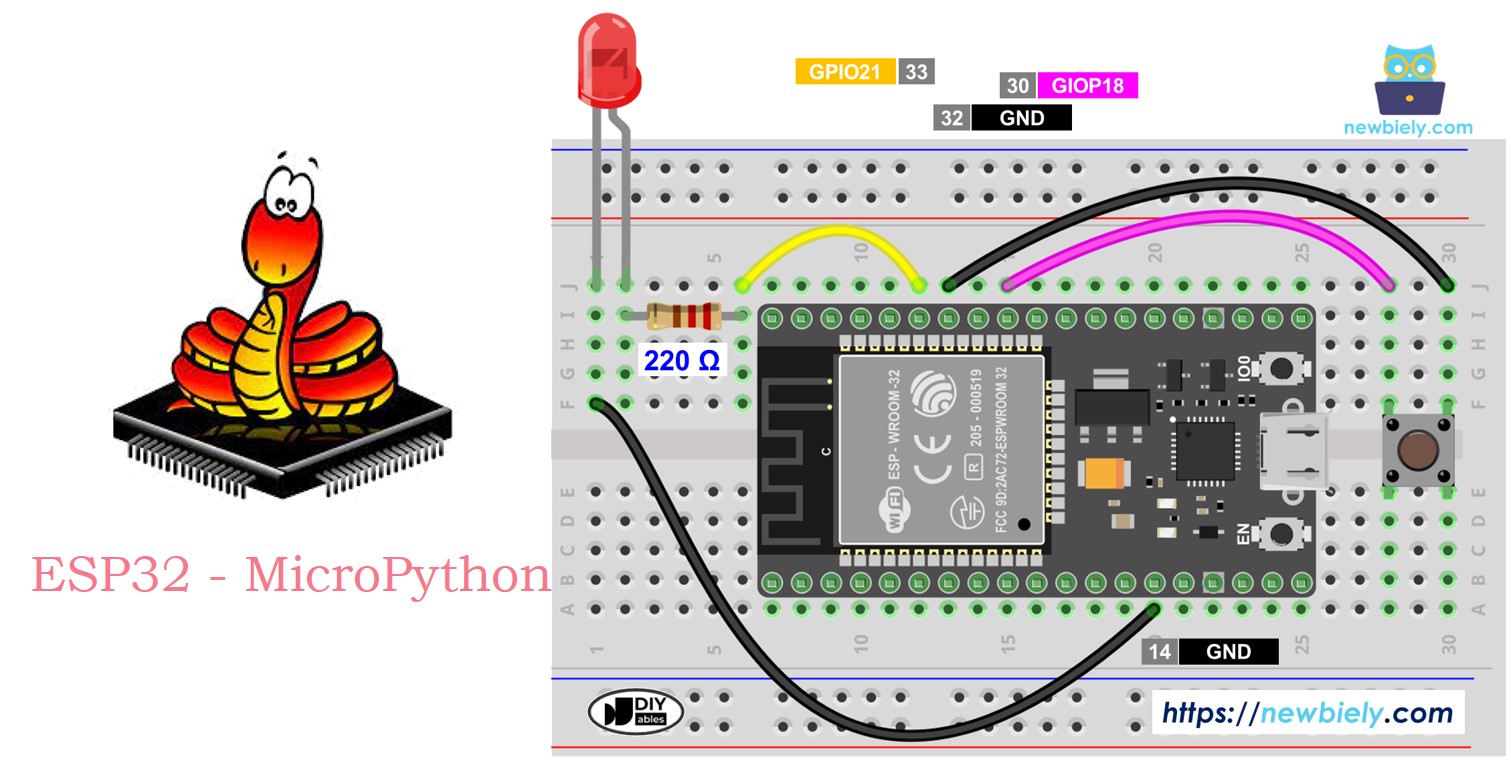
This image is created using Fritzing. Click to enlarge image
from machine import Pin
import time
BUTTON_PIN = 18
LED_PIN = 21
button = Pin(BUTTON_PIN, Pin.IN, Pin.PULL_UP)
led = Pin(LED_PIN, Pin.OUT)
while True:
button_state = button.value()
if button_state == 0:
print("The button is being pressed")
led.value(1)
else:
print("The button is unpressed")
led.value(0)
time.sleep(0.1)
Here’s instructions on how to set up and run your MicroPython code on the ESP32 using Thonny IDE:
Make sure Thonny IDE is installed on your computer.
Confirm that MicroPython firmware is loaded on your ESP32 board.
Wire the components according to the provided diagram.
Connect the ESP32 board to your computer with a USB cable.
Open Thonny IDE on your computer.
In Thonny IDE, go to Tools Options.
Under the Interpreter tab, choose MicroPython (ESP32) from the dropdown menu.
Make sure the correct port is selected. Thonny IDE usually detects it automatically, but you might need to select it manually (like COM12 on Windows or /dev/ttyACM0 on Linux).
Copy the provided MicroPython code and paste it into Thonny's editor.
Save the code to your ESP32 by:
Click the green Run button (or press F5) to execute the script.
Press the button and hold it for a few seconds.
Check out the message in the Shell at the bottom of Thonny.
Observe the change in the LED's status.
The LED status matches the button status.
Read the detailed explanations in the source code's comments for each line!
from machine import Pin
import time
BUTTON_PIN = 18
LED_PIN = 21
button = Pin(BUTTON_PIN, Pin.IN, Pin.PULL_UP)
led = Pin(LED_PIN, Pin.OUT)
led_state = 0
button_state = button.value()
prev_button_state = button_state
while True:
prev_button_state = button_state
button_state = button.value()
if prev_button_state == 1 and button_state == 0:
print("The button is pressed")
led_state = not led_state
led.value(led_state)
time.sleep(0.1)
Copy the code and open it in Thonny IDE.
Save the code to the ESP32.
Press and release the button multiple times.
Observe how the LED's state changes.
Each time you press the button, the LED state changes once.
You can find the explanation in the comments of the above ESP32 MicroPython code.
In the code, led_state = not led_state does the same thing as this code:
if led_state == 1:
led_state = 0
else:
led_state = 1


