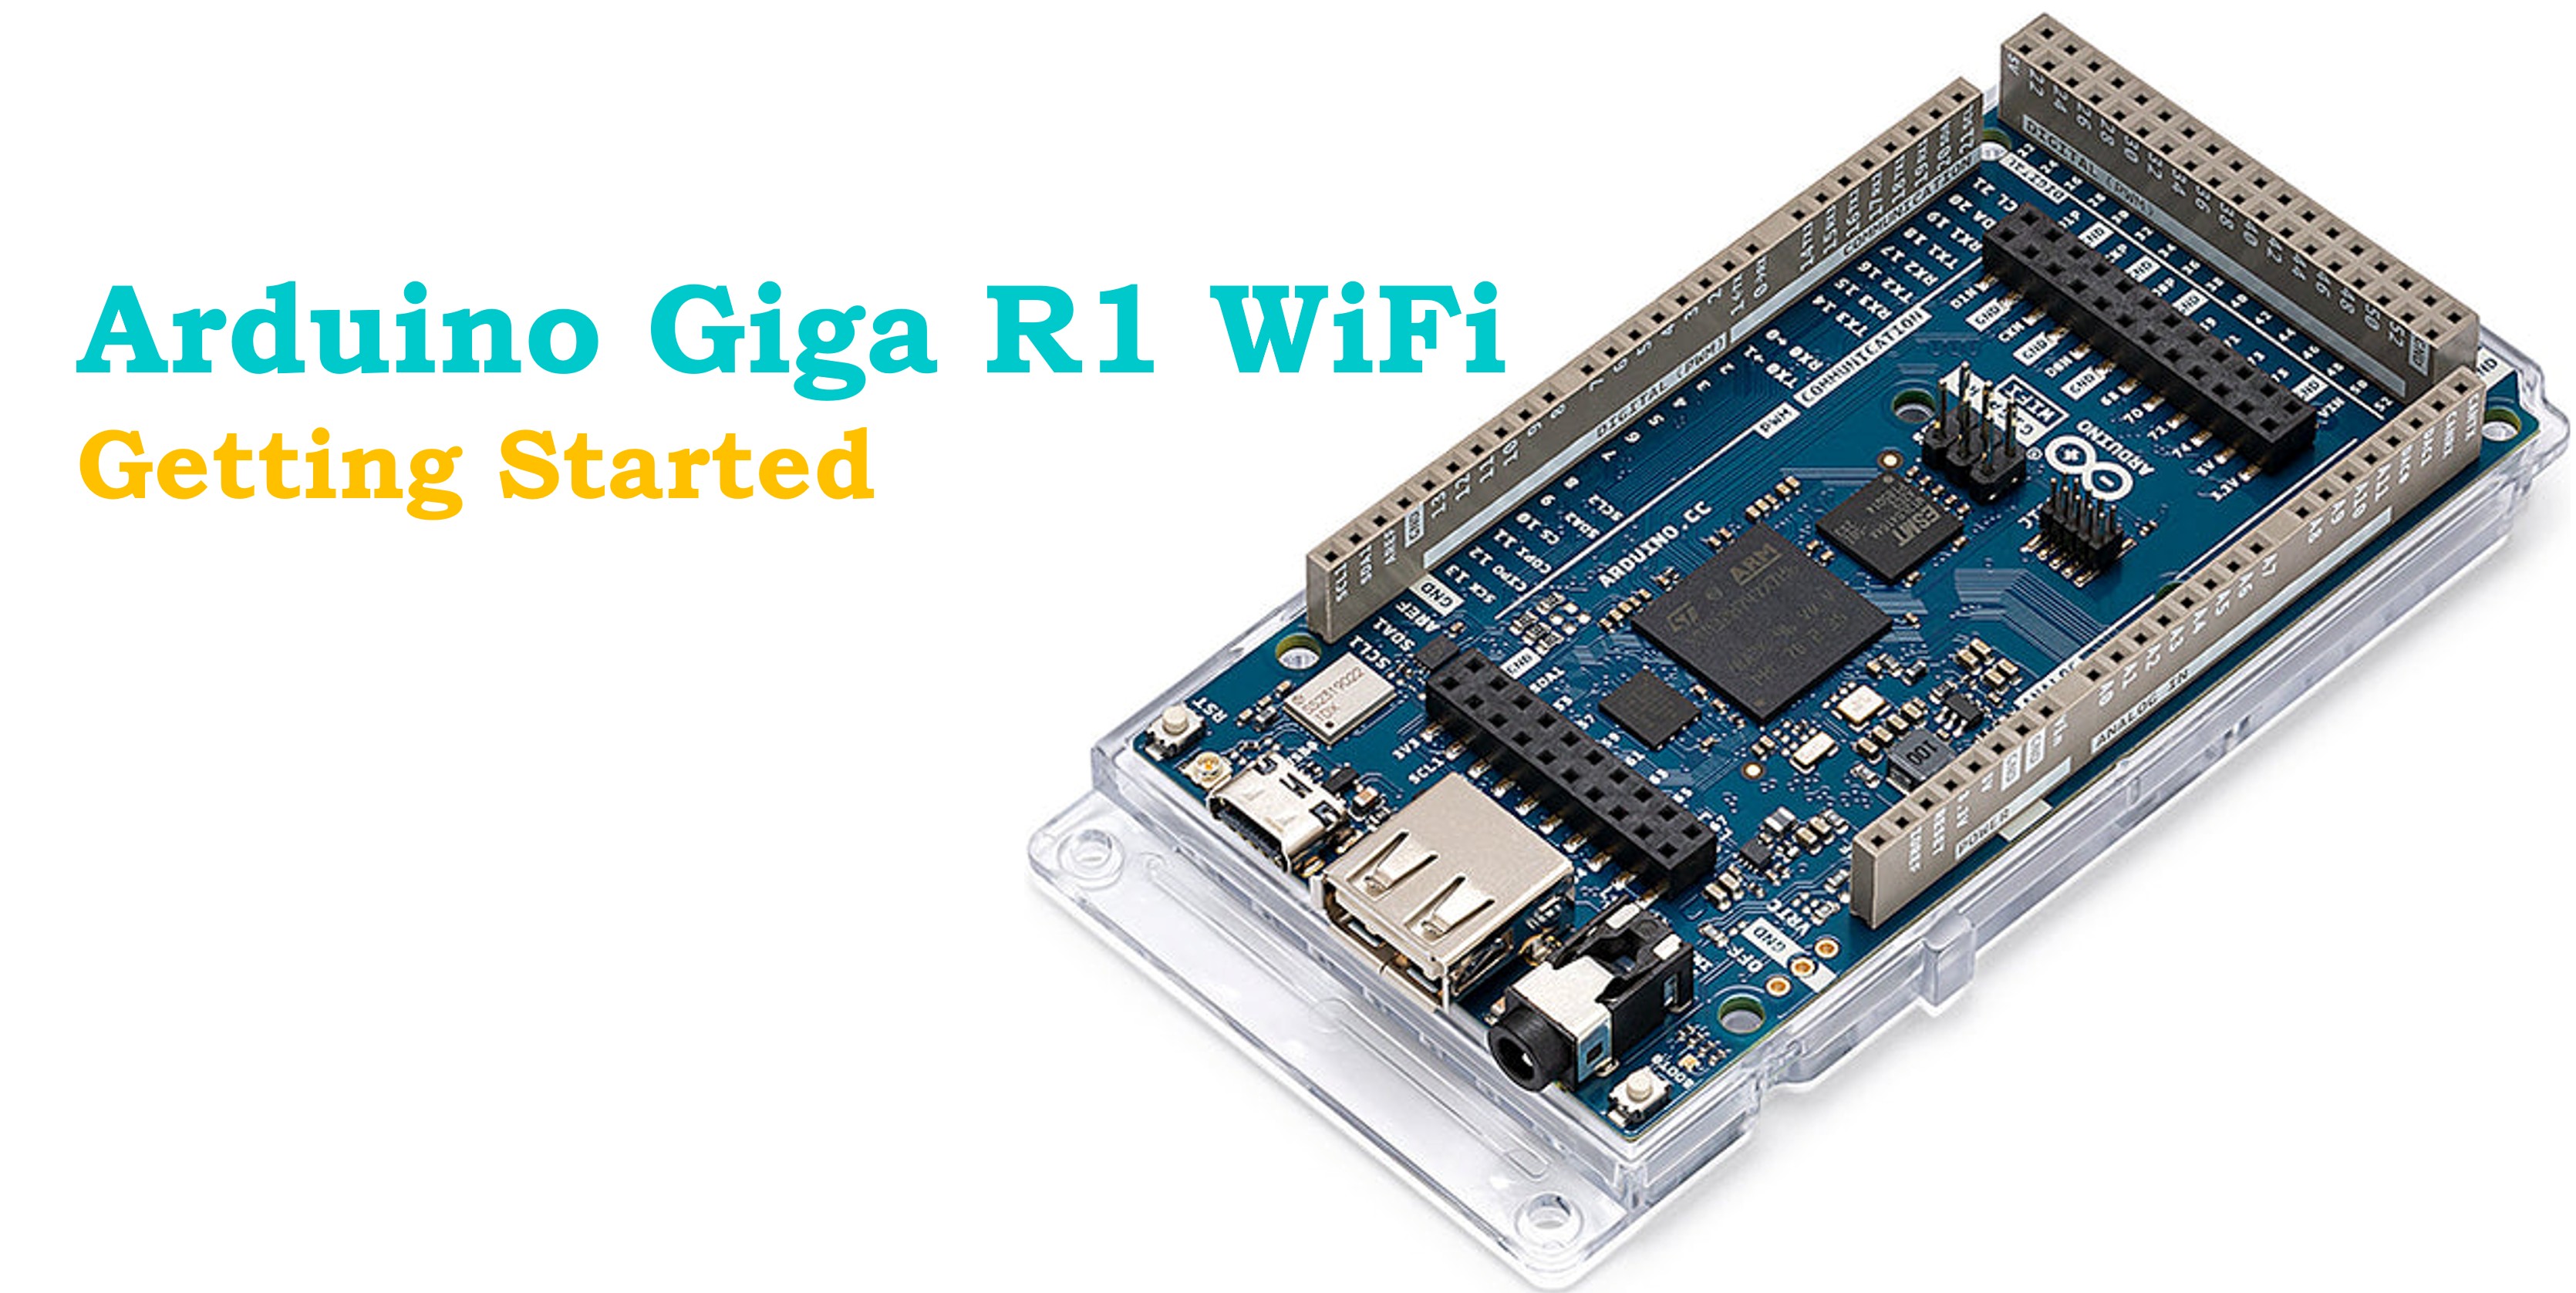
Arduino Giga R1 WiFi Getting Started
Welcome to the Arduino Giga R1 WiFi—a powerhouse development board built around the dual-core STM32H747XI microcontroller. With its ARM Cortex-M7 processor running at 480 MHz, integrated WiFi and Bluetooth connectivity, and an impressive array of I/O capabilities, the Giga R1 WiFi represents a significant leap forward in Arduino's professional-grade offerings.
This comprehensive guide walks you through the complete setup process, from initial board installation to creating your first networked application. Whether you're transitioning from smaller Arduino boards or starting fresh with embedded development, you'll find everything needed to harness the Giga R1 WiFi's capabilities.
What You'll Accomplish:
- Configure the Arduino IDE with the necessary board packages and drivers
- Upload and execute your first program with serial communication
- Build a functional WiFi-enabled web server
- Understand the core programming workflow for the Giga R1 WiFi platform
The Giga R1 WiFi opens doors to advanced applications that demand both processing power and connectivity—from real-time data acquisition systems to IoT edge computing nodes. Let's get your board up and running.
Hardware Preparation
Or you can buy the following kits:
| 1 | × | DIYables Sensor Kit (18 sensors/displays) |
Additionally, some of these links are for products from our own brand, DIYables .
Board Package Installation
Before you can program the Arduino Giga R1 WiFi, the Arduino IDE requires the appropriate board support package. This package contains the compiler toolchain, core libraries, and board definitions specific to the STM32H747XI microcontroller architecture.
Installation Steps:
- Launch the Arduino IDE (version 2.0 or newer recommended)
- Navigate to the Boards Manager icon in the left sidebar
- Type Arduino Giga into the search field at the top
- Locate Arduino Mbed OS Giga Boards in the results list
- Click the Install button next to the package
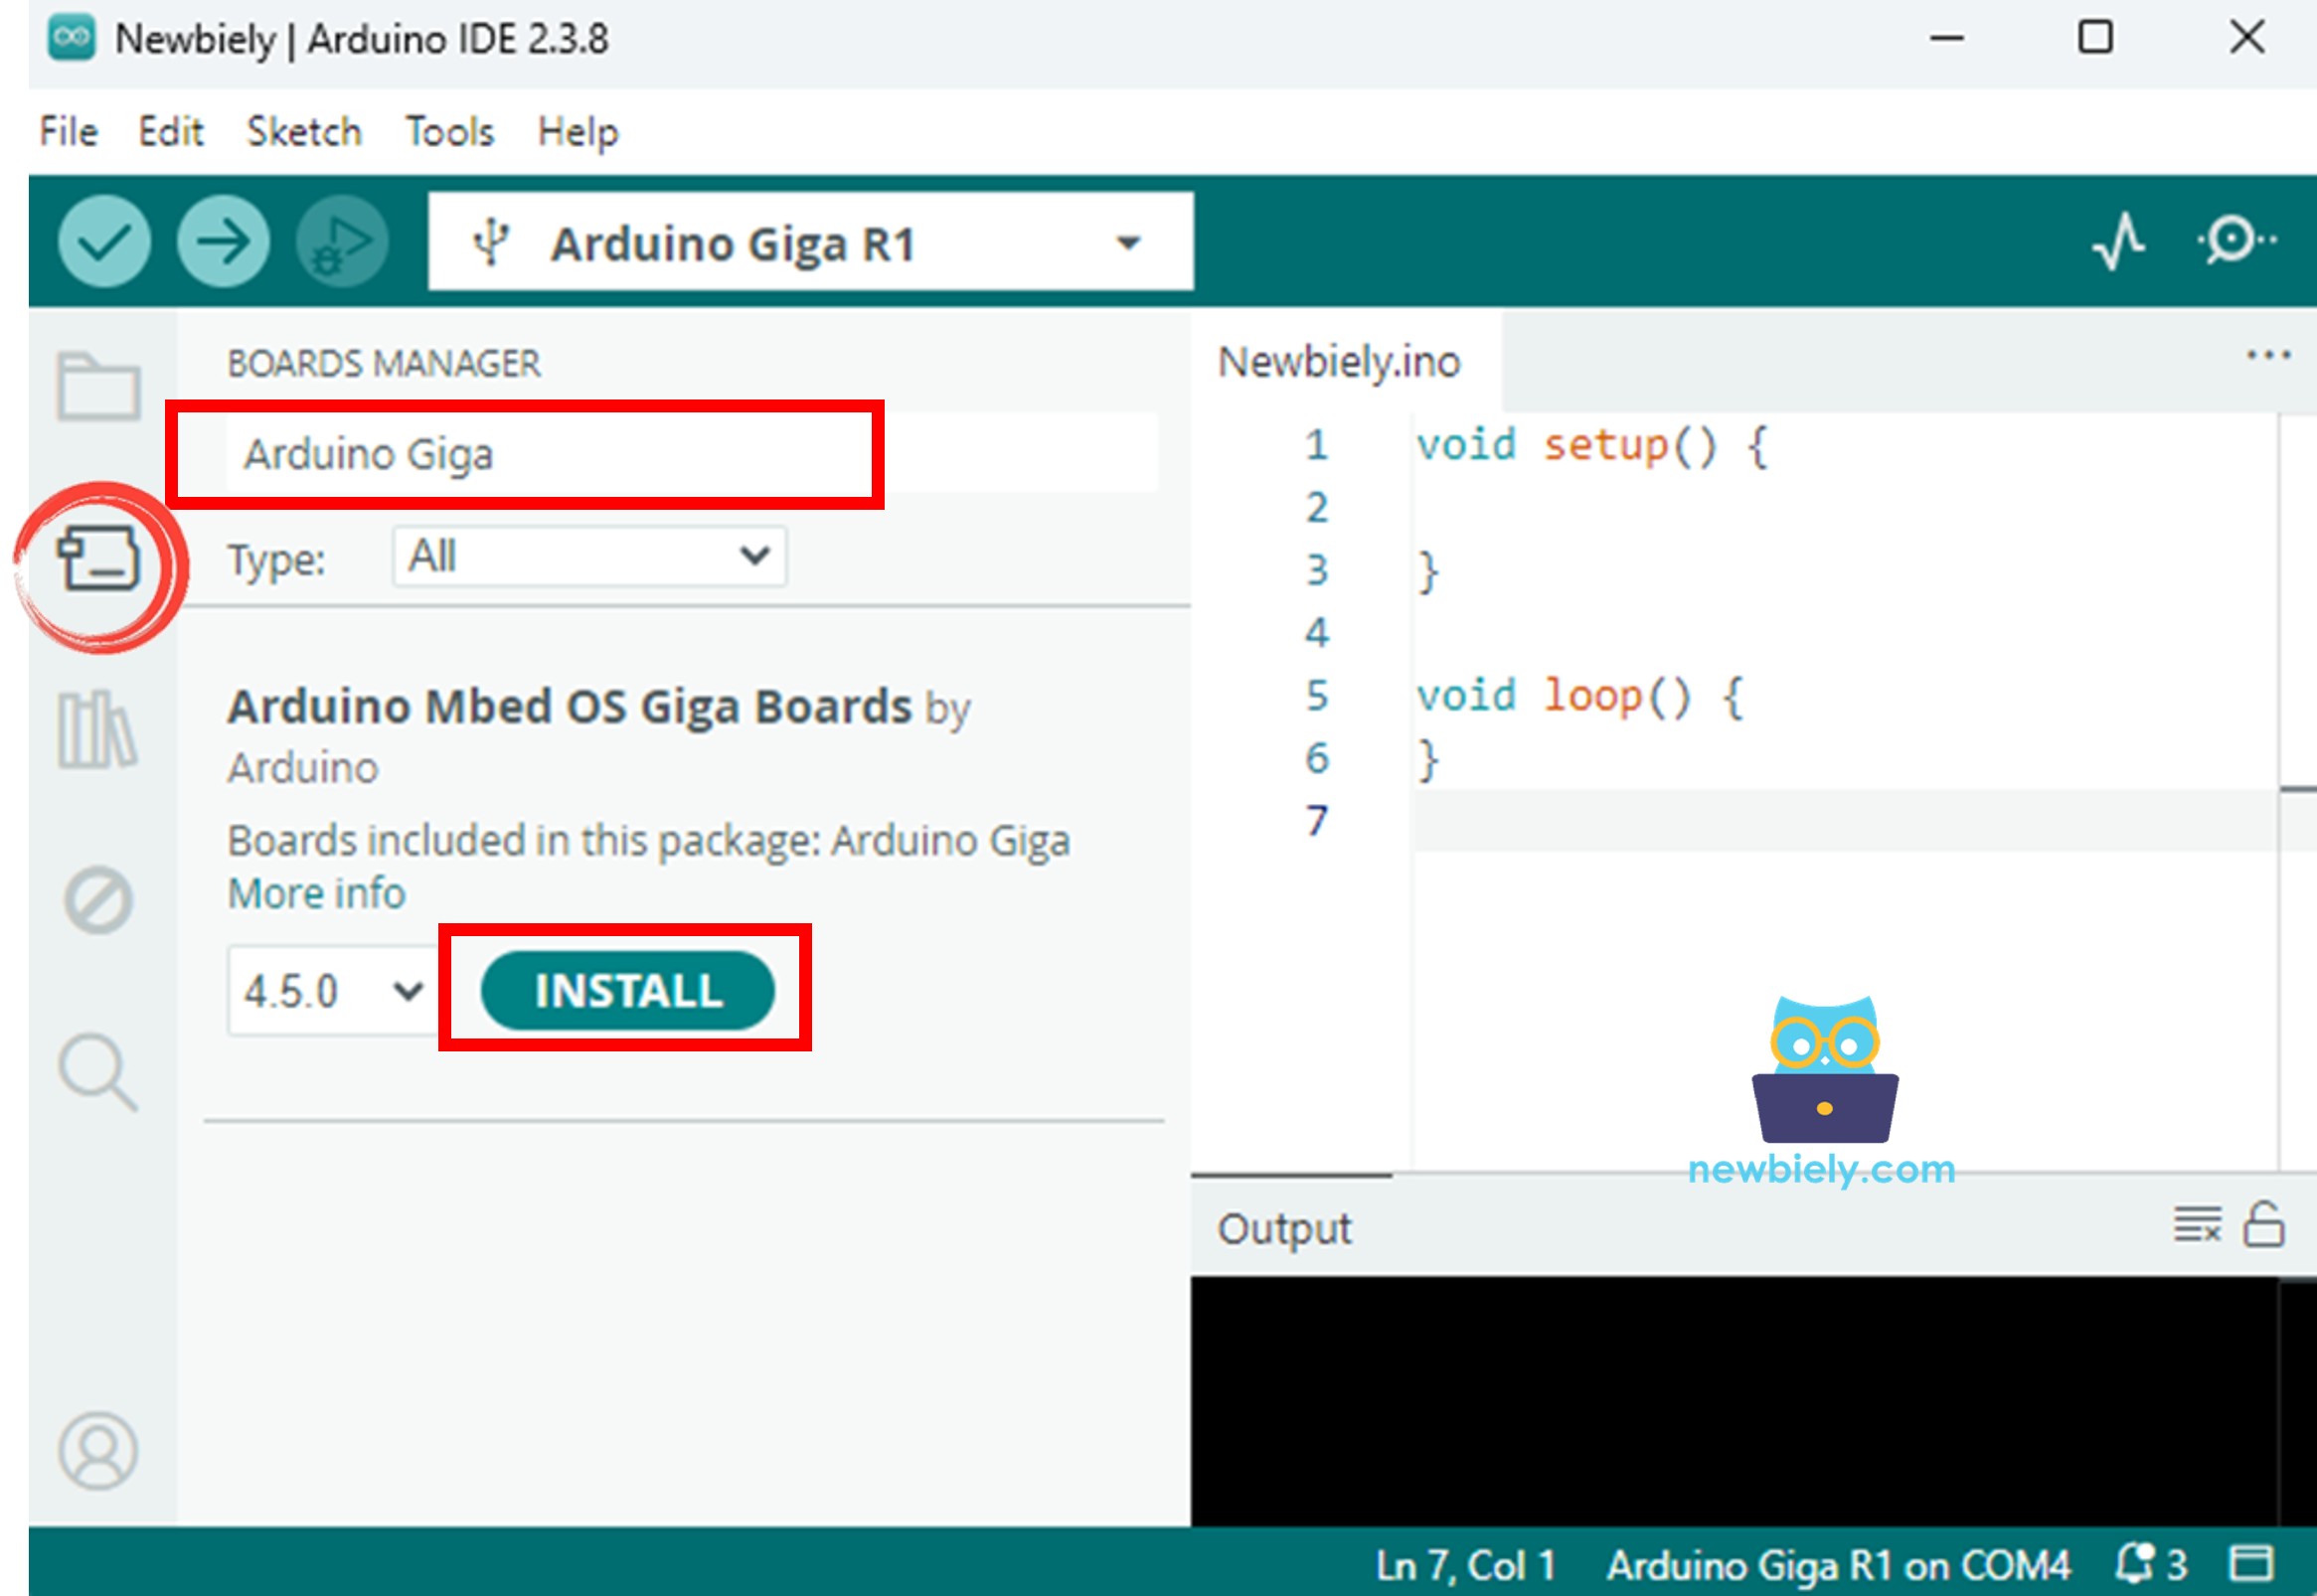
The download process may take several minutes depending on your internet connection, as the package includes the complete ARM GCC compiler toolchain and mbed OS libraries. The IDE will display installation progress with a status indicator.
Once installation completes, the Arduino Giga R1 WiFi will appear in the board selection menu, ready for use.
Your First Program: Serial Communication
Let's verify the complete toolchain installation by uploading a simple serial communication program. This foundational example demonstrates how to establish bidirectional communication between the Giga R1 WiFi and your computer—a critical debugging and monitoring capability for virtually all Arduino projects.
Upload Process:
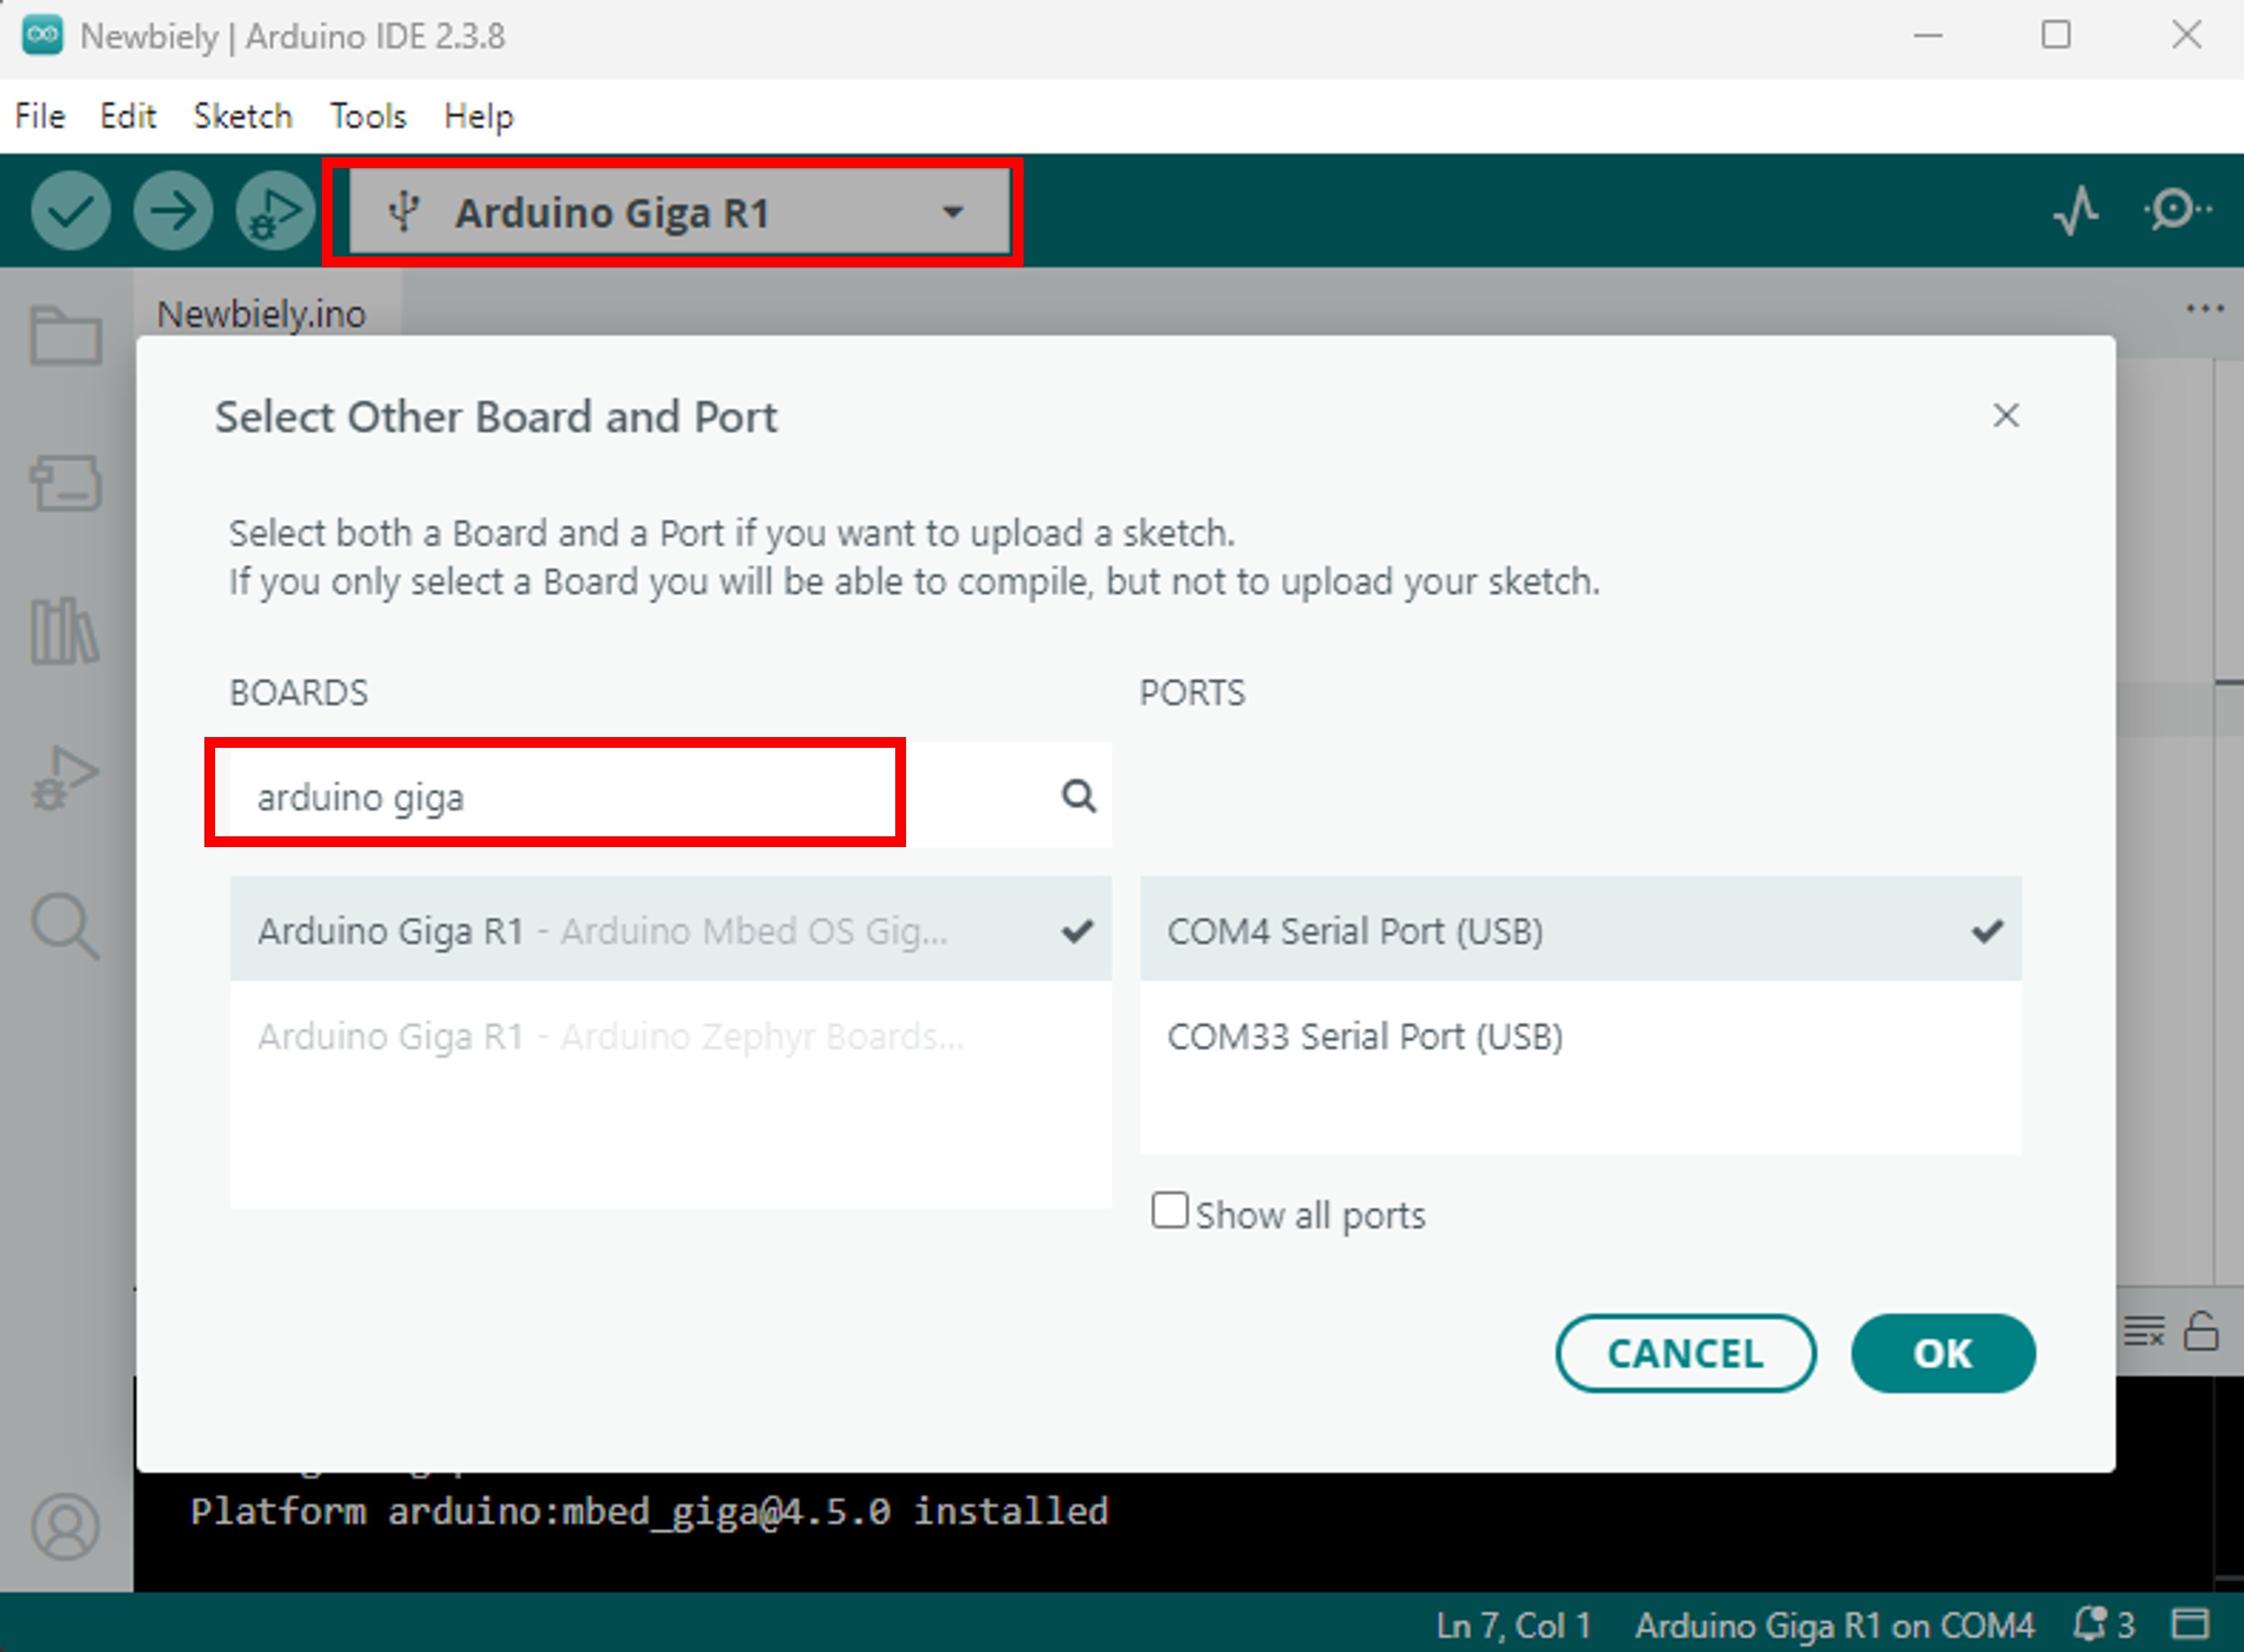
Step 1: Physical Connection
Connect the Arduino Giga R1 WiFi to your computer using a USB Type-C cable. The board draws power from the USB connection and enumerates as a virtual COM port for programming and serial communication.
Step 2: Board and COM Port Selection
In the Arduino IDE, select the appropriate COM port from the board selector dropdown menu. The port typically displays as "Arduino Giga R1 WiFi" followed by the COM port identifier (e.g., COM3 on Windows, /dev/ttyACM0 on Linux).
Step 3: Code Implementation
Copy the following code into a new Arduino IDE sketch:
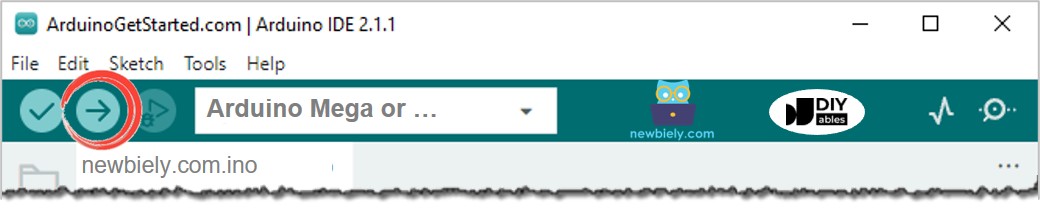
Step 4: Upload and Monitor
Click the Upload button (right arrow icon) in the Arduino IDE toolbar. The IDE compiles your code and transfers it to the Giga R1 WiFi's flash memory. During upload, the board's status LED blinks rapidly as data transfers.
Once upload completes, open the Serial Monitor by clicking its icon in the top-right corner of the IDE. Ensure the baud rate selector at the bottom matches 115200 baud.
Expected Output:
The increasing timestamp values confirm the Giga R1 WiFi's system clock is operational and the main program loop executes continuously. This simple test validates your development environment setup.
WiFi Web Server Implementation
Now let's leverage the Giga R1 WiFi's integrated wireless capabilities to create a functional web server. This example demonstrates network stack initialization, HTTP request handling, and dynamic HTML content generation—fundamental concepts for IoT and connected device development.
※ NOTE THAT:
Important: The Arduino Giga R1 WiFi requires WiFi firmware to be installed in a separate partition before WiFi functionality works. If you encounter a "Failed to mount the filesystem containing the WiFi firmware" error, refer to the Troubleshooting section below for firmware installation instructions.
Complete Web Server Code:
Deployment Instructions:
1. Code Preparation
Copy the complete web server code above into a new Arduino IDE sketch. Modify the network credentials in lines 4-5 to match your WiFi network:
2. Upload Process
Click the Upload button to compile and transfer the code to your Giga R1 WiFi. The compilation process may take longer than the previous example due to the WiFi library dependencies.
3. Monitor Connection Status
Open the Serial Monitor and set baud rate to 115200. You'll observe the connection sequence:
4. Access Web Interface
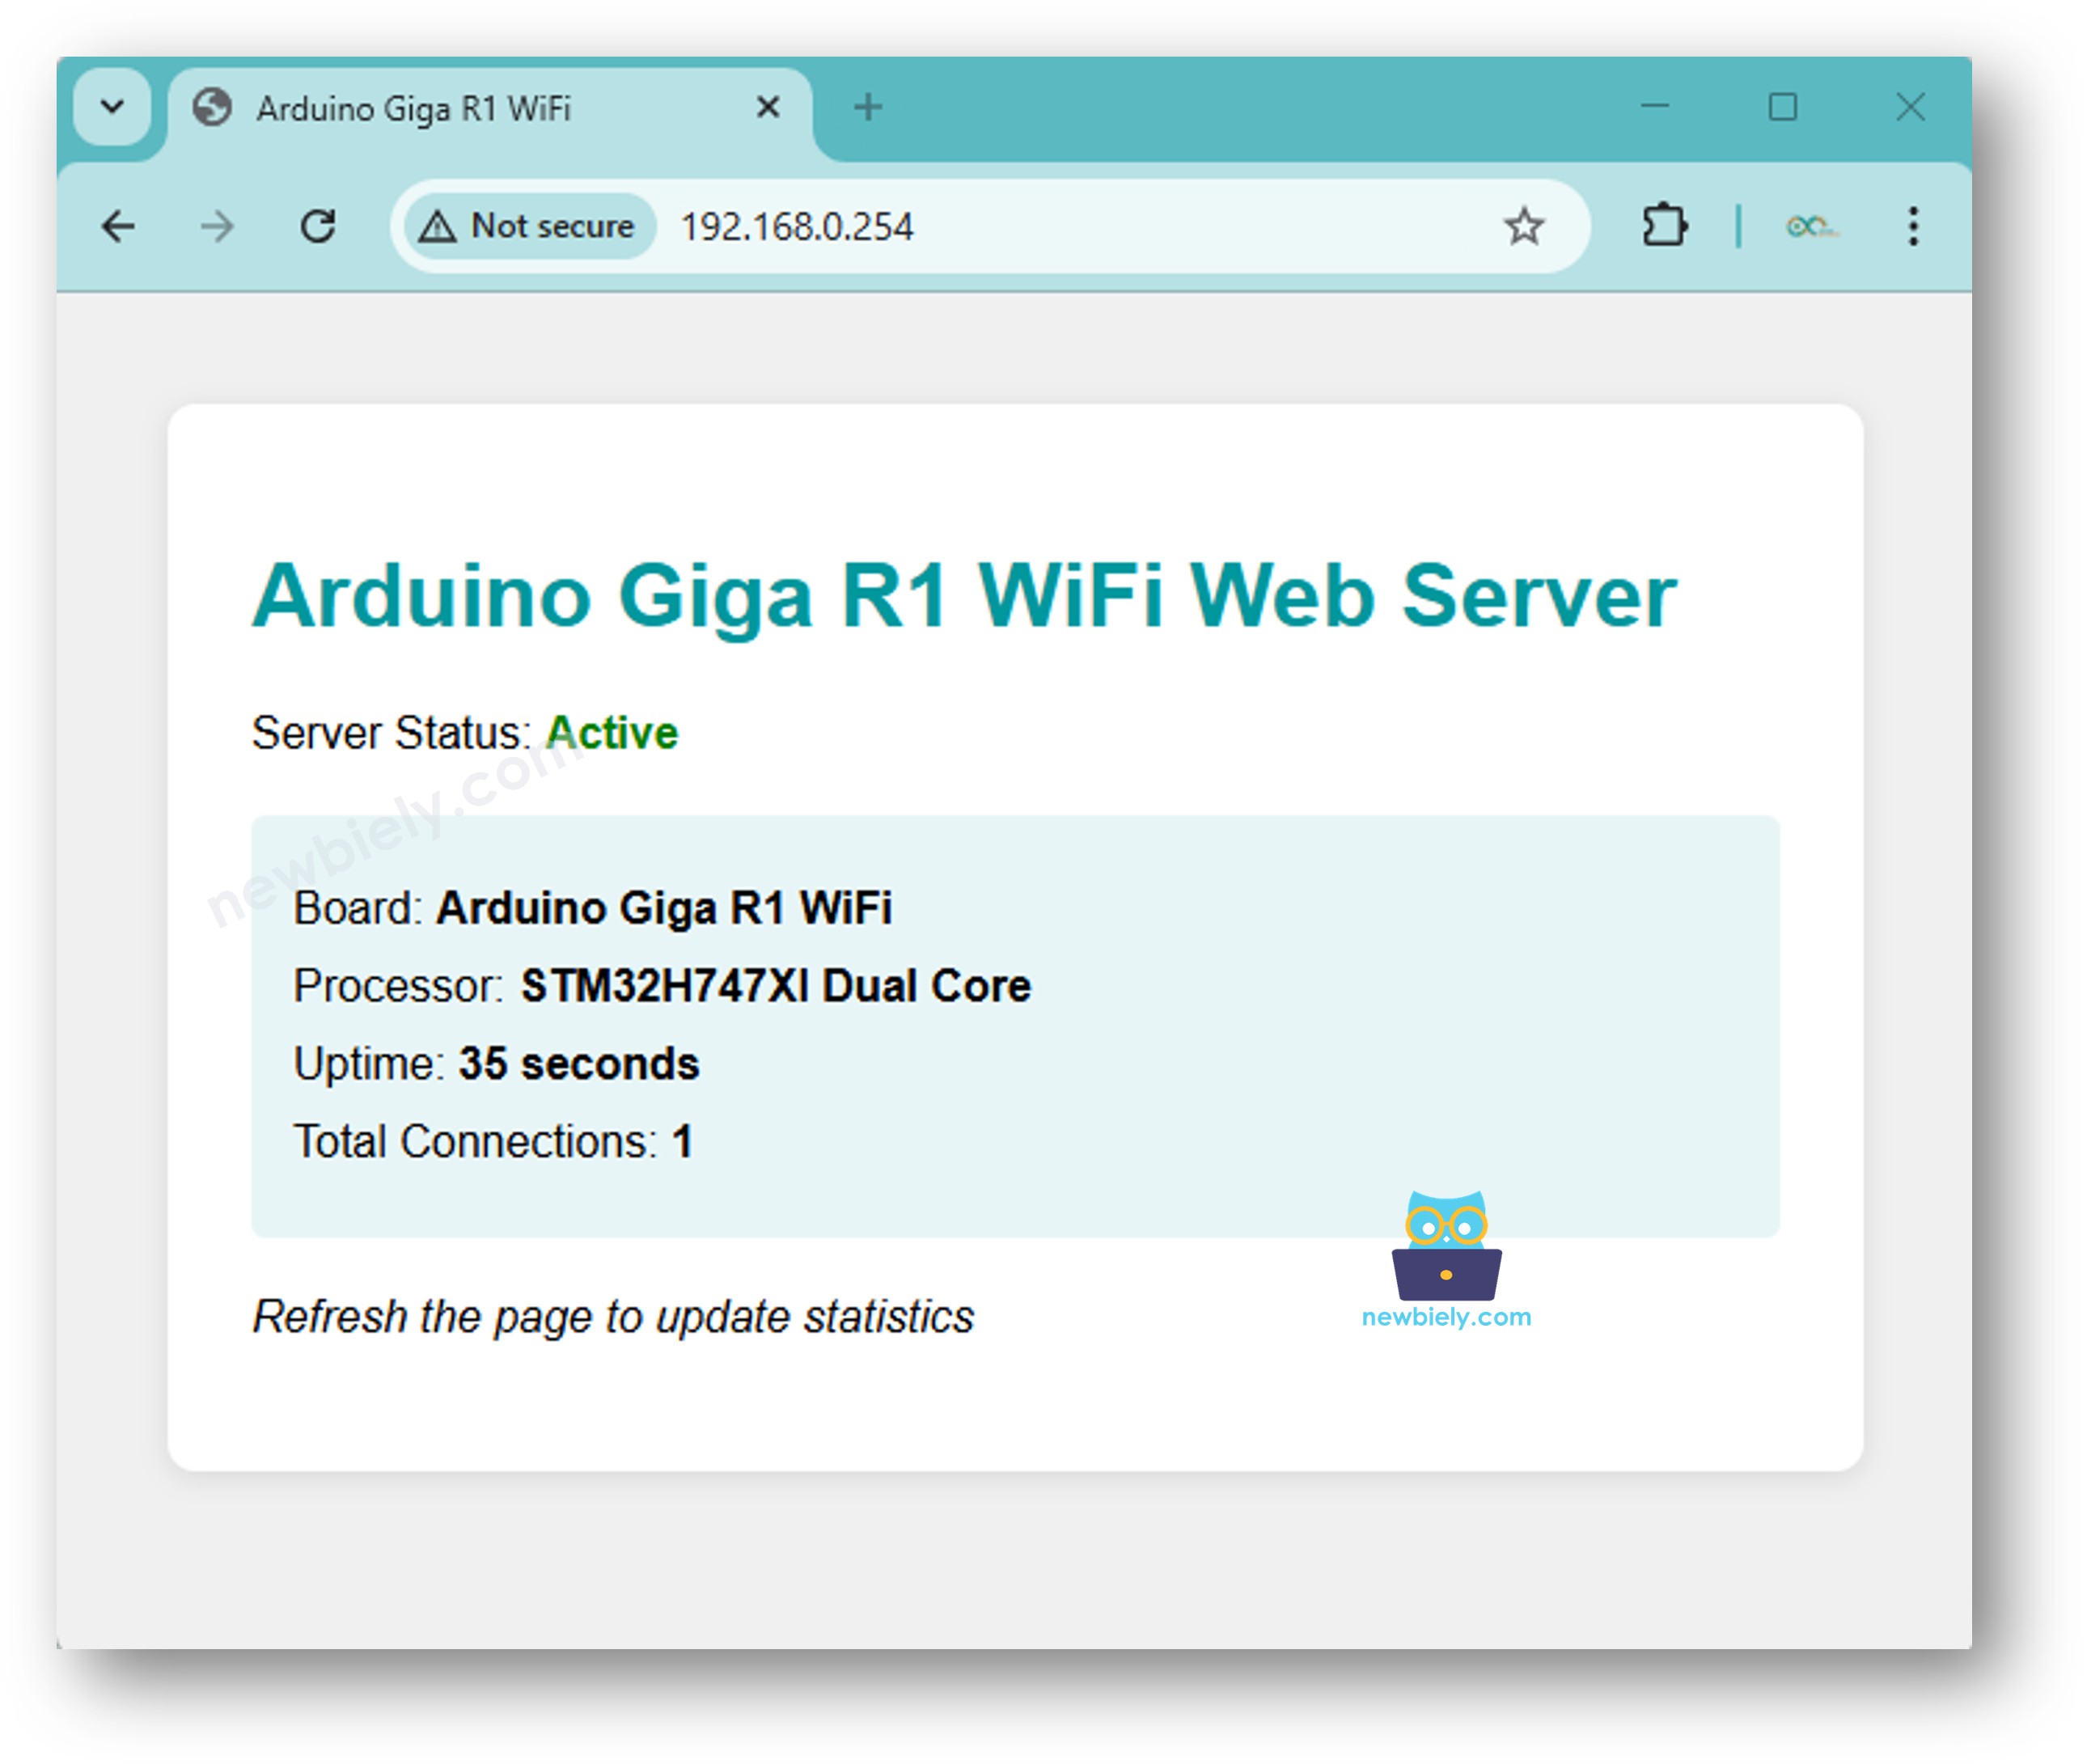
Note the IP address displayed in the Serial Monitor (e.g., 192.168.1.145). Open a web browser on any device connected to the same WiFi network and enter this IP address in the address bar.
The styled web interface displays real-time board statistics including uptime and connection count. Each page refresh increments the connection counter and updates the runtime.
5. Monitor Server Activity
The Serial Monitor logs each client connection with detailed request information:
What's Next?
You've successfully configured the Arduino Giga R1 WiFi development environment and deployed both serial communication and network-enabled applications. This foundation enables exploration of the board's advanced capabilities:
Hardware Interfaces:
- Leverage the 76 digital I/O pins for complex sensor arrays
- Implement high-speed ADC sampling with 12 analog inputs
- Control motors and actuators using PWM-enabled pins
- Utilize I2C, SPI, and UART interfaces for peripheral communication
Wireless Connectivity:
- Build MQTT clients for IoT data publishing
- Create REST API endpoints for mobile app integration
- Implement secure HTTPS servers with TLS encryption
- Develop Bluetooth Low Energy peripherals for device pairing
Processing Power Applications:
- Execute real-time signal processing with the 480 MHz M7 core
- Implement computer vision algorithms with camera module integration
- Deploy machine learning inference models using TensorFlow Lite
- Process audio streams with the integrated audio codec
Development Resources:
Explore the Arduino Giga R1 WiFi documentation and example library for detailed tutorials on specific peripherals and protocols. The official Arduino forums provide community support for troubleshooting and project guidance.
The combination of processing power, memory capacity, and connectivity makes the Giga R1 WiFi suitable for professional embedded systems development. Start experimenting with your specific application requirements and scale complexity as you master the platform's capabilities.
Troubleshooting Common Issues
WiFi Firmware Not Found Error:
If you see this error in the Serial Monitor:
The Arduino Giga R1 WiFi requires separate WiFi firmware to be installed on its dedicated WiFi partition. Follow these steps to install it:
Method 1: Using Arduino IDE Firmware Updater (Recommended)
- In Arduino IDE, go to Tools → WiFi Firmware Updater
- Select your Arduino Giga R1 WiFi board and COM port
- Click Update Firmware button
- Wait for the firmware installation to complete (may take 2-3 minutes)
- Reset your board and try the WiFi example again
Method 2: Manual Firmware Installation
- Download the WiFi firmware updater sketch from Arduino's GitHub repository:
- Navigate to: Arduino Giga WiFi Firmware Examples
- Or use Arduino IDE: File → Examples → STM32H747_System → WiFiFirmwareUpdater
- Upload the WiFiFirmwareUpdater sketch to your Giga R1 WiFi
- Open Serial Monitor at 115200 baud and follow the on-screen instructions
- Once firmware installation completes successfully, upload your web server sketch again
Verifying Firmware Installation:
After installing the firmware, create a simple test sketch to verify WiFi is working:
If the firmware version displays (e.g., "1.0.0" or similar), the WiFi module is working correctly.
Board Not Detected:
- Verify USB cable supports data transfer (some cables are charge-only)
- Install CP210x USB-to-UART bridge drivers if COM port doesn't appear
- Try a different USB port or cable
- Check Device Manager (Windows) or system logs for enumeration errors
Upload Failures:
- Ensure correct board and port selection in Arduino IDE
- Close other applications that may access the COM port
- Press the reset button twice rapidly to enter bootloader mode manually
- Verify adequate USB power supply (some hubs provide insufficient current)
WiFi Connection Issues:
- First, ensure WiFi firmware is properly installed (see WiFi Firmware error above)
- Confirm network credentials are correct (SSID and password are case-sensitive)
- Verify the network uses WPA2 encryption (WEP and enterprise networks may require additional configuration)
- Check 2.4 GHz WiFi availability (board doesn't support 5 GHz networks)
- Ensure router doesn't employ MAC address filtering
- Try moving closer to the access point to rule out signal strength issues
- Increase the connection timeout attempts in code if needed (change attempts < 30 to higher value)
Serial Monitor Shows Garbled Text:
- Verify baud rate matches code configuration (115200 in examples above)
- Select proper line ending settings (Newline or Both NL & CR)
- Ensure no other application is accessing the serial port simultaneously
For persistent issues, consult the official Arduino Giga R1 WiFi hardware documentation or seek assistance in the Arduino community forums with specific error messages and console output.