ESP32 C3 Super Mini - Button - Debounce
Learn how to eliminate button chattering on your ESP32 C3 Super Mini with proper debounce techniques. This tutorial shows you simple methods to handle button presses accurately.
In this tutorial, you'll learn:
- What button debounce is and why it matters
- How to debounce a button on ESP32 C3 Super Mini using code
- How to use the ezButton library for easier debouncing
- How to debounce multiple buttons at once
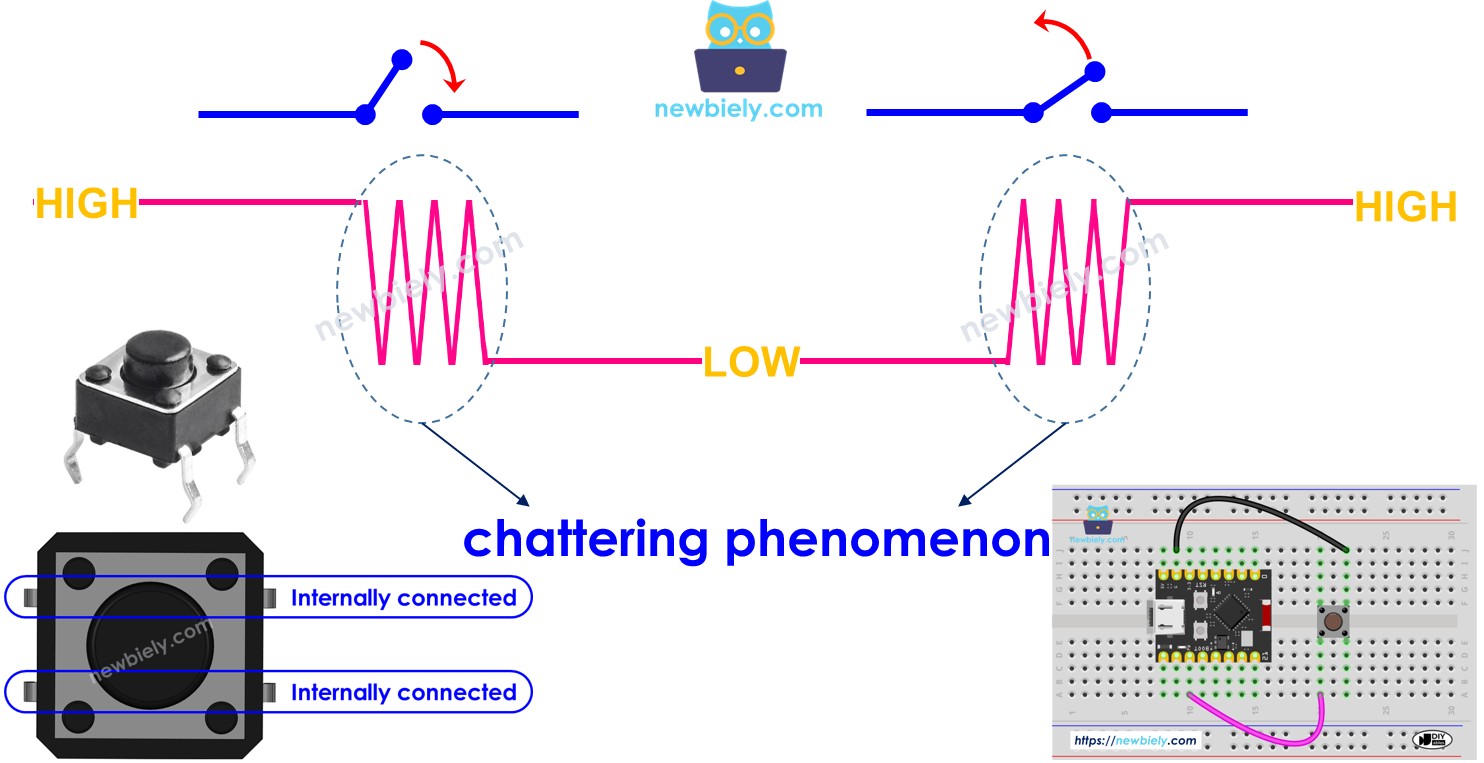
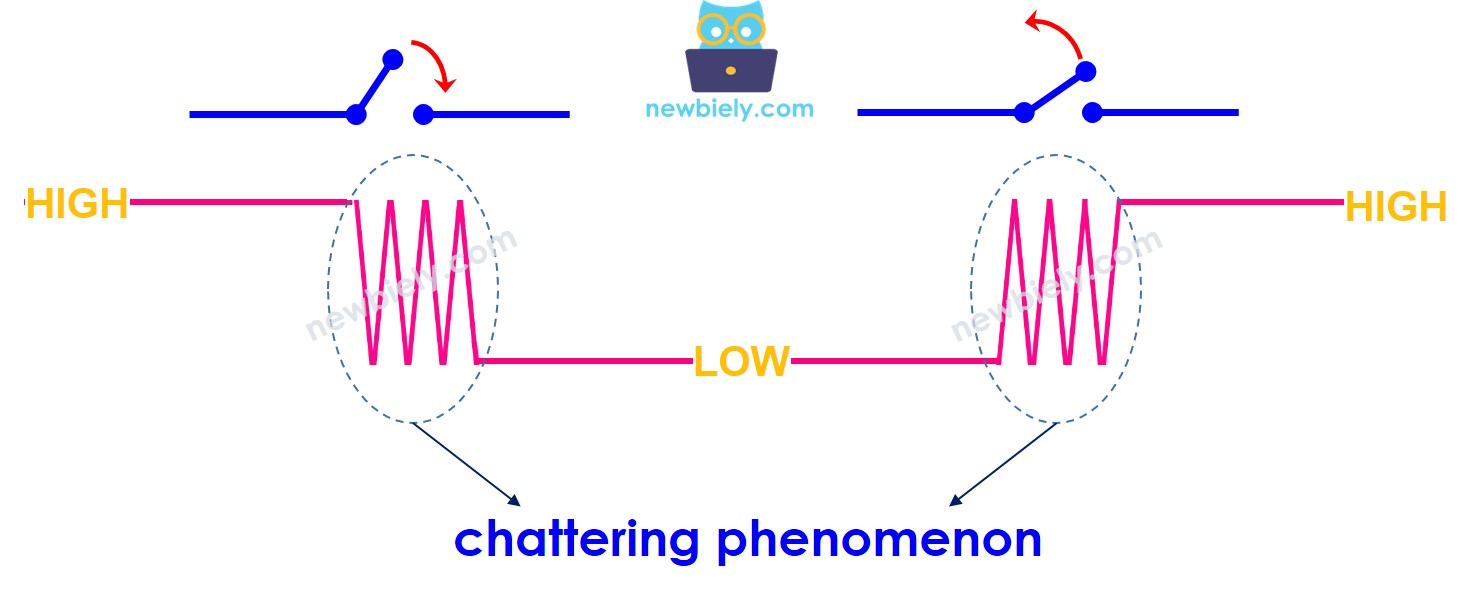
When you press a button, does its state change from LOW to HIGH (or HIGH to LOW) just once? Not quite! In the real world, a single button press causes the state to toggle between LOW and HIGH multiple times very quickly. This is a physical characteristic of mechanical buttons called chattering. The chattering phenomenon makes your ESP32 C3 Super Mini read multiple button presses when you only pressed it once, causing errors in your projects. The solution to eliminate this issue is called button debounce.
This tutorial covers:
- Debouncing a single button with built-in ESP32 code
- Using the ezButton library for simple debounce implementation
- Handling multiple buttons with debounce on ESP32 C3 Super Mini
- Comparing results with and without debounce
Hardware Preparation
Or you can buy the following kits:
| 1 | × | DIYables Sensor Kit (18 sensors/displays) |
Additionally, some of these links are for products from our own brand, DIYables .
Wiring Diagram
The wiring diagram below shows how to connect a button to your ESP32 C3 Super Mini.

This image is created using Fritzing. Click to enlarge image
| Button Pin | ESP32 C3 Super Mini Pin |
|---|---|
| One pin | GPIO7 |
| Other pin | GND |
To see the difference clearly, we'll run ESP32 C3 Super Mini code WITHOUT debounce first, then WITH debounce, and compare the results.
Reading Button without Debounce
Detailed Instructions
- New to Arduino? Start with our ESP32 C3 Super Mini Getting Started guide first.
- Wire the components: Follow the wiring diagram shown above to connect the button to pin GPIO7.
- Connect the board: Plug your ESP32 C3 Super Mini into your computer using a USB Type-C cable.
- Open Arduino IDE: Launch the Arduino IDE on your computer.
- Select your board: Choose "ESP32 C3 Super Mini" and the correct COM port from the Tools menu.
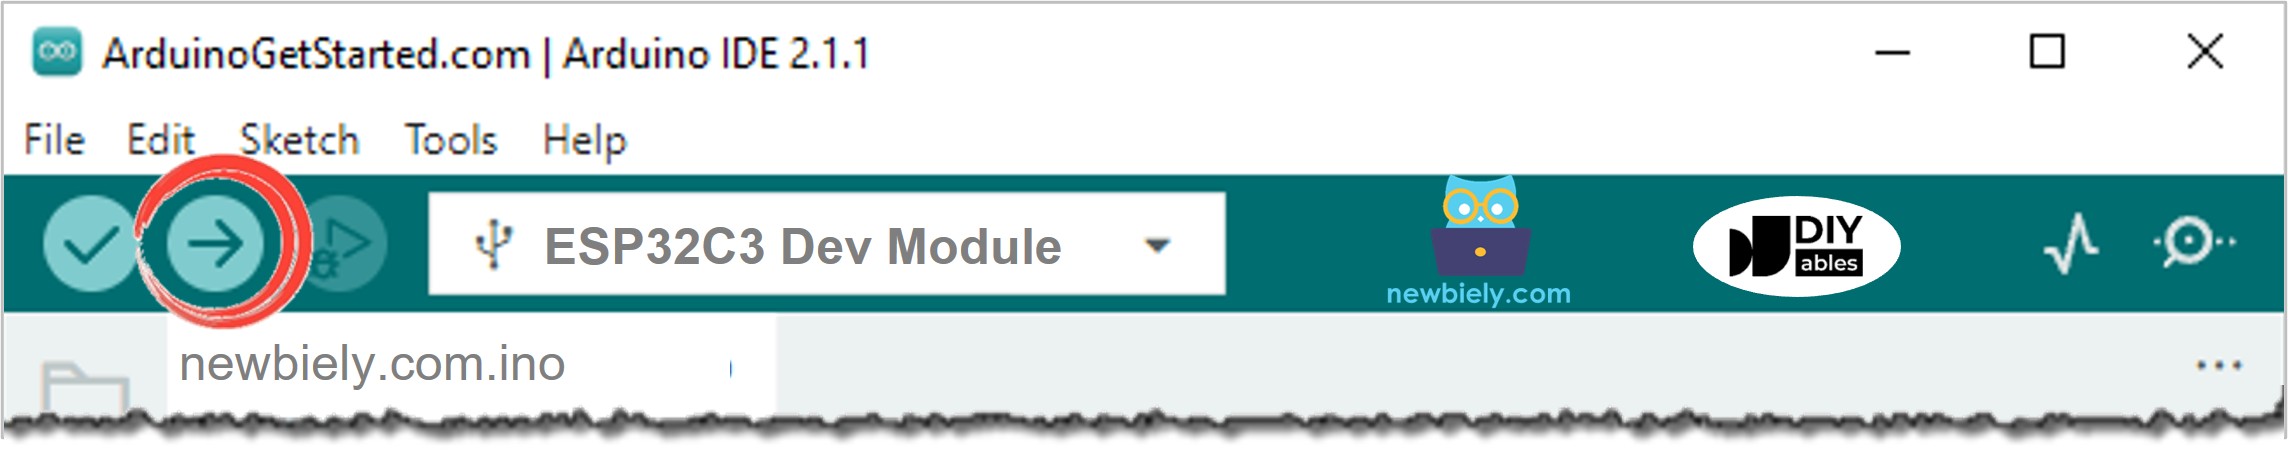
- Upload the code: Copy the code below and upload it to your ESP32 C3 Super Mini board.
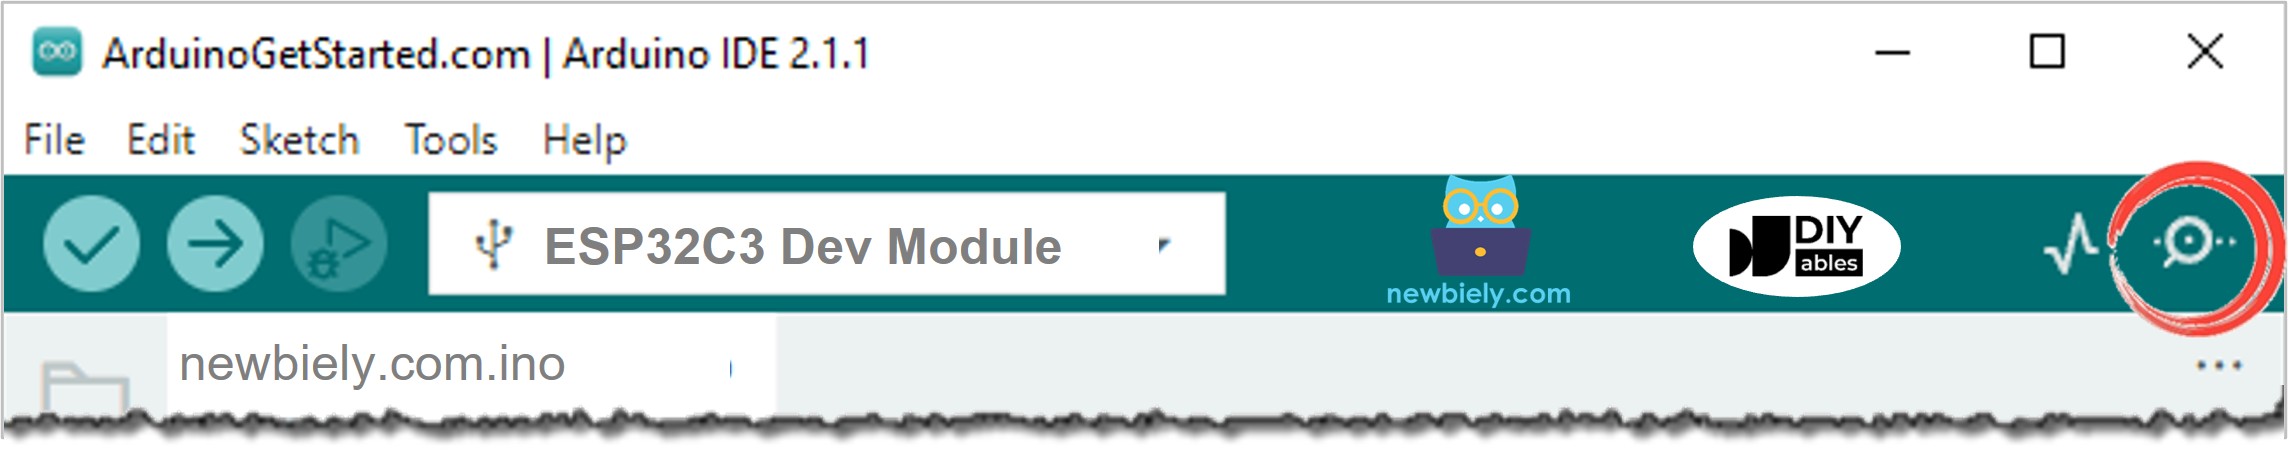
- Open Serial Monitor: Click the Serial Monitor icon to view the output.
- Test the button: Press the button once and hold it for several seconds, then release it.
- Observe the results: Watch the Serial Monitor output showing multiple press/release events.
- Pro Tip: If you don't see chattering immediately, try pressing the button several times - it's a random phenomenon that appears intermittently.
Serial Monitor Output:
⇒ As you can see, you pressed the button only once and released it once, but the ESP32 C3 Super Mini detected multiple presses and releases due to chattering.
※ NOTE THAT:
The chattering phenomenon does not happen all the time. If it does not happen, please try the above test several times to observe it.
We Made It Simple - ESP32 C3 Super Mini Button Debounce Code with Library
We created the ezButton library to make button debouncing much easier, especially when working with multiple buttons on your ESP32 C3 Super Mini.
Benefits of using ezButton library:
- Simple one-line setup for button debounce
- Clean, readable code
- Easy to manage multiple buttons
- Built-in functions for press and release detection
- No complex timing code needed
Learn more: ezButton library documentation
ESP32 C3 Super Mini Button Debounce Code for A Single Button
This example shows how to debounce a single button using the ezButton library on ESP32 C3 Super Mini.
ESP32 C3 Super Mini Button Debounce Code for Multiple Buttons
This example demonstrates how to debounce three buttons simultaneously on your ESP32 C3 Super Mini using the ezButton library.
The wiring diagram
Connect three buttons to your ESP32 C3 Super Mini as shown below.
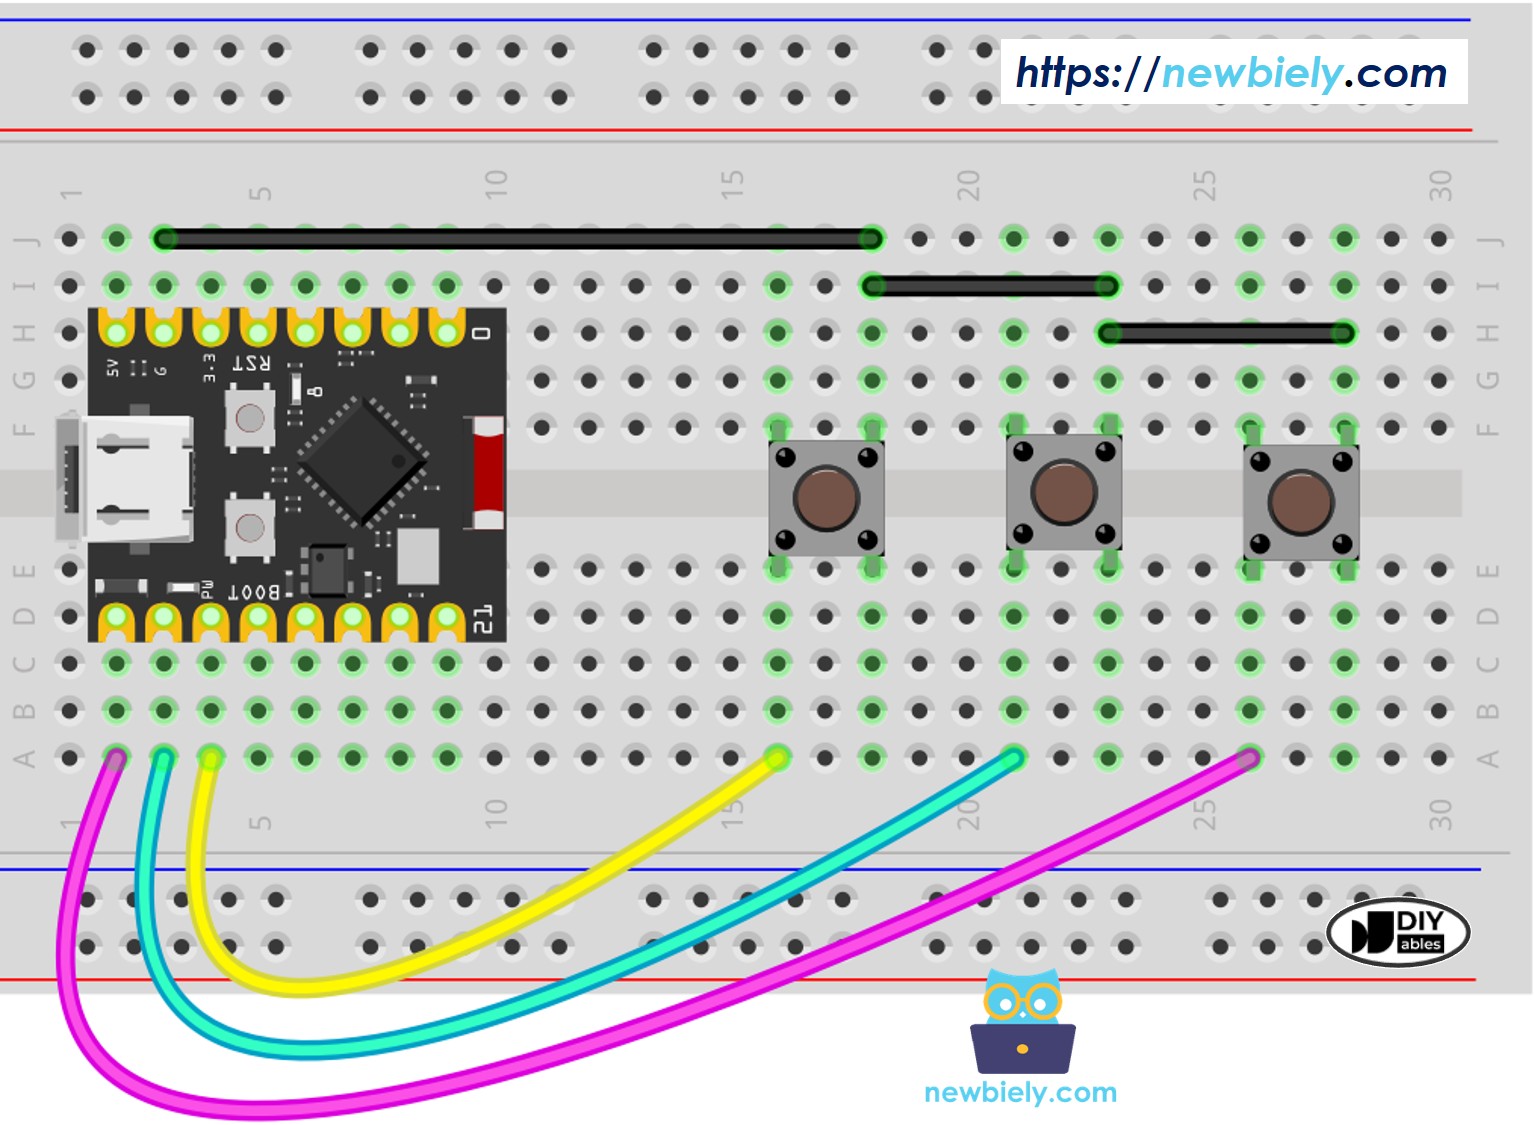
This image is created using Fritzing. Click to enlarge image
| Button | ESP32 C3 Super Mini Pin |
|---|---|
| Button 1 | D5 and GND |
| Button 2 | D6 and GND |
| Button 3 | D7 and GND |
Serial Monitor Output:
Application Ideas
Here are some practical projects where button debounce is essential for your ESP32 C3 Super Mini:
- Door lock systems with keypad entry
- Game controllers with responsive button input
- Remote control devices for home automation
- Menu navigation systems with multiple buttons
- Counter circuits that need accurate press detection
- Security alarm keypads with reliable input
Challenge Yourself
Try these challenges to improve your ESP32 C3 Super Mini button debounce skills:
- Easy: Change the debounce time to different values and observe how it affects button response
- Medium: Add an LED that toggles on/off with each button press using debounced input
- Medium: Create a counter that increments only once per button press, displaying the count on Serial Monitor
- Advanced: Build a 4-button menu system with debounce where each button performs a different action
- Advanced: Implement long-press detection that triggers different actions for short vs. long button presses
Additional Knowledge
Important debounce tips for ESP32 C3 Super Mini:
- The DEBOUNCE_TIME value depends on your specific button hardware
- Different buttons may require different debounce times (typically 20-100ms)
- Start with 50ms and adjust if you still see chattering
- Debounce techniques also work for switches, limit switches, reed switches, and touch sensors
- Hardware debounce (using capacitors) can complement software debounce for critical applications