ESP32 C3 Super Mini - Code Structure
Understanding ESP32 C3 Super Mini code structure is the foundation for programming this powerful microcontroller board. This tutorial breaks down the essential structure of ESP32 C3 Super Mini sketches, showing you how setup and loop functions work together to create functional programs.
What you'll learn in this tutorial:
- How ESP32 C3 Super Mini code structure works
- The difference between setup() and loop() functions
- How to write basic ESP32 C3 Super Mini sketches
- Additional code elements like libraries and constants
- How to verify your code is running correctly
Hardware Preparation
| 1 | × | ESP32 C3 Super Mini | |
| 1 | × | USB Cable Type-A to Type-C (for USB-A PC) | |
| 1 | × | USB Cable Type-C to Type-C (for USB-C PC) | |
| 1 | × | Optionally, DC Power Jack | |
| 1 | × | Breadboard | |
| 1 | × | Jumper Wires |
Or you can buy the following kits:
| 1 | × | DIYables Sensor Kit (18 sensors/displays) |
Additionally, some of these links are for products from our own brand, DIYables .
Basic Code Structure
ESP32 C3 Super Mini code (also called ESP32 C3 Super Mini sketch) has the same structure as Arduino Code and includes two main parts: setup code and loop code.
Setup Code
- Setup code is code in setup() function
- Setup code is executed right after power-up or reset
- Setup code is executed only one time
- Setup code is used to initialize variables, pin modes, start using libraries, and configure hardware settings
- Think of setup as your one-time preparation phase
Loop Code
- Loop code is code in loop() function
- Loop code is executed right after setup code
- Loop code is executed repeatedly (infinitely)
- Loop code is used to do the main task of your application
- This is where your ESP32 C3 Super Mini continuously reads sensors, controls outputs, and performs tasks
Example
This simple example demonstrates the basic ESP32 C3 Super Mini code structure:
Detailed Instructions
- New to ESP32 C3 Mini? Complete our Getting Started with ESP32 C3 Mini tutorial first to set up your development environment.
- First-Time Setup: If this is the first time you use ESP32 C3 Super Mini, see how to setup environment for ESP32 C3 Super Mini on Arduino IDE
- Copy Code: Copy the above code and paste it to Arduino IDE
- Upload Code: Compile and upload code to ESP32 C3 Super Mini board by clicking Upload button on Arduino IDE
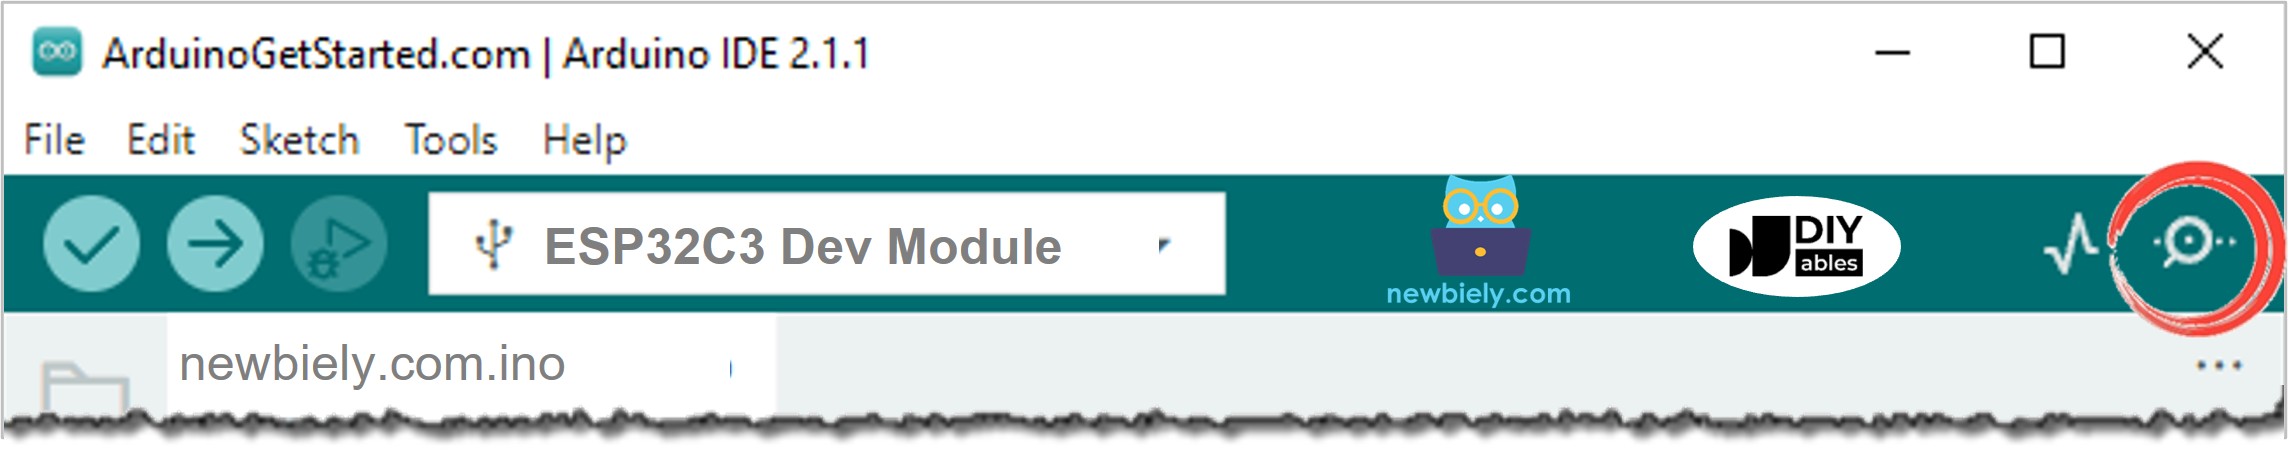
- Open Serial Monitor: Click the Serial Monitor icon on Arduino IDE
- View Output: See the results on Serial Monitor
- Pro Tip: Make sure your baud rate is set to 115200 to match the code
As you can see on Serial Monitor, "This is ESP32 C3 Super Mini the setup code" is printed once, but "This is ESP32 C3 Super Mini loop code" is printed many times. It means the ESP32 C3 Super Mini setup code is executed once, the ESP32 C3 Super Mini loop code is executed repeatedly. The setup code is executed first.
※ NOTE THAT:
setup() and loop() functions MUST be used in ESP32 C3 Super Mini code. If not, it generates an error.
Other Parts
Apart from setup and loop code, an ESP32 C3 Super Mini sketch can include some of the following parts:
- Block comment: Usually used to write information about the author, wiring instructions, license, or project description - ESP32 C3 Super Mini will ignore this part
- Libraries inclusion: Used to include external libraries into your sketch for added functionality
- Constant definition: Used to define constant values that won't change during program execution
- Global variables declaration: Variables that can be accessed from both setup() and loop() functions
For example:
Detailed Instructions
- New to ESP32 C3 Mini? Complete our Getting Started with ESP32 C3 Mini tutorial first to set up your development environment.
- First-Time Setup: If this is the first time you use ESP32 C3 Super Mini, see how to setup environment for ESP32 C3 Super Mini on Arduino IDE
- Copy Code: Copy the above code and paste it to Arduino IDE
- Upload Code: Compile and upload code to ESP32 C3 Super Mini board by clicking Upload button on Arduino IDE
- Open Serial Monitor: Click the Serial Monitor icon on Arduino IDE
- View Output: See the results on Serial Monitor showing incremental counts
- Pro Tip: Watch how the count increases each second - this demonstrates how loop() executes repeatedly
We do NOT need to understand code line by line now. We just need to know about code structure. The line-by-line code will be explained in the next tutorials.
Understanding Code Execution Flow
Here's how your ESP32 C3 Super Mini program executes:
- Power On: ESP32 C3 Super Mini board receives power
- Run setup(): All code inside setup() runs once
- Enter loop(): Program jumps to loop() function
- Repeat Forever: Loop code executes continuously until power off or reset
- Variables Persist: Global variables maintain their values between loop iterations
Application Ideas
Understanding ESP32 C3 Super Mini code structure opens the door to countless projects:
- Build a temperature monitoring system that reads sensors in loop() and initializes Serial in setup()
- Create a blinking LED pattern using delay() in loop() with pin configuration in setup()
- Develop a motion detector that continuously checks sensor status in loop()
- Design a data logger that initializes SD card in setup() and saves readings in loop()
- Build a home automation controller with WiFi setup in setup() and control logic in loop()
- Create a robot that configures motors in setup() and handles movement in loop()
Challenge Yourself
Try these challenges to master ESP32 C3 Super Mini programming structure:
- Easy: Modify the delay value in the basic example to make messages print faster or slower
- Easy: Add another Serial.println() message in loop() to display additional text
- Medium: Create a counter that counts from 1 to 10, then resets back to 1 using a global variable
- Medium: Add a condition in loop() that prints different messages based on even or odd counts
- Advanced: Combine multiple Serial messages with different delays to create a timed sequence
- Advanced: Build a program that uses millis() instead of delay() for non-blocking timing