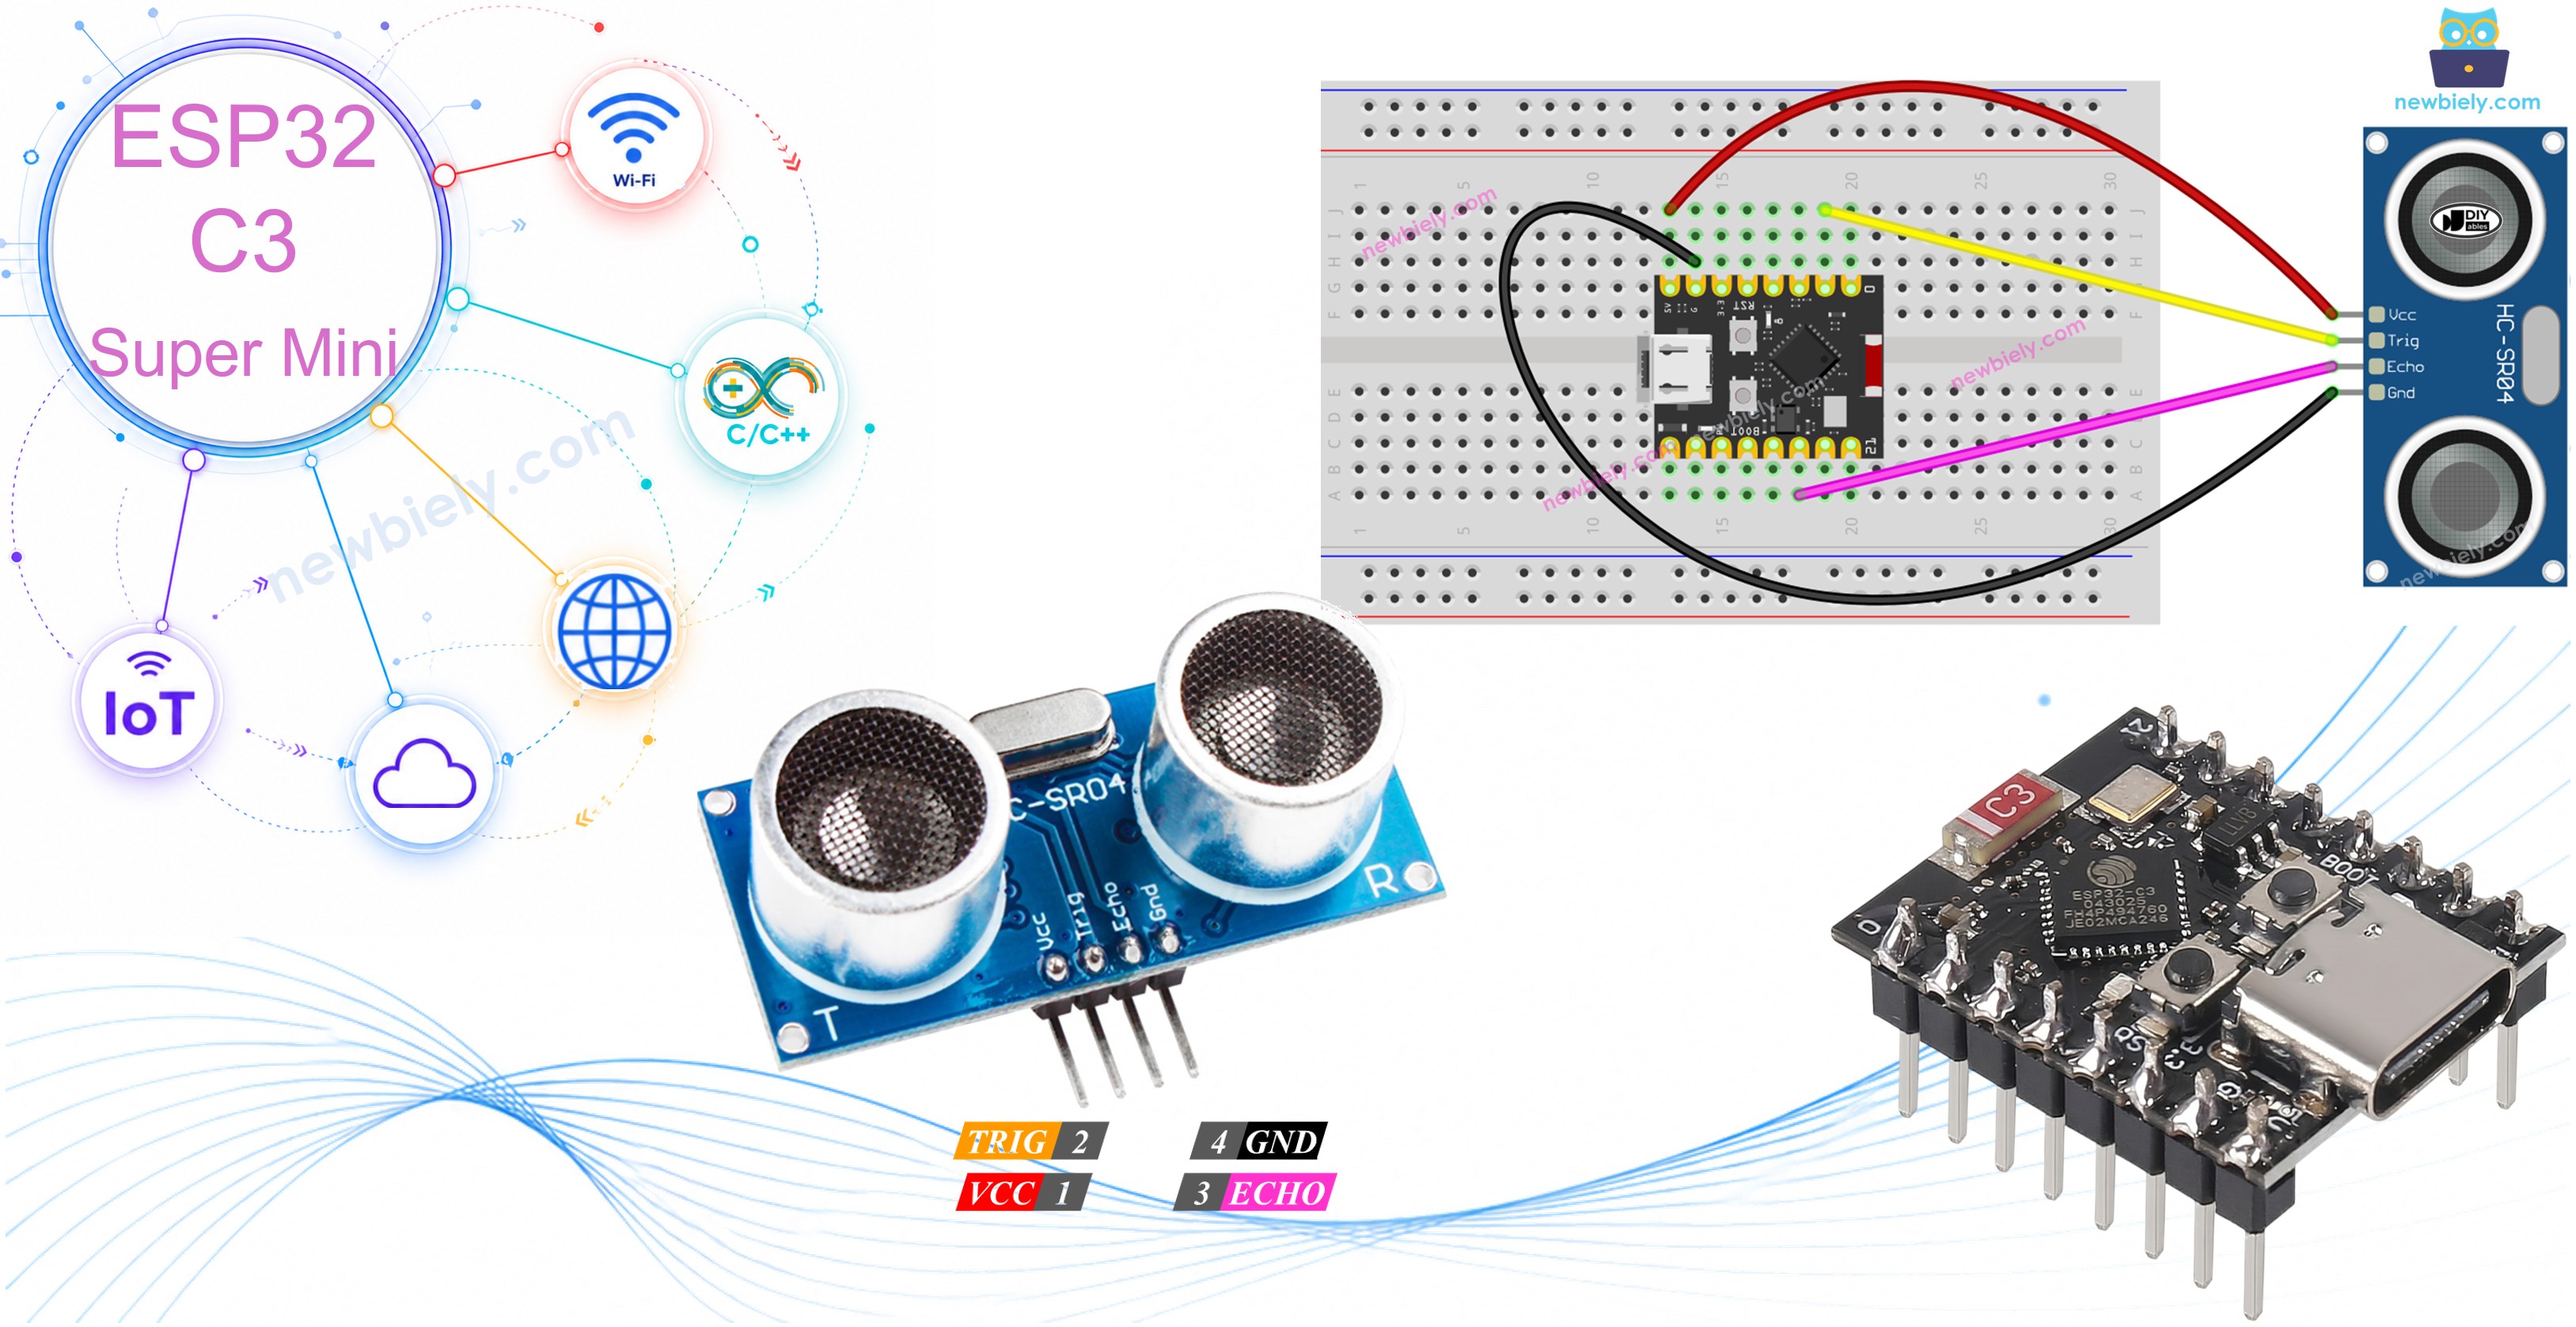
ESP32 C3 Super Mini - Ultrasonic Sensor
This tutorial shows you how to use the ESP32 C3 Super Mini with the HC-SR04 ultrasonic sensor to measure distance accurately. Perfect for beginners looking to add distance sensing capabilities to their Arduino projects!
In this tutorial, you'll learn:
- What the HC-SR04 ultrasonic sensor is and how it measures distance
- How to wire the ultrasonic sensor to ESP32 C3 Super Mini
- How to program the ESP32 to read distance measurements
- How to display distance readings on the Serial Monitor
- How to filter noise for more accurate readings
Hardware Preparation
| 1 | × | ESP32 C3 Super Mini | |
| 1 | × | USB Cable Type-A to Type-C (for USB-A PC) | |
| 1 | × | USB Cable Type-C to Type-C (for USB-C PC) | |
| 1 | × | Ultrasonic Sensor | |
| 1 | × | Breadboard | |
| 1 | × | Jumper Wires | |
| 1 | × | Optionally, DC Power Jack |
Or you can buy the following kits:
| 1 | × | DIYables Sensor Kit (18 sensors/displays) |
Additionally, some of these links are for products from our own brand, DIYables .
Overview of Ultrasonic Sensor
The HC-SR04 is a distance sensor that measures the distance to objects using ultrasonic sound waves.
Key specifications and features:
- Operating Voltage: 5V DC
- Measuring Range: 2cm to 400cm (0.8 inches to 157 inches)
- Accuracy: Up to 3mm
- Measuring Angle: 15 degrees
- Trigger Input: 10µS TTL pulse
- Non-contact measurement: Safe for detecting objects without physical touch
- Perfect for beginners: Easy to connect and program with simple Arduino code
- Affordable and reliable: Great for learning distance sensing basics
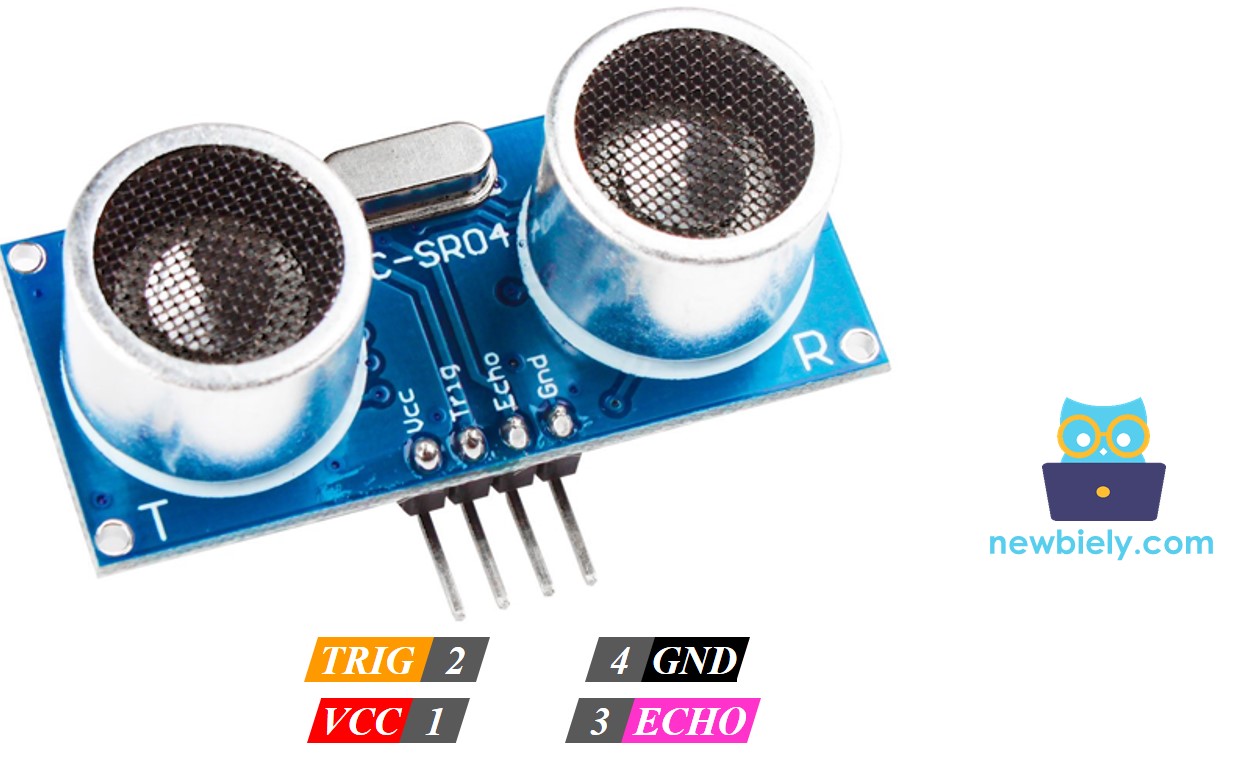
Ultrasonic Sensor Pinout
The HC-SR04 ultrasonic sensor has four pins for connection:
- VCC: Connect to 5V power supply
- GND: Connect to ground (0V)
- TRIG: Receives trigger pulse from ESP32 C3 Super Mini to start measurement
- ECHO: Sends pulse back to ESP32 with duration proportional to measured distance
How Ultrasonic Sensor Works
Wiring Diagram between Ultrasonic Sensor and ESP32 C3 Super Mini
Here's how to connect the HC-SR04 ultrasonic sensor to your ESP32 C3 Super Mini board:
- Note: The HC-SR04 requires 5V power, which can be supplied via USB or an external power source through the Vin pin.
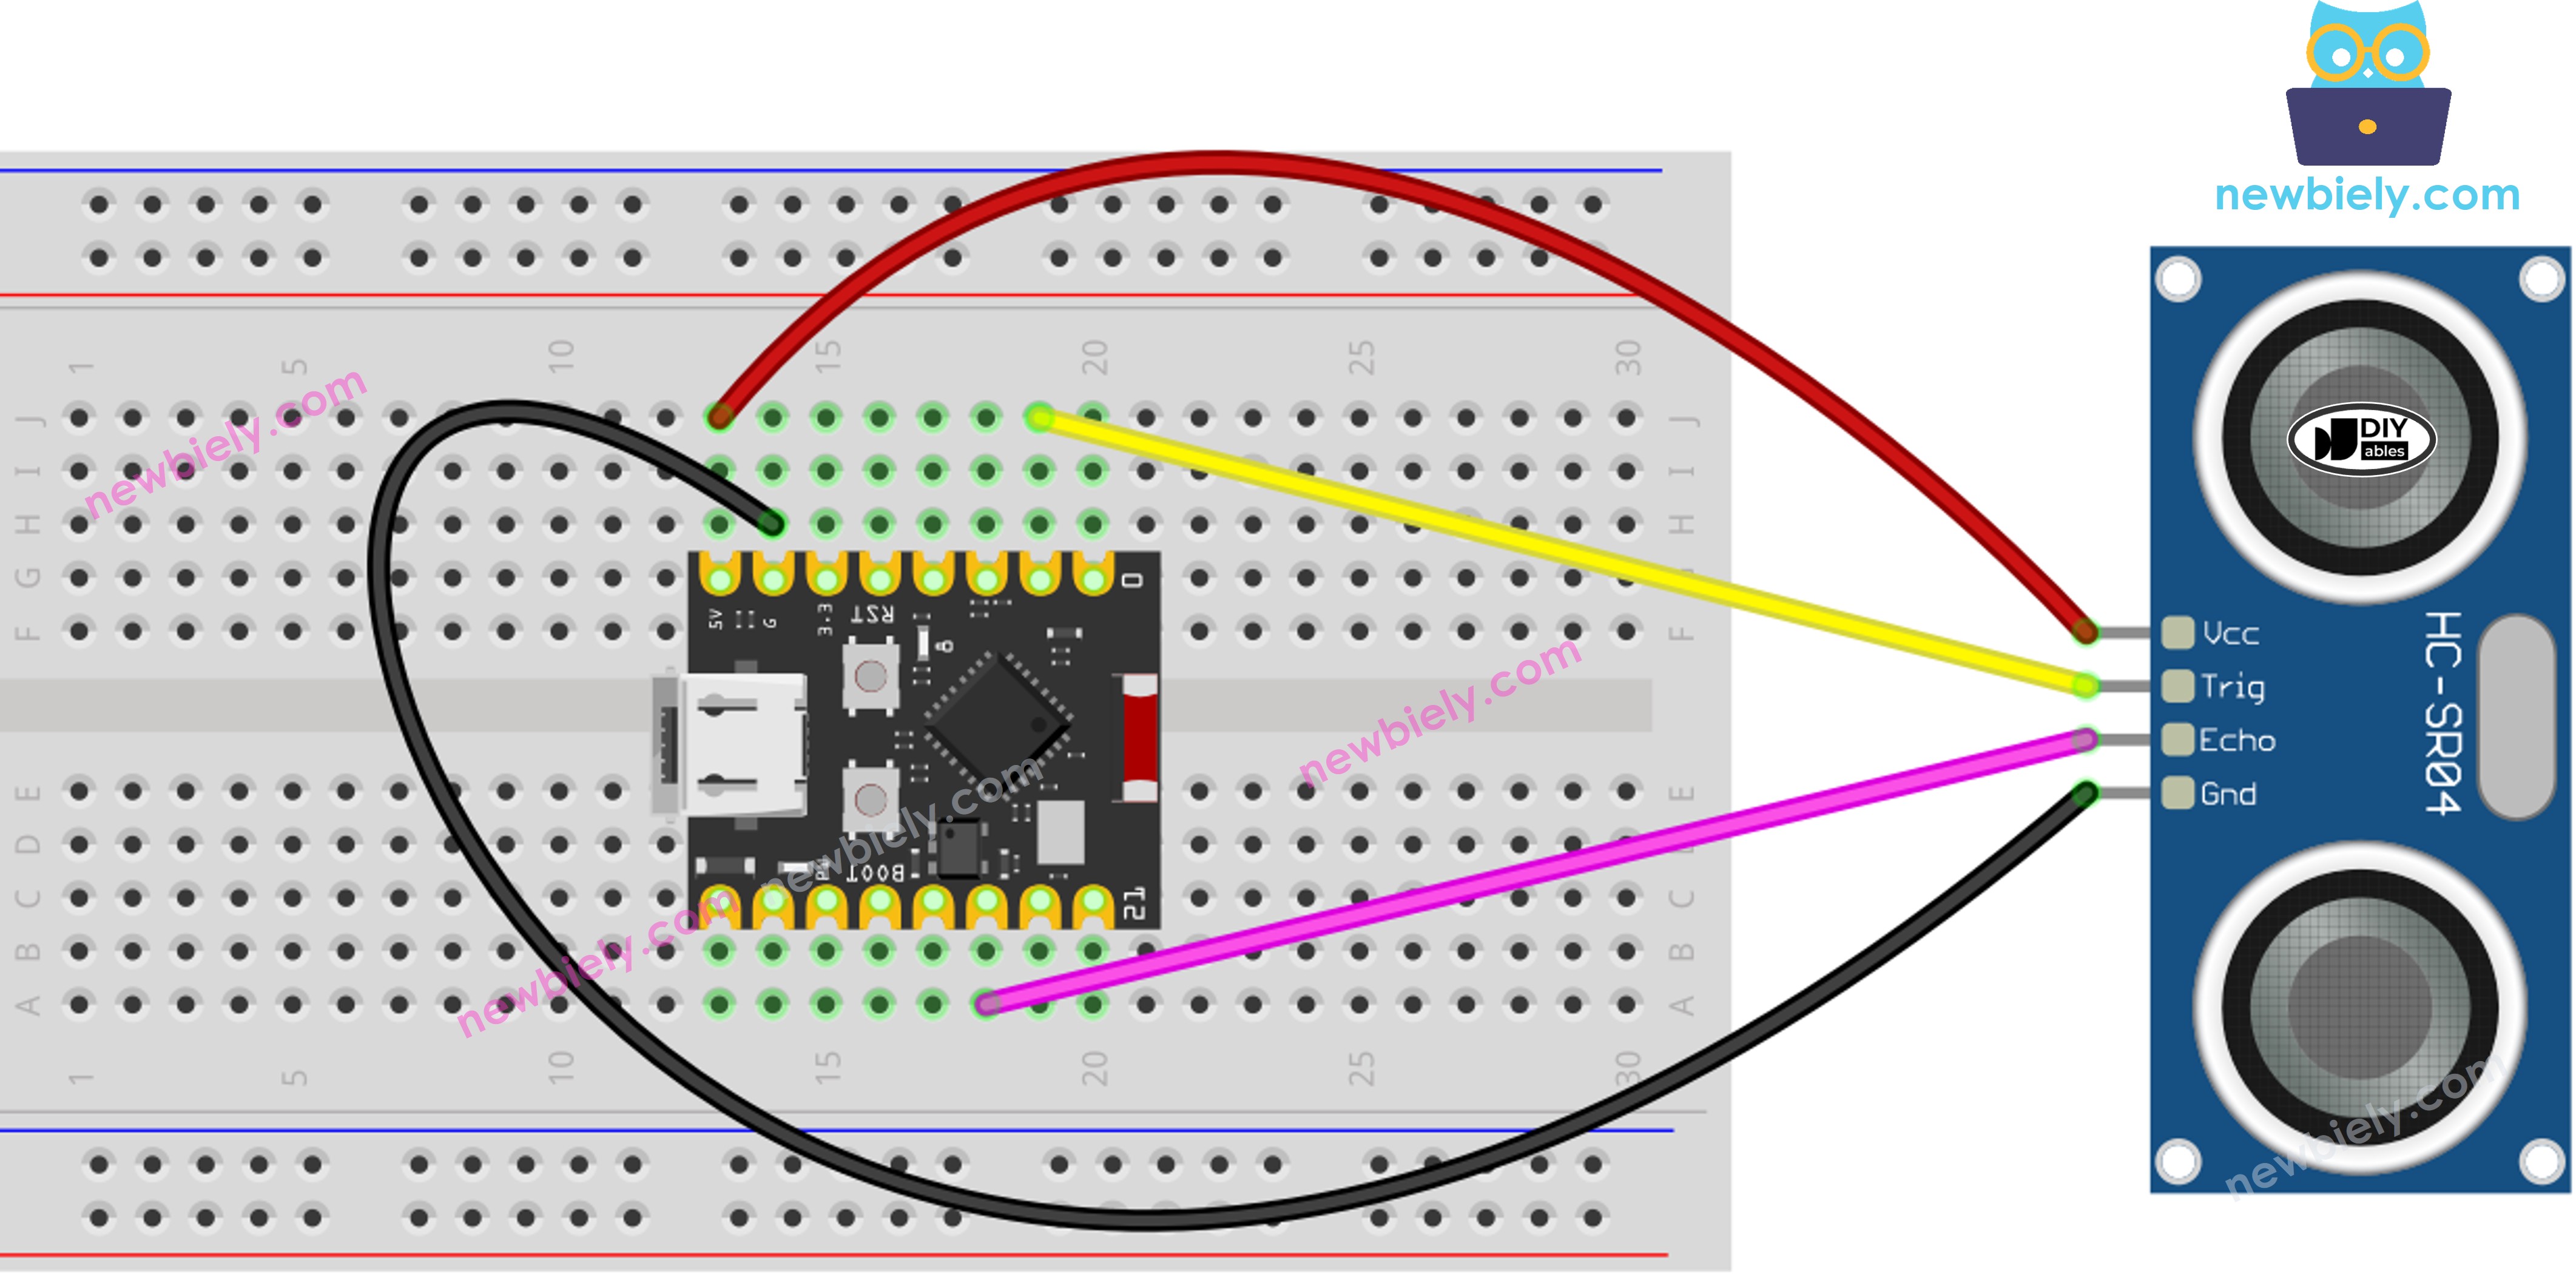
This image is created using Fritzing. Click to enlarge image
| Ultrasonic Sensor Pin | ESP32 C3 Super Mini Pin |
|---|---|
| VCC | 5V |
| GND | GND |
| TRIG | D1 |
| ECHO | D10 |
How To Program Ultrasonic Sensor
Programming the HC-SR04 ultrasonic sensor with ESP32 C3 Super Mini involves three simple steps:
Step 1: Send trigger pulse
- Generate a 10-microsecond pulse on the TRIG pin using digitalWrite() and delayMicroseconds() functions
- Example with pin D1:
Step 2: Measure echo pulse duration
- Read the pulse duration from the ECHO pin using pulseIn() function
- The pulse duration represents the time for sound to travel to object and back
- Example with pin D10:
Step 3: Calculate distance
- Convert pulse duration to distance in centimeters
- Formula: distance = 0.017 × duration (sound travels at ~340 m/s, divided by 2 for round trip)
ESP32 C3 Super Mini Code
The following code demonstrates how to read distance measurements from the HC-SR04 ultrasonic sensor and display them on the Serial Monitor:
What this code does:
- Initializes the TRIG and ECHO pins on the ESP32 C3 Super Mini
- Sends ultrasonic pulses every 500 milliseconds
- Measures the time for echo to return
- Calculates distance in centimeters
- Displays distance readings on Serial Monitor
Detailed Instructions
- New to ESP32 C3 Mini? Complete our Getting Started with ESP32 C3 Mini tutorial first to set up your development environment.
- Install Arduino IDE: If this is the first time you use ESP32 C3 Super Mini, see how to setup environment for ESP32 C3 Super Mini on Arduino IDE.
- Copy the code: Copy the above code and paste it into Arduino IDE.
- Connect your board: Connect the ESP32 C3 Super Mini to your computer via USB cable.
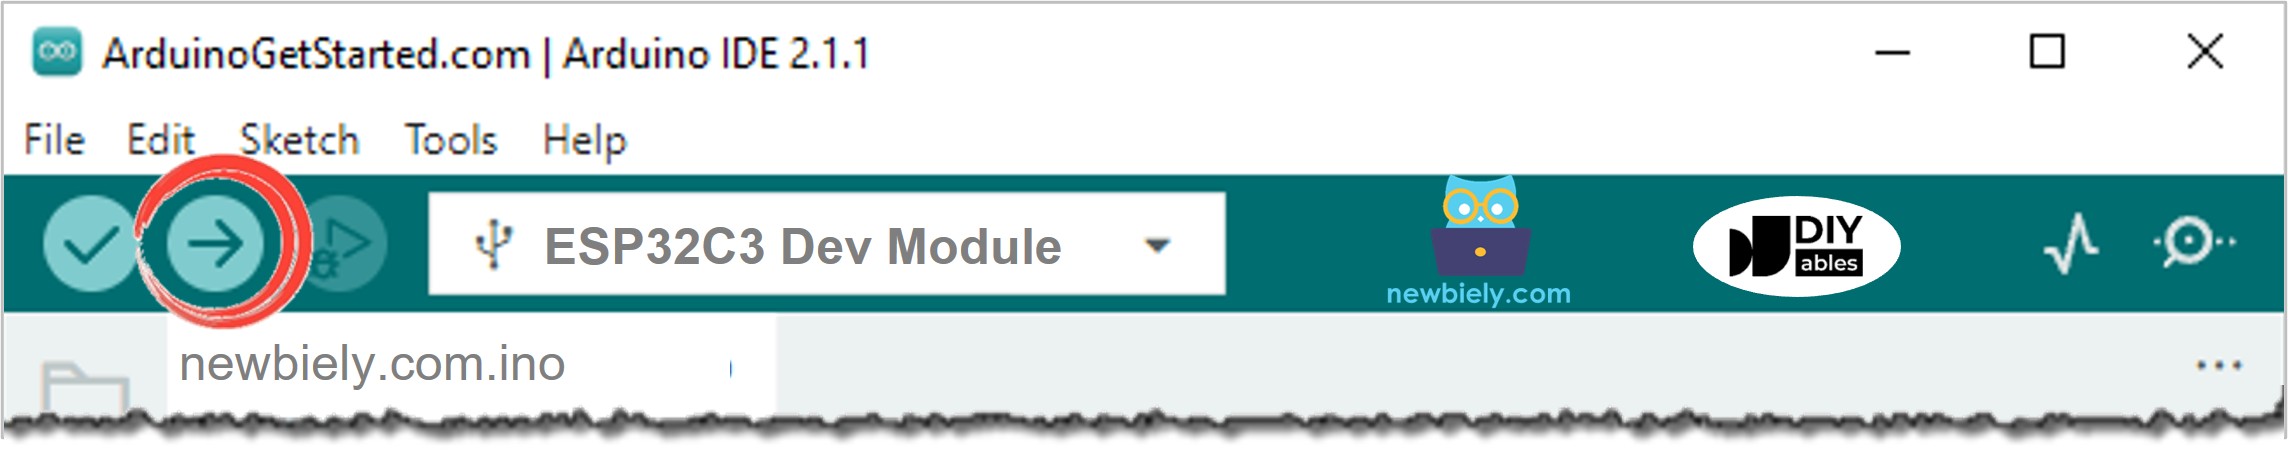
- Select board and port: Choose the correct board and COM port in Arduino IDE.
- Upload the code: Click the Upload button to compile and upload code to your ESP32 C3 Super Mini.
- Open Serial Monitor: Click the Serial Monitor icon to view distance readings.
- Set baud rate: Make sure Serial Monitor is set to 115200 baud.
- Test the sensor: Move your hand in front of the ultrasonic sensor at different distances.
- View results: Watch the distance measurements update on Serial Monitor in real-time.
- Pro Tip: Keep objects at least 2cm away from the sensor for accurate readings, and avoid soft surfaces like cloth that absorb sound waves.
Line-by-line Code Explanation
The above ESP32 C3 Super Mini code contains line-by-line explanation. Please read the comments in the code!
Serial Monitor Output
When you move your hand in front of the HC-SR04 ultrasonic sensor, you'll see distance readings like this:
How to Filter Noise from Distance Measurements of Ultrasonic Sensor
Ultrasonic sensors can sometimes produce noisy or inconsistent readings due to environmental factors.
See How to Filter Noise from Distance Measurements of Ultrasonic Sensor
Why filtering matters:
- Environmental interference (temperature, humidity)
- Object surface texture and angle
- Electrical noise
- Multiple reflections from nearby objects
Application and Project Ideas
Here are practical ways to use the ESP32 C3 Super Mini with HC-SR04 ultrasonic sensor:
- Parking assistant: Build a distance alert system for cars or garage parking
- Automatic trash can: Create a touchless lid opener that detects hand proximity
- Water level monitor: Measure water level in tanks without contact
- Obstacle avoidance robot: Enable robots to detect and avoid objects
- Security alarm: Trigger alerts when objects enter a specific zone
- Height measurement tool: Build a digital height measuring device
- Smart doorbell: Detect when someone approaches your door
Video Tutorial
Watch the video below for a visual walkthrough of this project.
Challenge Yourself
Ready to take your ultrasonic sensor skills to the next level? Try these challenges:
- Easy: Modify the code to display distance in inches instead of centimeters
- Easy: Add an LED that lights up when an object is within 10cm
- Medium: Create a distance-based warning system with different beep patterns using a buzzer
- Medium: Display distance on an LCD screen instead of Serial Monitor
- Advanced: Build a multi-sensor array to detect object position in 2D space
- Advanced: Implement a median filter to smooth out noisy readings and improve accuracy