
ESP32 C3 Super Mini - Getting Started
Welcome to ESP32 C3 Super Mini development! This getting-started guide shows you how to set up and program your ESP32 C3 Super Mini, from software installation to uploading your first sketch.
In this tutorial, you'll learn:
- How to install and configure Arduino IDE for ESP32 C3 Super Mini
- How to connect ESP32 C3 Super Mini to your computer
- How to upload your first program to ESP32 C3 Super Mini
- How to troubleshoot common ESP32 C3 Super Mini setup issues
- How to verify everything works correctly
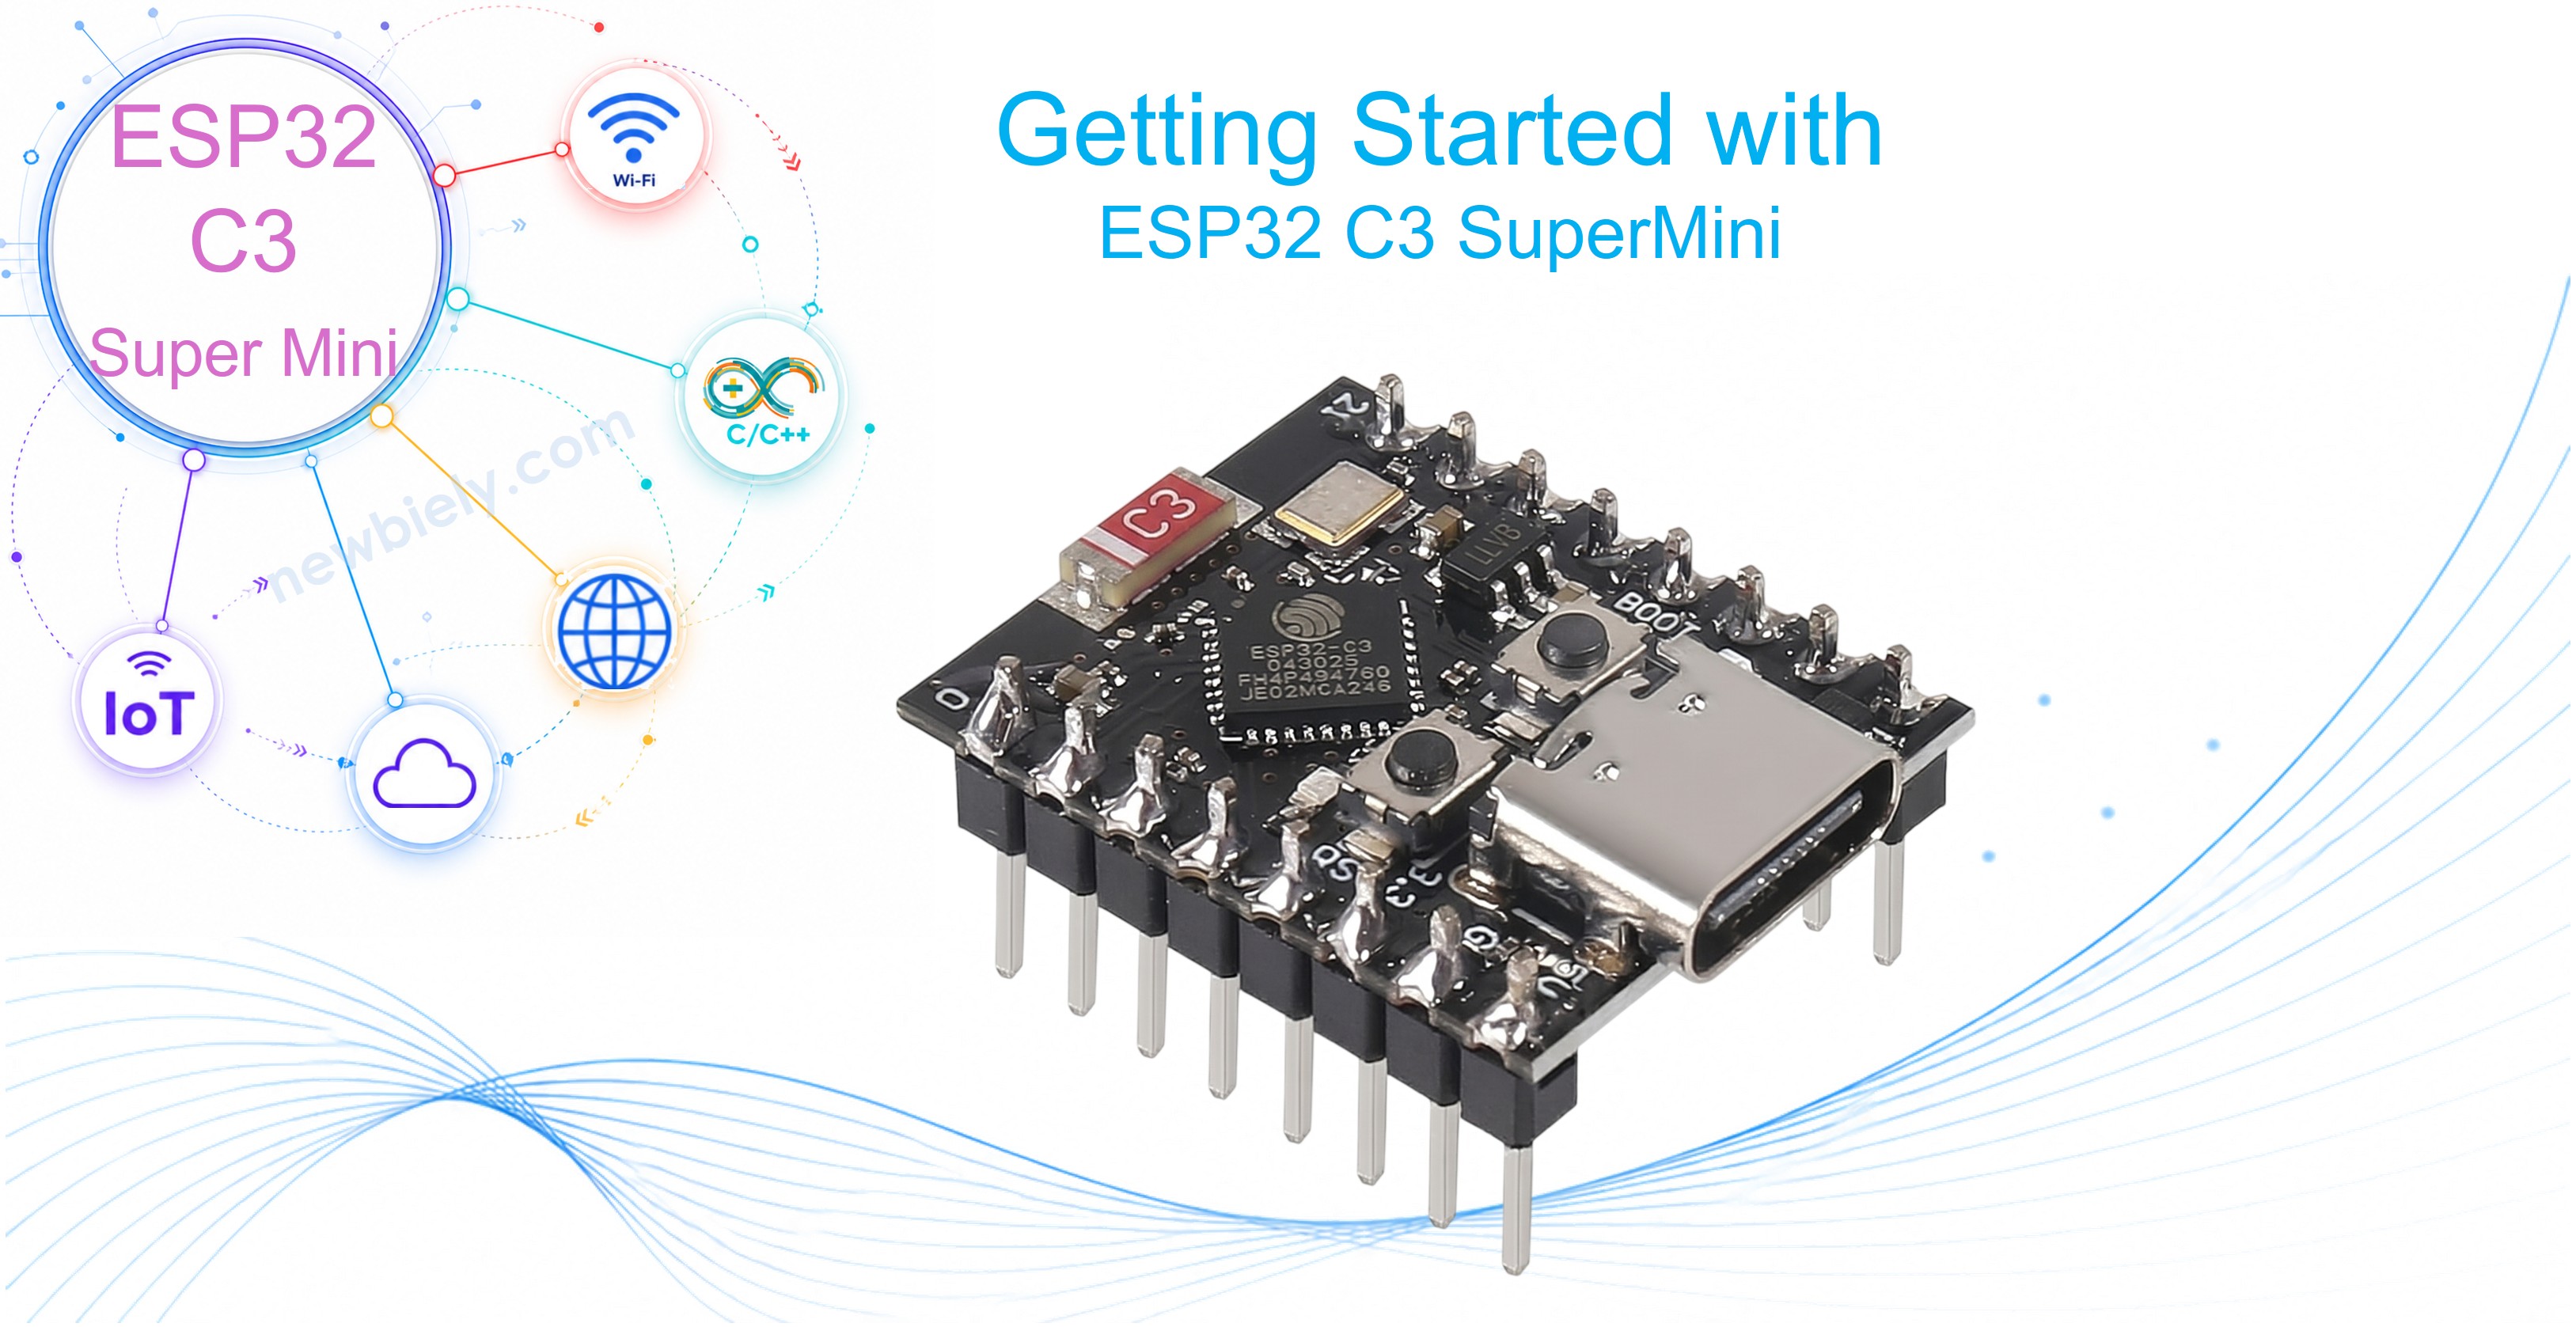
Hardware Preparation
- 1 × ESP32 C3 Super Mini
- 1 × Micro USB Cable
Overview of the ESP32 C3 Super Mini
The ESP32 C3 Super Mini is a compact development board featuring WiFi, Bluetooth, and an ultra-small form factor perfect for IoT projects.
Key Features:
- Processor: ESP32-C3 32-bit RISC-V single-core processor running at 160MHz
- Memory: 400KB SRAM, 4MB flash storage
- Connectivity: Built-in WiFi 802.11 b/g/n and Bluetooth 5 (LE)
- Size: Ultra-compact 22.52mm × 18mm board
- GPIO Pins: 13 digital I/O pins
- Operating Voltage: 3.3V logic level
- Power: 5V via USB or 3.3V direct input
- Programming: USB-C connection for easy programming
- Affordable: Budget-friendly for hobbyists and makers
- Beginner-friendly: Compatible with Arduino IDE
Why Choose ESP32 C3 Super Mini:
- Perfect for space-constrained wireless projects
- Ideal for battery-powered IoT applications
- Great for learning WiFi and Bluetooth programming
- Cost-effective alternative to larger ESP32 boards
ESP32 C3 Super Mini Pinout
The ESP32 C3 Super Mini has pins located on both sides of the board for easy breadboard use.
Power Pins:
- 5V: 5V input from USB or external source
- 3V3: 3.3V output (onboard regulator)
- GND: Ground reference (multiple GND pins available)
GPIO Pins (Digital I/O):
- GPIO0-GPIO10: Digital input/output pins
- GPIO20, GPIO21: Additional digital I/O pins
- Most GPIO pins support PWM, I2C, and SPI functions
Special Function Pins:
- TX (GPIO21): UART transmit
- RX (GPIO20): UART receive
- SCL (GPIO8): I2C clock
- SDA (GPIO10): I2C data
- MOSI, MISO, SCK: SPI communication pins
Note: All GPIO pins operate at 3.3V logic level. Do not connect 5V signals directly to GPIO pins.
Understanding the ESP32 C3 Super Mini Programming Process
Programming your ESP32 C3 Super Mini happens in three automatic steps:
- Write Code: Create your program (called a "sketch") using simplified C/C++ language
- Compile: Arduino IDE translates your code into machine language for the ESP32 C3 Super Mini processor
- Upload: The compiled program transfers to ESP32 C3 Super Mini via USB and runs immediately
The good news? Click one button and Arduino IDE handles all three steps automatically for your ESP32 C3 Super Mini!
Step 1: Download and Install Arduino IDE
Arduino IDE is free software for programming your ESP32 C3 Super Mini on Windows, Mac, or Linux.
Download Steps:
- Visit the official Arduino website: https://www.arduino.cc/en/Main/Software
- Choose your operating system (Windows, Mac OS X, or Linux)
- Download the installer for your platform
Windows Installation:
- Run the downloaded .exe installer
- Accept the license agreement
- Select "Install Everything" (includes USB drivers for ESP32 C3 Super Mini)
- Click Install and wait for completion
- Launch Arduino IDE from Start menu or desktop shortcut
Mac Installation:
- Open the downloaded .dmg file
- Drag Arduino icon to Applications folder
- First launch: Right-click Arduino > Open to bypass security
- Mac recognizes ESP32 C3 Super Mini automatically
Linux Installation:
- Extract the downloaded archive
- Run ./install.sh from terminal
- Add your user to dialout group for USB access:
- Log out and back in for changes to apply
Verify Installation: Launch Arduino IDE - you should see a blank sketch with setup() and loop() functions ready for ESP32 C3 Super Mini programming.
Step 2: Install ESP32 Board Support in Arduino IDE
Arduino IDE needs ESP32 board support to work with your ESP32 C3 Super Mini.
Add ESP32 Board Manager URL:
- Open Arduino IDE
- Go to File > Preferences (or Arduino > Preferences on Mac)
- Find the "Additional Boards Manager URLs" field
- Paste this URL:
- If other URLs exist, separate with a comma
- Click OK to save
Install ESP32 Board Package:
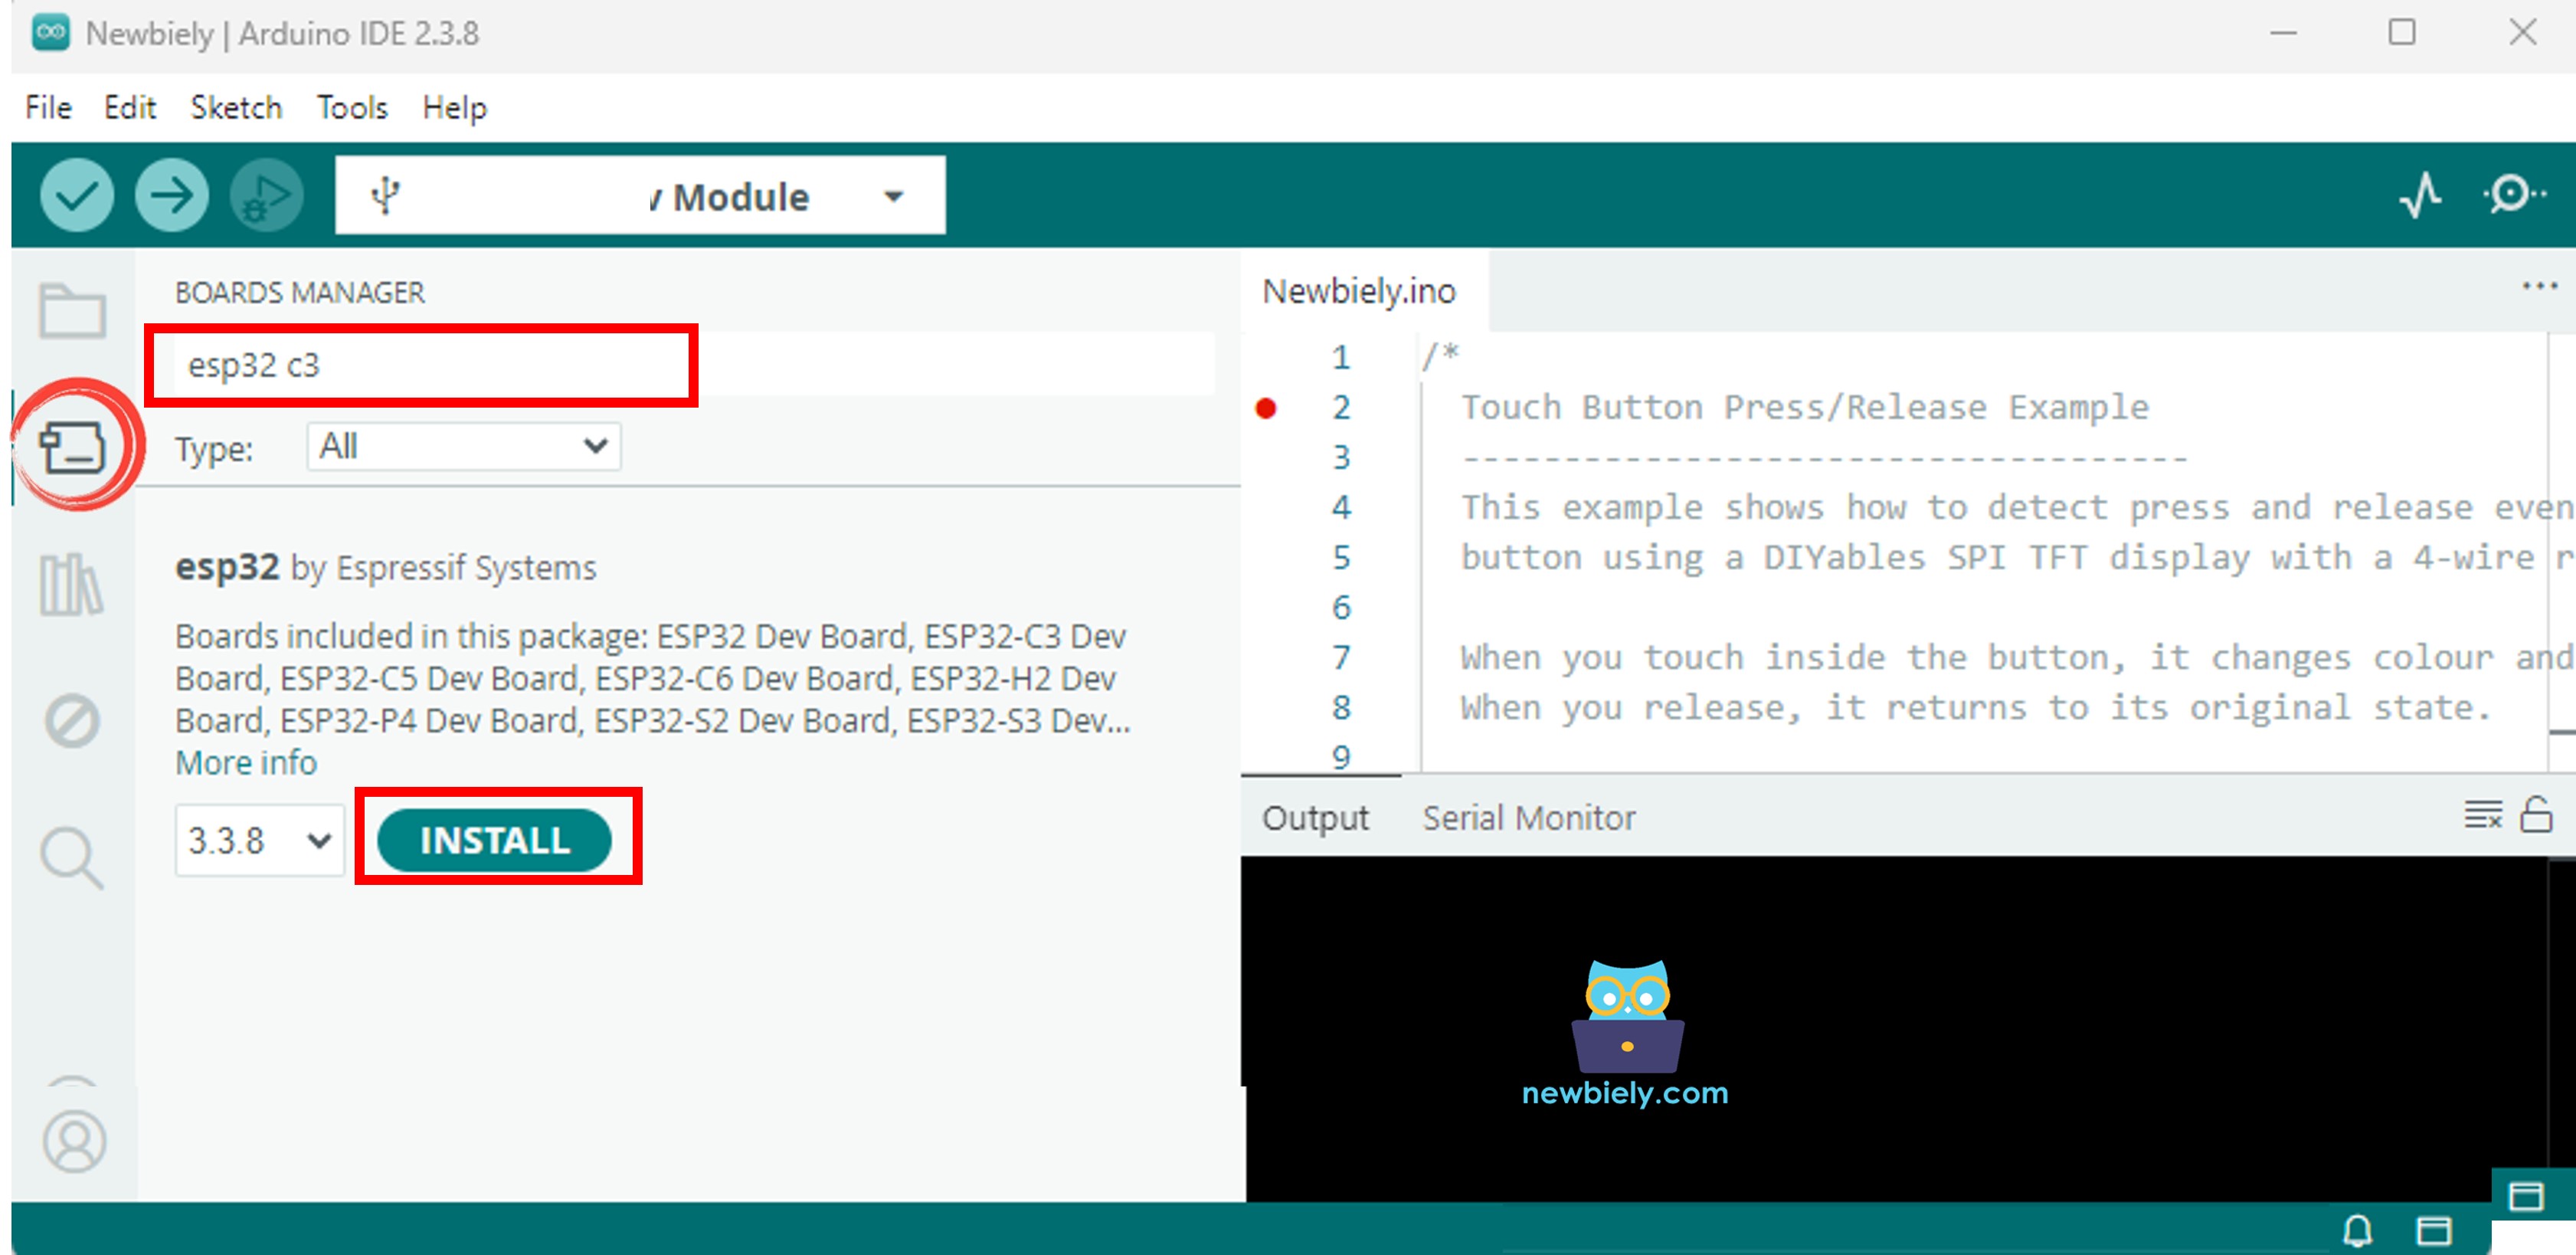
- Click the Board Manager icon in the left sidebar (chip icon)
- Type "esp32" in the search box
- Find "esp32 by Espressif Systems"
- Click Install (downloads ~250MB, takes 3-5 minutes)
- Wait for "INSTALLED" status to appear
- Close Board Manager when complete
Verify Installation:
- Go to Tools > Board > esp32
- Look for "ESP32C3 Dev Module" in the list
- If visible, ESP32 C3 Super Mini board support installed successfully!
Step 3: Connect ESP32 C3 Super Mini to Computer
Connect your ESP32 C3 Super Mini using a USB cable.
Connection Steps:
- Get a USB-C data cable (charge-only cables won't work!)
- Plug USB-C end into ESP32 C3 Super Mini
- Plug USB-A end into your computer (use direct port, not hub)
- Power LED on ESP32 C3 Super Mini lights up when connected
- Windows shows "USB device connected" notification
- Mac/Linux recognizes device automatically
※ NOTE THAT:
ESP32-C3 Keeps Disconnecting from USB?
This is normal on a brand-new ESP32-C3 with no program installed.
Solution:
- Press and hold the BOOT button.
- Press and release the RST button.
- Release the BOOT button.
- Upload your program.
This usually happens only the first time you use the board.
Important Notes:
- Use quality USB cables - cheap cables cause upload problems
- If LED doesn't light, try different USB cable or port
- Some ESP32 C3 Super Mini boards blink LED with preloaded test program
Step 4: Select Board and Port in Arduino IDE
Tell Arduino IDE you're using ESP32 C3 Super Mini.
Select Board:
- Go to Tools > Board > esp32
- Scroll to find "ESP32C3 Dev Module"
- Click to select it
- Verify board name appears in Tools menu
Select Port:
- Go to Tools > Port
- Look for your ESP32 C3 Super Mini:
- Windows: COM3, COM4, etc. (often shows "USB-SERIAL CH340")
- Mac: /dev/cu.usbserial-XXXX or /dev/cu.wchusbserial-XXXX
- Linux: /dev/ttyUSB0 or /dev/ttyACM0
- Note which ports are listed
- Unplug ESP32 C3 Super Mini
- Check Tools > Port again - one port disappears
- Plug ESP32 C3 Super Mini back in
- The port that reappears is your board!
- Click it to select
Can't Find the Port?
Step 5: Upload Test Program to ESP32 C3 Super Mini
Verify everything works by uploading a blink program.
What This Code Does:
- Blinks the built-in LED on your ESP32 C3 Super Mini
- LED turns on for 1 second, off for 1 second
- Repeats forever
- Confirms your setup works correctly
Upload Steps:
- Copy the code above into Arduino IDE
- Click the Upload button (right arrow icon)
- Watch the status messages at bottom of IDE
- "Connecting..." appears first
- Orange TX/RX LEDs on ESP32 C3 Super Mini flash during upload
- "Done uploading" message when complete
Troubleshooting Upload Issues:
- If upload fails with "Failed to connect", hold the BOOT button on ESP32 C3 Super Mini
- Keep holding BOOT and click Upload
- Release BOOT when "Connecting..." appears
- Some ESP32 C3 Super Mini boards auto-reset, others need manual BOOT press
Success! The built-in LED on your ESP32 C3 Super Mini blinks on and off every second. Your board is programmed and ready!
Quick Steps Summary
- Download Arduino IDE: Get free software from arduino.cc
- Install Arduino IDE: Run installer for your operating system
- Add ESP32 Board Support: Add Espressif URL in Preferences
- Install ESP32 Package: Use Board Manager to install esp32 by Espressif
- Connect ESP32 C3 Super Mini: Use USB-C data cable to computer
- Select Board: Choose "ESP32C3 Dev Module" in Tools > Board
- Select Port: Choose your ESP32 C3 Super Mini port in Tools > Port
- Upload Test Code: Copy blink code and click Upload
- Verify Success: Built-in LED blinks on/off every second
- Pro Tip: Bookmark the ESP32 Arduino documentation at docs.espressif.com for quick reference while coding!
Next Steps with ESP32 C3 Super Mini
Now that you can program your ESP32 C3 Super Mini, try these beginner projects:
Basic ESP32 C3 Super Mini Projects:
- ESP32 C3 Super Mini - Hello World: Print messages to Serial Monitor
- ESP32 C3 Super Mini - LED: Control external LED with ESP32 C3 Super Mini
- ESP32 C3 Super Mini - Button: Read button input on ESP32 C3 Super Mini
- ESP32 C3 Super Mini - Buzzer: Make sounds with ESP32 C3 Super Mini
WiFi Projects:
- ESP32 C3 Super Mini - WiFi: Connect to wireless network
- ESP32 C3 Super Mini - Web Server: Create webpage on ESP32 C3 Super Mini
Sensor Projects:
- ESP32 C3 Super Mini - DHT11: Read temperature and humidity
- ESP32 C3 Super Mini - Ultrasonic: Measure distance
Video Tutorial
Watch the video below for a visual walkthrough of this project.
*Video tutorial coming soon - subscribe to see ESP32 C3 Super Mini setup in action!*
Troubleshooting Common Issues
Problem: ESP32 Board Not in Board Manager
Symptoms: Can't find ESP32 in Board Manager after adding URL.
Solutions:
- Verify the Board Manager URL was pasted correctly in Preferences
- Check internet connection (downloads files from GitHub)
- Close and reopen Board Manager
- Restart Arduino IDE completely
- Try manually typing the URL instead of copy/paste
- Check firewall isn't blocking Arduino IDE
Problem: No Port Shows for ESP32 C3 Super Mini
Symptoms: Tools > Port is grayed out or empty when board connected.
Solutions:
- Try different USB cable (must be data cable, not charge-only)
- Use different USB port on computer (avoid hubs)
- Install CH340 USB driver manually (search "CH340 driver download")
- Windows: Check Device Manager for unknown devices
- Mac: Check System Information > USB for device
- Linux: Run ls /dev/tty* to see serial devices
Problem: Upload Failed - Timed Out Waiting for Packet Header
Symptoms: Upload fails with connection timeout error.
Solutions:
- Hold BOOT button on ESP32 C3 Super Mini during upload
- Press and hold BOOT, click Upload, release when connecting
- Try slower upload speed: Tools > Upload Speed > 115200
- Press RESET button, then immediately click Upload
- Check USB cable quality (poor cables cause timeouts)
- Some ESP32 C3 Super Mini clones need manual boot mode every upload
Problem: Brownout Detector Triggered
Symptoms: ESP32 C3 Super Mini resets randomly, serial monitor shows brownout messages.
Solutions:
- Use powered USB hub or external 5V power supply
- USB port may not provide enough current for ESP32 C3 Super Mini
- Remove power-hungry peripherals (displays, motors)
- Try different USB cable (thicker cables = less voltage drop)
- Add 100µF capacitor between 5V and GND on breadboard
Problem: Port Access Denied (Linux)
Symptoms: Can't upload, permission denied errors.
Solutions:
- Add user to dialout group:
- Log out and back in for changes to take effect
- Or reboot computer
- Verify with groups command (should list dialout)
- Temporary fix: sudo chmod 666 /dev/ttyUSB0
Problem: Code Uploads But Nothing Happens
Symptoms: Upload succeeds but ESP32 C3 Super Mini doesn't run program.
Solutions:
- Press RESET button on ESP32 C3 Super Mini after upload
- Check built-in LED pin number matches your board (usually GPIO8)
- Open Serial Monitor to see if code is running
- Verify correct board selected (ESP32C3 Dev Module)
- Try uploading basic blink example from File > Examples > Basics > Blink
- Modify blink example to use GPIO8 for built-in LED
Challenge Yourself
Test your new ESP32 C3 Super Mini skills with these challenges:
- Easy: Modify blink code to flash LED 3 times quickly, then pause 2 seconds
- Easy: Change LED to GPIO2 and connect external LED with resistor
- Medium: Add Serial.println() to display "LED ON" and "LED OFF" messages
- Medium: Create SOS pattern in Morse code (... --- ...) with LED
- Advanced: Blink LED while checking button press to change blink speed
- Advanced: Use millis() instead of delay() for non-blocking LED blink