ESP32 C3 Super Mini - Button LED
This tutorial shows you how to use the ESP32 C3 Super Mini with a button to control an LED. Whether you're syncing the LED to button presses or toggling states, you'll learn both methods with simple code examples.
In this tutorial, you'll learn:
- How ESP32 C3 Super Mini buttons control LED states
- How to wire a button and LED to ESP32 C3 Super Mini
- How to write code for synchronized and toggle control
- Why button debouncing is essential for reliable LED toggling
- How to use the ezButton library for clean, reliable button control
We'll cover two distinct use cases for ESP32 C3 Super Mini button LED control:
Use-Case 1 - Synchronized LED and button states:
- ESP32 C3 Super Mini turns the LED ON when the button is pressed
- ESP32 C3 Super Mini turns the LED OFF when the button is released
- LED state directly mirrors button state in real-time
Use-Case 2 - Toggle LED state with button presses:
- ESP32 C3 Super Mini detects button press (HIGH to LOW transition)
- LED toggles ON if currently OFF, or OFF if currently ON
- Releasing the button doesn't change the LED state
- Requires debouncing for reliable operation
In Use-Case 2, button debouncing is critical. We'll demonstrate the difference between ESP32 C3 Super Mini code with and without debouncing so you can see why it matters.
Hardware Preparation
Or you can buy the following kits:
| 1 | × | DIYables Sensor Kit (18 sensors/displays) |
Additionally, some of these links are for products from our own brand, DIYables .
Buy Note: Use the LED Module for easier wiring. It includes an integrated resistor.
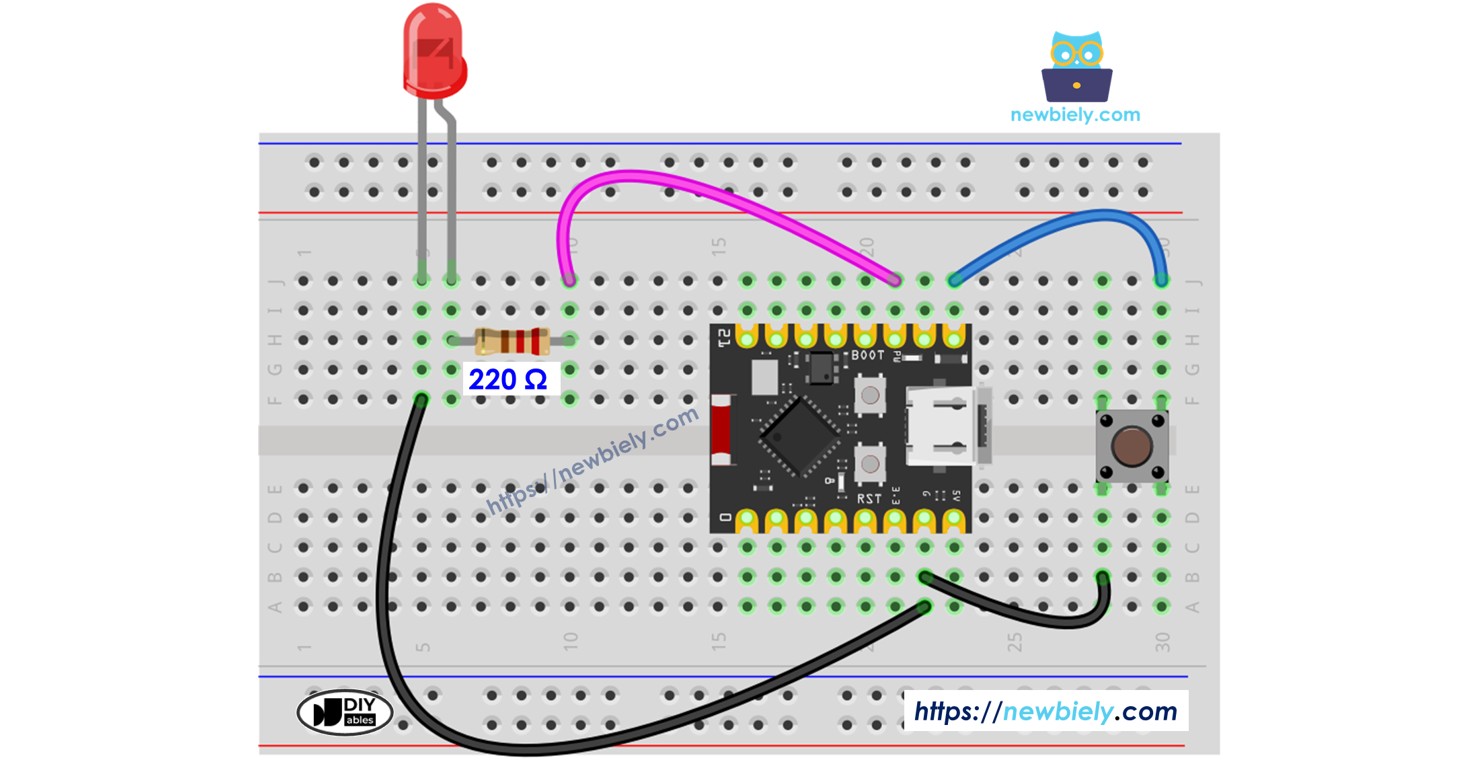
Wiring Diagram
Connect the button and LED to your ESP32 C3 Super Mini following the diagram below.
This image is created using Fritzing. Click to enlarge image
Wiring connections:
| Component | Pin | ESP32 C3 Super Mini Pin |
|---|---|---|
| Button | One terminal | D5 |
| Button | Other terminal | GND |
| LED | Anode (long leg) | D7 |
| LED | Cathode (short leg) | 220Ω resistor to GND |
Important notes:
- Note: Ensure the LED is connected through the 220 ohm resistor to prevent damage
- Note: The button uses the internal pull-up resistor on D5
Application 1 - The LED state is in sync with the button state
This ESP32 C3 Super Mini application demonstrates direct LED control with a button.
What this code does:
- Reads the button state continuously on ESP32 C3 Super Mini
- Turns the LED ON immediately when button is pressed
- Turns the LED OFF immediately when button is released
- Creates a simple, real-time synchronized response
ESP32 C3 Super Mini Code
Detailed Instructions
- New to ESP32 C3 Mini? Complete our Getting Started with ESP32 C3 Mini tutorial first to set up your development environment.
- Wire the components: Follow the wiring diagram shown above.
- Connect ESP32 C3 Super Mini: Use a USB Type-C cable to connect to your computer.
- Setup Arduino IDE: If this is the first time you use ESP32 C3 Super Mini, see how to setup environment for ESP32 C3 Super Mini on Arduino IDE.
- Select your board: Choose the ESP32 C3 Super Mini board and its COM port in Arduino IDE.
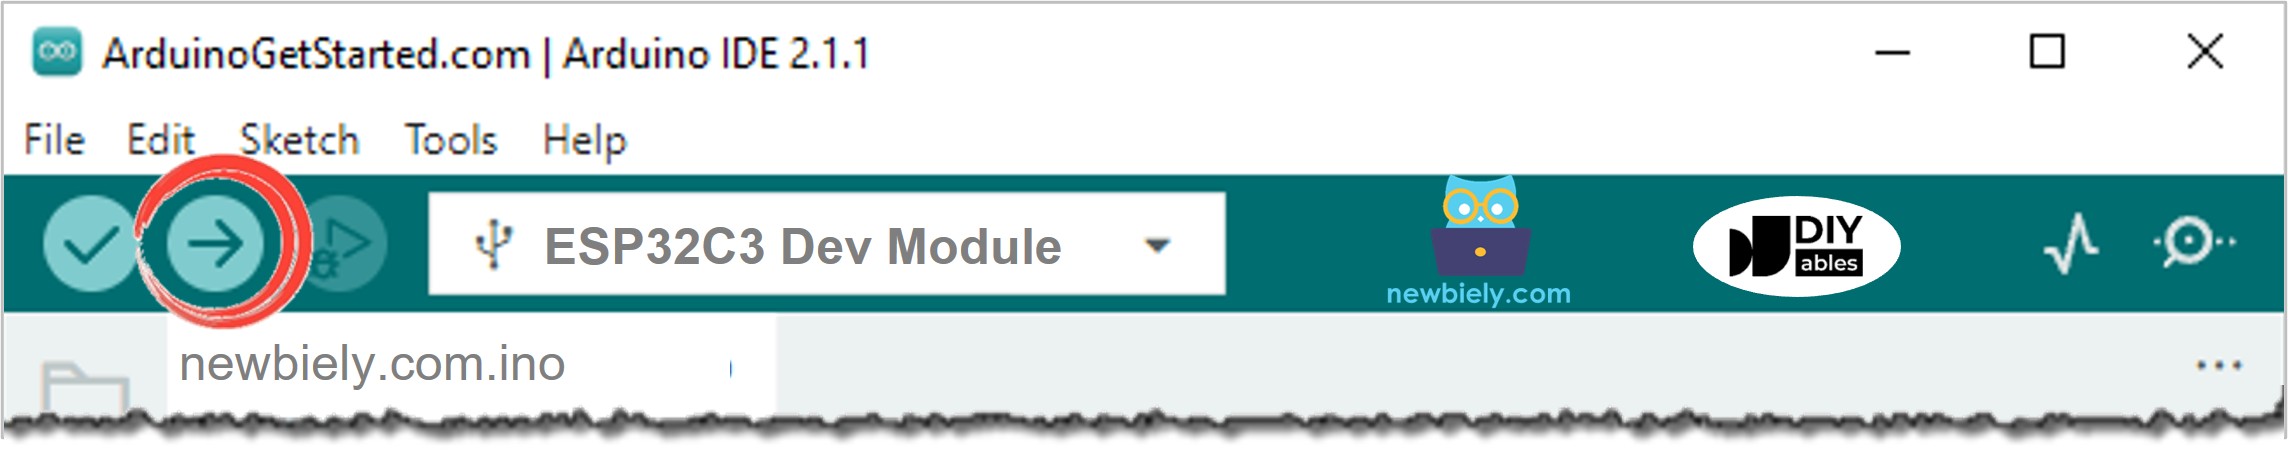
- Upload the code: Copy the code above and upload it to your ESP32 C3 Super Mini.
- Test the button: Press and hold the button for a few seconds.
- Observe the LED: Watch the LED turn ON and OFF with button presses.
- Pro Tip: If the LED behavior seems reversed, check that you've correctly identified the button pressed state.
You will see that the LED state is in sync with the button state on your ESP32 C3 Super Mini.
Code Explanation
Check out the line-by-line explanation contained in the comments of the source code!
Application Ideas
Here are some creative ways to use ESP32 C3 Super Mini button LED control in your projects:
- Build a simple ESP32 C3 Super Mini desk lamp with manual ON/OFF toggle control
- Create a doorbell indicator that lights up when the button is pressed
- Design a game buzzer system with visual LED feedback using ESP32 C3 Super Mini
- Make a status indicator for equipment (ON/OFF state) with ESP32 C3 Super Mini
- Build a simple lock indicator showing locked/unlocked status with button control
- Create a reaction time game measuring how fast you can toggle the LED
Video Section
Watch the video below for a visual walkthrough of this ESP32 C3 Super Mini button LED project.
Challenge Yourself
Try these challenges to improve your ESP32 C3 Super Mini button LED skills:
- Easy: Modify the code to control two LEDs with a single button (one ON when pressed, one OFF)
- Easy: Change the LED to blink three times when the button is pressed instead of staying solid
- Medium: Add a second button to your ESP32 C3 Super Mini to control LED brightness (dim/bright toggle)
- Medium: Create a traffic light sequence that advances to the next state with each button press
- Advanced: Implement a long-press detection that behaves differently than a short press on ESP32 C3 Super Mini
- Advanced: Build a combination lock using multiple buttons where the LED only turns ON with the correct sequence