
Raspberry Pi Pico - 10 Segment LED Bar Graph
Or you can buy the following kits:
| 1 | × | DIYables Sensor Kit (18 sensors/displays) |
Additionally, some of these links are for products from our own brand, DIYables .
In this guide, we will learn to set up and use the 10 Segment LED Bar Graph with the Raspberry Pi Pico. We will cover the following details:
- How to connect the 10 Segment LED Bar Graph to a Raspberry Pi Pico.
- How to program the Raspberry Pi Pico to animate the LED bar display.
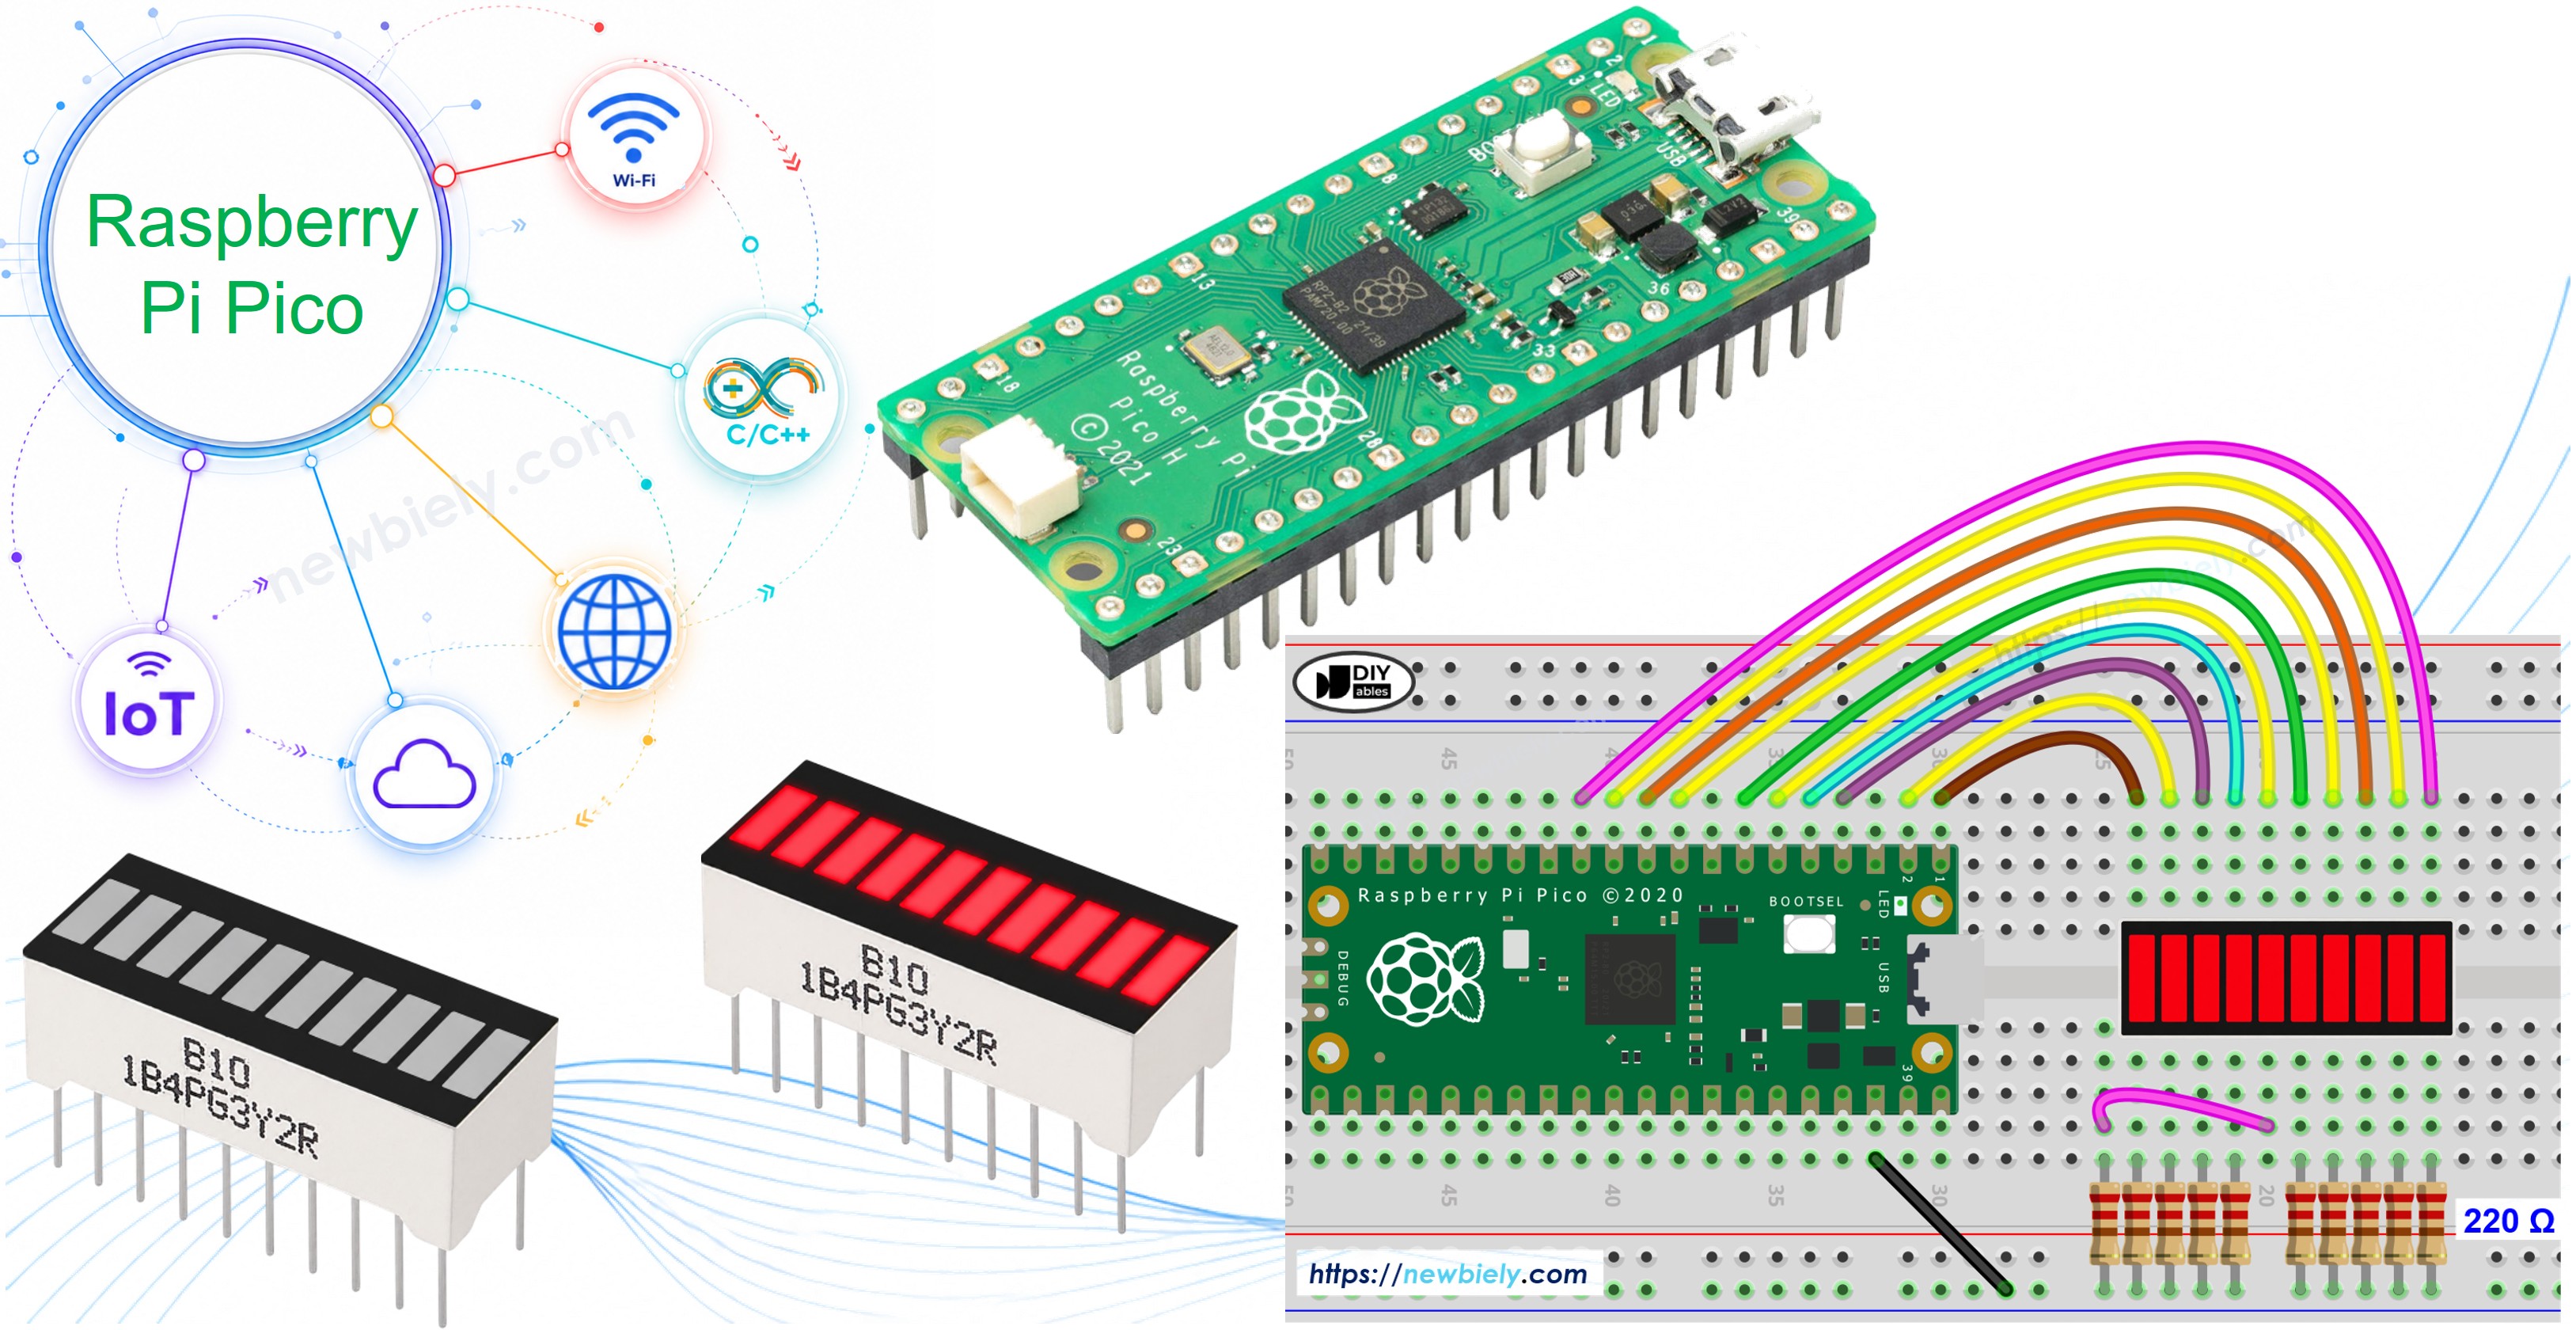
Overview of 10 Segment LED Bar Graph
| 10 Segment LED Bar Graph | |
|---|---|
| Number of Segments | 10 |
| LED Color | Bright red |
| Forward Voltage | ~2V per segment |
| Forward Current | 20mA max per segment |
| Resistor Required | 220Ω per segment |
Pinout
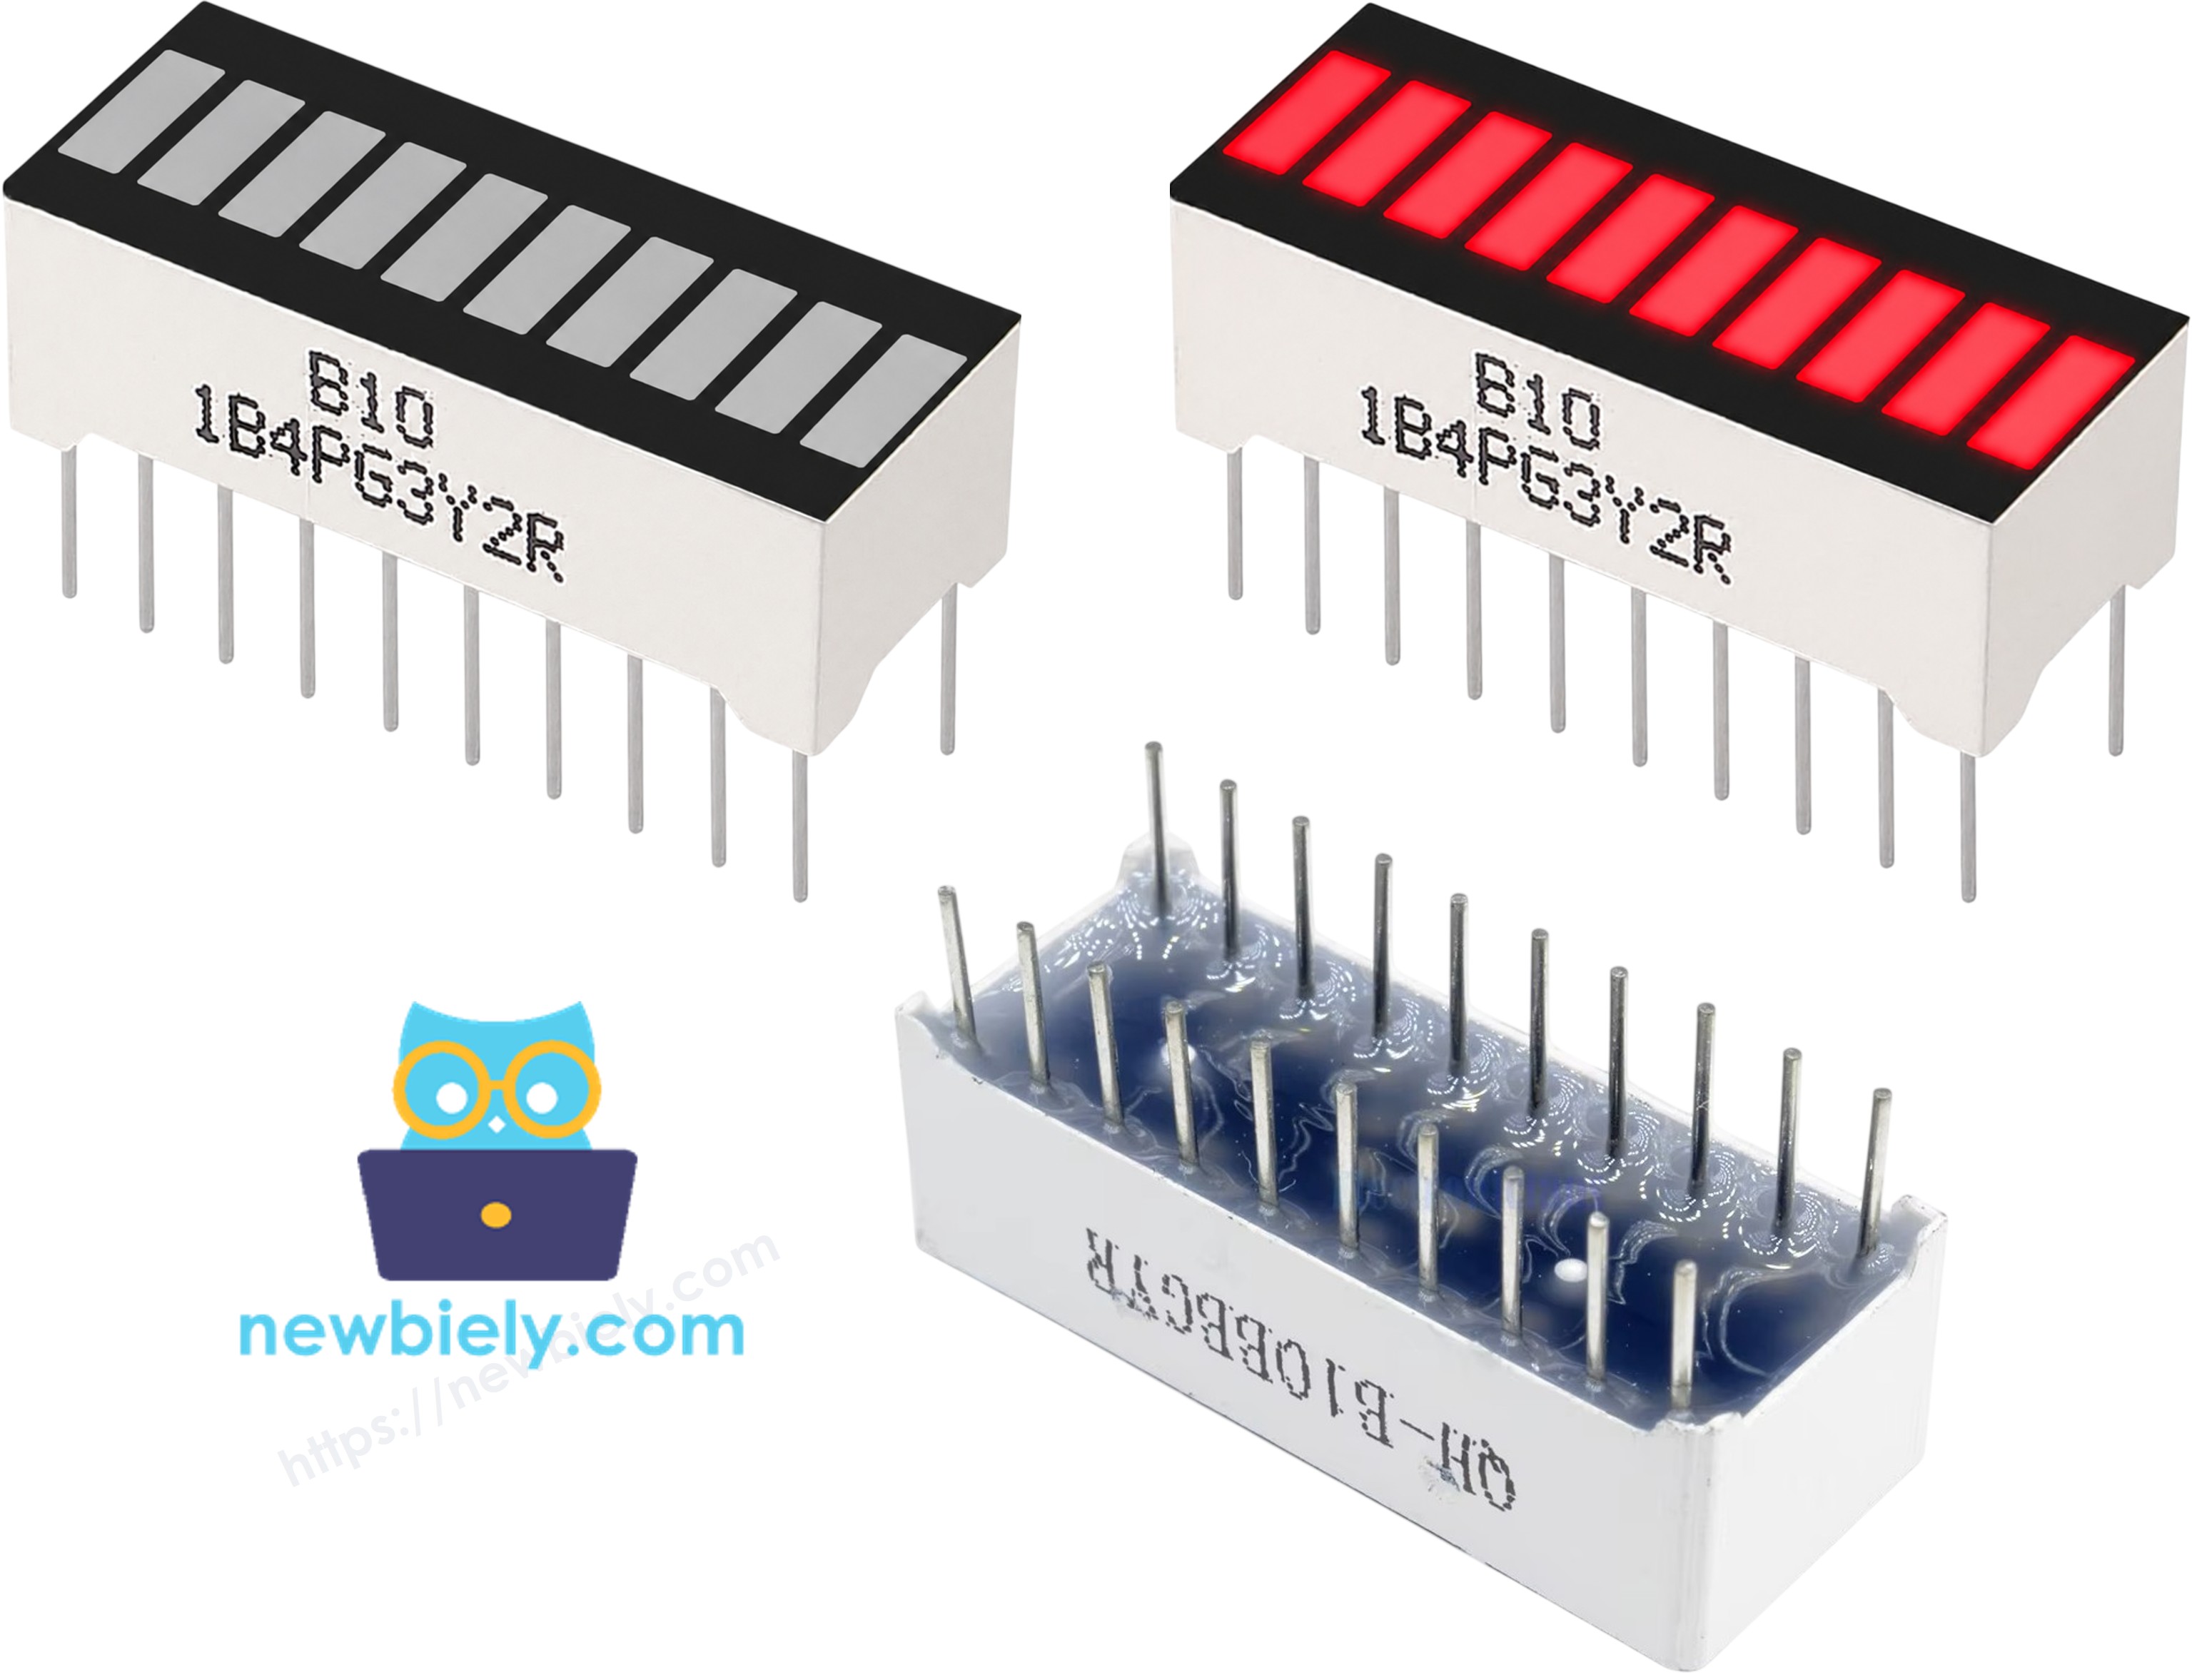
- Anode pins (A1–A10): connect to GP0–GP9 via 220Ω resistors
- Cathode pins (K1–K10): connect to GND (0 volts)
Wiring Diagram
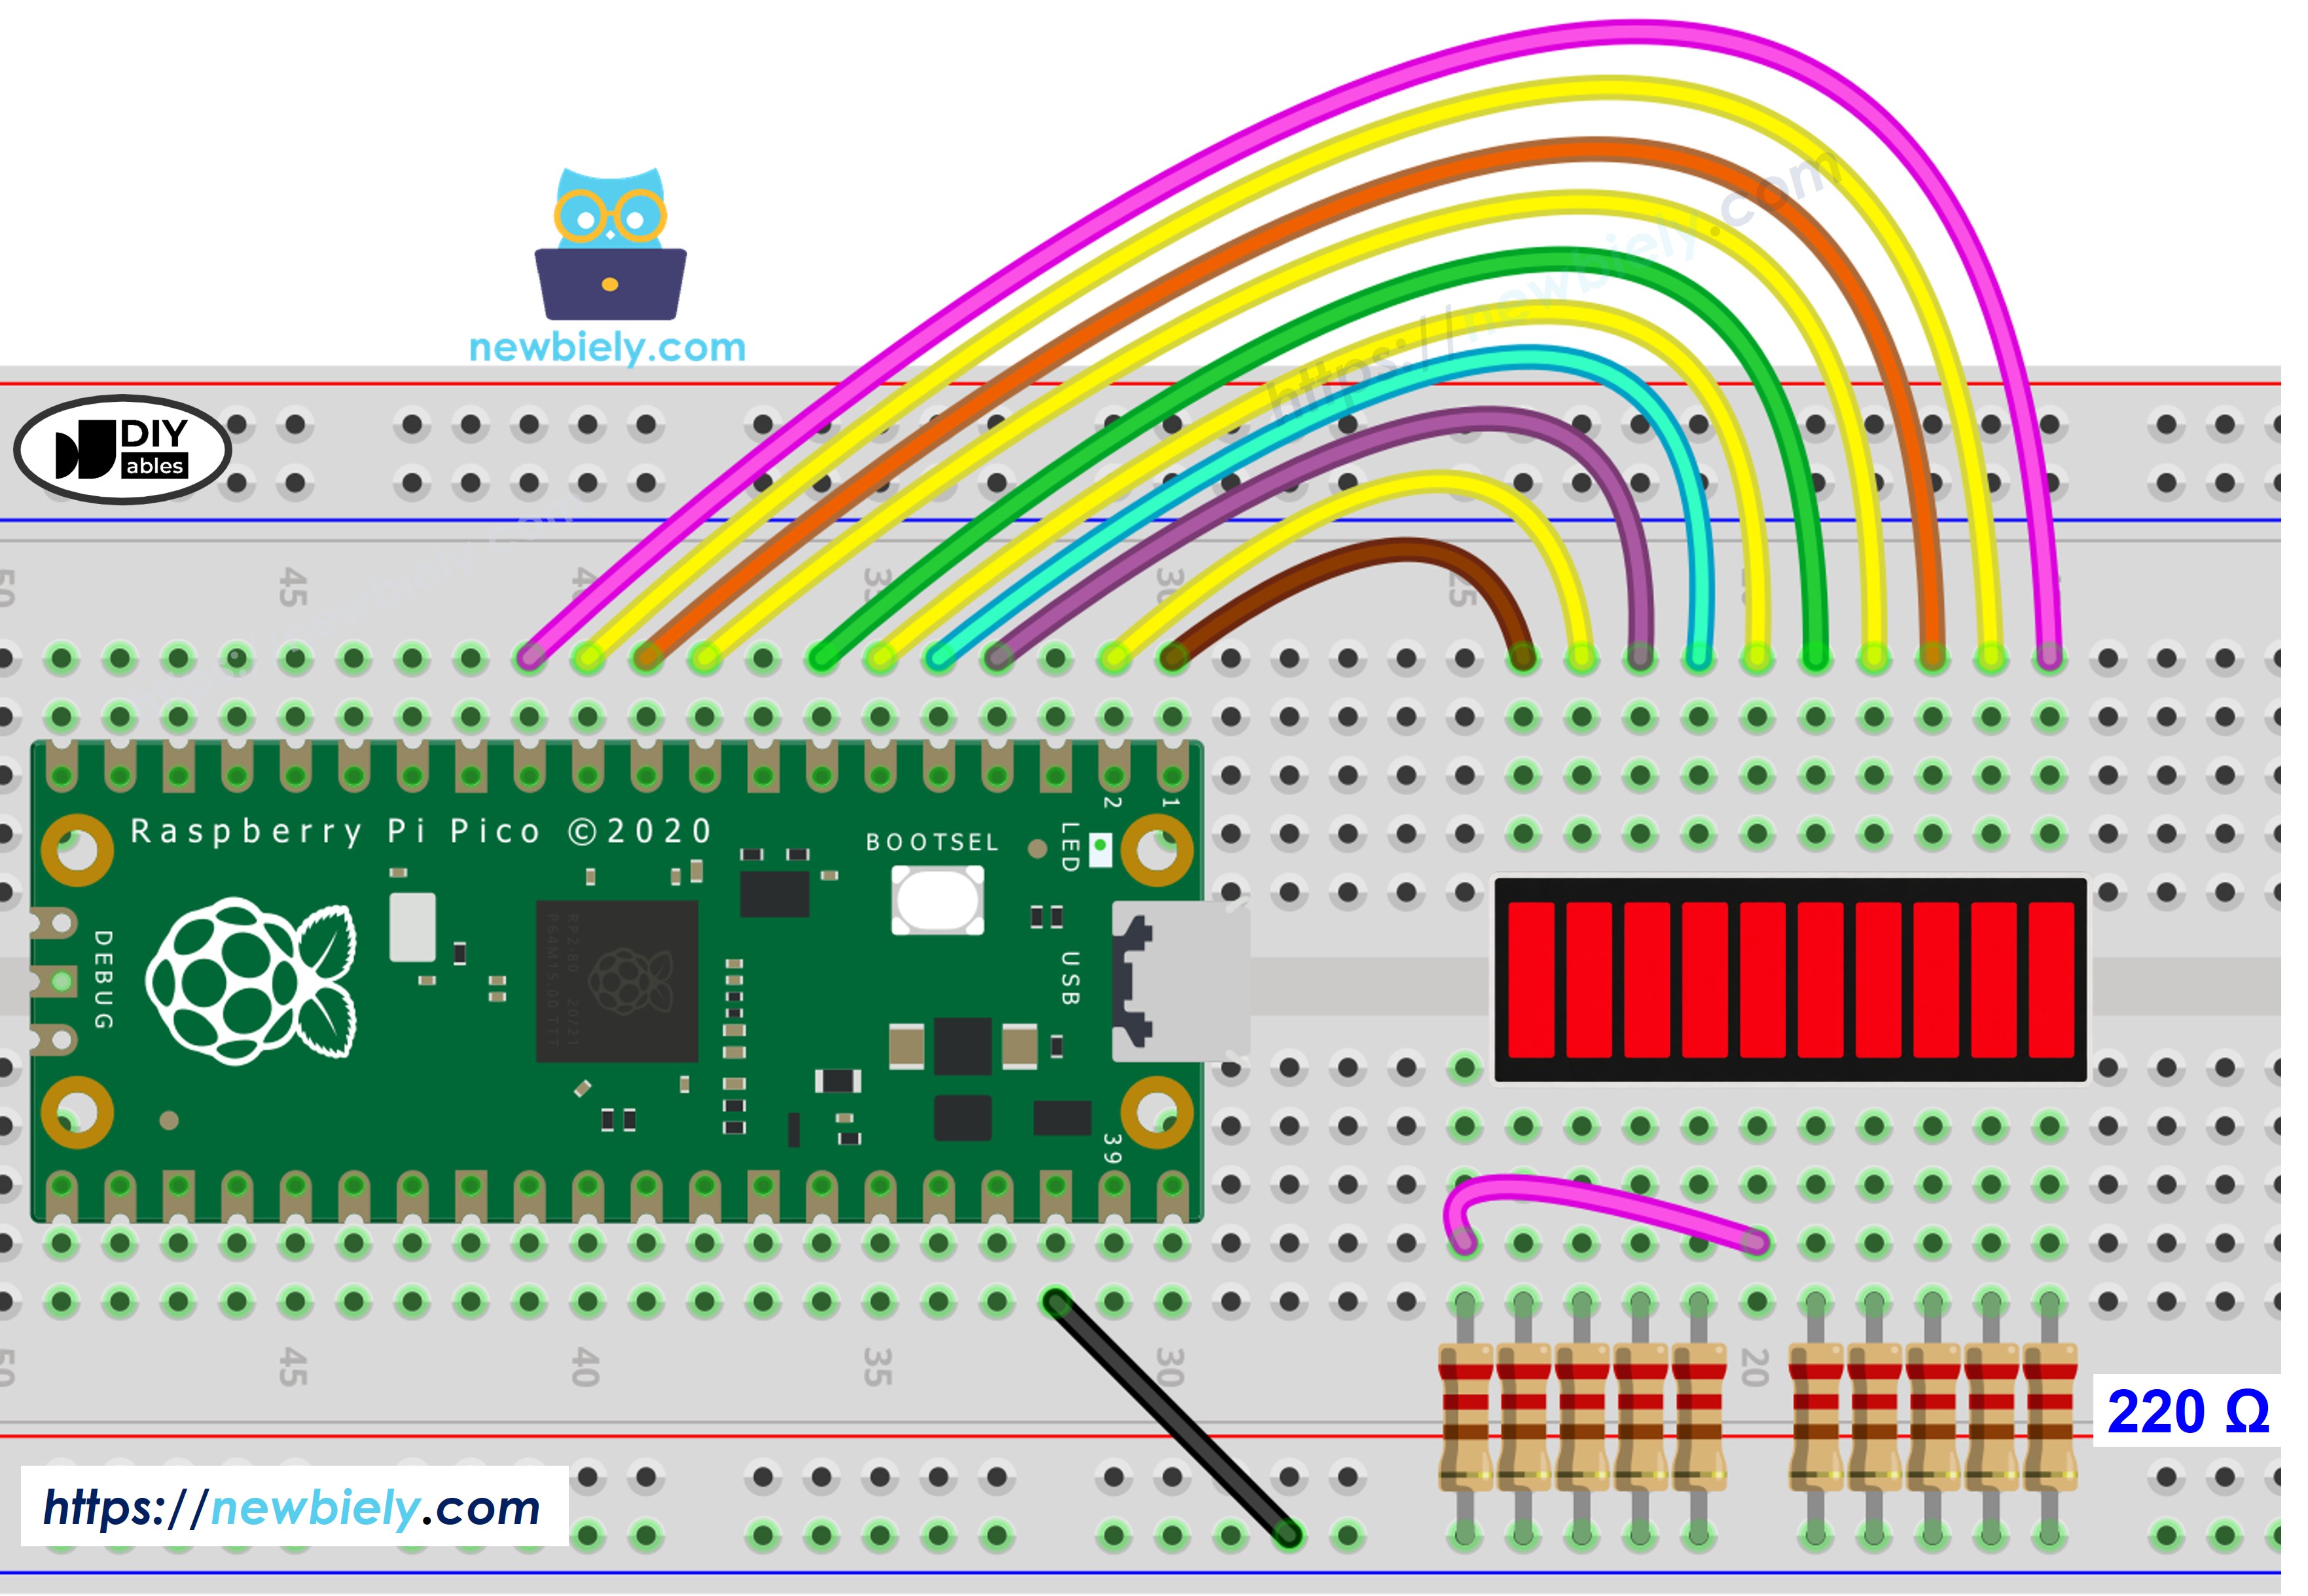
This image is created using Fritzing. Click to enlarge image
Each anode pin of the LED bar graph must be connected to its GPIO pin through a 220Ω resistor to limit the current and protect both the LED and the Raspberry Pi Pico.
| LED Bar Graph | Raspberry Pi Pico Pin |
|---|---|
| A1 (Anode 1) | GP0 (via 220Ω) |
| A2 (Anode 2) | GP1 (via 220Ω) |
| A3 (Anode 3) | GP2 (via 220Ω) |
| A4 (Anode 4) | GP3 (via 220Ω) |
| A5 (Anode 5) | GP4 (via 220Ω) |
| A6 (Anode 6) | GP5 (via 220Ω) |
| A7 (Anode 7) | GP6 (via 220Ω) |
| A8 (Anode 8) | GP7 (via 220Ω) |
| A9 (Anode 9) | GP8 (via 220Ω) |
| A10 (Anode 10) | GP9 (via 220Ω) |
| K1–K10 (Cathodes) | GND (0 volts) |
Raspberry Pi Pico Code - 10 Segment LED Bar Graph
Please follow these instructions step by step:
- Ensure that Thonny IDE is installed on your computer.
- Ensure that MicroPython firmware is installed on your Raspberry Pi Pico.
- If this is your first time using a Raspberry Pi Pico, refer to the Raspberry Pi Pico - Getting Started tutorial for detailed instructions.
- Wire the components according to the provided diagram.
- Connect the Raspberry Pi Pico to your computer using a Micro USB cable.
- Launch the Thonny IDE on your computer.
- On Thonny IDE, select MicroPython (Raspberry Pi Pico) Interpreter by navigating to Tools Options.
- In the Interpreter tab, select MicroPython (Raspberry Pi Pico) from the drop-down menu.
- Ensure the correct port is selected. Thonny IDE should automatically detect the port.
- Copy the above code and paste it to the Thonny IDE's editor.
- Save the script to your Raspberry Pi Pico by:
- Click the Save button, or use Ctrl+S keys.
- In the save dialog, select Raspberry Pi Pico.
- Save the file as main.py
- Click the green Run button (or press F5) to run the script.
- Watch the LED bar animate on your breadboard.
- Check the message in the Shell at the bottom of Thonny.
Thonny Console Output
If you name your script main.py and save it to the root directory of the Raspberry Pi Pico, it will automatically run each time the Pico is powered on or reset. This is useful for standalone applications that need to start running immediately upon power-up. If you name your script another name other than main.py, you will need to manually run it from Thonny's Shell.