Arduino Mega - Temperature Sensor - LCD
This guide shows you how to use an Arduino Mega to read temperature from the DS18B20 one-wire sensor and show it on an I2C LCD display.
Hardware Preparation
Or you can buy the following kits:
| 1 | × | DIYables Sensor Kit (30 sensors/displays) | |
| 1 | × | DIYables Sensor Kit (18 sensors/displays) |
Additionally, some of these links are for products from our own brand, DIYables .
Buy Note: Many DS18B20 sensors available in the market are unreliable. We strongly recommend buying the sensor from the DIYables brand using the link provided above. We tested it, and it worked reliably.
Overview of Temperature Sensor and LCD
If you're new to using the Temperature Sensor, LCD, and Arduino Mega, please check out these tutorials:
- Getting Started with Arduino Mega tutorial
These tutorials explain how Temperature Sensor and LCD work, their pinouts, how to connect them to the Arduino Mega, and how to program Arduino Mega to work with the Temperature Sensor and LCD.
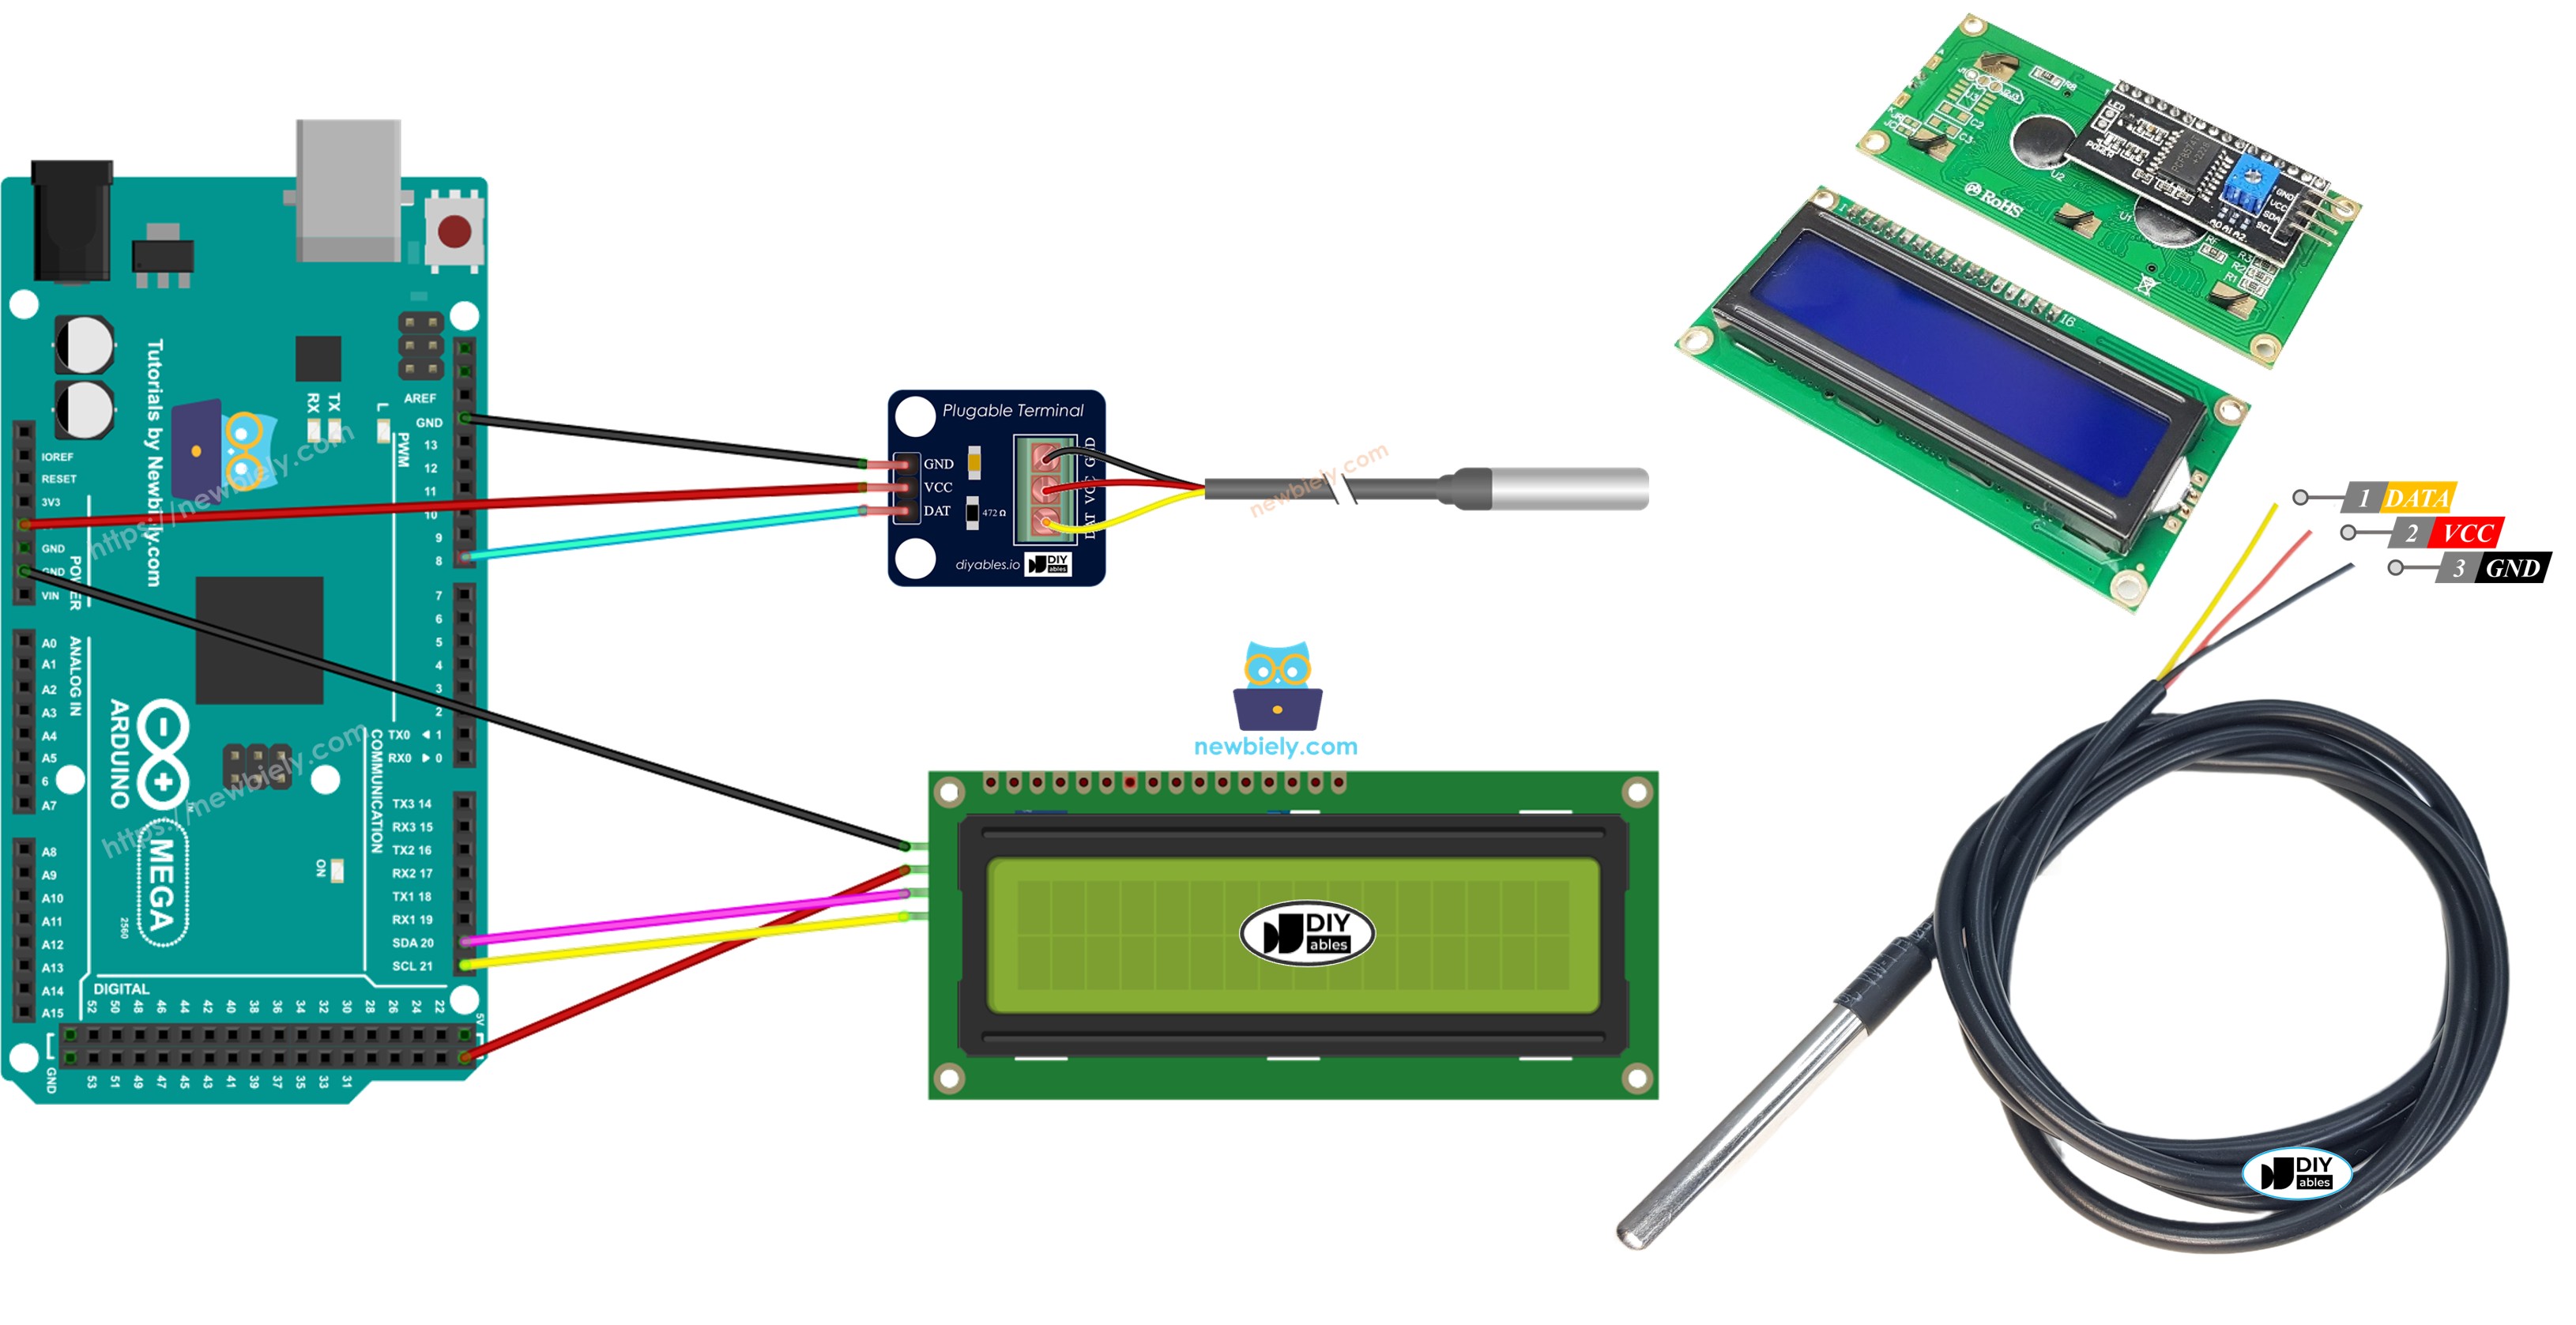
Wiring Diagram
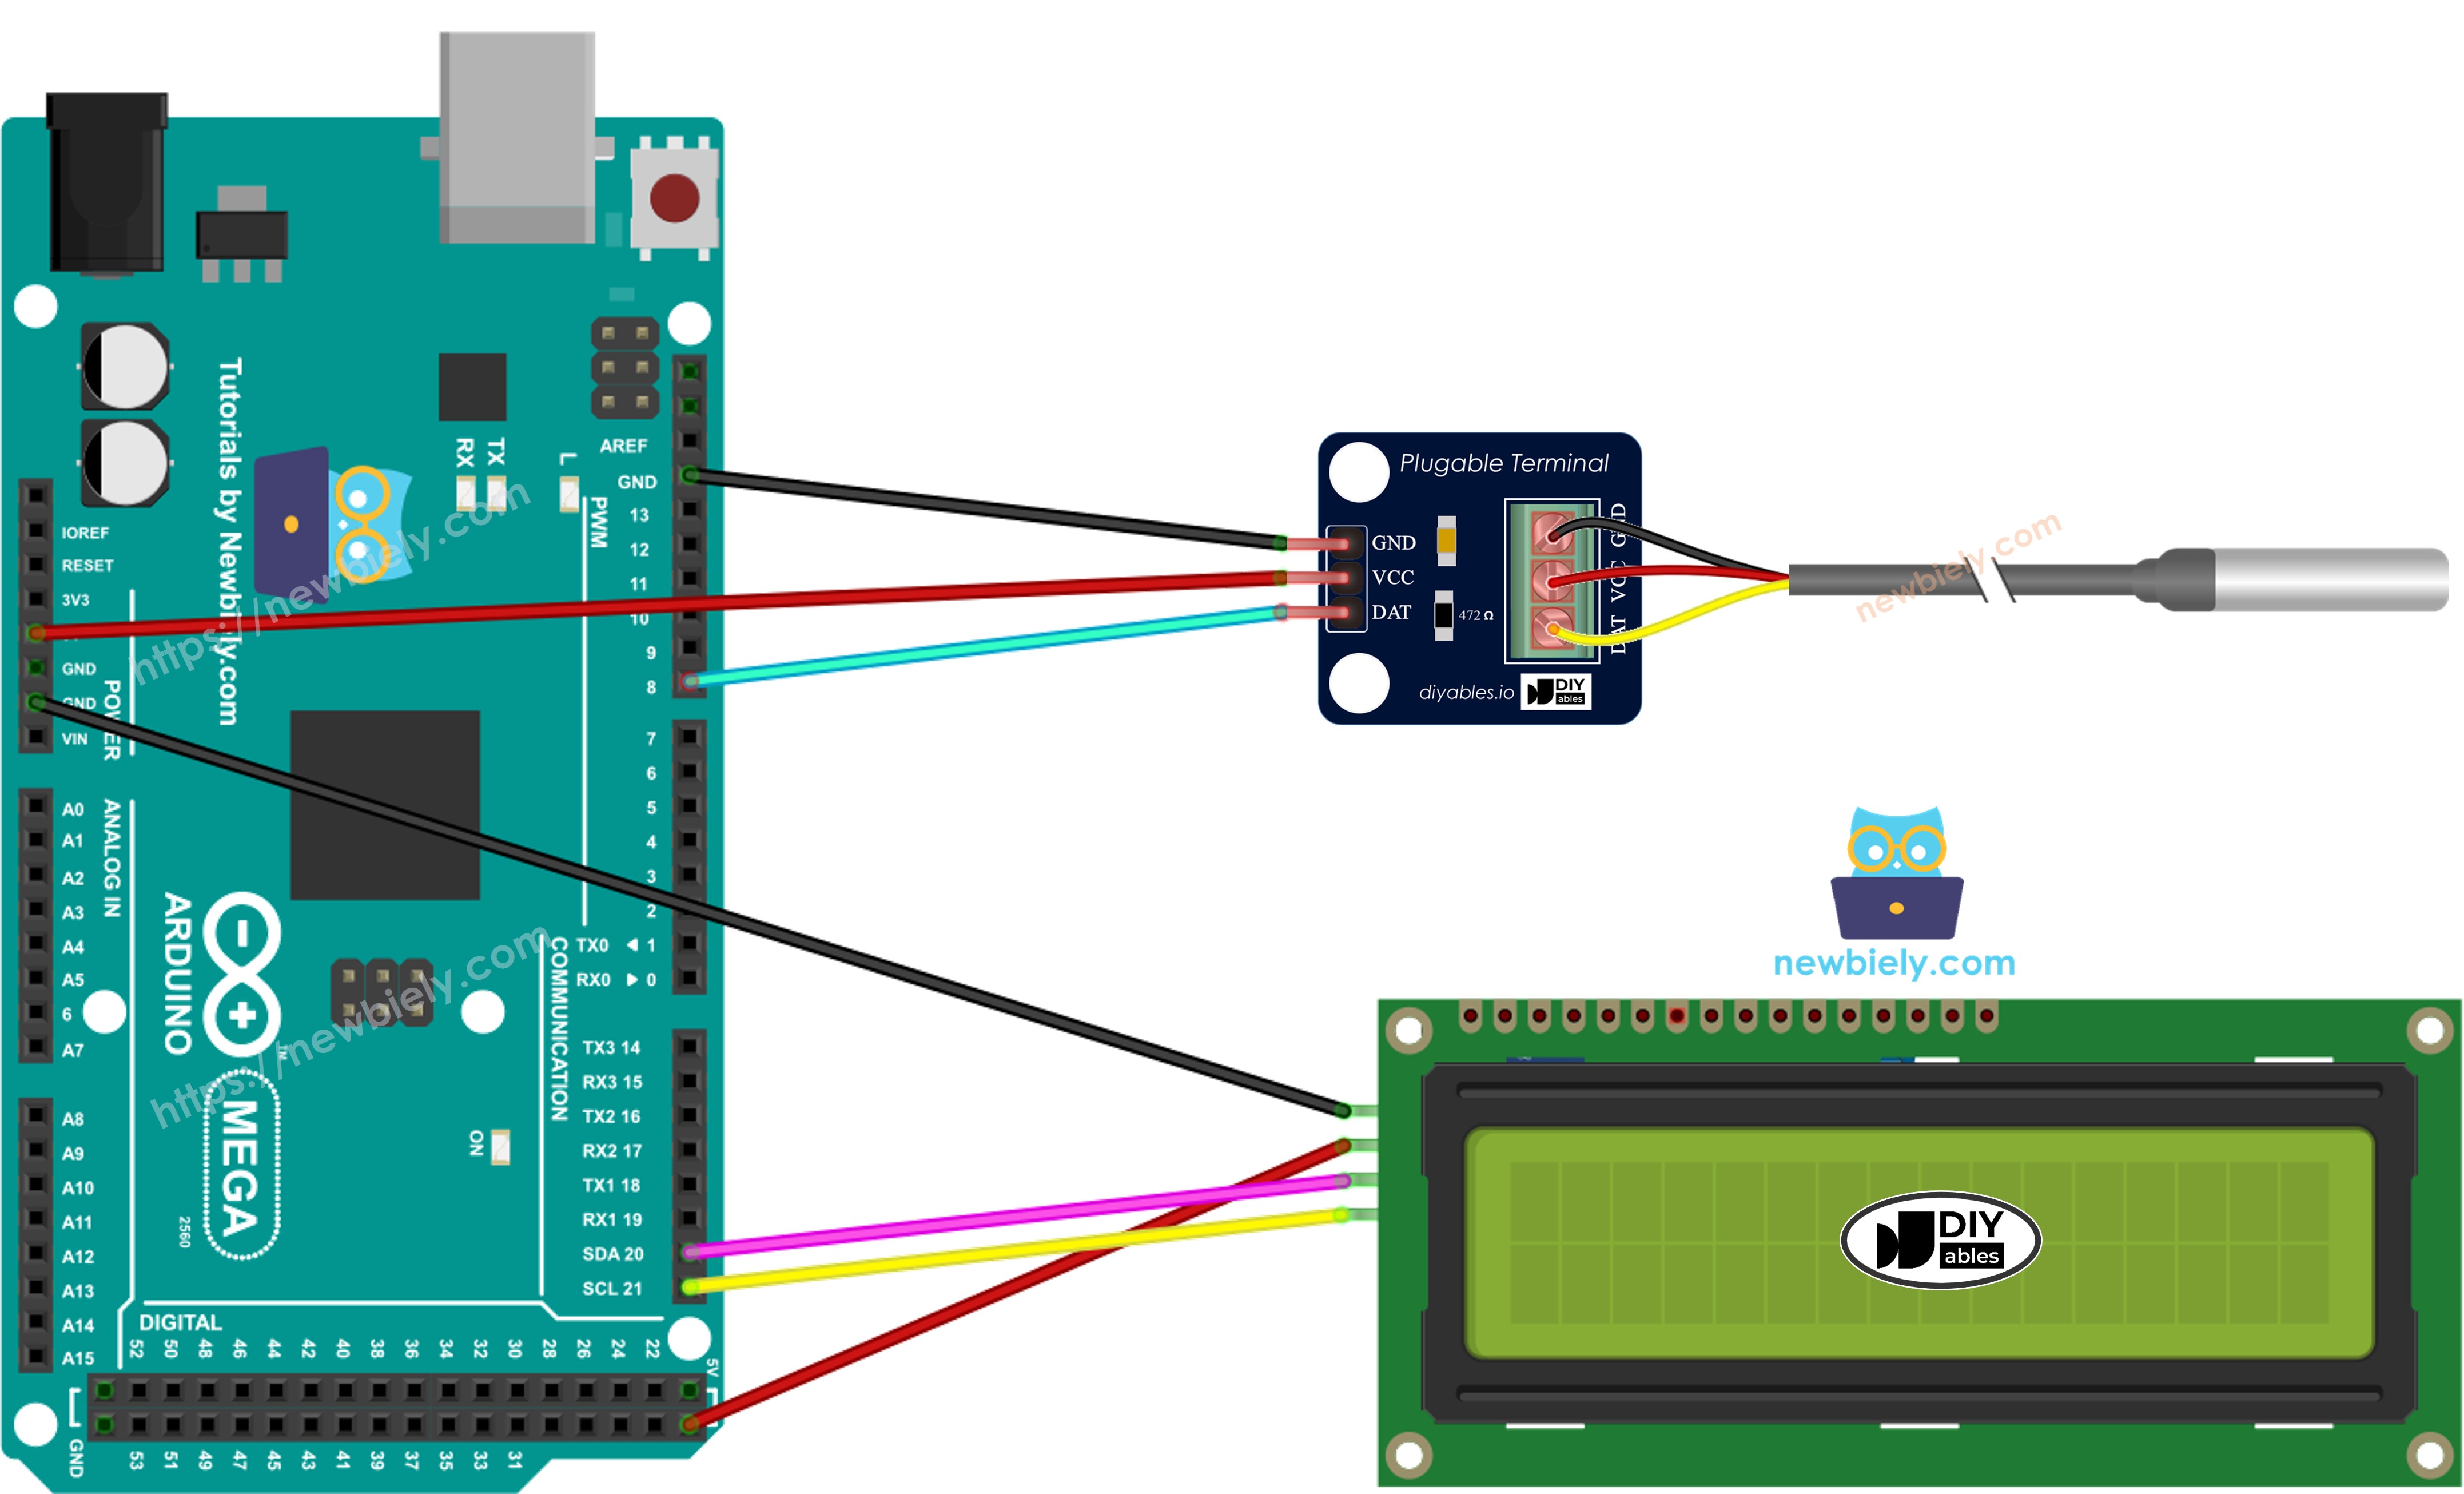
This image is created using Fritzing. Click to enlarge image
Arduino Mega Code
※ NOTE THAT:
The LCD’s I2C address can be different depending on who makes it. In our code we used 0x27, which is the address given by the manufacturer DIYables: https://diyables.io/products/lcd-i2c-16x2.
Detailed Instructions
Do these steps in order:
- Connect the Arduino Mega to the DS18B20 temperature sensor and the LCD I2C, as shown in the diagram.
- Connect the Arduino Mega to your computer with a USB cable.
- Open the Arduino IDE on your computer.
- Choose the right board (for example, Arduino Mega) and the serial port.
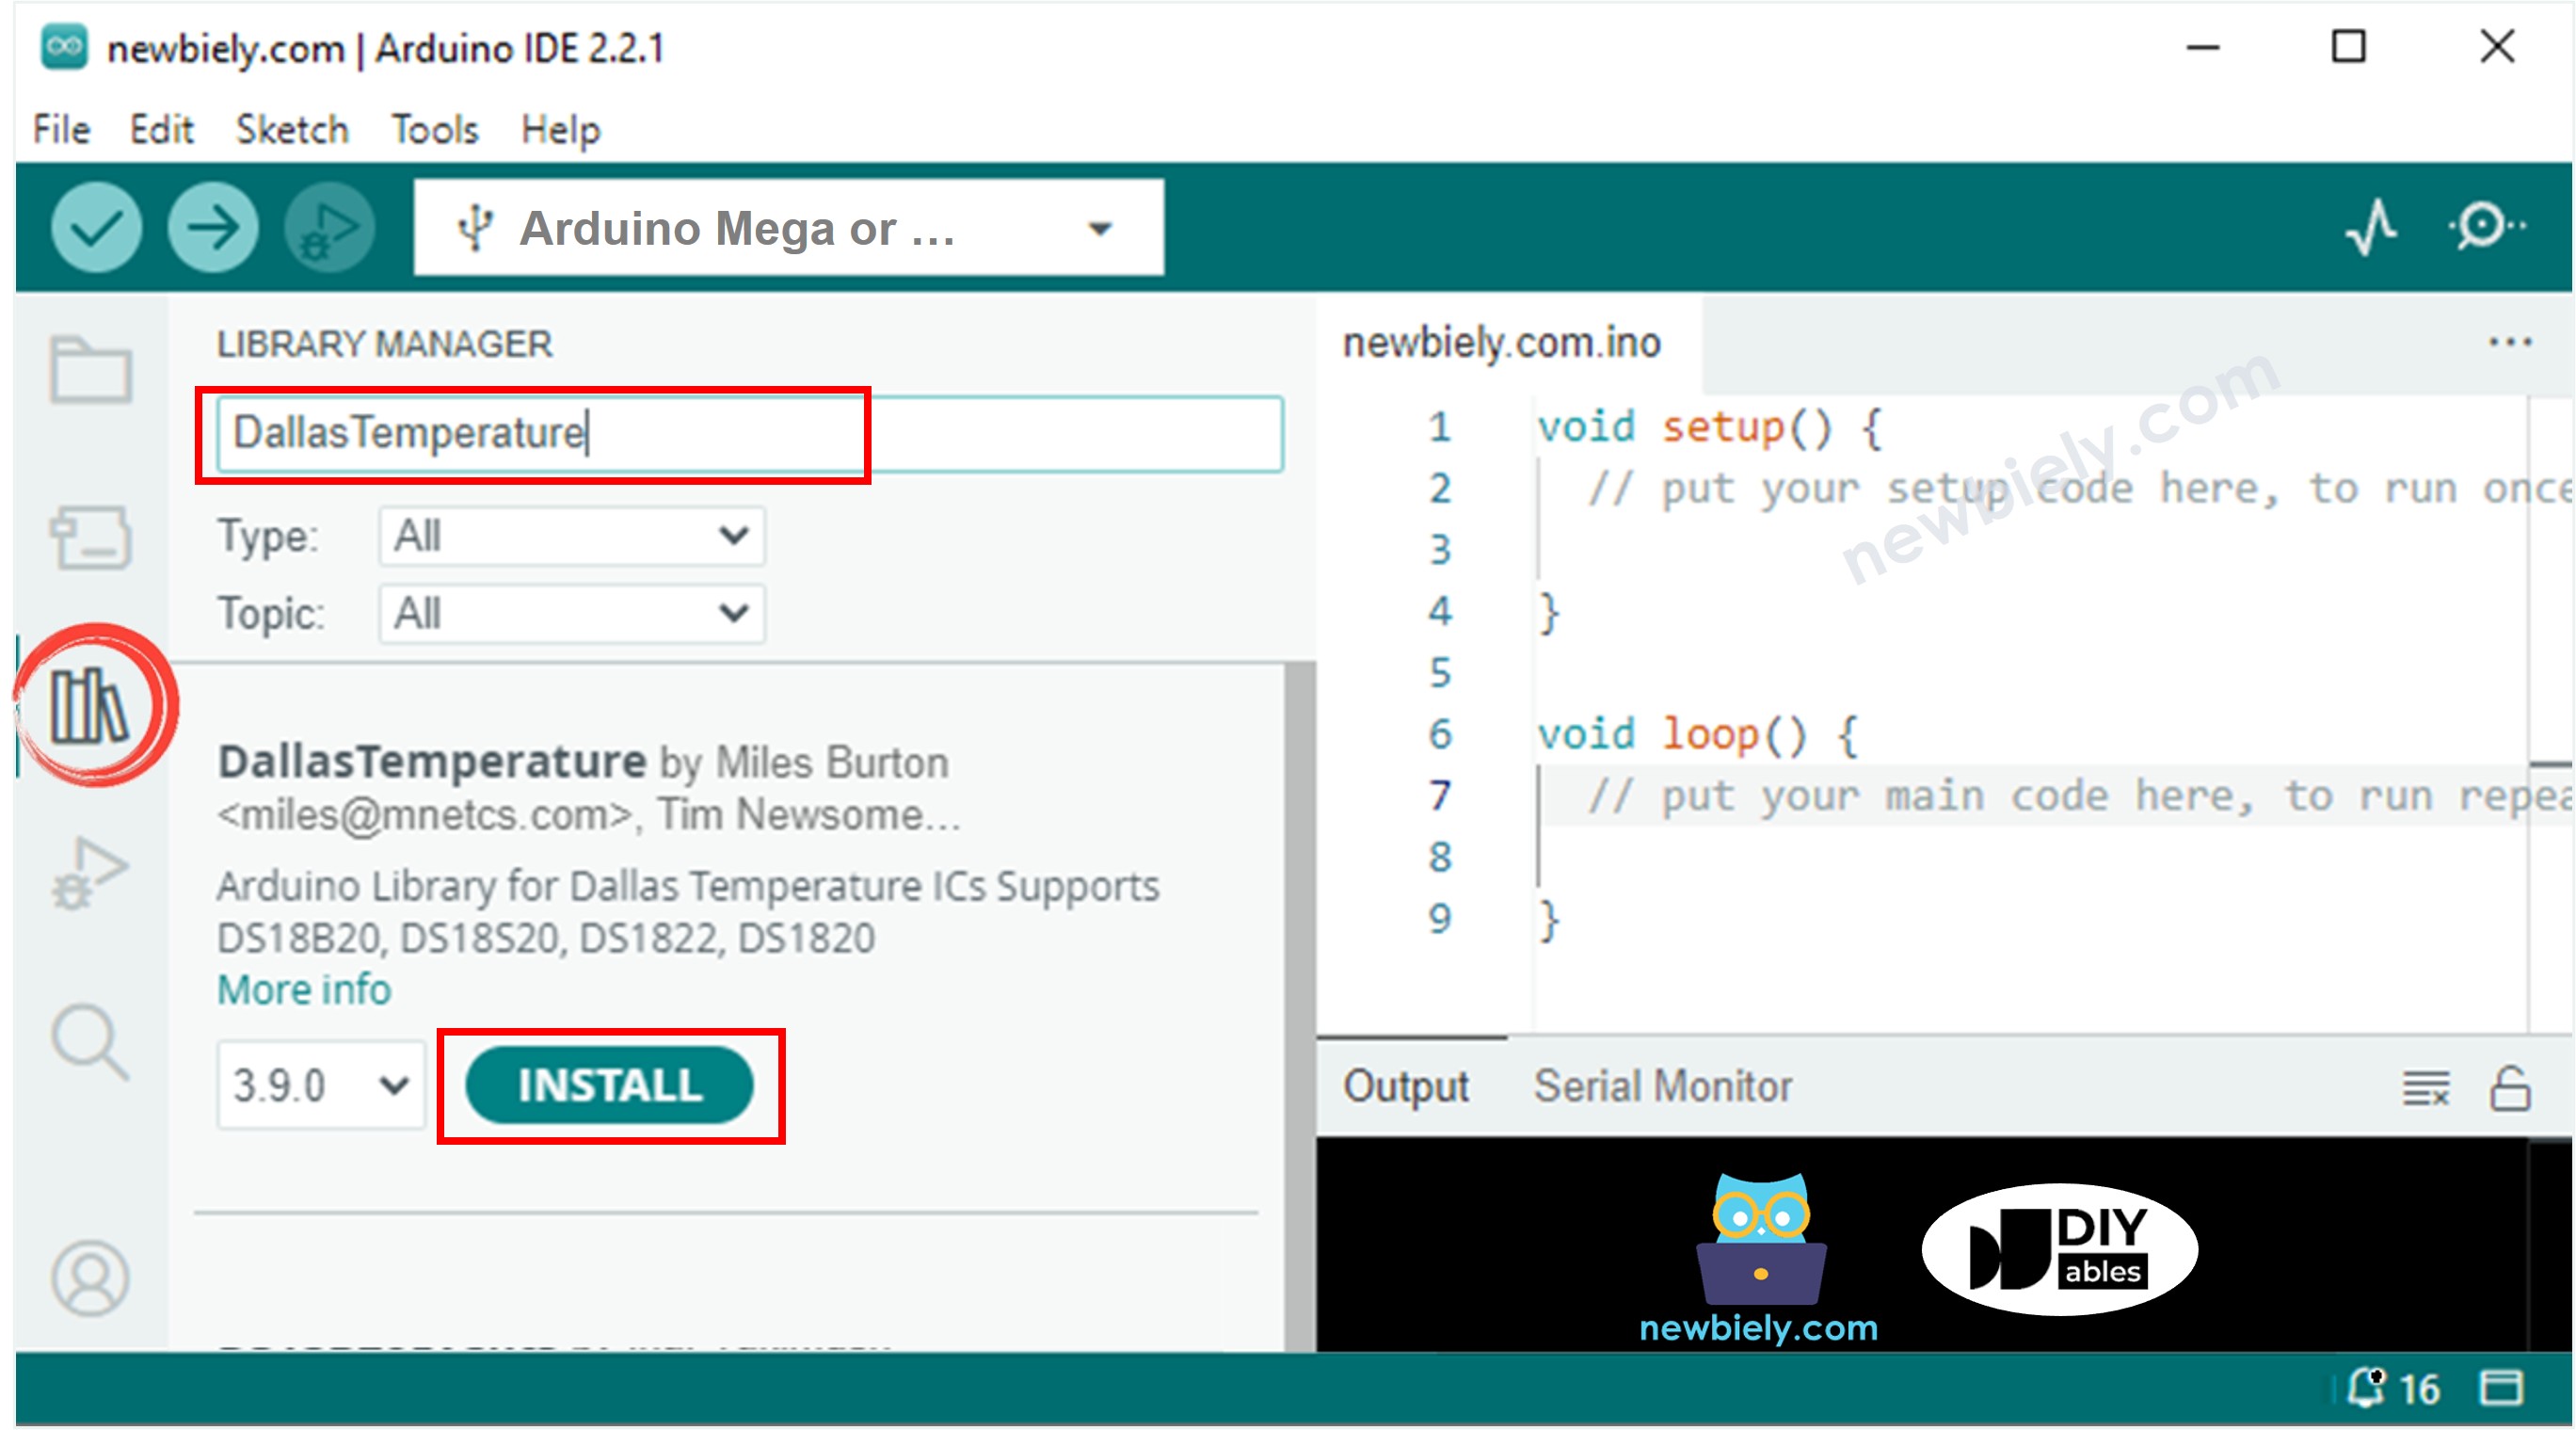
- Click the Libraries icon on the left side of the Arduino IDE.
- Search for DallasTemperature and find the library by Miles Burton.
- Click Install to add the DallasTemperature library.
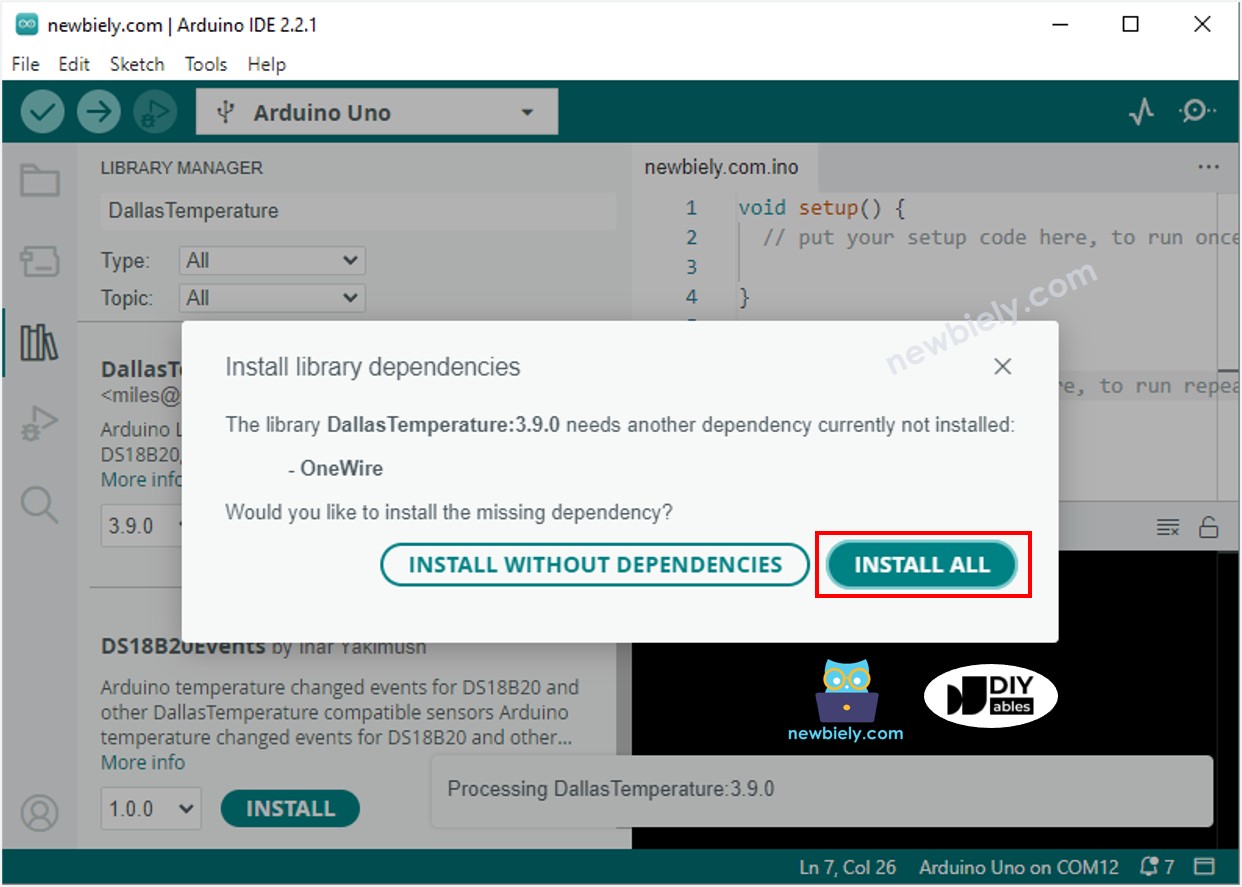
- You need to install a library the project needs.
- Click the Install All button to install the OneWire library.
- Look for "LiquidCrystal I2C" and find the LiquidCrystal_I2C library by Frank de Brabander.
- Click the Install button to install the LiquidCrystal_I2C library.

- Copy the code and open it in the Arduino IDE.
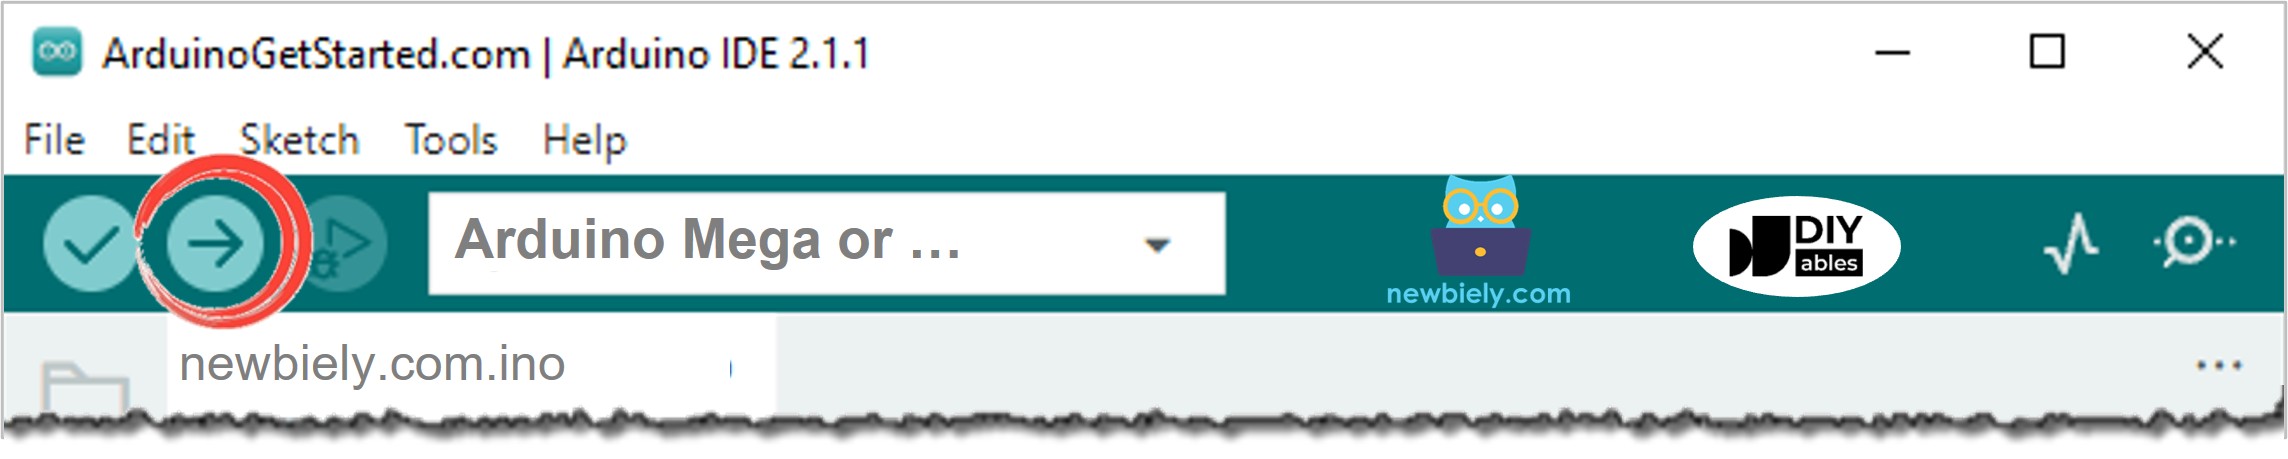
- Click the Upload button in the Arduino IDE to send the code to the Arduino Mega.
- Put the sensor in hot or cold water, or hold it in your hand.
- Look at the screen to see the reading.
If the screen is blank, check the LCD I2C troubleshooting guide: LCD I2C troubleshooting.
Code Explanation
Look at the notes in the code comments to understand what each line does.