Arduino Mega - Servo Motor

This guide shows you how to control a servo motor with an Arduino Mega. Specifically, we will learn:

Arduino Mega Servo Motor

Hardware Preparation

1×Arduino Mega
1×USB 2.0 cable type A/B (for USB-A PC)
1×USB 2.0 cable type C/B (for USB-C PC)
1×Servo Motor
1×Jumper Wires

Or you can buy the following kits:

1×DIYables Sensor Kit (30 sensors/displays)
1×DIYables Sensor Kit (18 sensors/displays)
Disclosure: Some of the links provided in this section are Amazon affiliate links. We may receive a commission for any purchases made through these links at no additional cost to you.
Additionally, some of these links are for products from our own brand, DIYables .

Overview of Servo Motor

A servo motor is a small device that can turn a shaft, usually from 0 to 180 degrees. It is used to control the angle of something.

Pinout

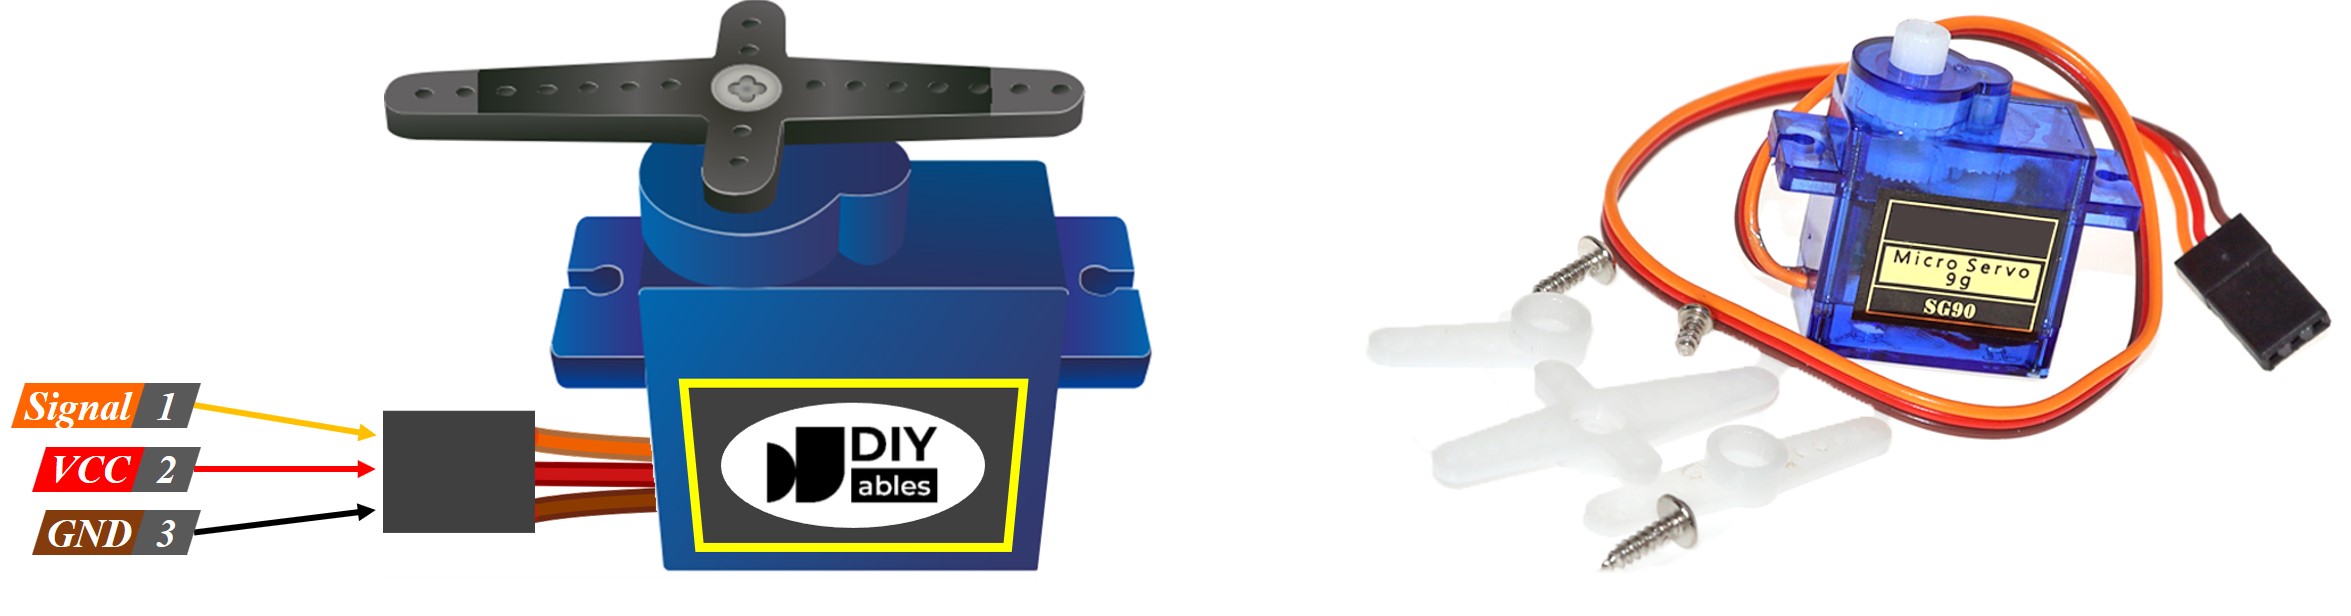
In this example, a servo motor with three pins is used:

  • VCC pin: connect the red wire to +5V.
  • GND pin: connect the black or brown wire to ground.
  • Signal pin: connect the yellow or orange wire to get the PWM signal from an Arduino Mega pin.
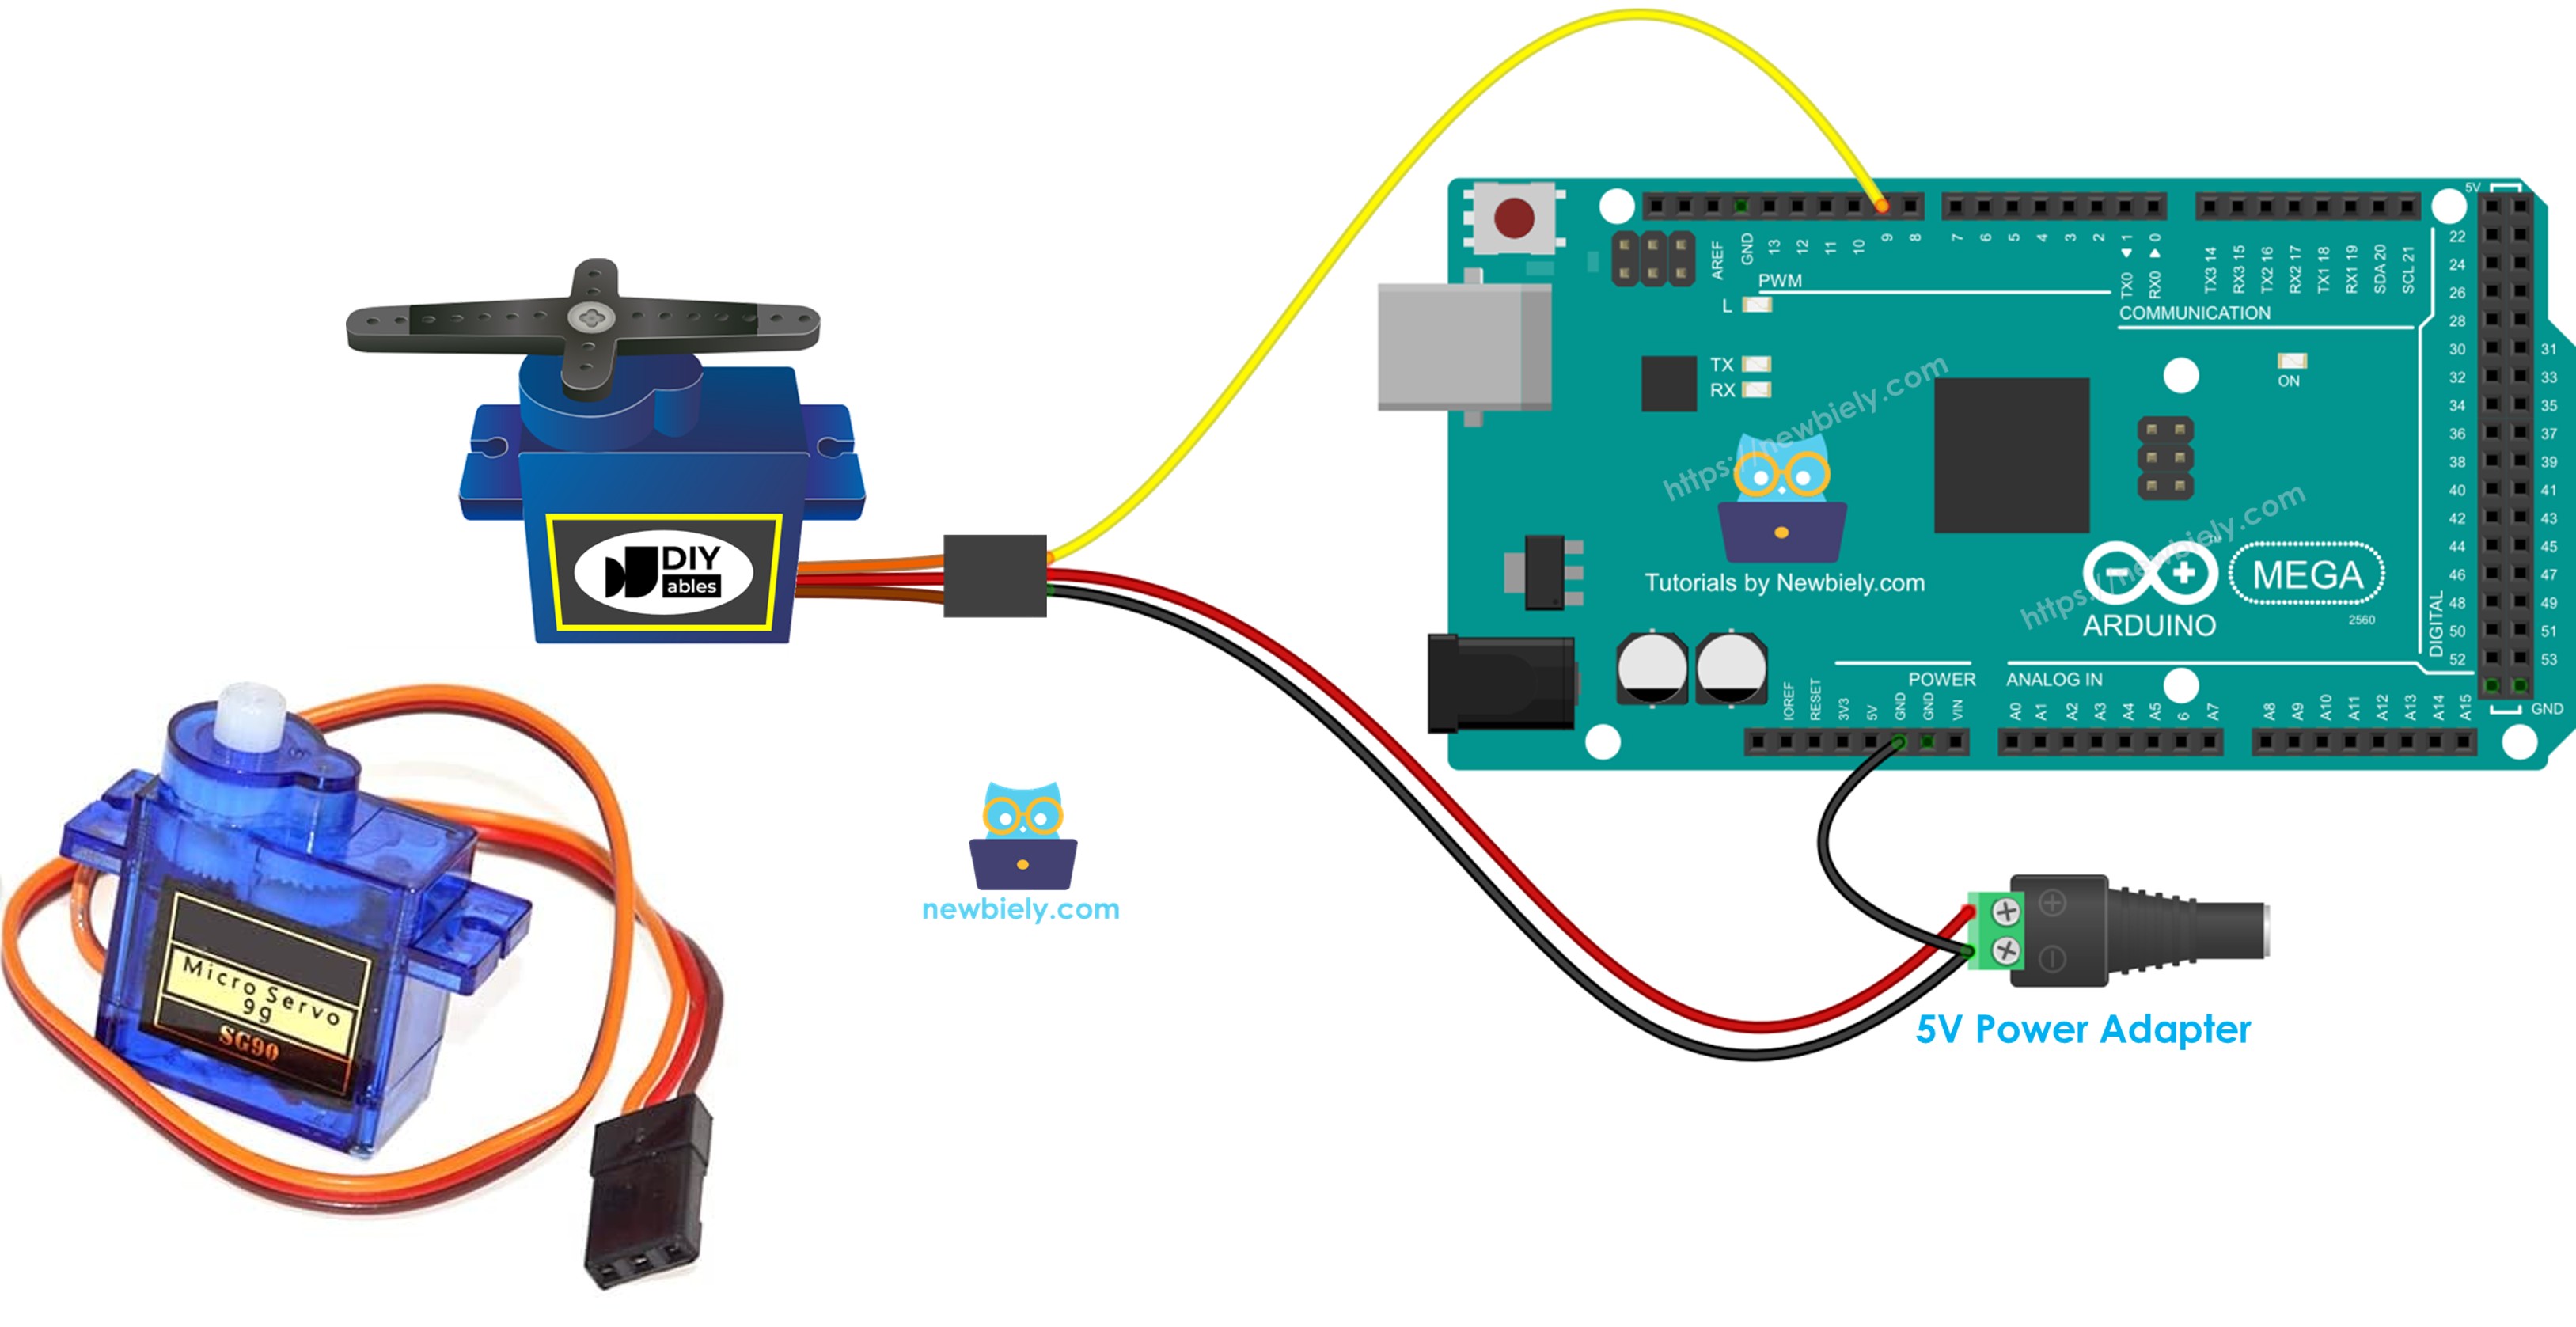
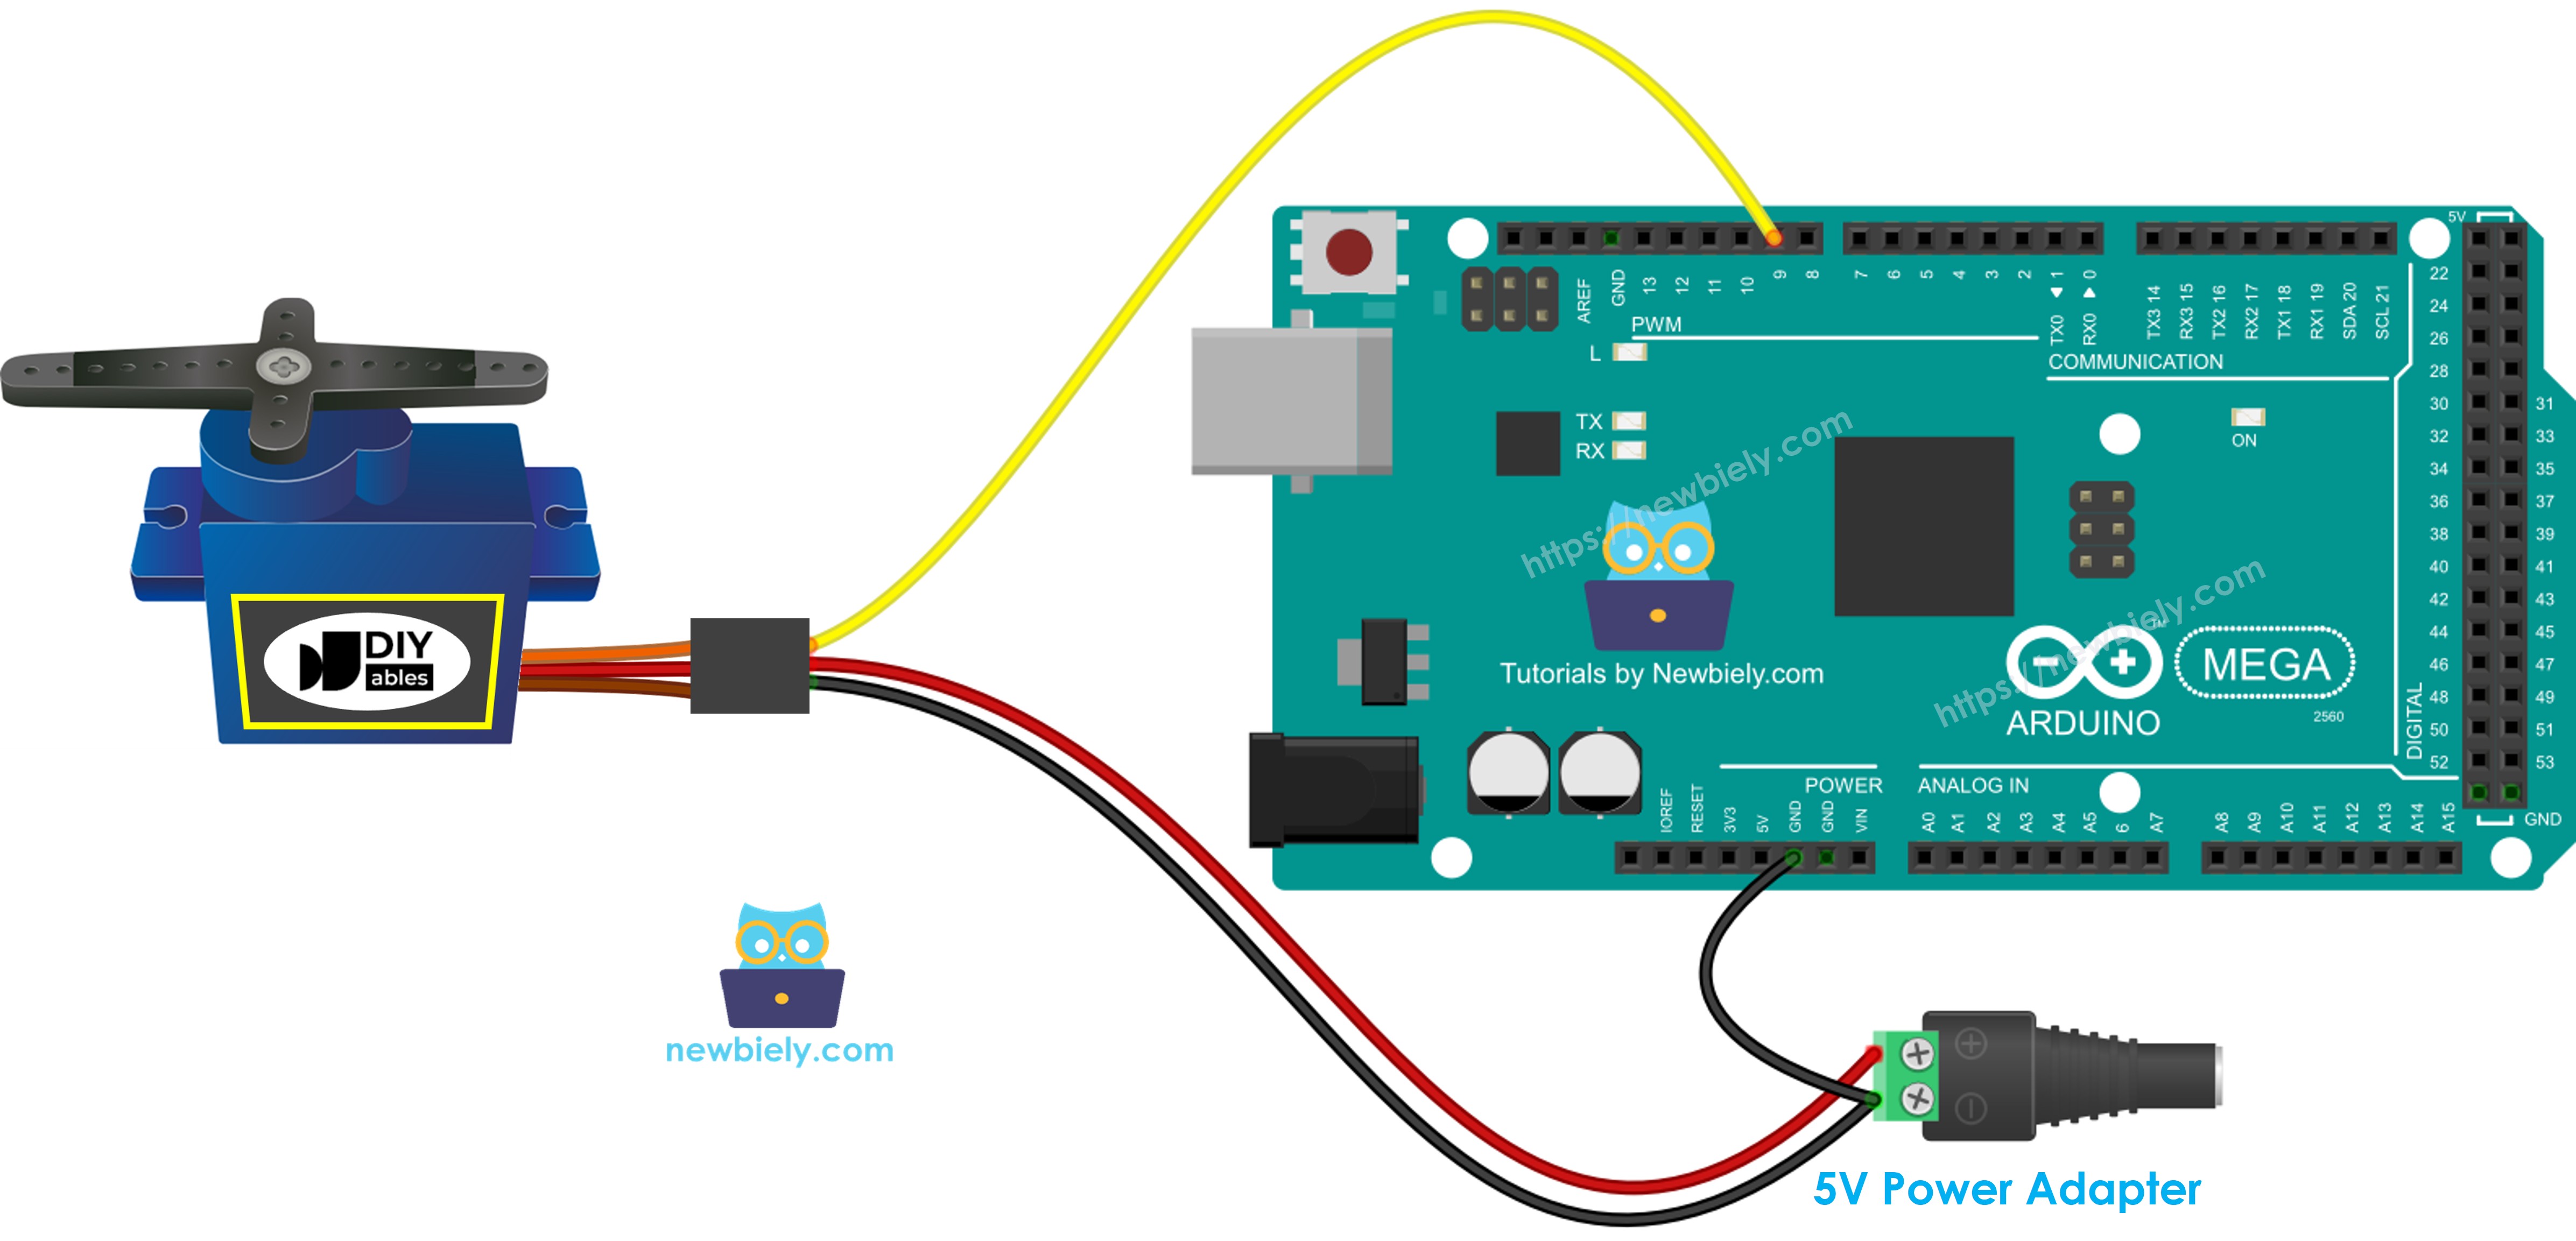
Servo Motor Pinout

Wiring Diagram

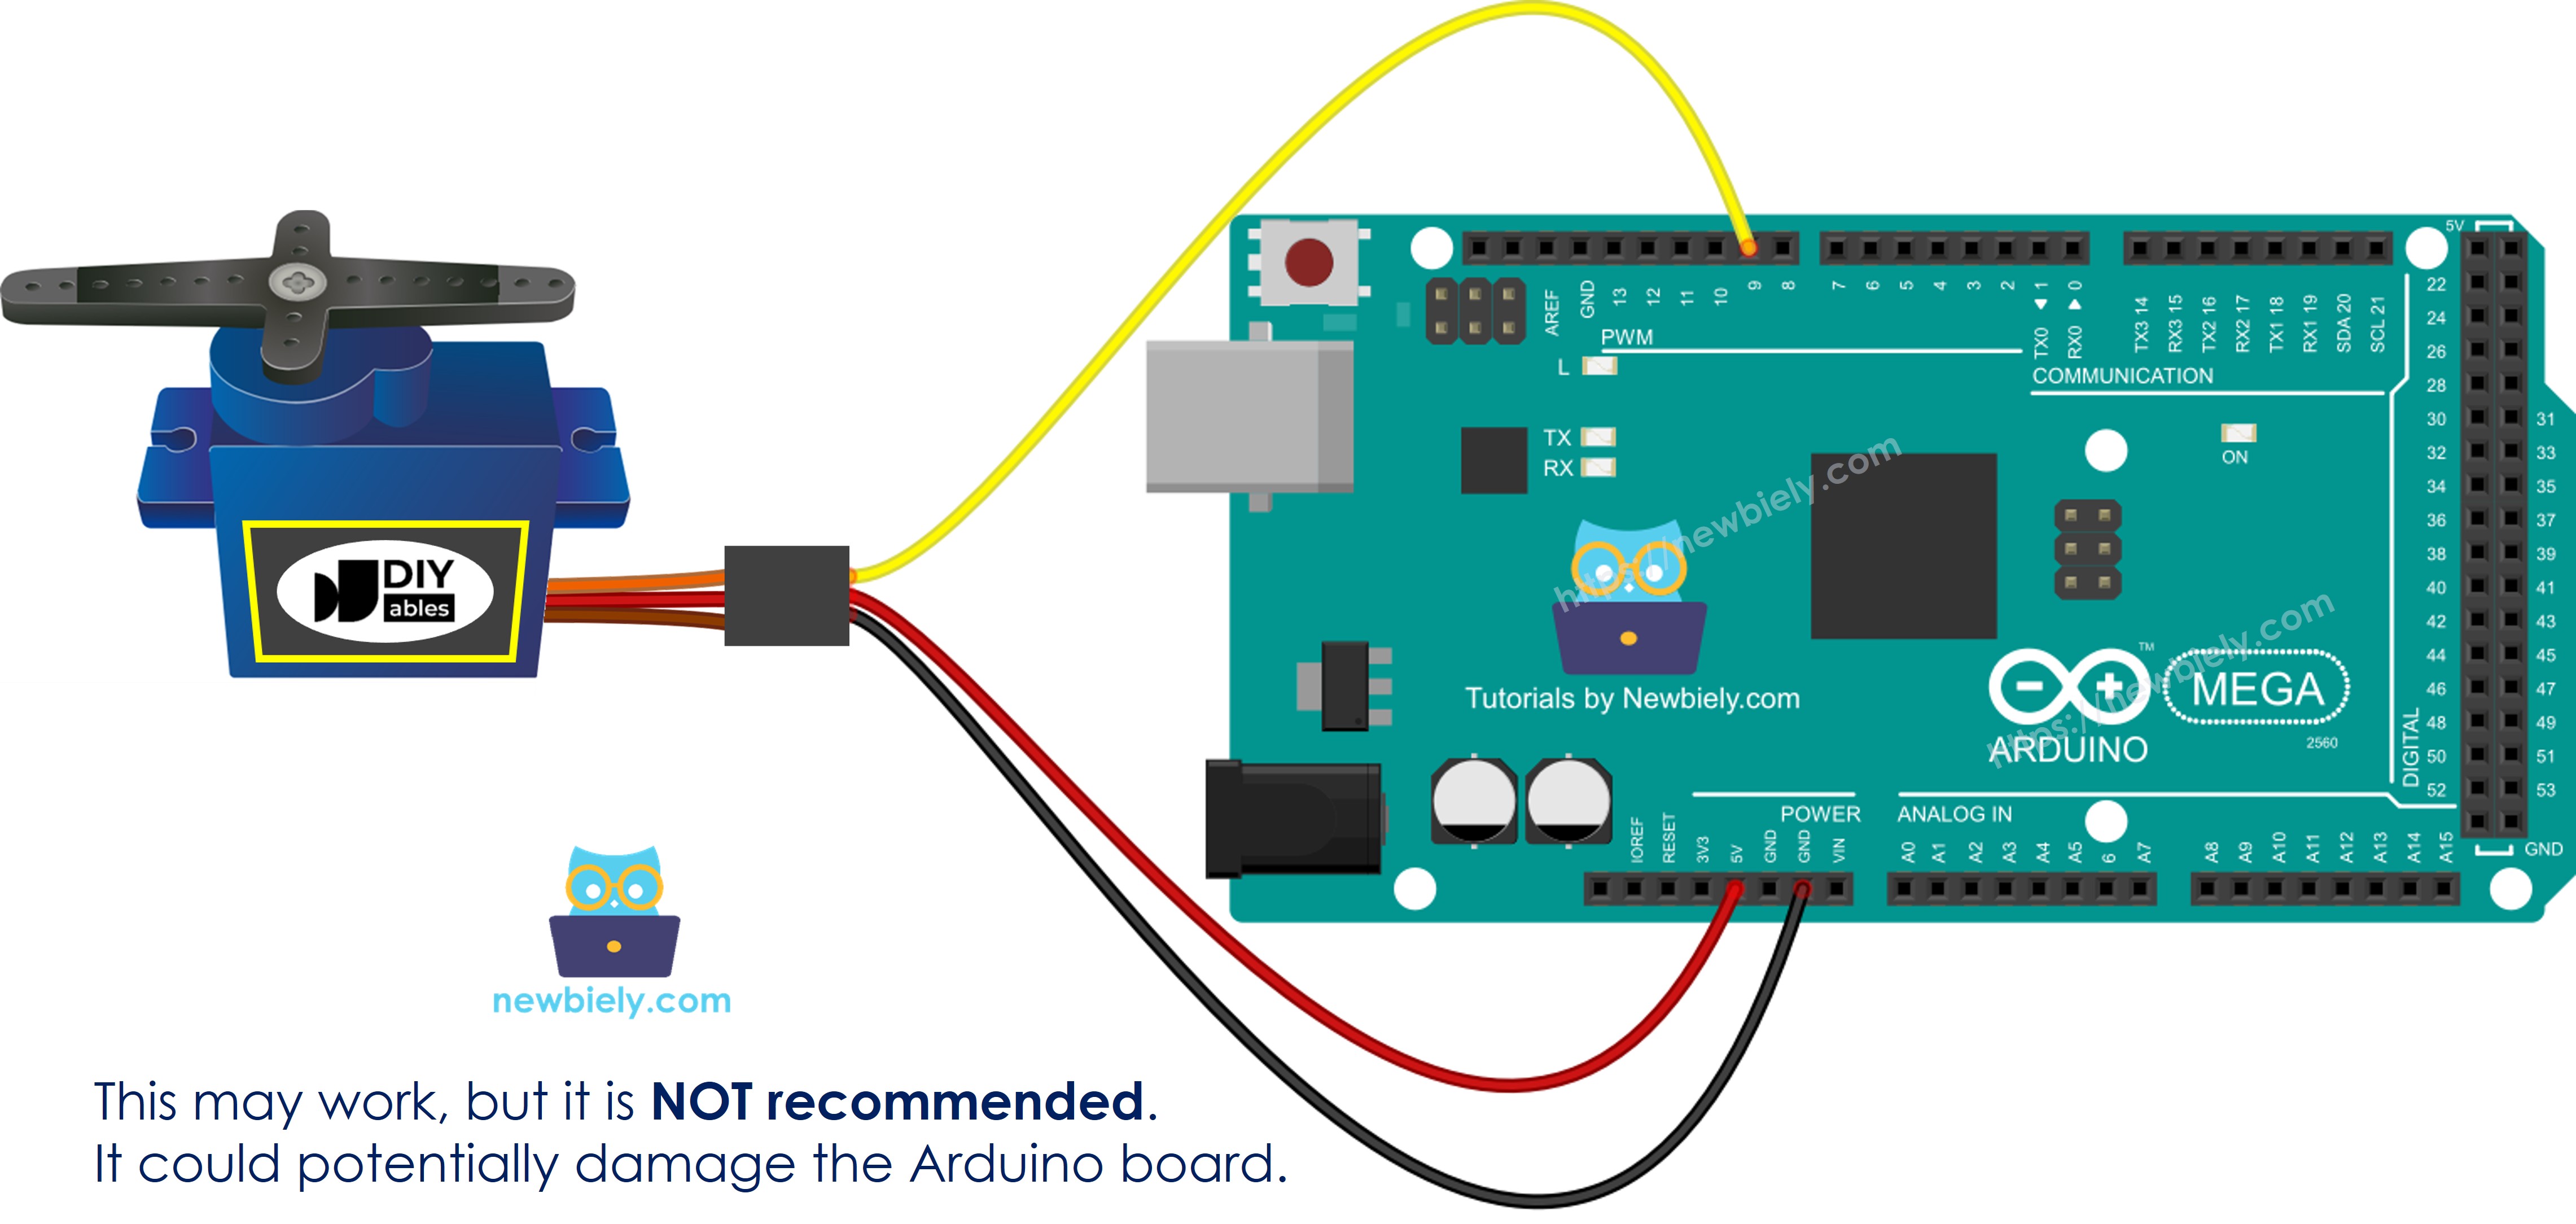
Sometimes you see online wiring diagrams that connect the servo's power pin (VCC) to the Arduino Mega's 5V pin. It's best not to do this, because it can damage the Arduino Mega board.

The wiring diagram between Arduino Mega Servo Motor

This image is created using Fritzing. Click to enlarge image

To keep your Arduino Mega safe, use a separate power supply for the servo motor. The diagram below shows how to connect the servo motor to that power source.

The wiring diagram between Arduino Mega servo motor external power supply

This image is created using Fritzing. Click to enlarge image

Make sure the ground (GND) of the power supply is connected to the Arduino Mega board’s ground. This step is very important so it works correctly.

How To Program For Servo Motor

  • Add the library:
#include <Servo.h>
  • Make a Servo object:
Servo servo;

If you have several servo motors, just create more Servo objects.

Servo servo1; Servo servo2;
  • Connect the Arduino Mega's control pin to the servo motor's signal pin, for example pin 9.
servo.attach(9);
  • Finally, move the servo motor to the angle you want, for example 90 degrees.
servo.write(90);

Arduino Mega Code

/* * This Arduino Mega code was developed by newbiely.com * * This Arduino Mega code is made available for public use without any restriction * * For comprehensive instructions and wiring diagrams, please visit: * https://newbiely.com/tutorials/arduino-mega/arduino-mega-servo-motor */ #include <Servo.h> Servo servo; // Create a Servo instance to control a hobby servo void setup() { servo.attach(9); // Attaches the Servo instance to the signal on pin 9 servo.write(0); // Sets the initial position to 0 degrees at startup } void loop() { for (int pos = 0; pos <= 180; pos += 1) { // Sweep from 0° to 180° in small increments servo.write(pos); // Command the servo to move to 'pos' degrees delay(10); // Pause 10 ms for the servo to reach the target position } for (int pos = 180; pos >= 0; pos -= 1) { // Sweep from 180° back down to 0° servo.write(pos); // Command the servo to move to 'pos' degrees delay(10); // Pause 10 ms for the servo to reach the target position } }

Detailed Instructions

Follow these steps one by one:

  • Wire the parts as shown in the diagram.
  • Connect the Arduino Mega board to your computer with a USB cable.
  • Open the Arduino IDE on your computer.
  • Choose the right Arduino Mega board (for example Arduino Mega) and the COM port.
  • Copy and paste the code above into the Arduino IDE.
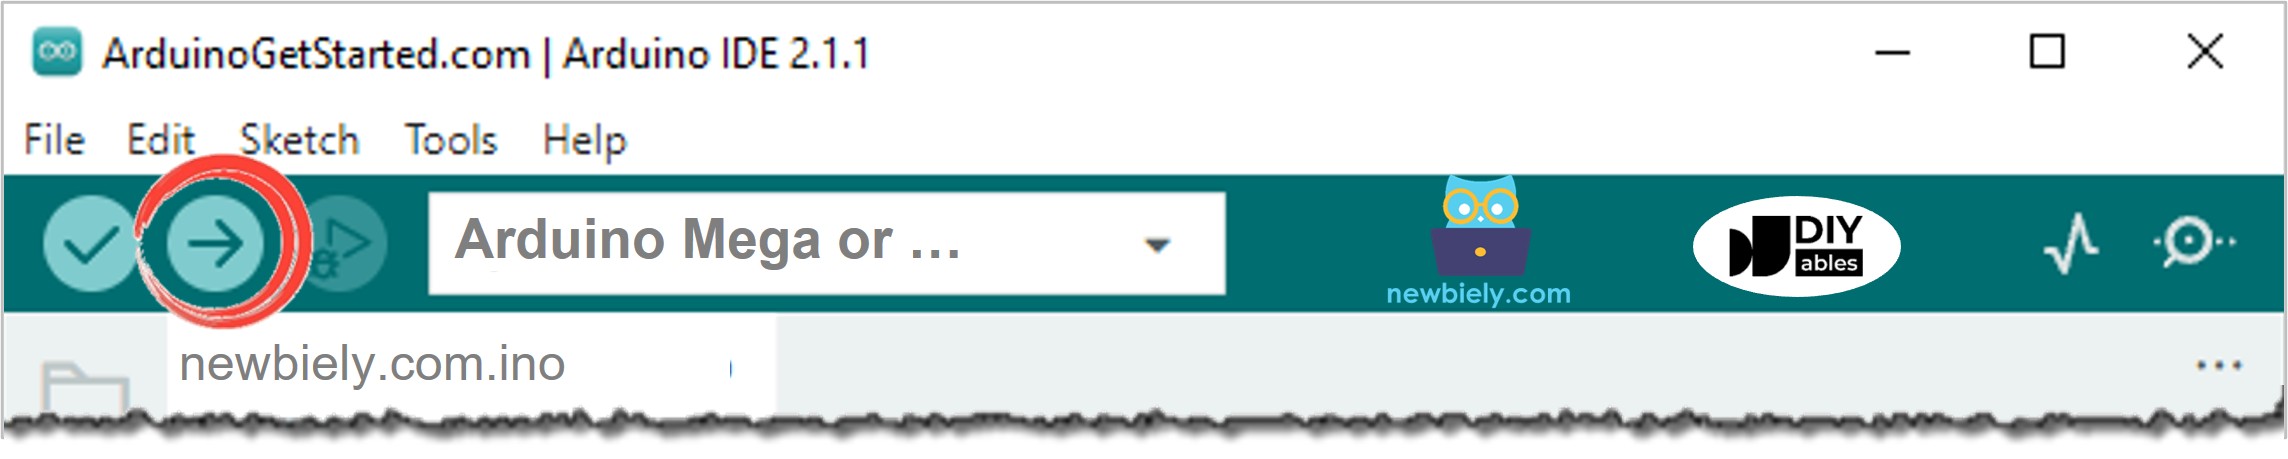
  • Click the Upload button in the Arduino IDE to send the code to the Arduino Mega.
Arduino IDE - How to Upload Code
  • Watch what happens: The servo moves slowly from 0 to 180 degrees, then moves slowly back from 180 to 0 degrees.

Code Explanation

The explanation is in the comments of the Arduino code above.

How to Control Speed of Servo Motor

Using map() and millis() makes it easy to change a servo motor’s speed smoothly, while the rest of the program keeps running without stopping.

/* * This Arduino Mega code was developed by newbiely.com * * This Arduino Mega code is made available for public use without any restriction * * For comprehensive instructions and wiring diagrams, please visit: * https://newbiely.com/tutorials/arduino-mega/arduino-mega-servo-motor */ #include <Servo.h> Servo servo; #define MOVING_TIME 3000 // Duration during which the servo moves from startAngle to stopAngle unsigned long moveStartTime; // Timestamp marking when the servo begins movement int startAngle = 30; // Initial position angle (degrees) int stopAngle = 90; // Target position angle (degrees) void setup() { servo.attach(9); // Connect the servo to digital pin 9 moveStartTime = millis(); // Record the current time as the move start // Additional initialization code can be added here } void loop() { unsigned long progress = millis() - moveStartTime; // Time elapsed since movement started if (progress <= MOVING_TIME) { // While the elapsed time is within MOVING_TIME long angle = map(progress, 0, MOVING_TIME, startList and stopAngle); // Compute the current angle for the servo servo.write(angle); // Move the servo to the calculated angle } // Additional repetitive code can be added here }

Video Tutorial

Learn More

※ OUR MESSAGES

  • As freelancers, We are AVAILABLE for HIRE. See how to outsource your project to us
  • Please feel free to share the link of this tutorial. However, Please do not use our content on any other websites. We invested a lot of effort and time to create the content, please respect our work!