Arduino Mega - Button - LED
This guide shows you how to use the Arduino Mega and a button to control an LED. We will learn two easy ways to do this.
Application 1 - The LED shows the same state as the button.
Application 2 - The LED changes every time you press the button.
When you press the button, the Arduino Mega toggles the LED: if it’s off, it turns on; if it’s on, it turns off.
Releasing the button does not change the LED.
For Application 2, we need to debounce the button so it works reliably. We will see why this matters by comparing how the LED behaves with and without debouncing in the Arduino code.
Or you can buy the following kits:
Disclosure: Some of the links provided in this section are Amazon affiliate links. We may receive a commission for any purchases made through these links at no additional cost to you.
Additionally, some of these links are for products from our own brand,
DIYables .
Buy Note: Use the LED Module for easier wiring. It includes an integrated resistor.
If you're new to using the LED, Button, and Arduino Mega, please check out these tutorials:
These tutorials explain how LED and Button work, their pinouts, how to connect them to the Arduino Mega, and how to program Arduino Mega to work with the LED and Button.

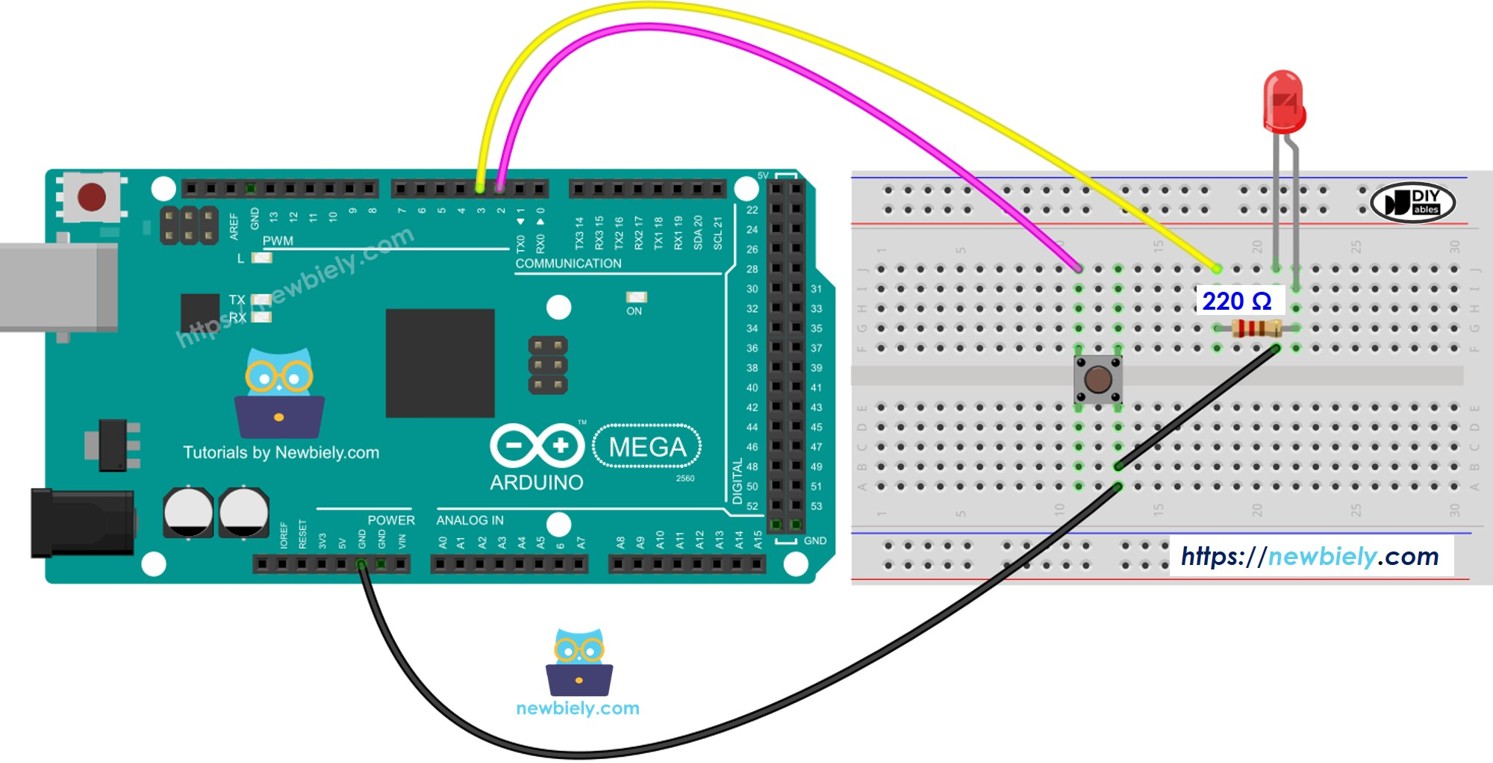
This image is created using Fritzing. Click to enlarge image
#define BUTTON_PIN 7
#define LED_PIN 3
void setup() {
Serial.begin(9600);
pinMode(BUTTON_PIN, INPUT_PULLUP);
pinMode(LED_PIN, OUTPUT);
}
void loop() {
int buttonState = digitalRead(BUTTON_PIN);
if (buttonState == LOW) {
Serial.println("The button is being pressed");
digitalWrite(LED_PIN, HIGH);
}
else
if (buttonState == HIGH) {
Serial.println("The button is unpressed");
digitalWrite(LED_PIN, LOW);
}
}
Follow these steps one by one.
Connect the parts as shown in the diagram.
Plug the Arduino Mega into your computer with a USB cable.
Open the Arduino IDE on your computer.
Choose the Arduino Mega board and the correct COM port.
Copy the code and open it in the Arduino IDE.
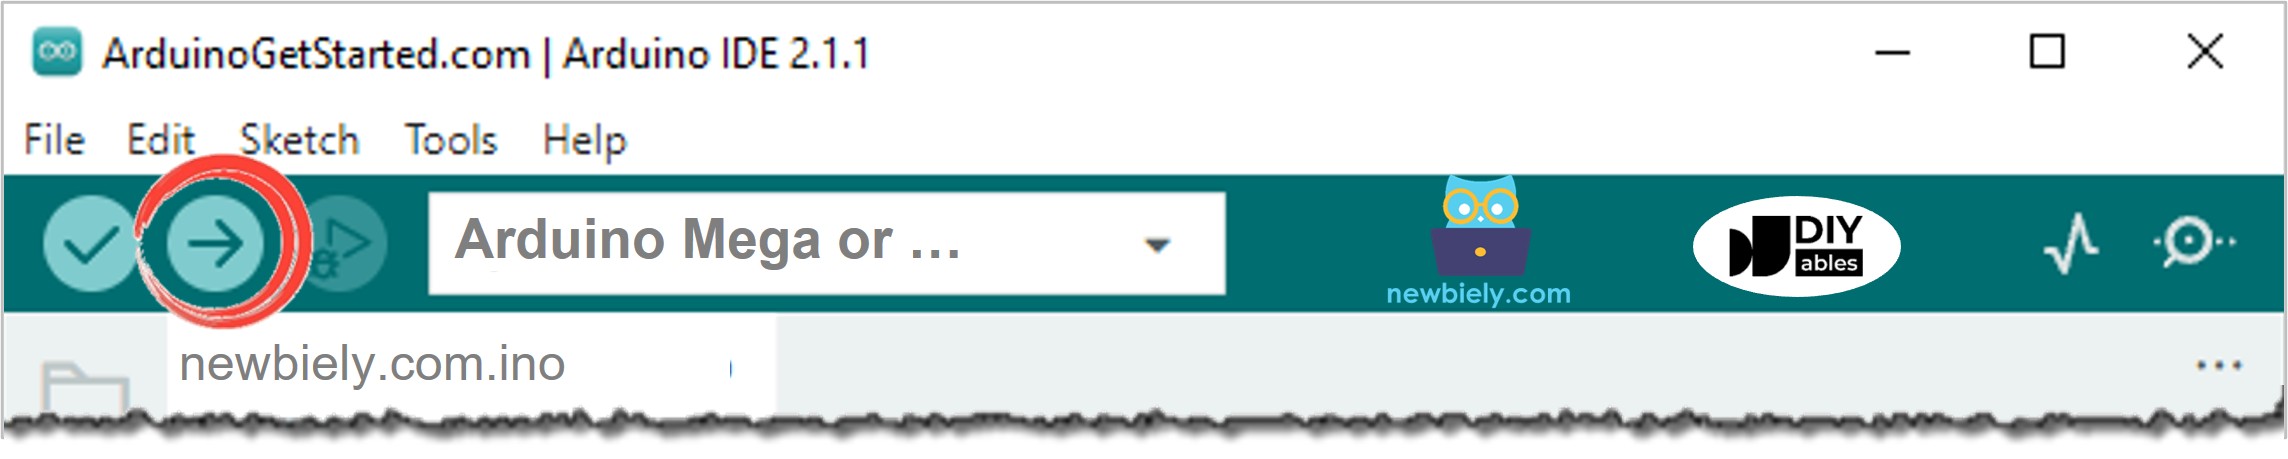
Click Upload in the Arduino IDE to build and send the code to the Arduino Mega.
You'll see that the LED and the button show the same state.
See the line-by-line explanation in the source code comments.
#define BUTTON_PIN 7
#define LED_PIN 3
int led_state = LOW;
int button_state;
int prev_button_state;
void setup() {
Serial.begin(9600);
pinMode(BUTTON_PIN, INPUT_PULLUP);
pinMode(LED_PIN, OUTPUT);
button_state = digitalRead(BUTTON_PIN);
}
void loop() {
prev_button_state = button_state;
button_state = digitalRead(BUTTON_PIN);
if(prev_button_state == HIGH && button_state == LOW) {
Serial.println("The button is pressed");
led_state = !led_state;
digitalWrite(LED_PIN, led_state);
}
}
The explanation is in the comments of the Arduino Mega code above.
In the code, the line led_state = !led_state does the same thing as the code shown below:
if(led_state == LOW)
led_state = HIGH;
else
led_state = LOW;
Copy the code and open it in the Arduino IDE.
Upload the code to the Arduino Mega.
Press the reset button several times.
See the LED turn on and off.
You may see the LED change every time you press the button. But it doesn’t always work perfectly. Sometimes the LED changes too many times quickly when you press once, or it may not change at all (it can change twice very fast, which is hard to notice).
To fix this problem, filter out the extra presses of the button.
Getting a button press to work reliably can be hard for beginners. Luckily, the ezButton library makes it easy.
Why do we need debouncing? For more information, see the Arduino Mega Button Debounce tutorial.
#include <ezButton.h>
#define BUTTON_PIN 7
#define LED_PIN 3
ezButton button(BUTTON_PIN);
int led_state = LOW;
void setup() {
Serial.begin(9600);
pinMode(LED_PIN, OUTPUT);
button.setDebounceTime(50);
}
void loop() {
button.loop();
if(button.isPressed()) {
Serial.println("The button is pressed");
led_state = !led_state;
digitalWrite(LED_PIN, led_state);
}
}
Install the ezButton library. See this guide for steps: https://arduinogetstarted.com/tutorials/arduino-button-library#content_how_to_install_library
Copy the code and open it in the Arduino IDE.
Click the Upload button in the Arduino IDE to load the code to the Arduino Mega.
Press and release the button several times.
Watch the LED change.
You will see the LED switch on or off exactly once each time you press the button.