Arduino Mega - Force Sensor

This guide shows you how to use a force sensor with an Arduino Mega. Here is what we will learn:

Arduino Mega and force sensor

Hardware Preparation

1×Arduino Mega
1×USB 2.0 cable type A/B (for USB-A PC)
1×USB 2.0 cable type C/B (for USB-C PC)
1×Force Sensor
1×10 kΩ Resistor
1×Breadboard
1×Jumper Wires

Or you can buy the following kits:

1×DIYables Sensor Kit (30 sensors/displays)
1×DIYables Sensor Kit (18 sensors/displays)
Disclosure: Some of the links provided in this section are Amazon affiliate links. We may receive a commission for any purchases made through these links at no additional cost to you.
Additionally, some of these links are for products from our own brand, DIYables .

Overview of Force Sensor

Force sensor pinout

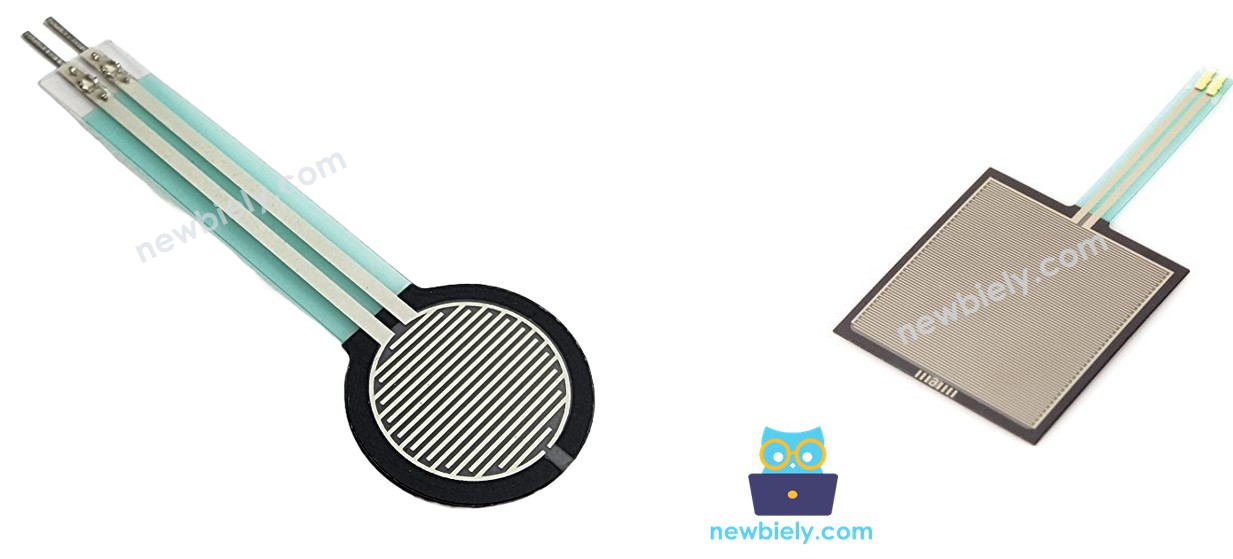
A force sensor is also called a force-sensing resistor, a force-sensitive resistor, or just FSR. It is a kind of resistor that changes its resistance when you press on it.

  • Cheap and easy to use.
  • Good at sensing pressure when you press or squeeze it.
  • Not good at measuring weight in pounds.

A force sensor is used in electronic drums, mobile phones, handheld game devices, and many other small devices.

Pinout

A force sensor has two pins. Since it works like a resistor, we don't need to tell the pins apart. They are the same.

How It Works

A force sensor works like a resistor. Its resistance changes when you press it. The harder you press, the lower the resistance between its two ends.

Wiring Diagram

The wiring diagram between Arduino Mega Force

This image is created using Fritzing. Click to enlarge image

How To Program For Force Sensor

The Arduino Mega has analog input pins called A0 to A5. They read a voltage from 0 volts up to the supply voltage (VCC) and convert it into a number from 0 to 1023. This number is the ADC value, also known as the analog value.

Connect a pin from the pressure sensor to an analog input pin, then use the analogRead() function to read the value from that pin. This tells you how much pressure is on it.

Arduino Mega Code

/* * This Arduino Mega code was developed by newbiely.com * * This Arduino Mega code is made available for public use without any restriction * * For comprehensive instructions and wiring diagrams, please visit: * https://newbiely.com/tutorials/arduino-mega/arduino-mega-force-sensor */ #define FORCE_SENSOR_PIN A0 // The Arduino Mega pin connected to the FSR force sensor with 10K pulldown void setup() { Serial.begin(9600); } void loop() { int analogReading = analogRead(FORCE_SENSOR_PIN); Serial.print("Force sensor reading = "); Serial.print(analogReading); // print the raw analog reading if (analogReading < 10) // from 0 to 9 Serial.println(" -> no pressure"); else if (analogReading < 200) // from 10 to 199 Serial.println(" -> light touch"); else if (analogReading < 500) // from 200 to 499 Serial.println(" -> light squeeze"); else if (analogReading < 800) // from 500 to 799 Serial.println(" -> medium squeeze"); else // from 800 to 1023 Serial.println(" -> big squeeze"); delay(1000); }

Detailed Instructions

Do these steps one by one.

  • Connect the force sensor to the Arduino Mega as shown in the diagram.
  • Connect the Arduino Mega to your computer with a USB cable.
  • Open the Arduino IDE on your computer.
  • Choose the right Arduino Mega board and the COM port.
  • Copy the code shown above and paste it into the Arduino IDE.
  • Click the Upload button in the Arduino IDE to send the code to the Arduino Mega.
  • Press the force sensor to test it.
  • Check the result in the Serial Monitor.
COM6
Send
Force sensor reading = 0 -> no pressure Force sensor reading = 0 -> no pressure Force sensor reading = 132 -> light touch Force sensor reading = 147 -> light touch Force sensor reading = 394 -> light squeeze Force sensor reading = 421 -> light squeeze Force sensor reading = 607 -> medium squeeze Force sensor reading = 791 -> medium squeeze Force sensor reading = 921 -> big squeeze Force sensor reading = 987 -> big squeeze Force sensor reading = 0 -> no pressure Force sensor reading = 0 -> no pressure
Autoscroll Show timestamp
Clear output
9600 baud  
Newline  

Video Tutorial

Learn More

※ OUR MESSAGES

  • As freelancers, We are AVAILABLE for HIRE. See how to outsource your project to us
  • Please feel free to share the link of this tutorial. However, Please do not use our content on any other websites. We invested a lot of effort and time to create the content, please respect our work!