
ESP32 C3 Super Mini - MAX6675 Thermocouple Module
Learn how to measure very high temperatures with ESP32 C3 Super Mini using a MAX6675 module and a Type-K thermocouple probe. This beginner-friendly tutorial walks you through wiring the module, installing the library, and reading live temperature data on the Serial Monitor.
In this tutorial, you'll learn:
- What a thermocouple is and why it can measure extreme temperatures
- How the MAX6675 module converts a thermocouple signal into a digital reading
- How to wire the MAX6675 module to ESP32 C3 Super Mini
- How to install the MAX6675 library
- How to write code to read and display temperature in Celsius and Fahrenheit
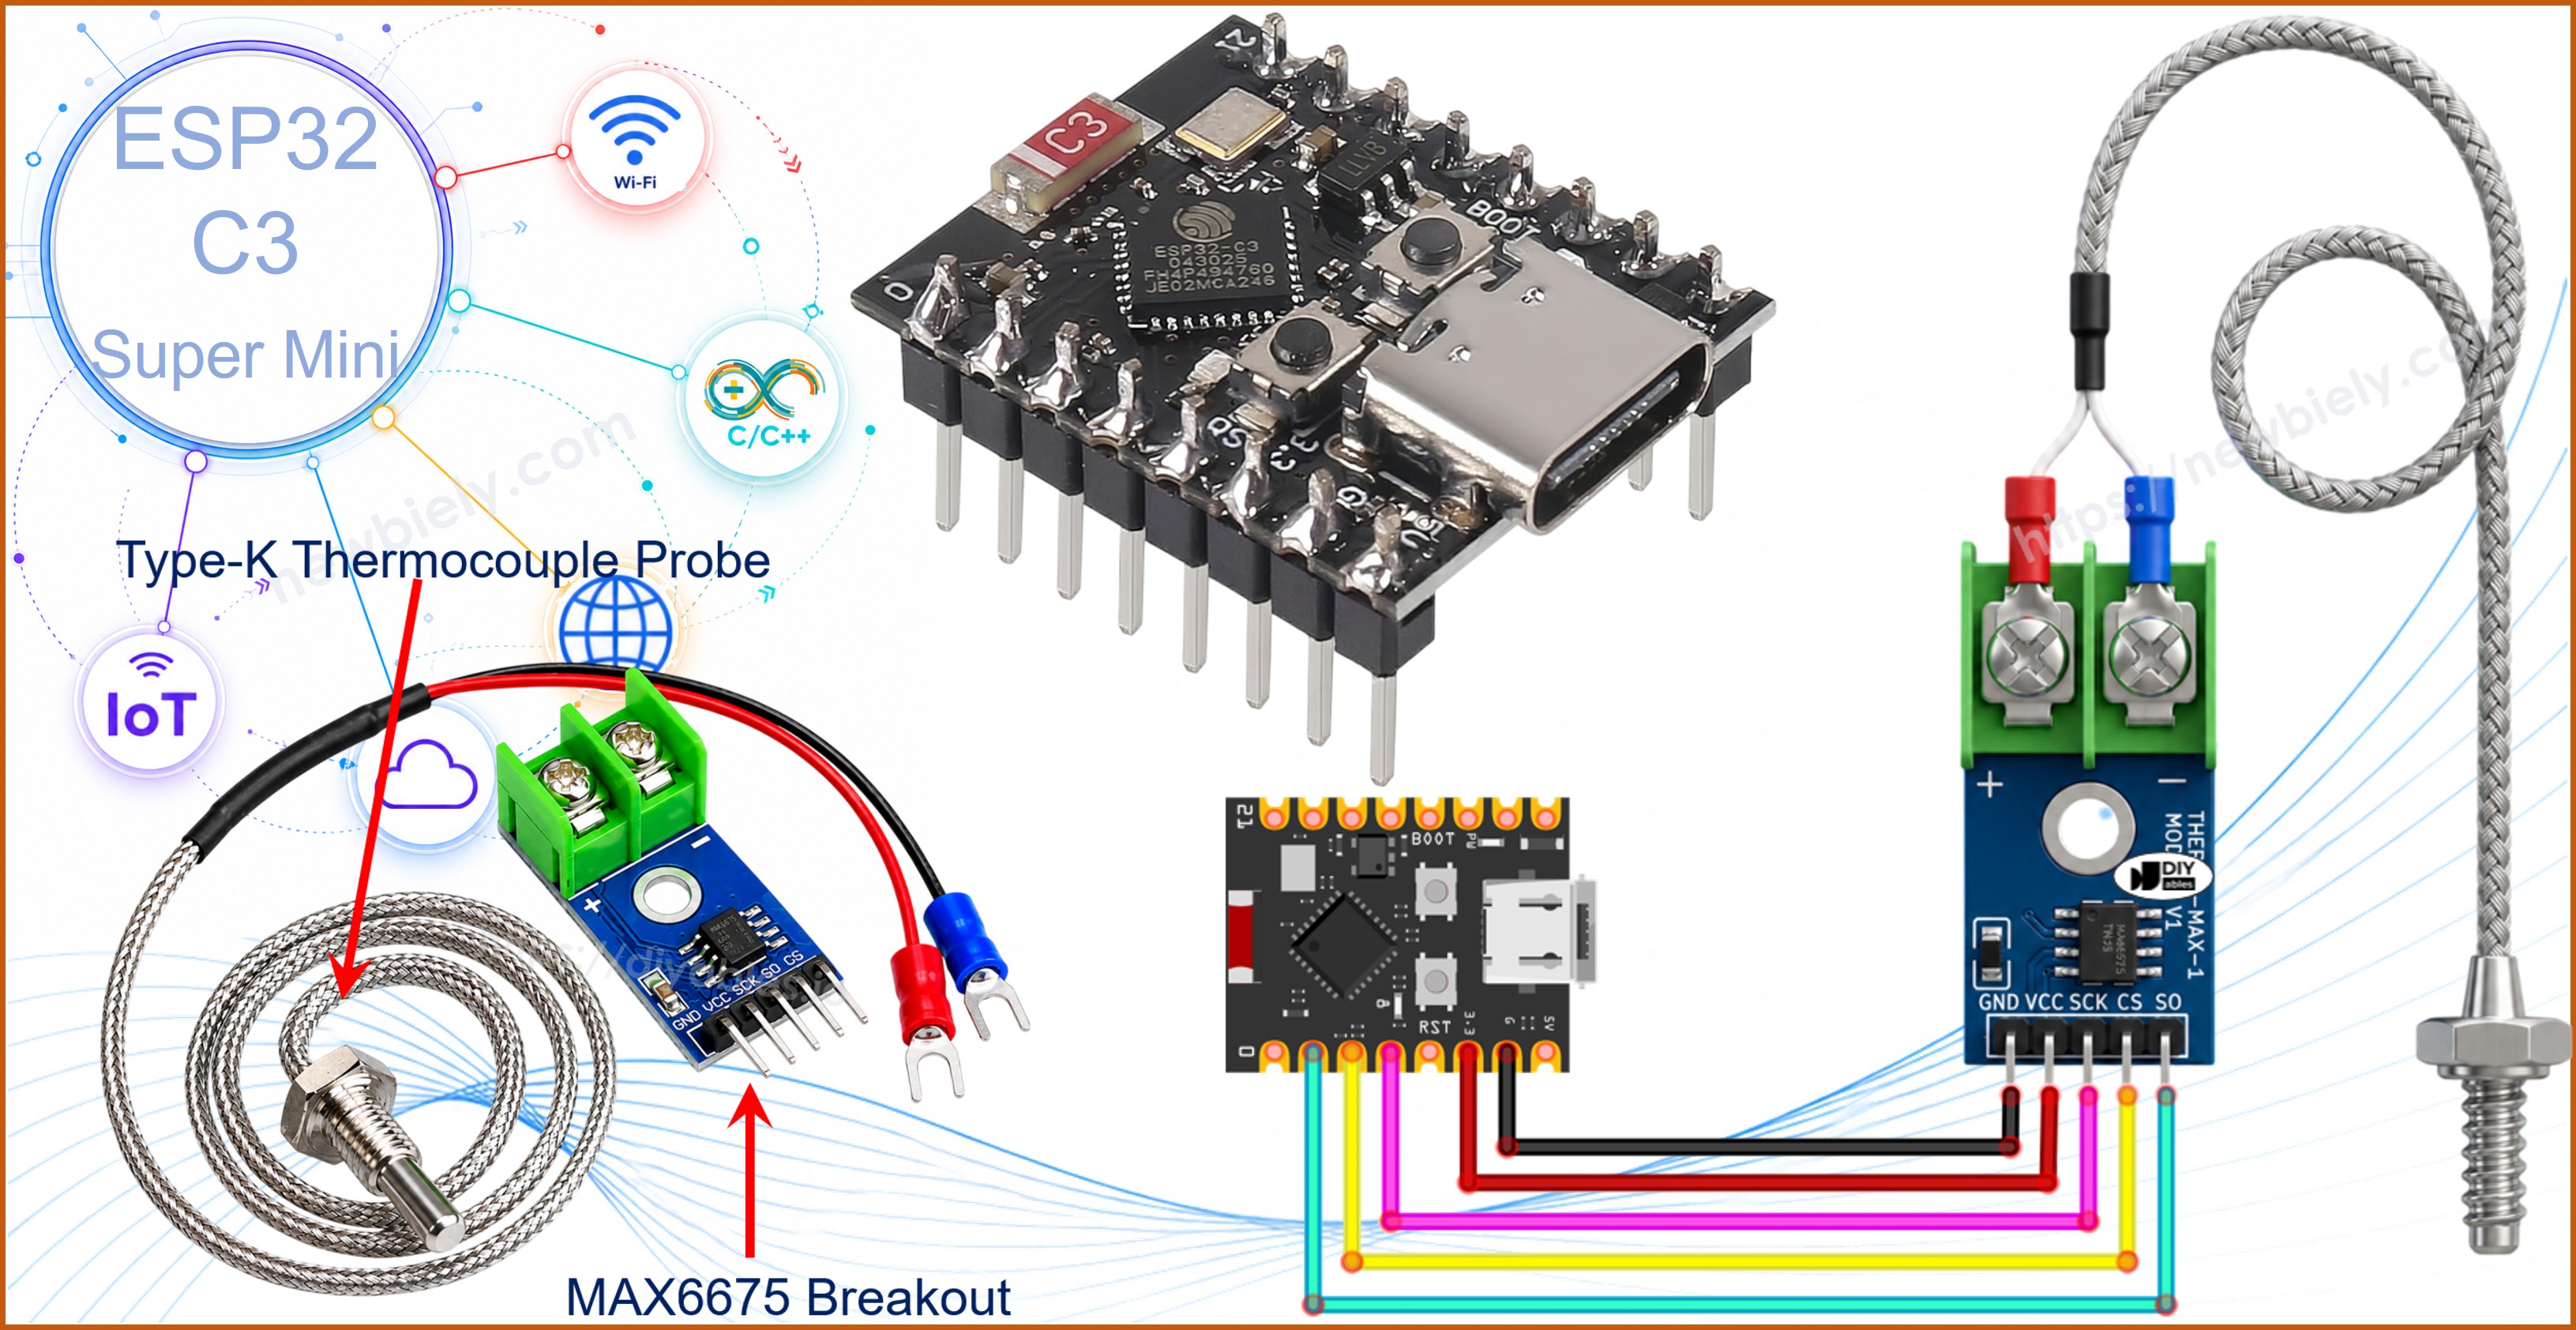
Hardware Preparation
| 1 | × | ESP32 C3 Super Mini | |
| 1 | × | USB Cable Type-A to Type-C (for USB-A PC) | |
| 1 | × | USB Cable Type-C to Type-C (for USB-C PC) | |
| 1 | × | MAX6675 Thermocouple Module | |
| 1 | × | Breadboard | |
| 1 | × | Jumper Wires |
Or you can buy the following kits:
| 1 | × | DIYables Sensor Kit (18 sensors/displays) |
Additionally, some of these links are for products from our own brand, DIYables .
Overview of MAX6675 Thermocouple Module
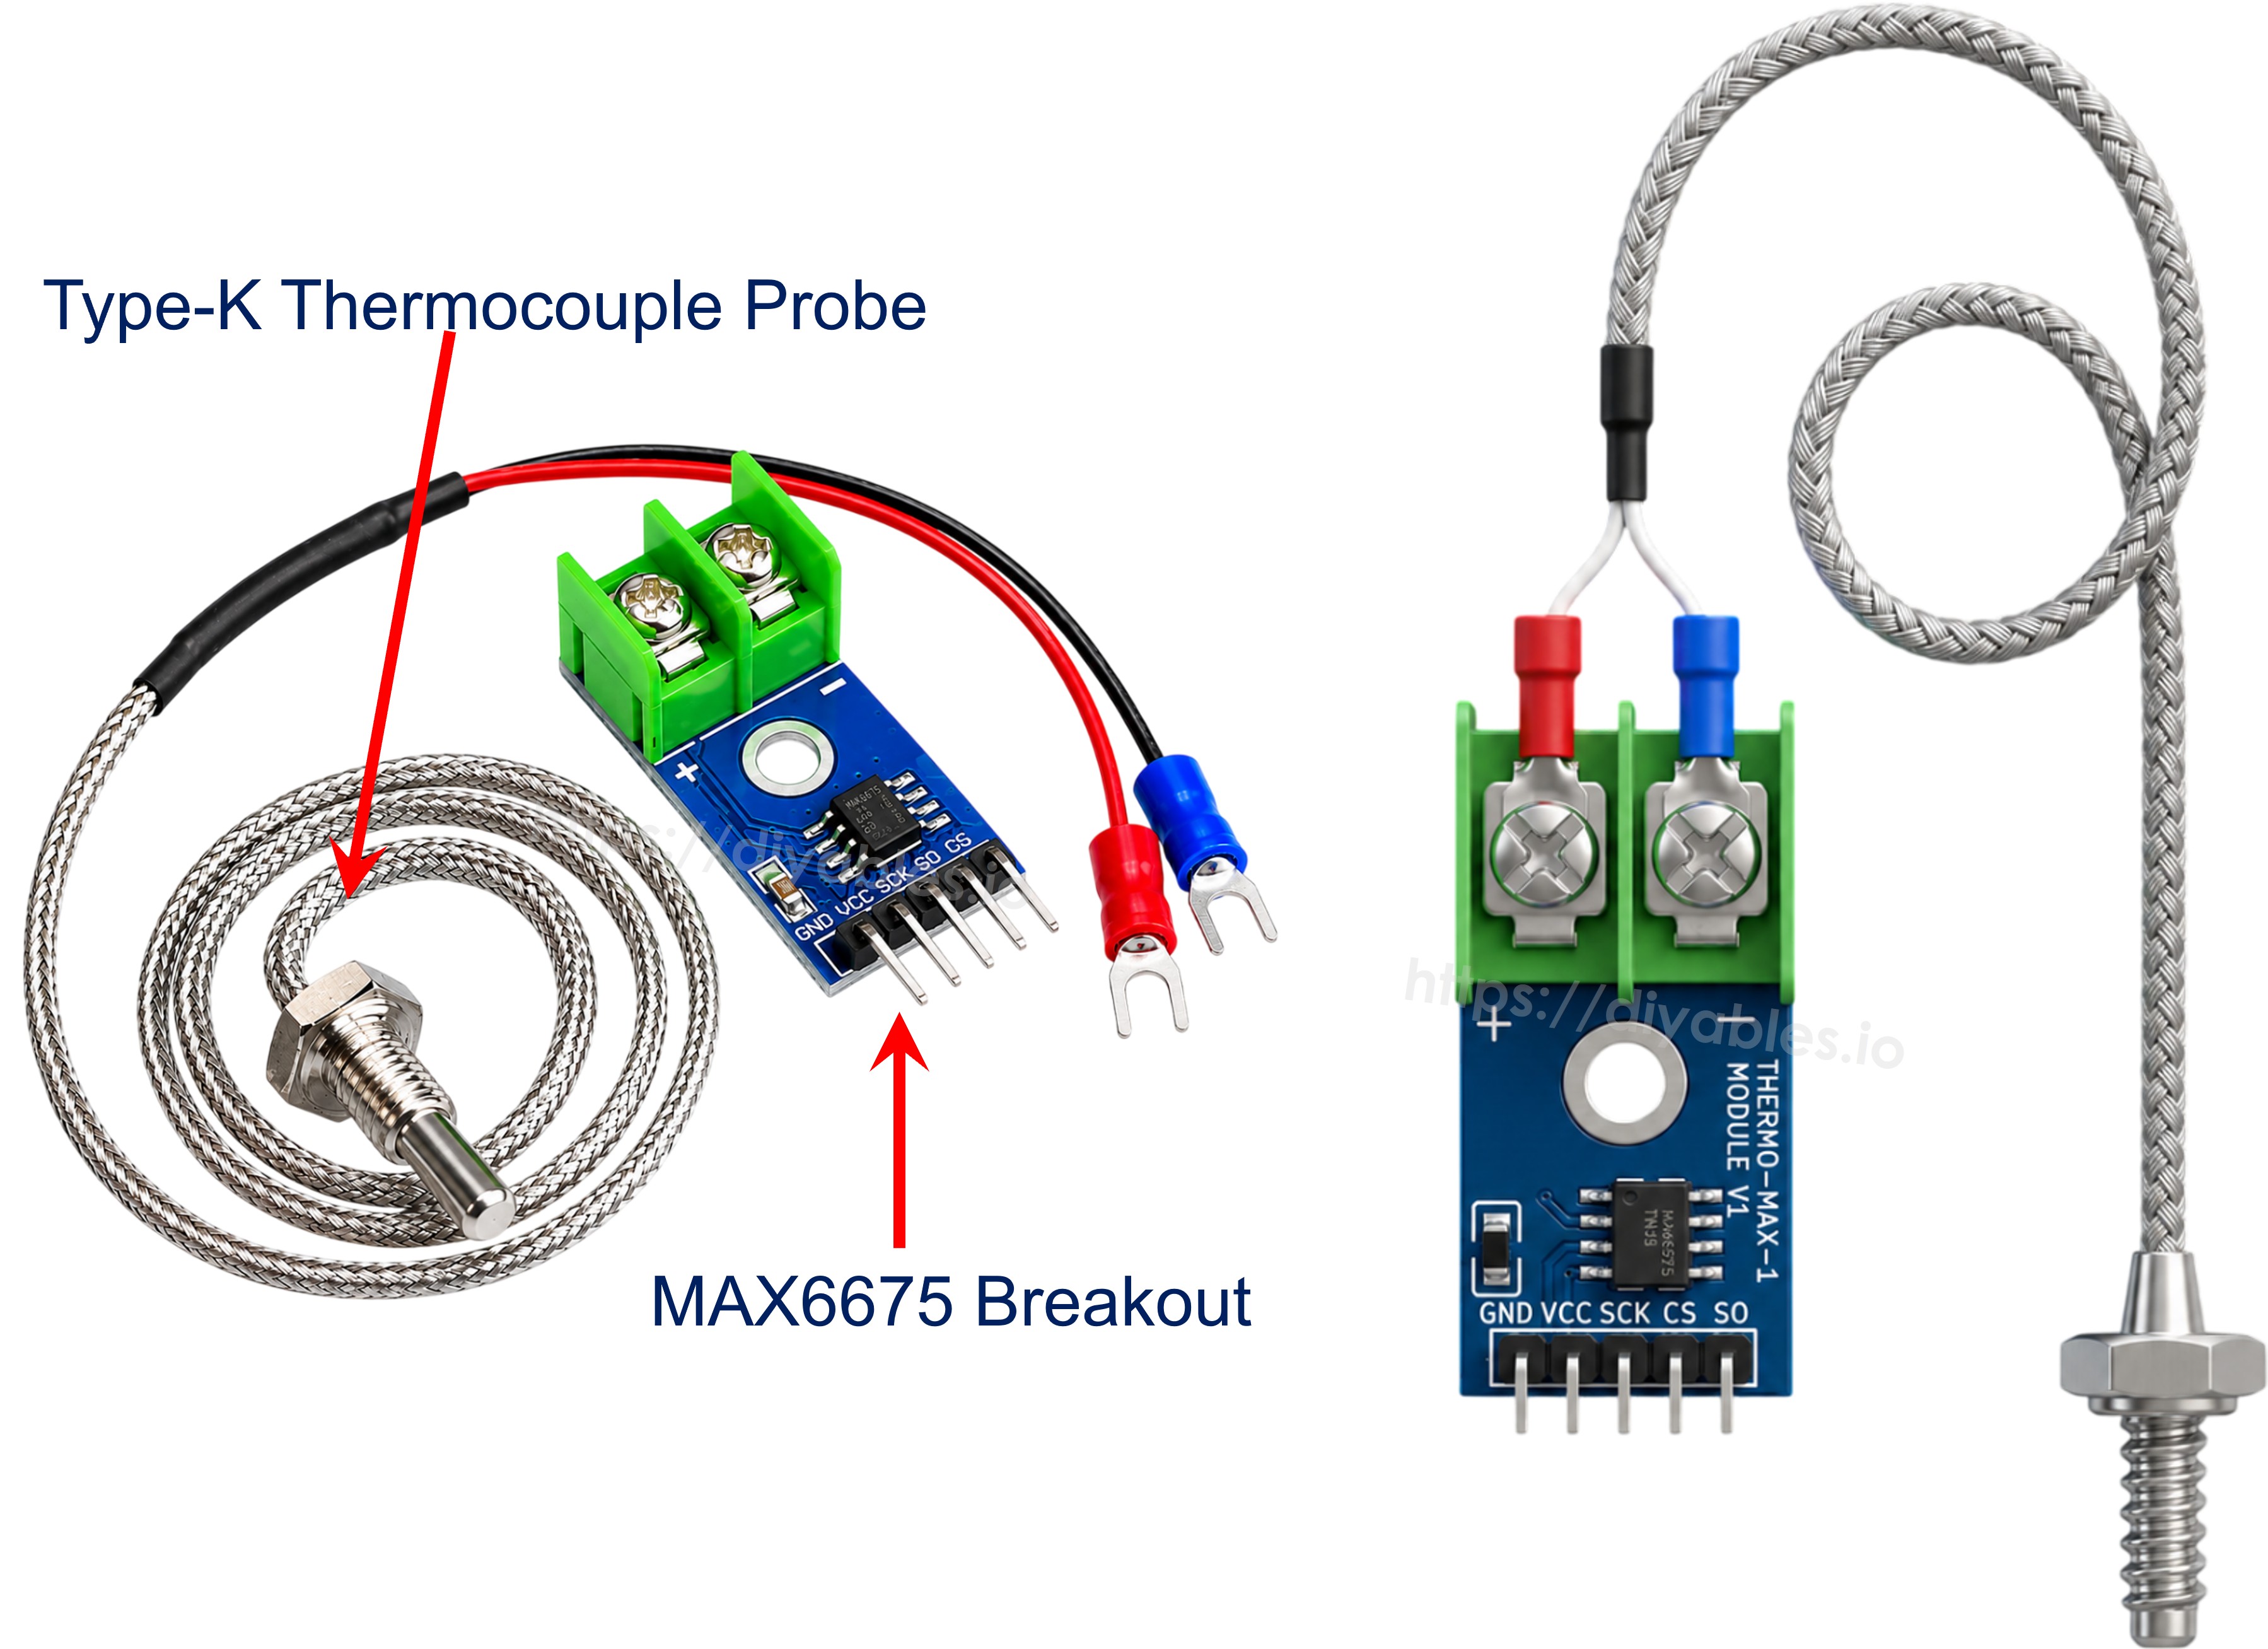
A thermocouple is a temperature sensor made from two different metal wires joined together at one end, called the hot junction. When that junction gets hot or cold, it produces a tiny voltage that changes with temperature, and this simple effect lets a thermocouple survive and measure extreme temperatures that would destroy a normal sensor. The MAX6675 module pairs a Type-K thermocouple probe with a MAX6675 IC that reads that tiny voltage and converts it into an easy-to-use digital signal for ESP32 C3 Super Mini.
Key Features:
- Works with Type-K thermocouple probes (Chromel/Alumel wires)
- Built-in 12-bit analog-to-digital converter for the thermocouple signal
- Simple 3-wire digital interface (SCK, CS, SO) - no analog pins needed
- Measurable range: 0°C to 1024°C (probe itself is rated 0°C to 80°C)
- Resolution of about 0.25°C with ±3°C accuracy
Why MAX6675 is Great for Beginners:
- No analog voltage math or cold-junction calculations to worry about - the chip handles it
- Ready-to-use Arduino library with simple readCelsius() / readFahrenheit() functions
- Screw-terminal probe connector - no soldering required
- Lets you safely explore temperatures far beyond what a DS18B20 or DHT sensor can survive
MAX6675 Module Pinout
The MAX6675 breakout board has 5 pins, plus a 2-pin terminal block for the thermocouple probe:
- VCC pin: connects to power supply, 3.0V to 5.5V
- GND pin: connects to ground (0V)
- SCK pin: serial clock input, driven by ESP32 C3 Super Mini to clock out each data bit
- CS pin: chip select, pulled LOW by ESP32 C3 Super Mini to start and read a conversion
- SO pin: serial data output (MISO only, there is no MOSI since the module never receives data)
- Thermocouple terminal (+ / -): the red (+) and blue (-) wires of the Type-K probe (~18 inches long) plug into this 2-pin block
Wiring Diagram between MAX6675 Thermocouple Module and ESP32 C3 Super Mini
Connect the MAX6675 module to the ESP32 C3 Super Mini as shown below. The thermocouple probe's red wire (+) and blue wire (-) should already be seated in the module's screw terminal before you begin.
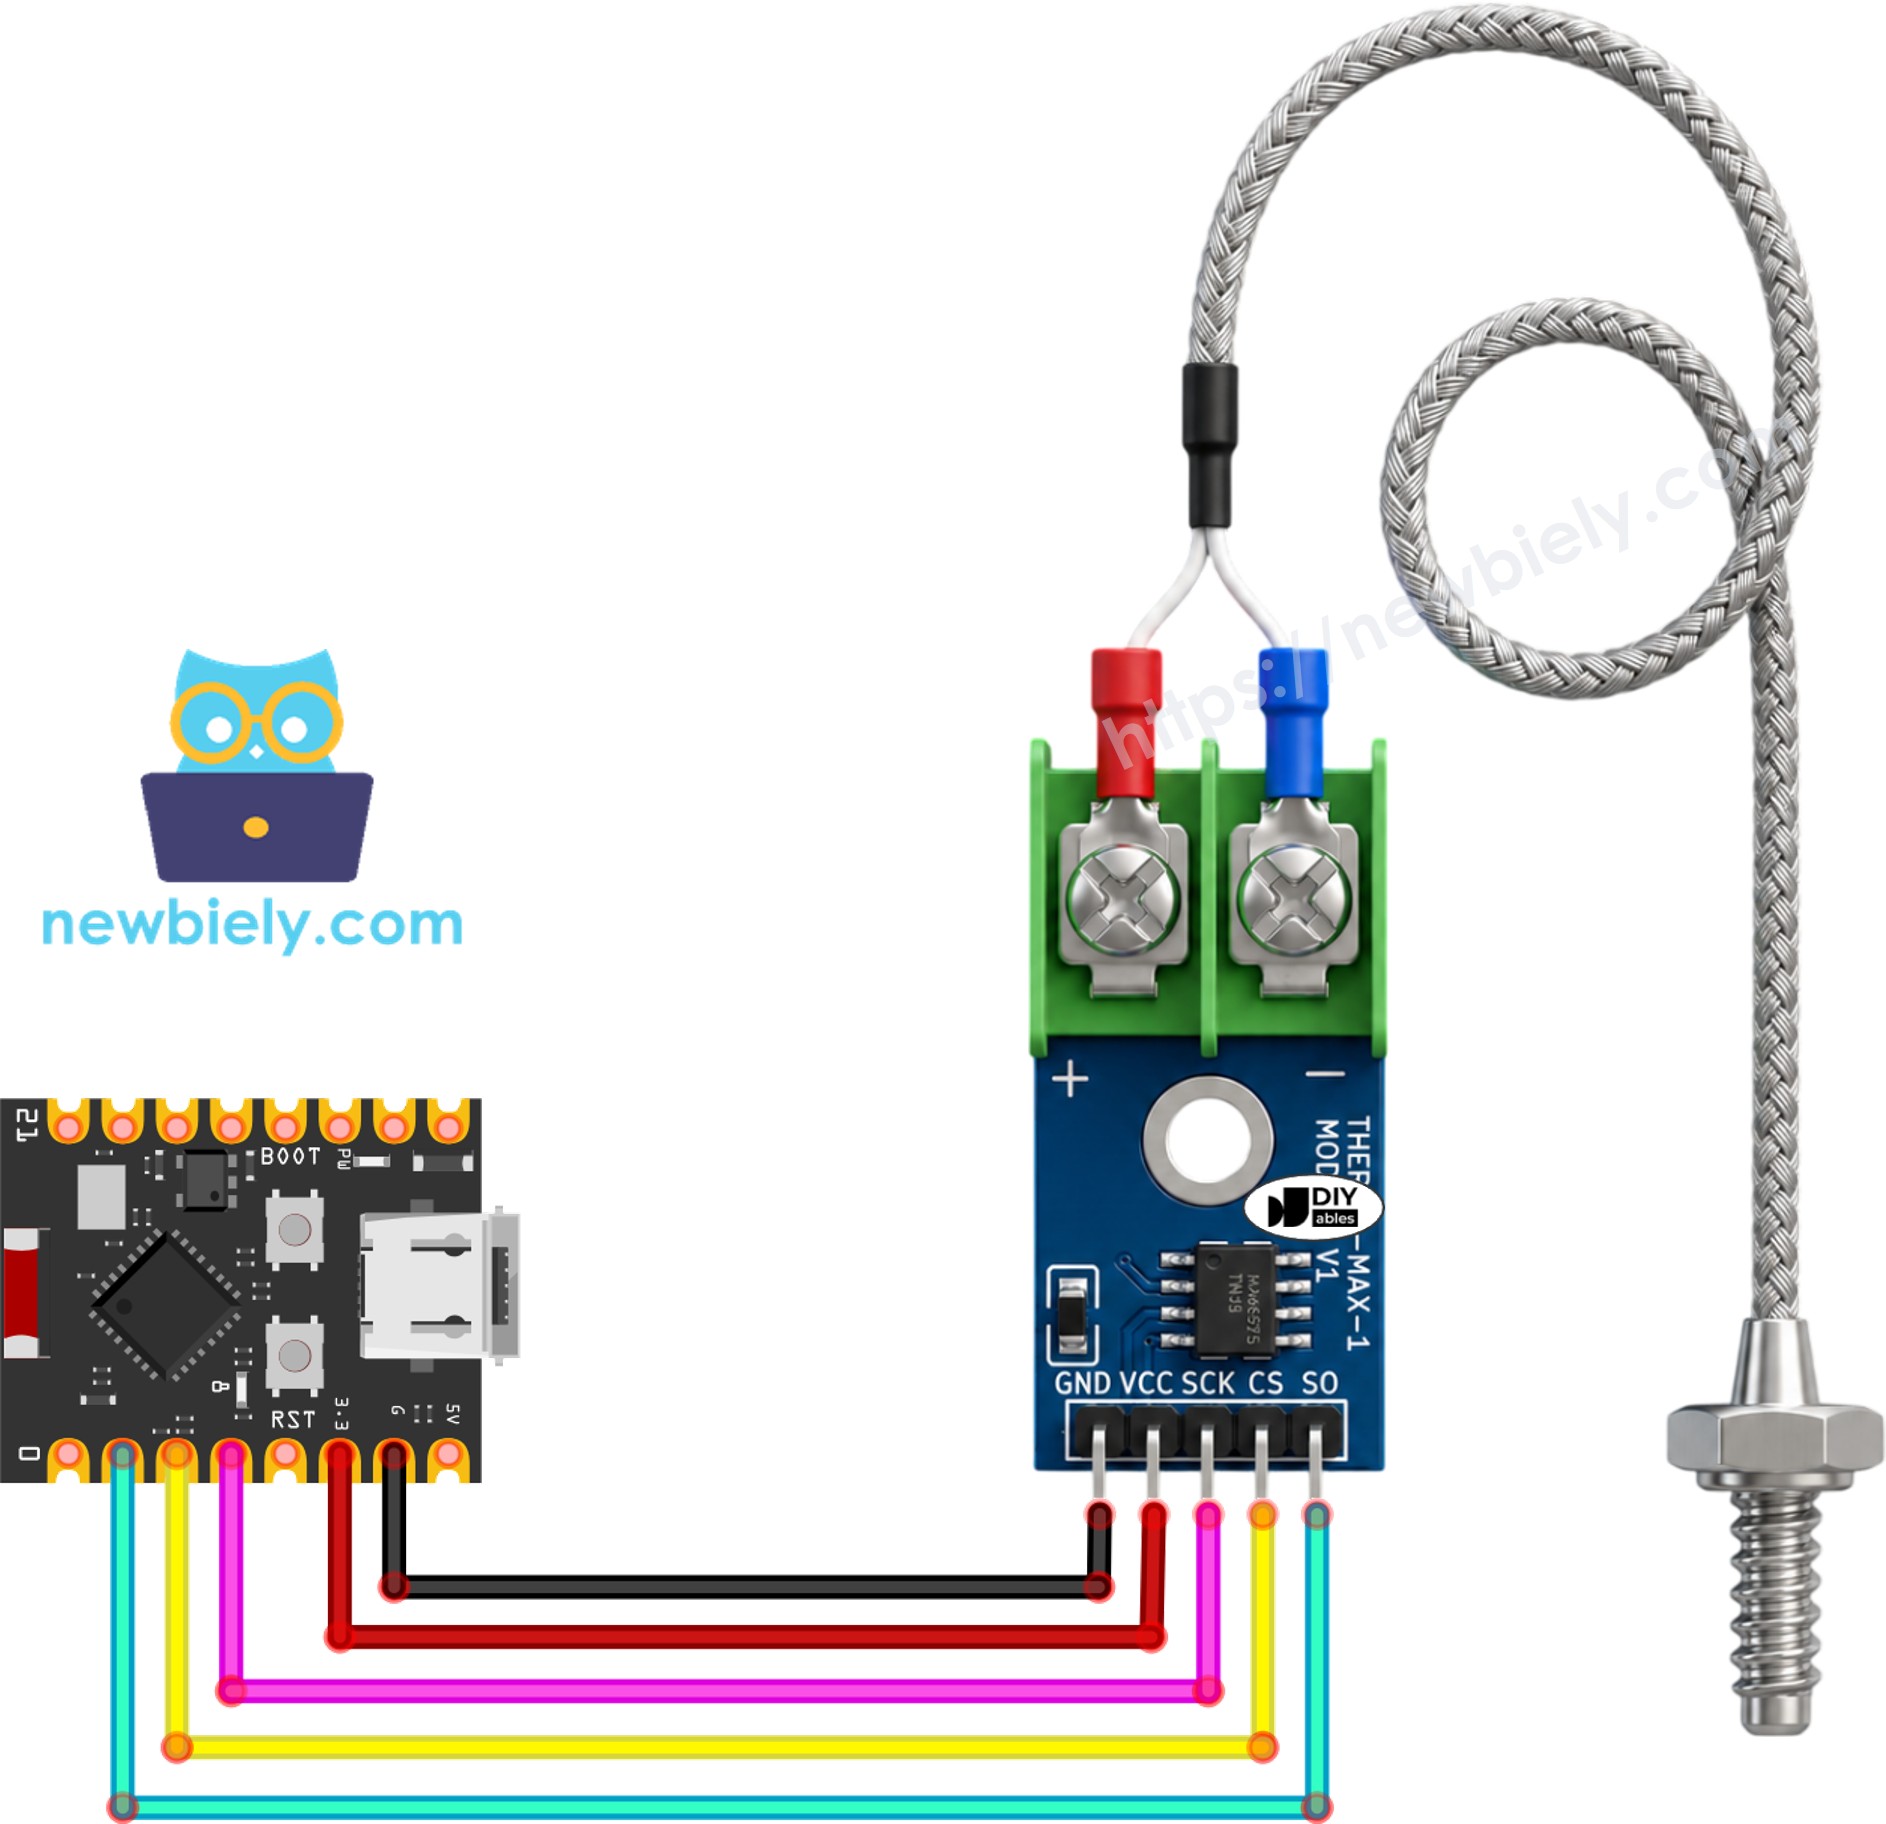
This image is created using Fritzing. Click to enlarge image
| MAX6675 Module Pin | ESP32 C3 Super Mini Pin |
|---|---|
| VCC | 3.3V |
| GND | GND |
| SCK | D3 |
| CS | D2 |
| SO | D1 |
ESP32 C3 Super Mini Code
The code below reads the thermocouple temperature through the MAX6675 module and prints it to the Serial Monitor once per second.
What the code does:
- Initializes the MAX6675 module on the SCK, CS, and SO pins
- Waits briefly after power-up so the module's first reading is valid
- Reads the thermocouple temperature in Celsius
- Converts and displays the temperature in Fahrenheit as well
- Repeats the reading every second
Detailed Instructions
- New to ESP32 C3 Mini? Complete our Getting Started with ESP32 C3 Mini tutorial first to set up your development environment.
- Set up Arduino IDE: If you are new to ESP32 C3 Super Mini, refer to the tutorial on how to set up the environment for ESP32 C3 Super Mini in the Arduino IDE.
- Wire the components: Connect the MAX6675 module and thermocouple probe to ESP32 C3 Super Mini according to the wiring diagram above.
- Connect USB cable: Connect the ESP32 C3 Super Mini board to your computer using a USB Type-C cable.
- Open Arduino IDE: Launch the Arduino IDE on your computer.
- Select board and port: Choose ESP32 C3 Super Mini board and its corresponding COM port.
- Open Library Manager: Click the Libraries icon on the left bar of the Arduino IDE.
- Search for library: Type "MAX6675" in the search box.
- Install library: Look for the MAX6675 library by Adafruit, then click Install.
- Search for MAX6675 library created by Adafruit and click the Install button.
- Copy the code: Copy the above MAX6675 code and paste it into Arduino IDE.
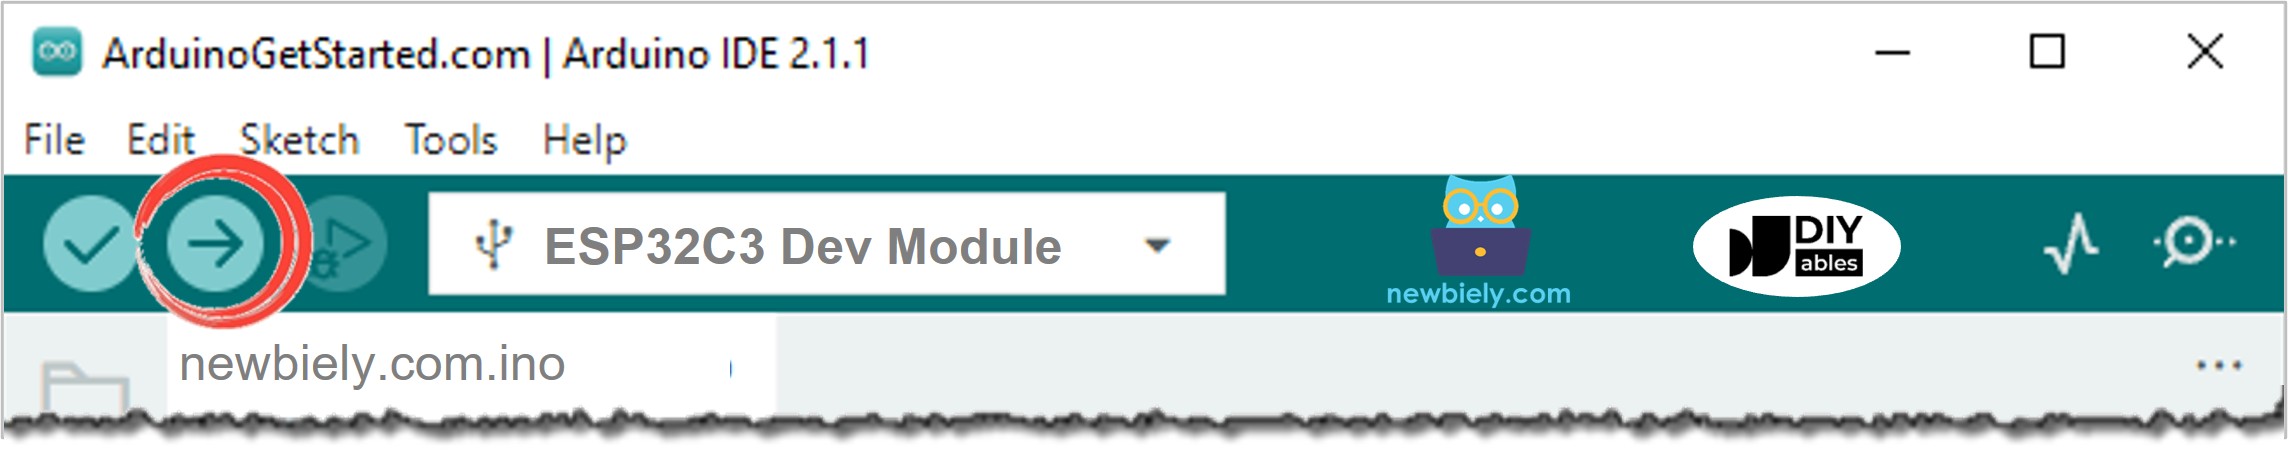
- Upload the code: Click the Upload button to compile and upload code to ESP32 C3 Super Mini.
- Open Serial Monitor: Set the baud rate to 115200 to view temperature readings.
- Observe the result: Hold the thermocouple tip near a heat source (a lit candle, a cup of hot water, or a hair dryer) and watch the temperature climb on the Serial Monitor.
- Pro Tip: If the Serial Monitor keeps printing "0.00°C" or an obviously wrong value, double-check the SCK/CS/SO wiring - a swapped pin is the most common cause.
Line-by-line Code Explanation
The above ESP32 C3 Super Mini code contains line-by-line explanation. Please read the comments in the code!
Applications and Project Ideas
Use your ESP32 C3 Super Mini MAX6675 thermocouple setup in these practical projects:
- Build a kitchen oven or smoker thermometer that logs temperature over time
- Create a kiln or furnace temperature monitor for pottery or metalworking
- Design a 3D printer hotend temperature checker for calibration testing
- Make a coffee roasting profiler that tracks bean temperature during roasting
- Build a soldering iron or heat gun temperature verifier
- Create an industrial process monitor that alerts when temperature exceeds a safe limit
Video Tutorial
Watch the video below for a visual walkthrough of this project.
Challenge Yourself
Take your ESP32 C3 Super Mini MAX6675 thermocouple skills to the next level:
- Easy: Print a warning message to the Serial Monitor when the temperature exceeds 100°C
- Easy: Change the reading interval from 1 second to 5 seconds
- Medium: Add an LED that lights up when the measured temperature crosses a threshold you set
- Medium: Display the live temperature reading on an OLED or LCD screen
- Advanced: Log temperature readings with timestamps to an SD card for long-term monitoring
- Advanced: Build a web dashboard that graphs the thermocouple temperature in real time over WiFi