Arduino MKR WiFi 1010 - DIYables Bluetooth App Joystick
Overview
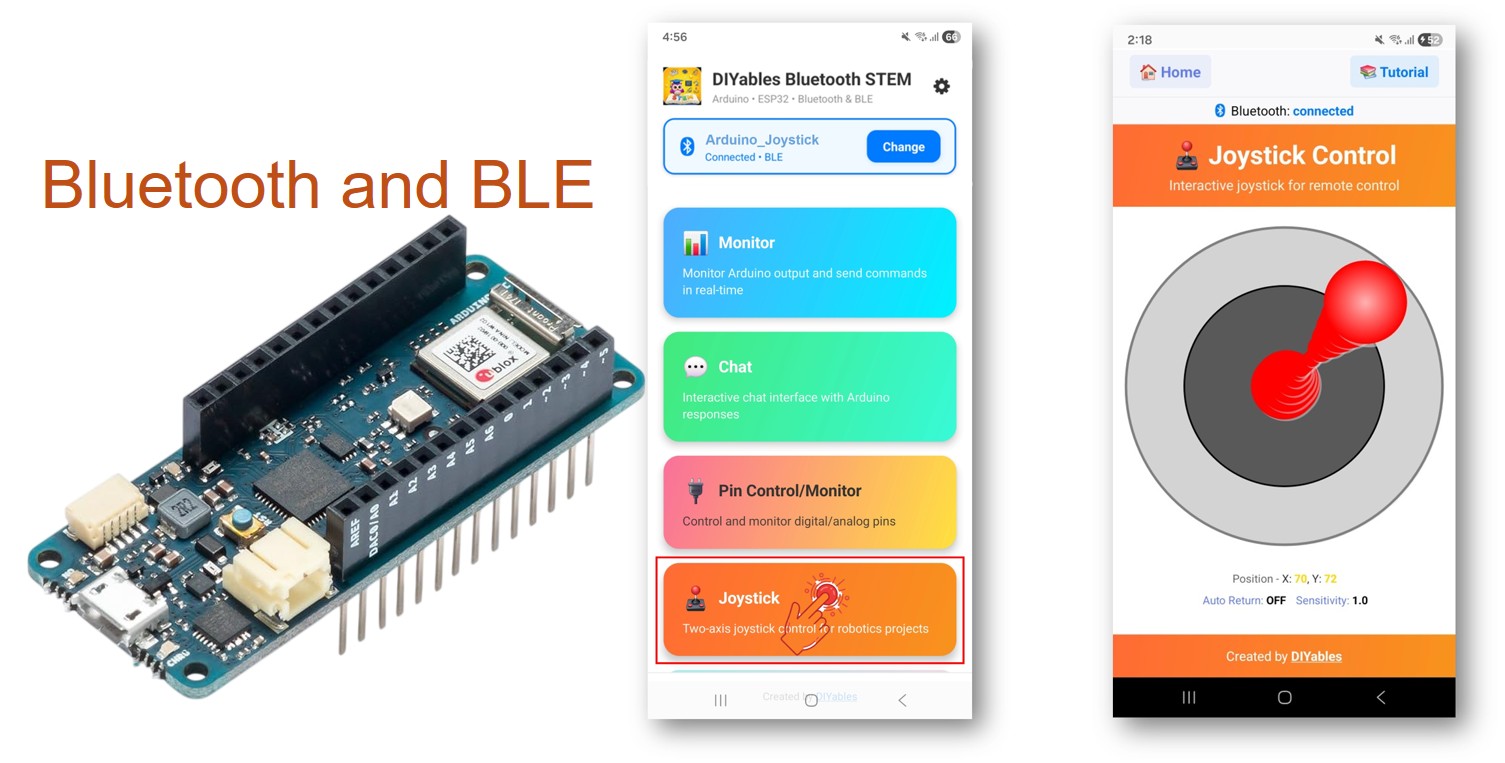
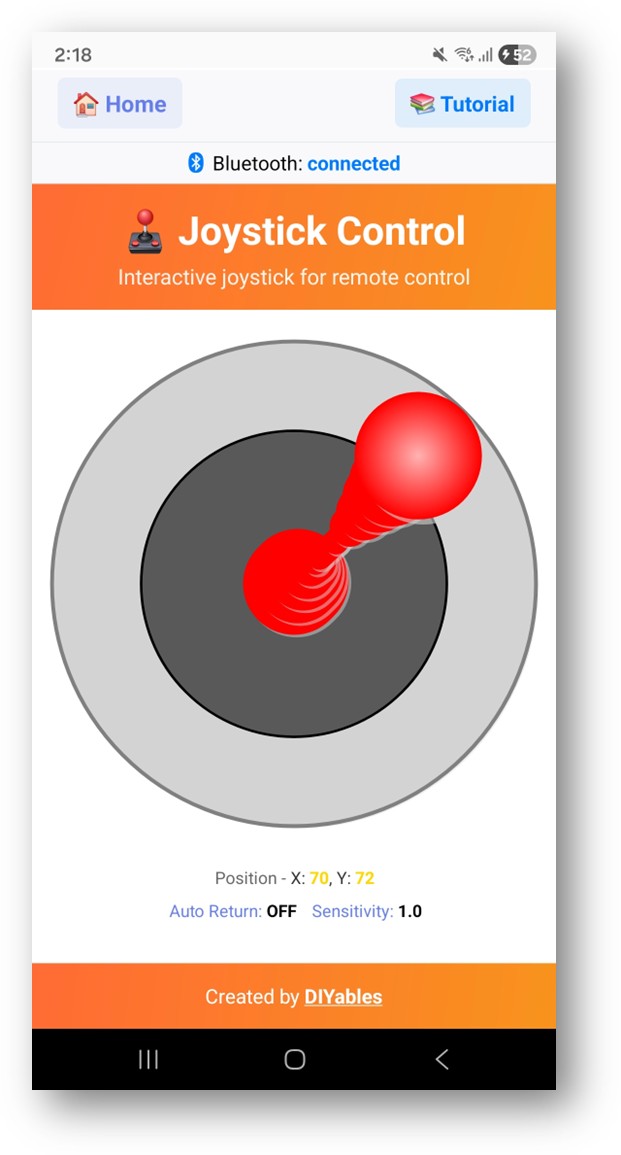
In this tutorial, we are going to learn how to use the Bluetooth Joystick feature with the Arduino MKR WiFi 1010. The Arduino MKR WiFi 1010's built-in BLE support and MKR form factor make it a solid choice for wireless robotics and remote-control projects. The app shows a virtual joystick on your phone screen, and when you move it, the X and Y coordinates (−100 to +100) are sent to your Arduino over BLE in real time — perfect for driving a robot, controlling a two-axis mechanism, or steering any project that needs live directional input from your phone.
Note: The Arduino MKR WiFi 1010 only supports BLE (Bluetooth Low Energy) for this library. It does not use Classic Bluetooth with this library. The DIYables Bluetooth App supports both BLE and Classic Bluetooth on Android, and BLE on iOS. Since this board uses BLE, the app works on both Android and iOS.
Features
- 2D Control: X and Y axes with range -100 to +100
- Configurable Sensitivity: Minimum movement threshold to trigger updates
- Auto-Return Option: Joystick can auto-center when released
- Real-Time Values: Continuous position updates while dragging
- Works on Android & iOS: BLE is supported on both platforms
- No Pairing Required: BLE auto-connects without manual pairing
- Low Power: BLE consumes less power than Classic Bluetooth
Hardware Preparation
| 1 | × | Arduino MKR WiFi 1010 | |
| 1 | × | Micro USB Cable | |
| 1 | × | Breadboard | |
| 1 | × | Jumper Wires |
Or you can buy the following kits:
| 1 | × | DIYables Sensor Kit (18 sensors/displays) |
Additionally, some of these links are for products from our own brand, DIYables .
Arduino MKR WiFi 1010 Code
Detailed Instructions
Follow these instructions step by step:
- If this is your first time using the Arduino MKR WiFi 1010, refer to the Arduino MKR WiFi 1010 getting started guide.
- Connect the Arduino MKR WiFi 1010 board to your computer using a Micro USB cable.
- Launch the Arduino IDE on your computer.
- Select Arduino MKR WiFi 1010 board and the appropriate COM port.
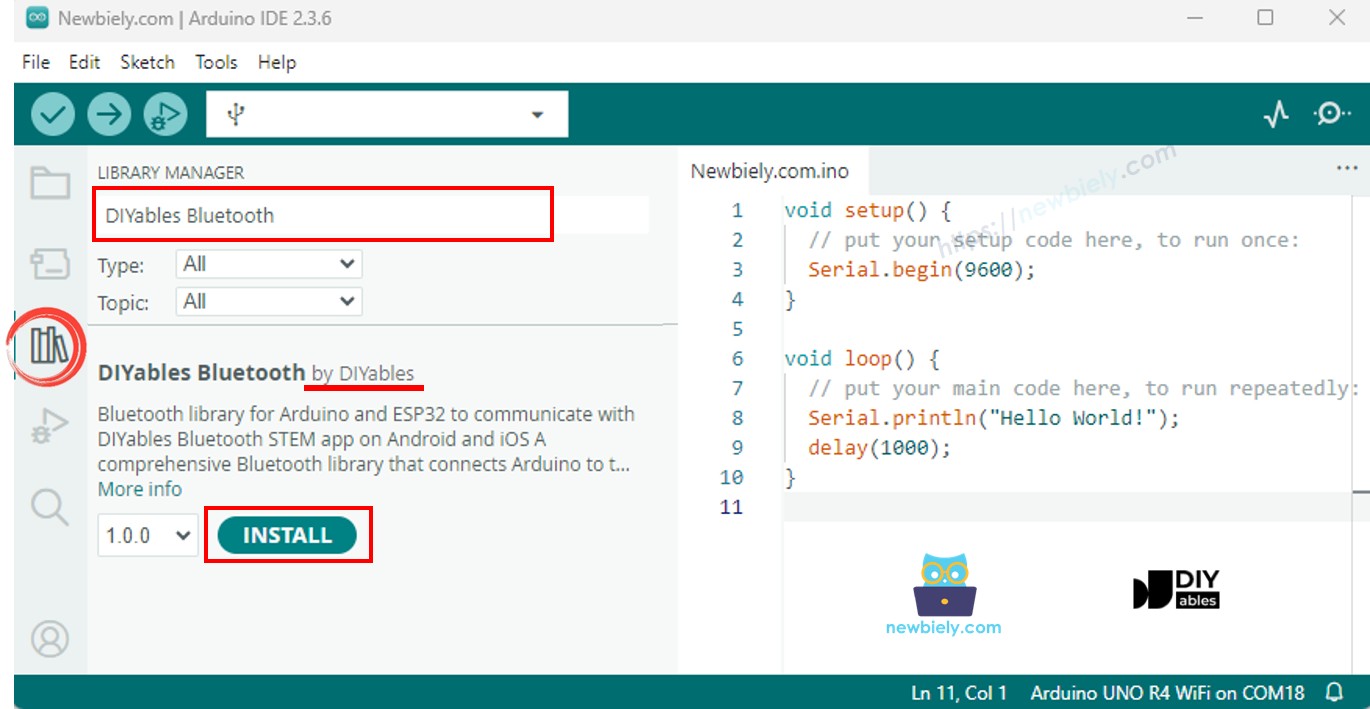
- Navigate to the Libraries icon on the left bar of the Arduino IDE.
- Search "DIYables Bluetooth", then find the DIYables Bluetooth library by DIYables
- Click Install button to install the library.
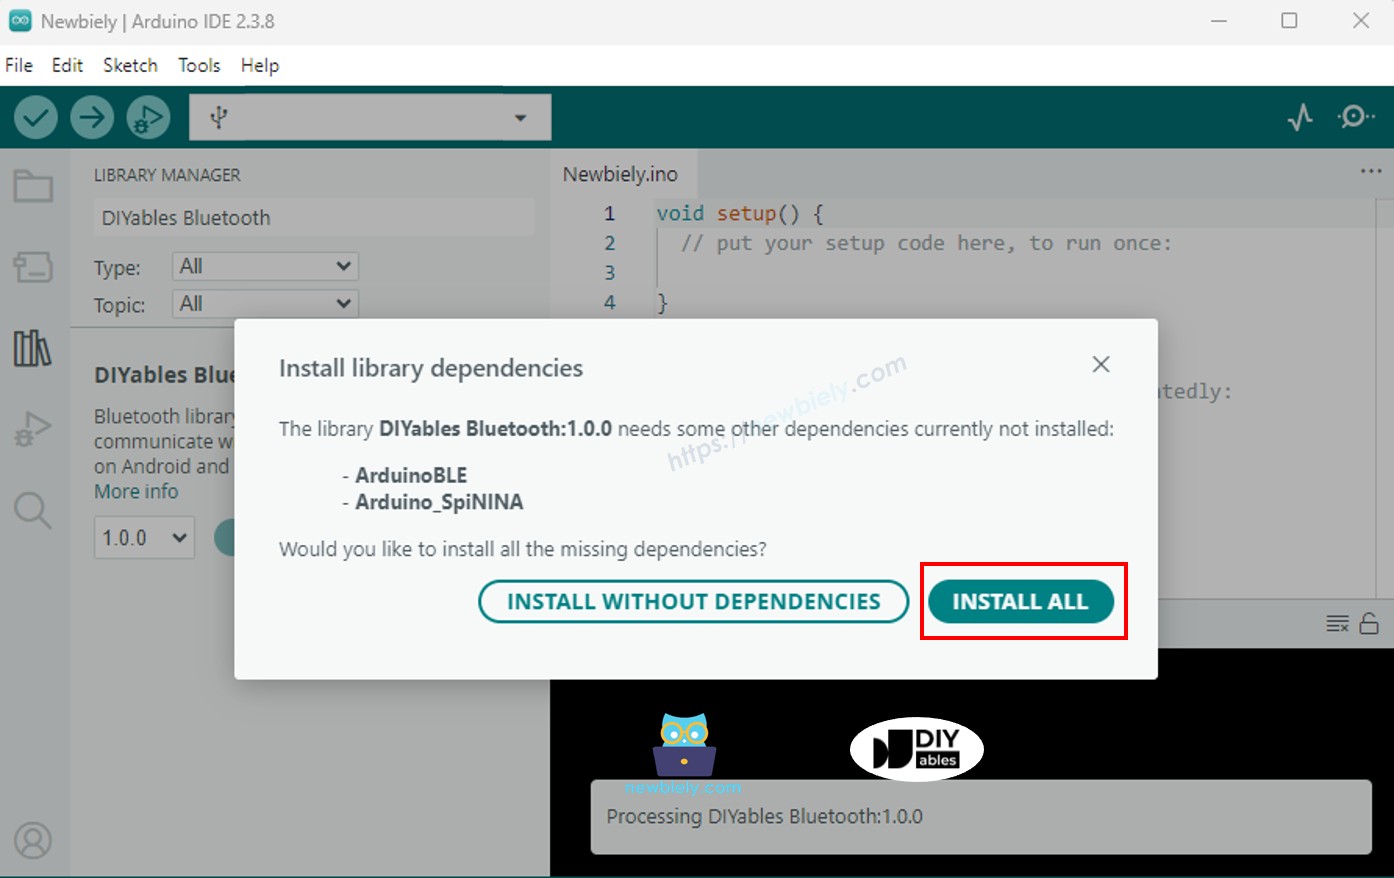
- You will be asked for installing some other library dependencies
- Click Install All button to install all library dependencies.
BLE Code
- On Arduino IDE, Go to File Examples DIYables Bluetooth ArduinoBLE_Joystick example, or copy the above code and paste it to the editor of Arduino IDE
- Click Upload button on Arduino IDE to upload code to Arduino MKR WiFi 1010
- Open the Serial Monitor
- Check out the result on Serial Monitor. It looks like the below:
Mobile App
Note: The DIYables Bluetooth App supports both BLE and Classic Bluetooth on Android, and BLE on iOS. Since the Arduino MKR WiFi 1010 uses BLE, the app works on both Android and iOS. No manual pairing is needed for BLE — just scan and connect.
- Open the DIYables Bluetooth App
- When opening the app for the first time, it will ask for permissions. Please grant the following:
- Nearby Devices permission (Android 12+) / Bluetooth permission (iOS) - required to scan and connect to Bluetooth devices
- Location permission (Android 11 and below only) - required by older Android versions to scan for BLE devices
- Make sure Bluetooth is turned on on your phone
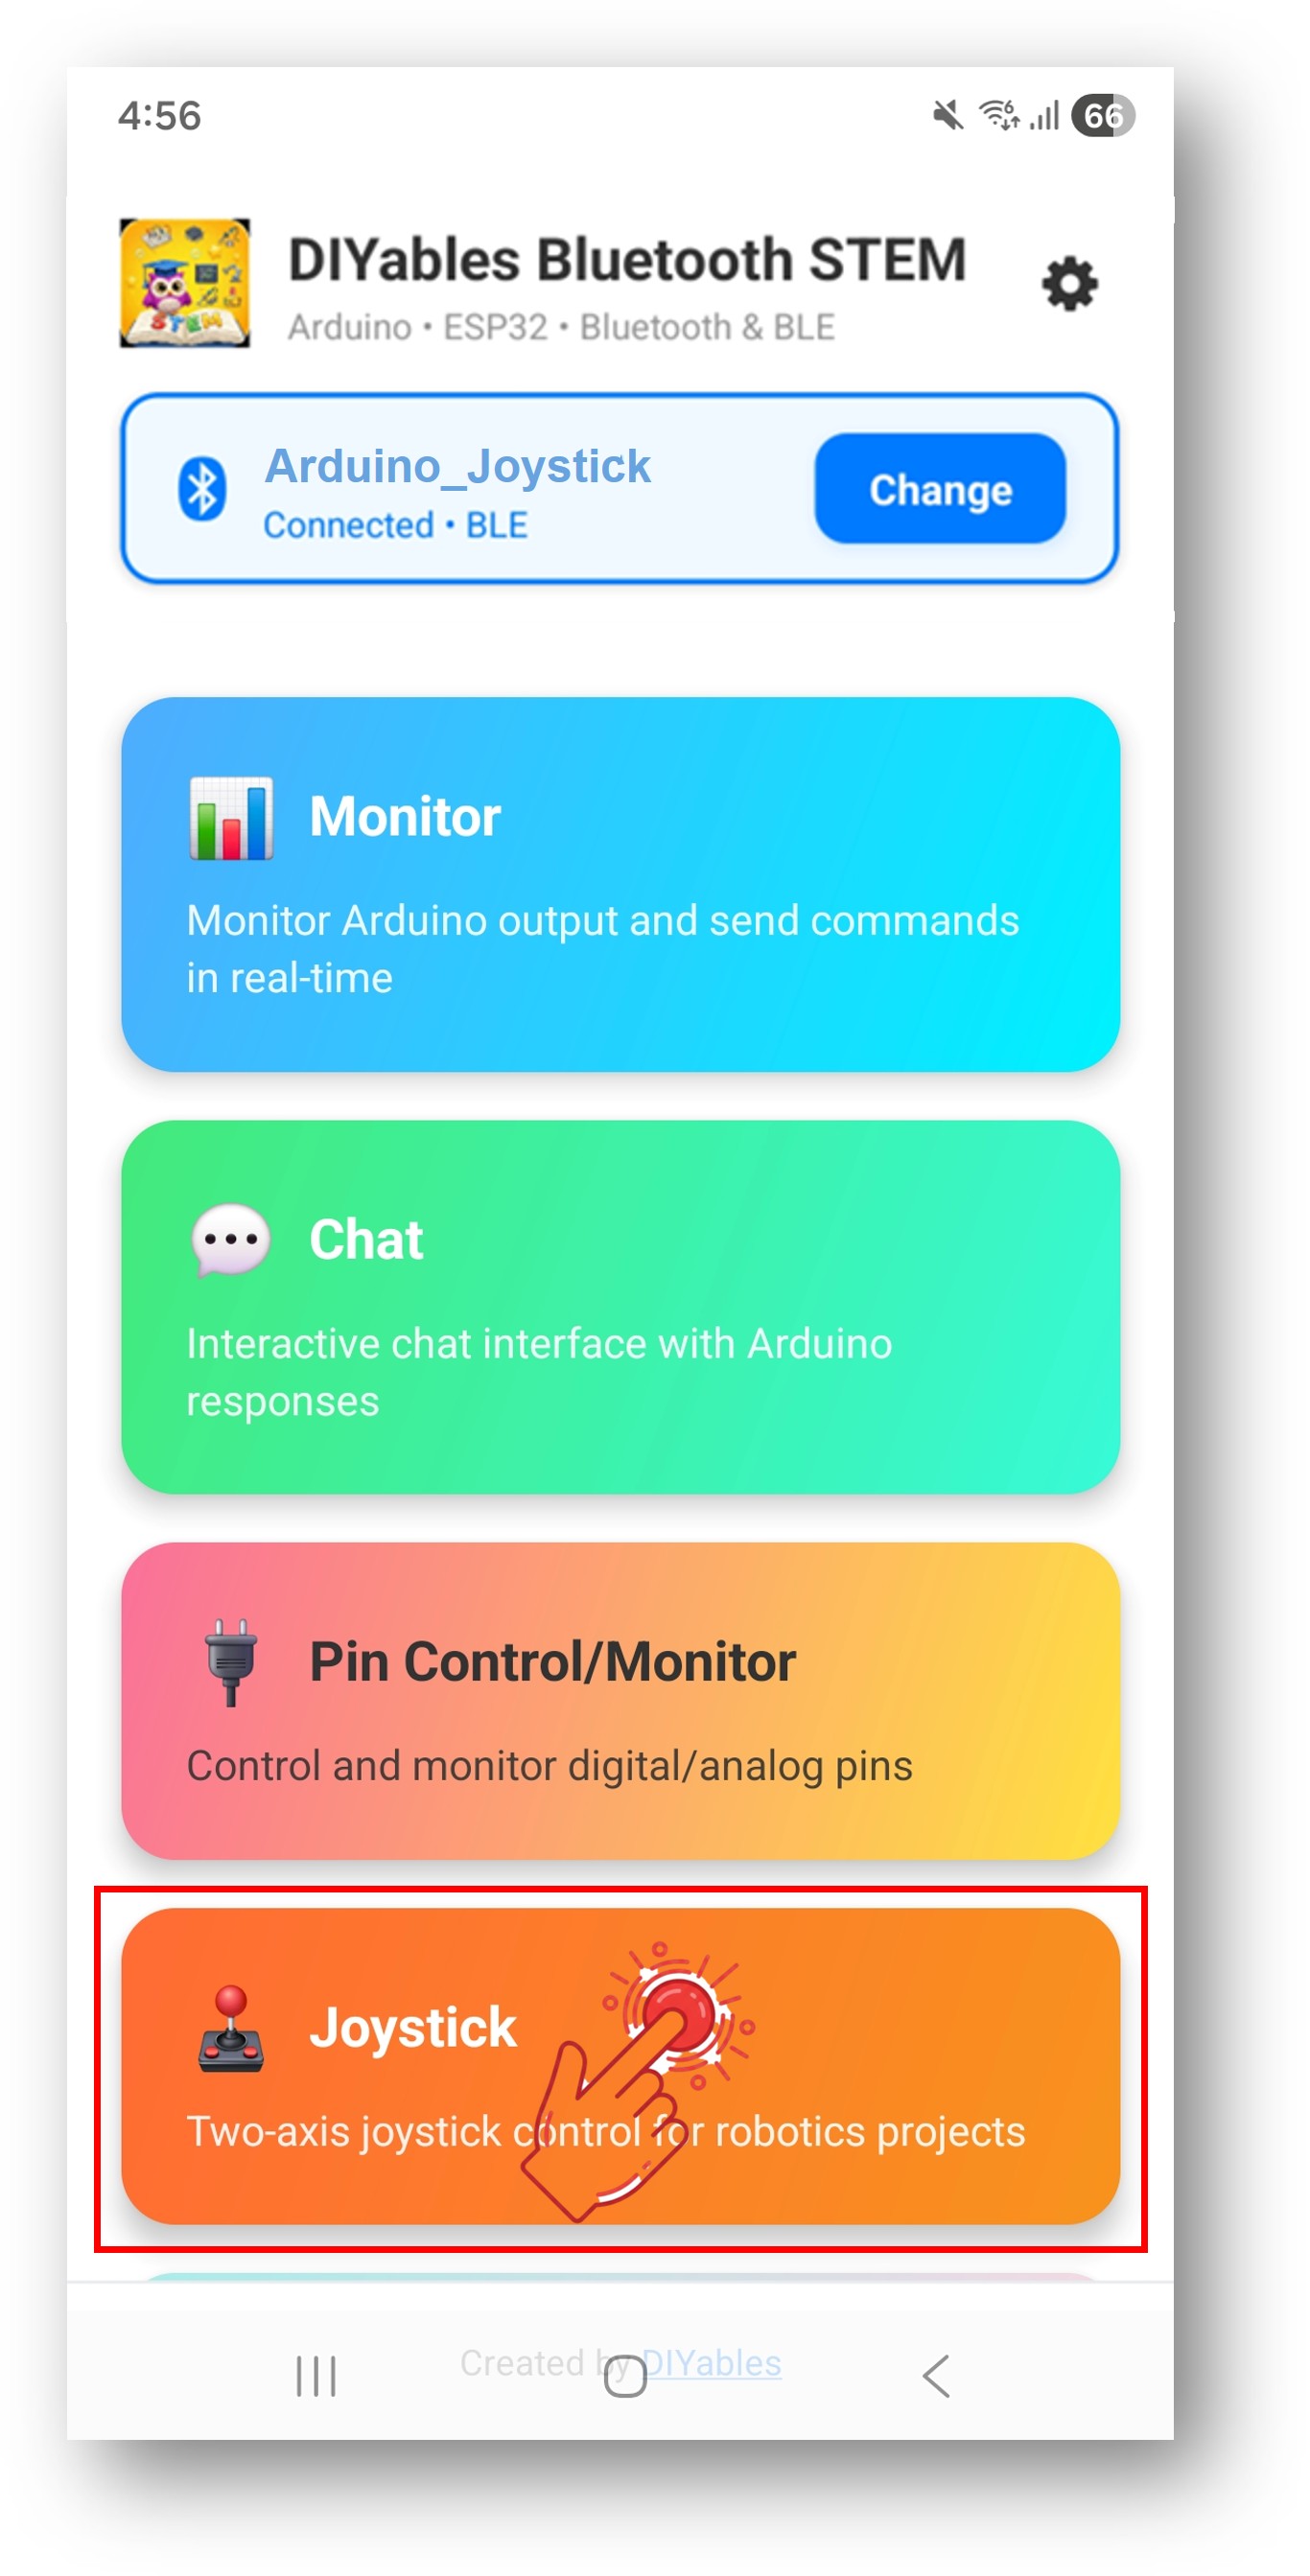
- On the home screen, tap the Connect button. The app will scan for BLE devices.

- Find and tap "Arduino_Joystick" in the scan results to connect.
- Once connected, the app automatically goes back to the home screen. Select the Joystick app from the app menu.
Note: You can tap the settings icon on the home screen to hide/show apps on the home screen. For more details, see the DIYables Bluetooth App User Manual.
- Drag the joystick in any direction
Now look back at the Serial Monitor on Arduino IDE. You will see:
Creative Customization - Adapt the Code to Your Project
Handle Joystick Values
Configure Joystick Settings
Handle Config Request
Programming Examples
Differential Drive Robot
Pan-Tilt Servo
Direction with Dead Zone
Troubleshooting
Common Issues
1. Cannot find the device in the app
- Make sure the Arduino MKR WiFi 1010 is powered on and the sketch is uploaded
- Ensure your phone's Bluetooth is enabled
- On Android 11 and below, also enable Location services
2. Joystick not responding
- Check Bluetooth connection status in the app
- Verify the onJoystickValue callback is set up correctly
- Check Serial Monitor for connection messages
3. Movement feels laggy
- Reduce sensitivity value for more frequent updates
- Ensure bluetoothServer.loop() is called without long delays
4. Values jump or are inconsistent
- Add a dead zone filter for small movements
- Check sensitivity setting
5. Connection drops frequently
- Move closer to the Arduino (reduce distance)
- Ensure stable USB power supply
6. Upload fails or board not recognized
- Install the latest Arduino SAMD Boards package via Boards Manager (≥ 1.8.13)
- Try a different USB cable or port
Project Ideas
- Wireless robot controller
- Camera pan-tilt mount
- Robotic arm 2-axis control
- LED matrix position controller
- Game controller for Arduino games
Next Steps
After mastering the Bluetooth Joystick example, try:
- Bluetooth Slider - For linear value control
- Bluetooth Rotator - For angular control
- Bluetooth Monitor - For status feedback
- Multiple Bluetooth Apps - Combining joystick with other controls
Support
For additional help:
- Check the API Reference documentation
- Visit DIYables tutorials
- Arduino community forums