Arduino UNO R4 - Web Server
In this guide, we will show you how to make an Arduino UNO R4 R4 WiFi work as a web server. You can visit web pages on the Arduino UNO R4 Web Server using a web browser on your computer or smartphone. This will let you see and change values on the Arduino UNO R4. We will learn the following steps to program the Arduino UNO R4 WiFi for this purpose:
- Arduino UNO R4 Web Server - Single Page: This helps us check sensor readings on the Arduino UNO R4 through a web page.
- Arduino UNO R4 Web Server - Single Page: We will make it possible to manage the Arduino UNO R4 with a web browser.
- Arduino UNO R4 Web Server - Single Page: We will learn how to move HTML elements (like HTML, CSS, and JavaScript) to a different file in the Arduino IDE.
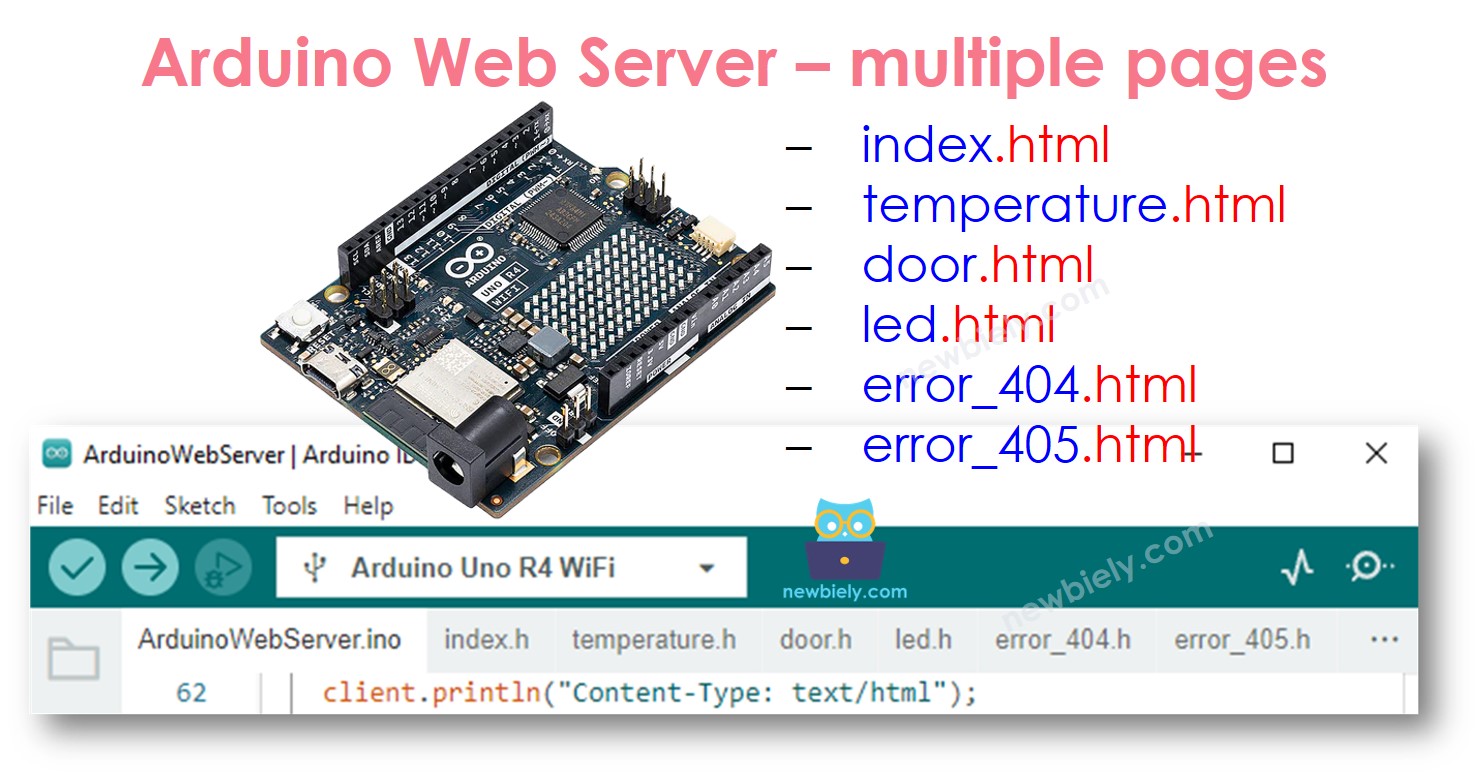
- Arduino UNO R4 Web Server - Multiple pages: We will create various web pages such as index.html, temperature.html, led.html, error_404.html, and error_405.html, among others.
Hardware Preparation
Or you can buy the following kits:
| 1 | × | DIYables STEM V4 IoT Starter Kit (Arduino included) | |
| 1 | × | DIYables Sensor Kit (18 sensors/displays) |
Additionally, some of these links are for products from our own brand, DIYables .

Reading the sensor value from Arduino UNO R4 via Web
The Arduino UNO R4 code performs these tasks:
- Building a web server that receives HTTP requests from a web browser.
- When a web browser sends a request, the Arduino UNO R4 replies with:
- HTTP header
- HTTP body: This contains HTML content and sensor data.
- If this is your first time using the Arduino Uno R4 WiFi/Minima, refer to the tutorial on setting up the environment for Arduino Uno R4 WiFi/Minima in the Arduino IDE.
- Connect the Arduino Uno R4 board to your computer using a USB cable.
- Launch the Arduino IDE on your computer.
- Select the appropriate Arduino Uno R4 board (e.g., Arduino Uno R4 WiFi) and COM port.
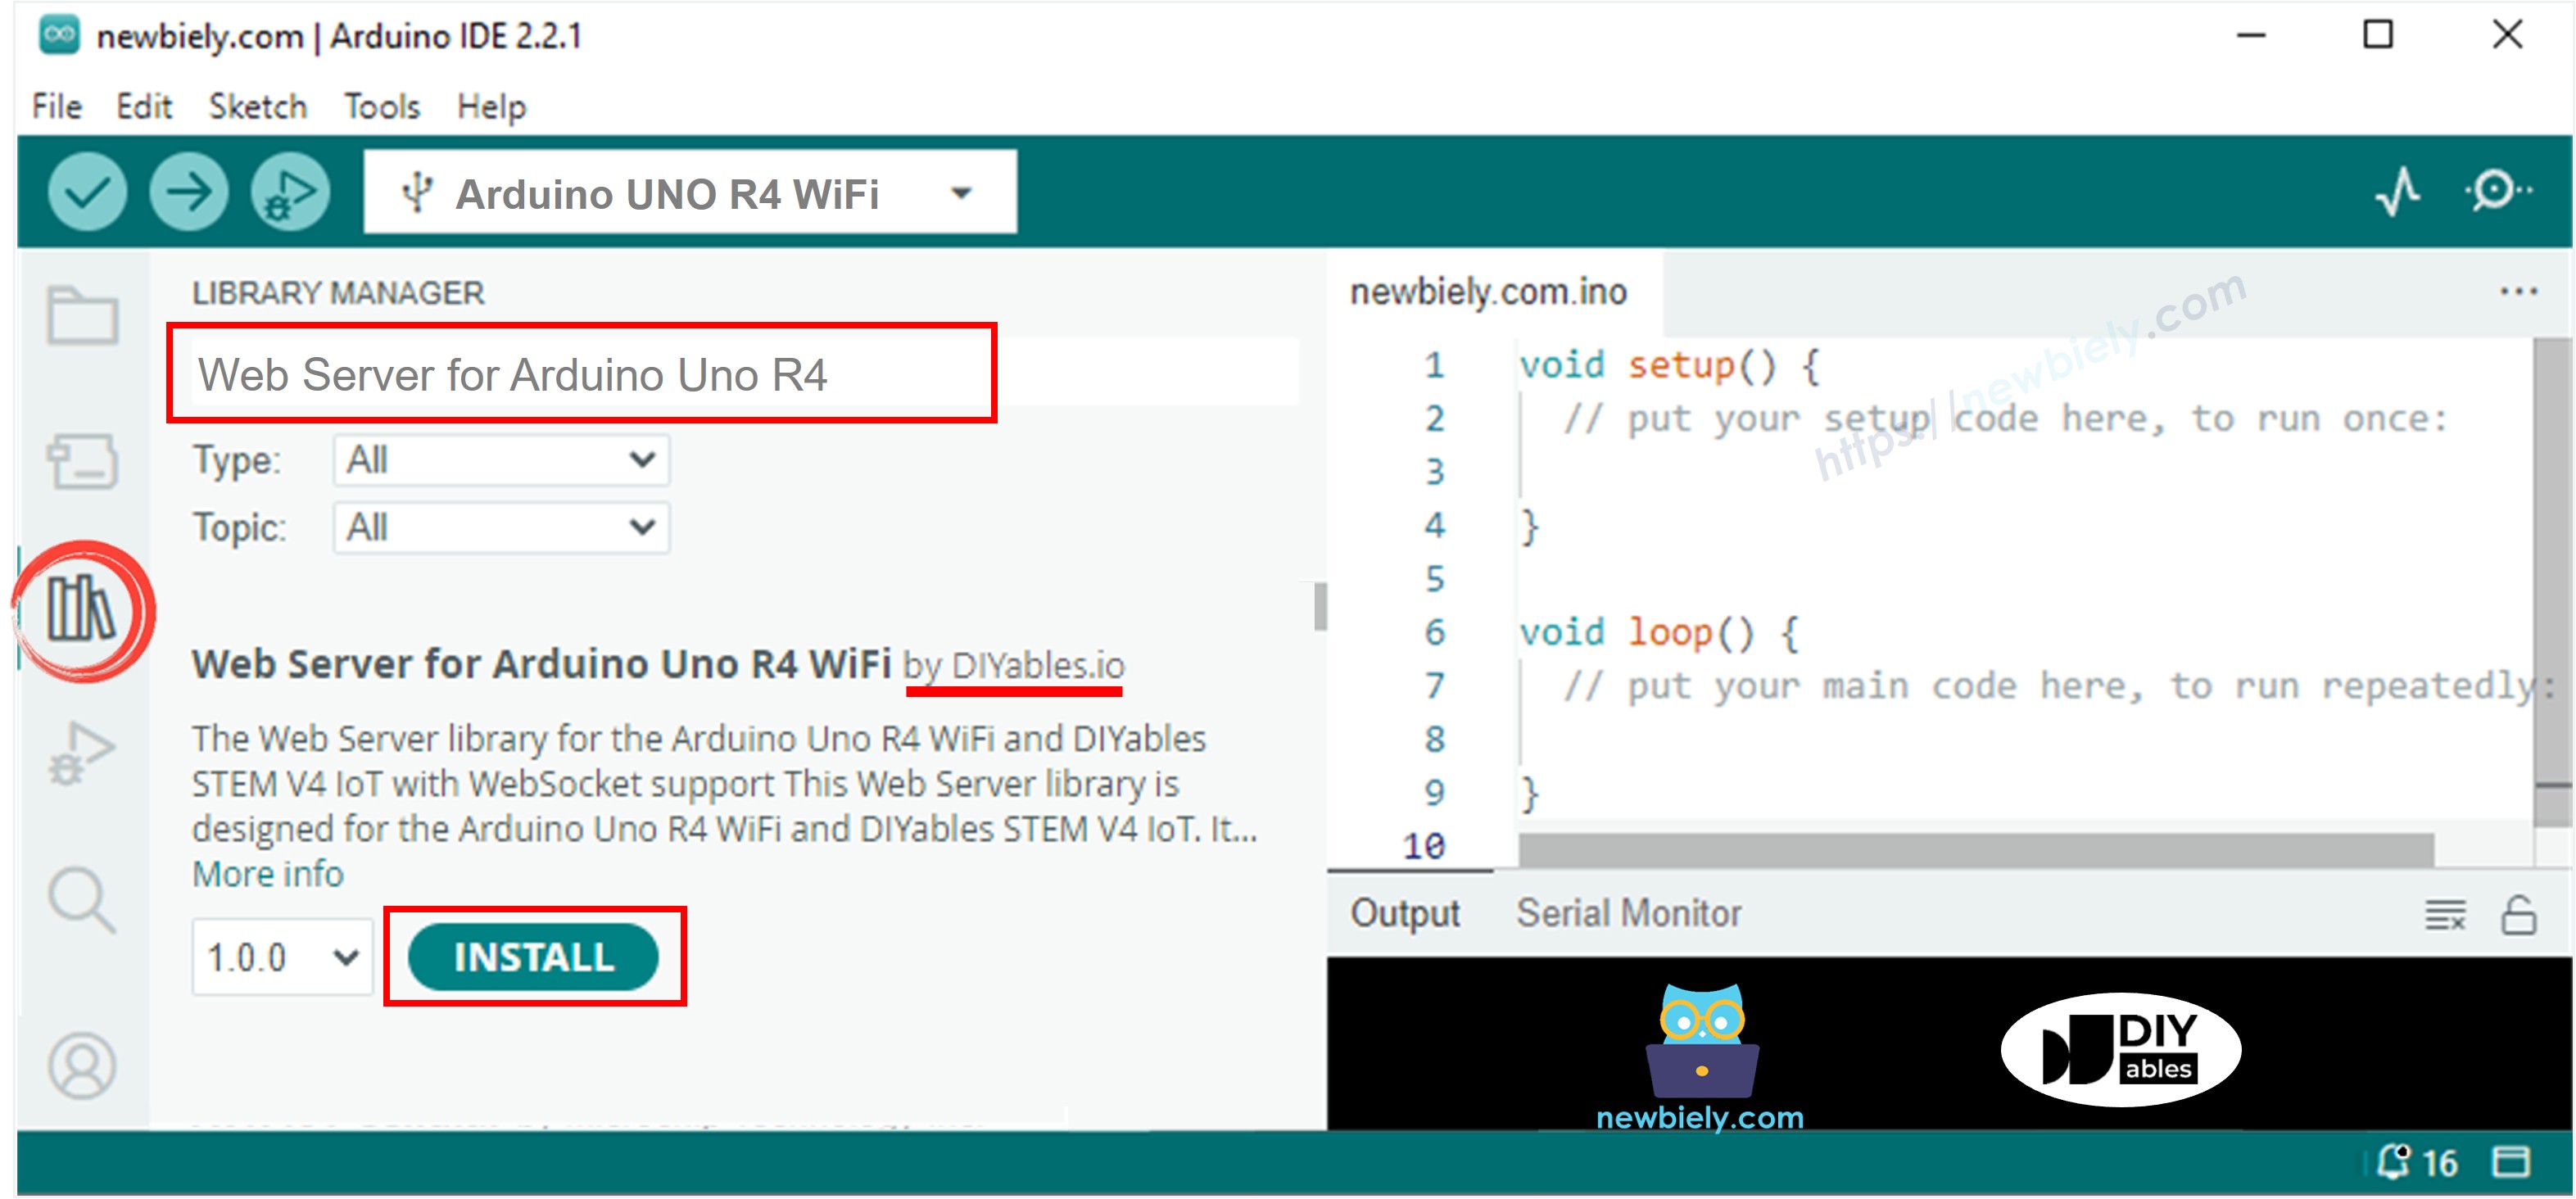
- Open the Library Manager by clicking on the Library Manager icon on the left side of the Arduino IDE.
- Search for Web Server for Arduino Uno R4 WiFi and locate the Web Server library created by DIYables.
- Click on the Install button to add the Web Server library.
- Copy the code and open it in Arduino IDE.
- Replace the wifi details (SSID and password) in the code with your own.
- Click the Upload button in Arduino IDE to upload the code to Arduino UNO R4.
- Open the Serial Monitor.
- Look at the results on the Serial Monitor.
- Look at the IP address shown and type it into the address bar of a web browser on your smartphone or computer.
- Then, you will see this information on the Serial Monitor.
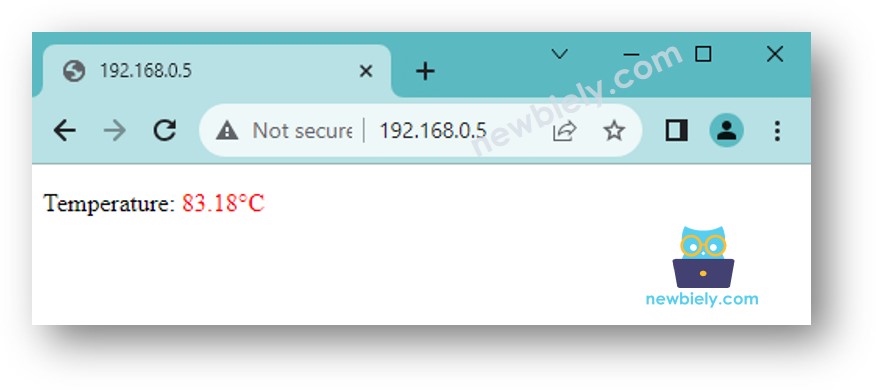
- When you enter the IP address into your web browser, you will see a simple webpage that shows information about the Arduino UNO R4 board. The page will appear as follows:
Here is the Arduino UNO R4 code that does the tasks mentioned above:
Detailed Instructions
Follow these instructions step by step:
To create a great-looking web page using a graphic user interface (UI), see the last part of this tutorial.
Controlling the Arduino UNO R4 via Web
Managing a device connected to Arduino UNO R4 is a bit more complex than simply checking a value. This complexity arises because Arduino UNO R4 must interpret the command it gets from the web browser to determine the appropriate response. Here’s how the Arduino UNO R4 code handles this situation:
- Building a web server that receives HTTP requests from a web browser.
- Processing the request from the browser by:
- Reading the HTTP request header.
- Examining the HTTP request header to figure out the needed control command.
- Controlling the connected device or item using the Arduino UNO R4 as per the control command.
- Sending an HTTP response.
- Optionally, it can also send an HTTP response body containing HTML content to show details about the control status (if required).
For a better and detailed example, I suggest looking at the tutorials below:
Separating HTML content into another file on Arduino IDE
To make a basic web page with just a few contents, you can include the HTML in the Arduino UNO R4 code as mentioned before.
If you want to create a more complex and impressive webpage with a lot of content, it's not easy to put all the HTML, CSS, and JavaScript directly into the Arduino UNO R4 code. In this case, you can use a different method to handle the code.
- The Arduino UNO R4 code should be saved in a file named .ino.
- The HTML code, which includes HTML, CSS, and Javascript, should be saved in a different file named .h. This helps keep the web page content separate from the Arduino UNO R4 code, making it simpler to handle and change.
We need to take two major steps:
- Creating HTML Content
- Coding Arduino UNO R4
Preparing HTML content
- Make an HTML file on your computer. This file should include your user interface design using HTML, CSS, and JavaScript.
- In the HTML file, put a placeholder where you want the data from the Arduino UNO R4 to appear. For now, use any sample value.
- Check and adjust the design of your file until you are happy with it.
- Replace the placeholder value in your HTML file with a unique label, such as TEMPERATURE_MARKER. Later on, you will use the command String.replace("TEMPERATURE_MARKER", real_value); in your Arduino UNO R4 script to show actual data from the Arduino.
- Next, we will transfer this HTML content into a .h file within the Arduino IDE.
Programming Arduino UNO R4
- Start the Arduino IDE and make a new file. Name it like this: newbiely.com.ino.
- Take the code given below and put it into the new file you created.
- Update the code with your WiFi details (SSID and password)
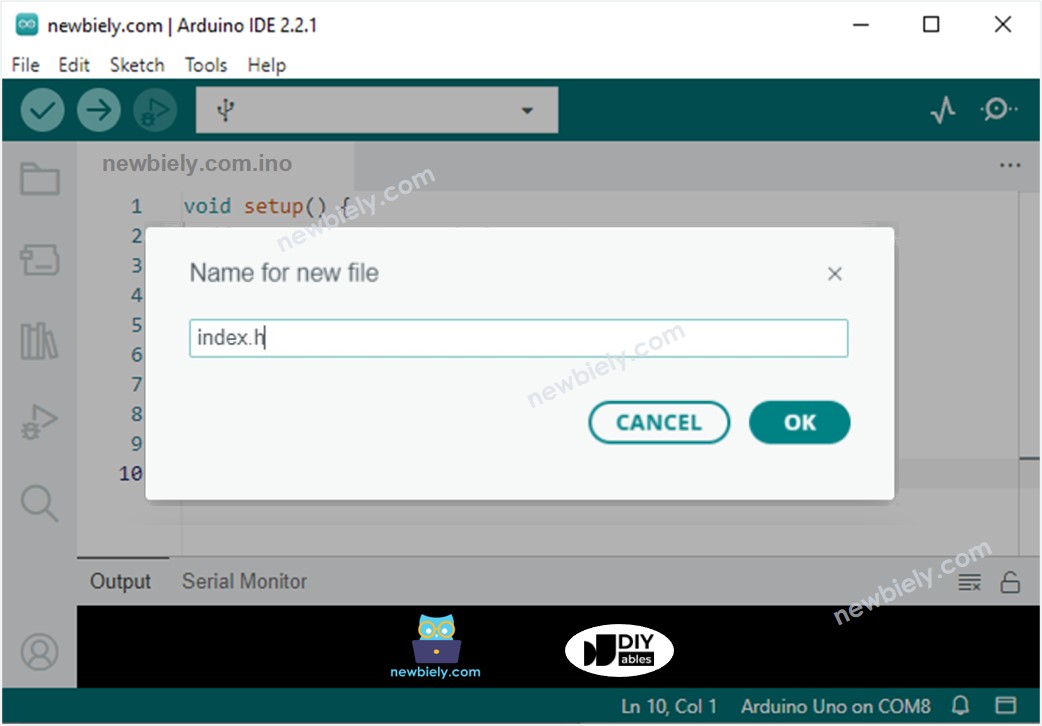
- In Arduino IDE, create the file named index.h
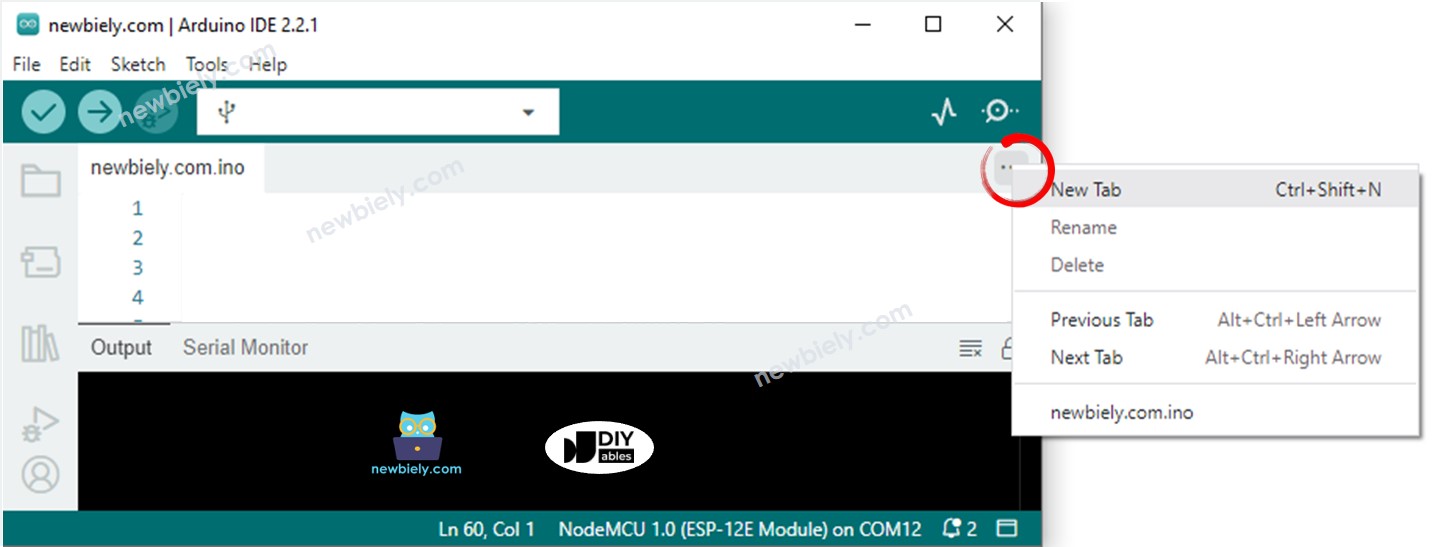
- Click on the button below the serial monitor icon and select New Tab, or press Ctrl+Shift+N.
- Name the file index.h and press the OK button.
- Copy the code below and paste it into the file named index.h.
- Insert your prepared HTML content at REPLACE_YOUR_HTML_CONTENT_HERE. It's okay to use new line characters. Here is an example of an index.h file:
- You now have the code in two files: newbiely.com.ino and index.h
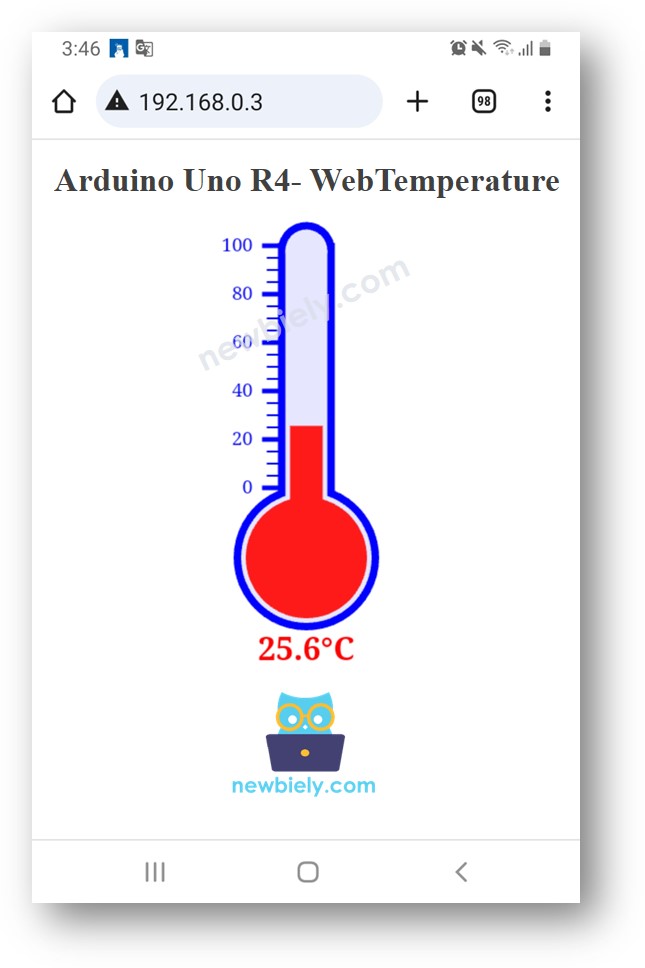
- Click the Upload button in Arduino IDE to transfer the code to the Arduino UNO R4
- Open the Arduino UNO R4 board's web page in your web browser, similar to previous times. It will display as follows:
For a detailed guide, please check the Arduino UNO R4 - DS18B20 Temperature Sensor via Web tutorial.
※ NOTE THAT:
If you change the HTML in the file named "index.h" but do not make changes to the "newbiely.com.ino" file, the Arduino IDE will not update the HTML when you compile and upload the code to the ESP32.
To make the Arduino IDE update the HTML, you must change something in the "newbiely.com.ino" file. You could add an empty line or a comment. This tells the IDE that the project has changed, so it includes your new HTML when uploading.
Arduino UNO R4 Web Server - Multiple Pages
Visit this tutorial about Arduino UNO R4 - Web Server Multiple Pages.