Arduino UNO R4 - Potentiometer
This tutorial instructs you how to use Arduino Uno R4 with a potentiometer. In detail, we will learn:
- How a potentiometer works.
- How to connect a potentiometer to Arduino UNO R4.
- How to program Arduino UNO R4 to read values from the potentiometer and transform them into other usable values.
Hardware Preparation
Or you can buy the following kits:
| 1 | × | DIYables STEM V4 IoT Starter Kit (Arduino included) | |
| 1 | × | DIYables Sensor Kit (18 sensors/displays) |
Additionally, some of these links are for products from our own brand, DIYables .

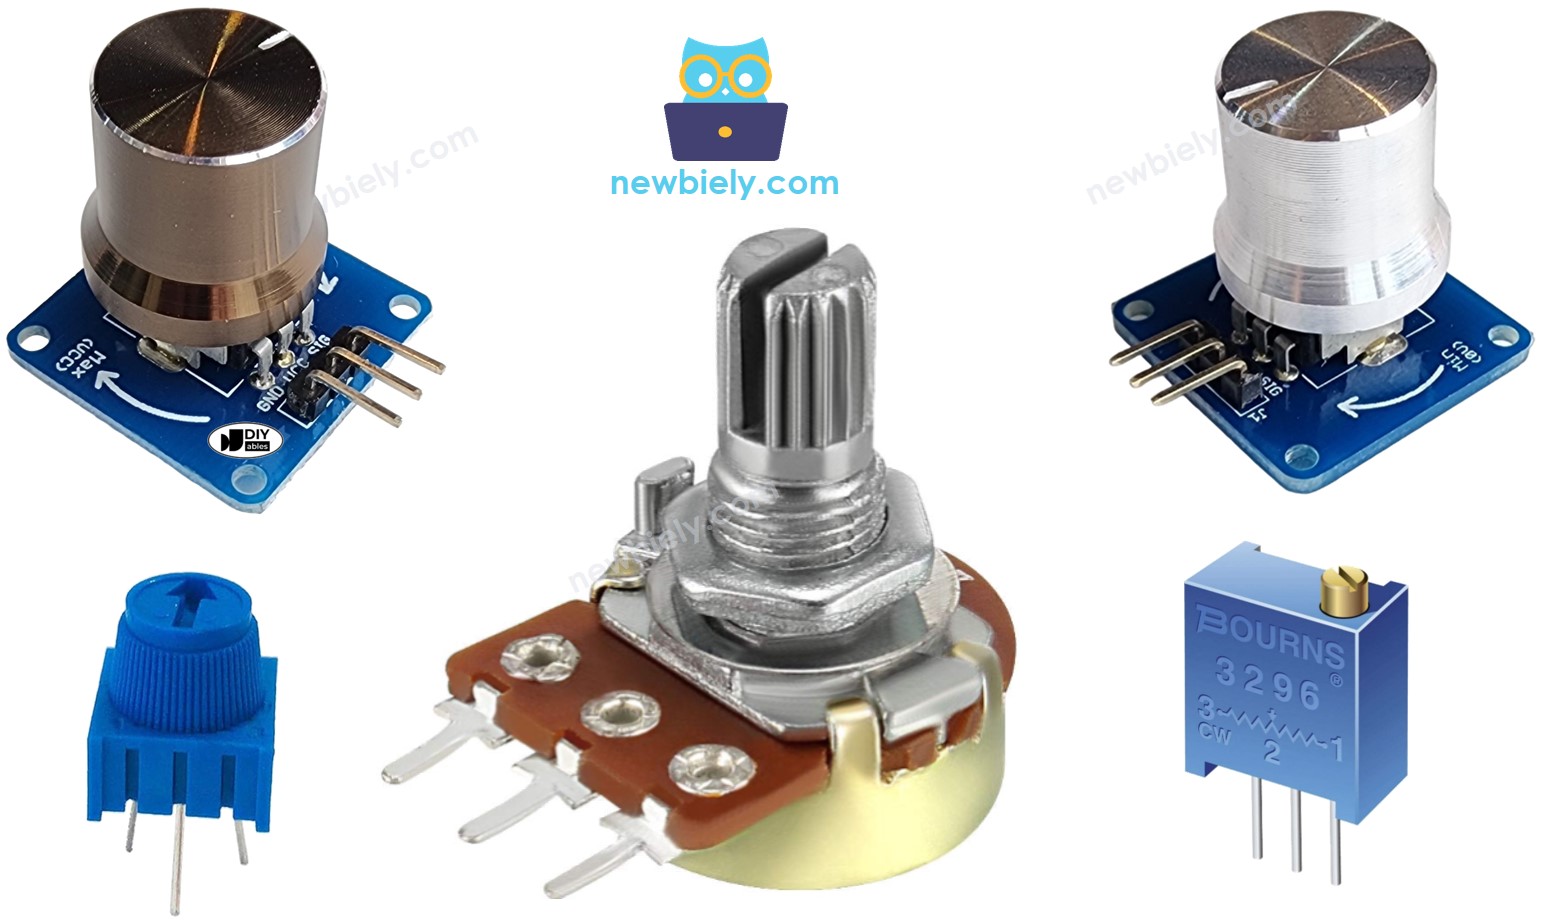
Overview of Potentiometer
A rotary potentiometer, also known as a rotary angle sensor, is used to manually change settings such as stereo volume, lamp brightness, or oscilloscope zoom level.
Pinout
A potentiometer typically has three pins.
- GND pin: connect to GND (0V)
- VCC pin: connect to VCC (5V or 3.3V)
- Output pin: sends voltage to Arduino UNO R4's input pin.
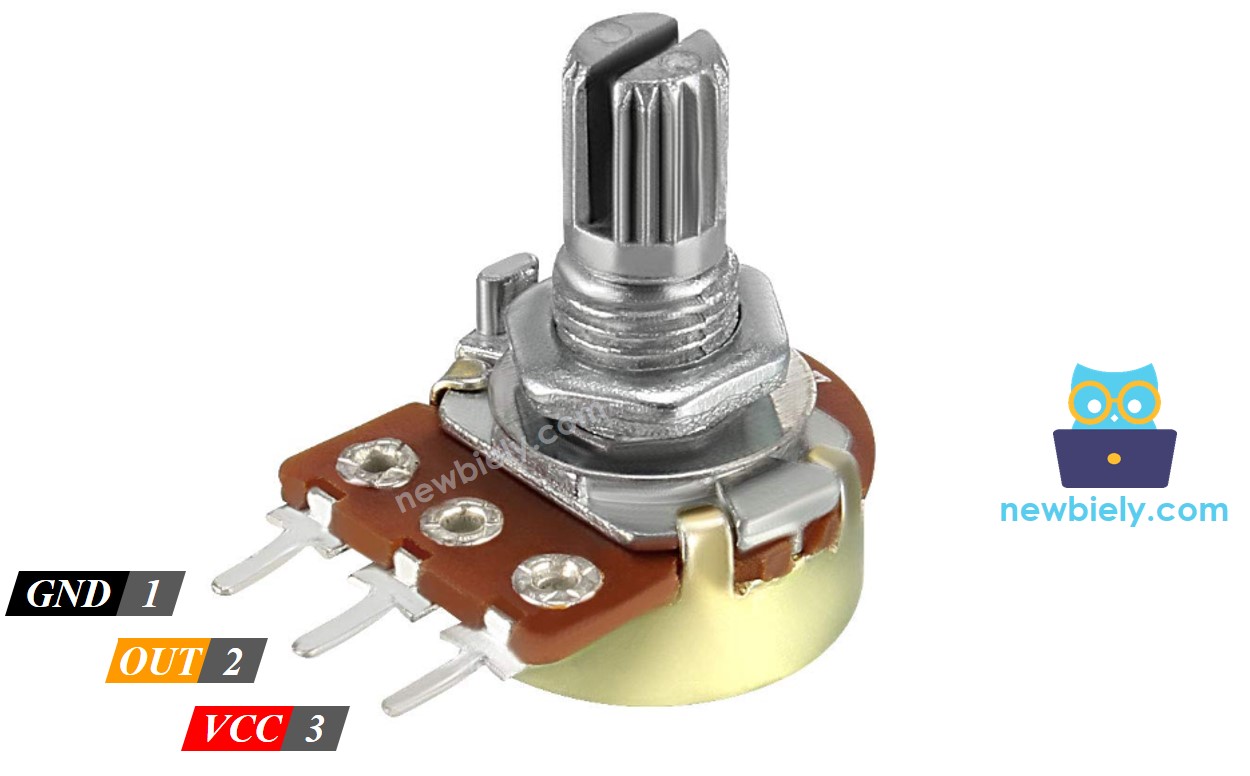
※ NOTE THAT:
The GND pin and the VCC pin can be swapped.
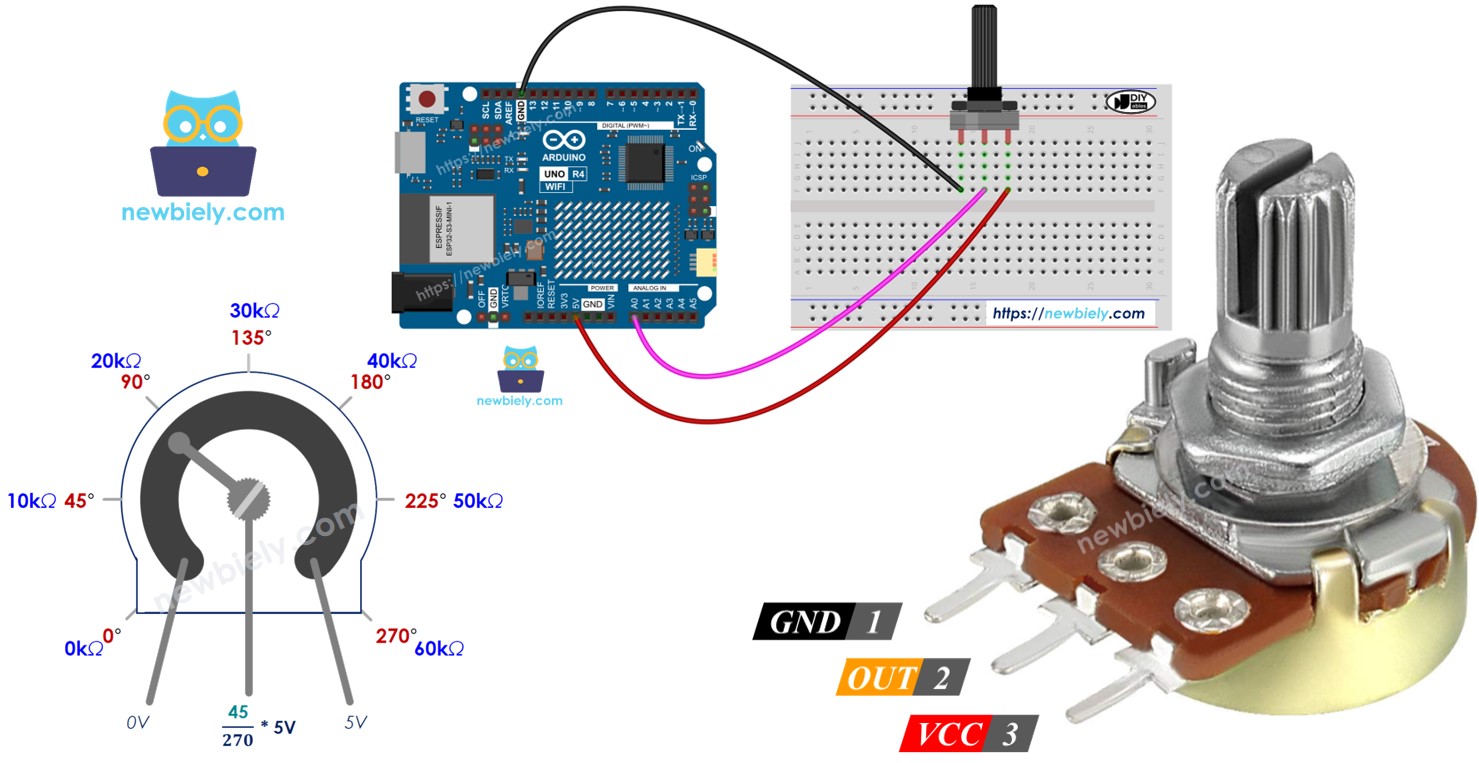
How It Works
The potentiometer's shaft can turn from 0° (closest to the GND) up to a maximum angle (closest to the VCC pin), named ANGLE_MAX.
The voltage at the output pin varies from the voltage at GND to the voltage at VCC. The output voltage changes directly with the angle the shaft is turned.
- When the angle is 0 degrees, the voltage at the output pin is 0 volts.
- When the angle equals ANGLE_MAX, the voltage at the output pin matches the VCC's voltage.
- If the angle is in between 0° and ANGLE_MAX, output_voltage = angle × VCC / ANGLE_MAX
※ NOTE THAT:
The value of ANGLE_MAX varies depending on the manufacturer. Usually, we don't pay much attention to the value of ANGLE_MAX unless we need to compute the angle of rotation (refer to the use cases section).
Arduino UNO R4 - Rotary Potentiometer
The pins A0 to A5 on the Arduino UNO R4 can be set up as analog inputs. These pins change the voltage, which ranges from 0 volts to VCC, into whole numbers between 0 and 1023. These numbers are called ADC values or analog values.
By connecting the output pin of a potentiometer to an analog input pin on the Arduino UNO R4, we can program the Arduino to read the ADC value and convert it into a useful number.
The value received by the Arduino UNO R4 is not an angle or voltage; it is an integer that ranges from 0 to 1023.
We take the number from the analog input pin and convert it into a different number. Now, let's see how it's used.
Use Cases
- Converting the ADC value to the angle.
- Converting the ADC value to the voltage
- Converting the ADC value to a controllable value (like volume of stereo, brightness, or motor speed). This is the most frequently used scenario.
Rescale Range
| FROM | TO | |||
|---|---|---|---|---|
| Angle | rotated by user | 0° | → | ANGLE_MAX |
| Voltage | from potentiometer's pin | 0V | → | VCC |
| ADC value | read by Arduino UNO R4 | 0 | → | 1023 |
| Other value | converted by Arduino UNO R4 | VALUE_MIN | → | VALUE_MAX |
Wiring Diagram
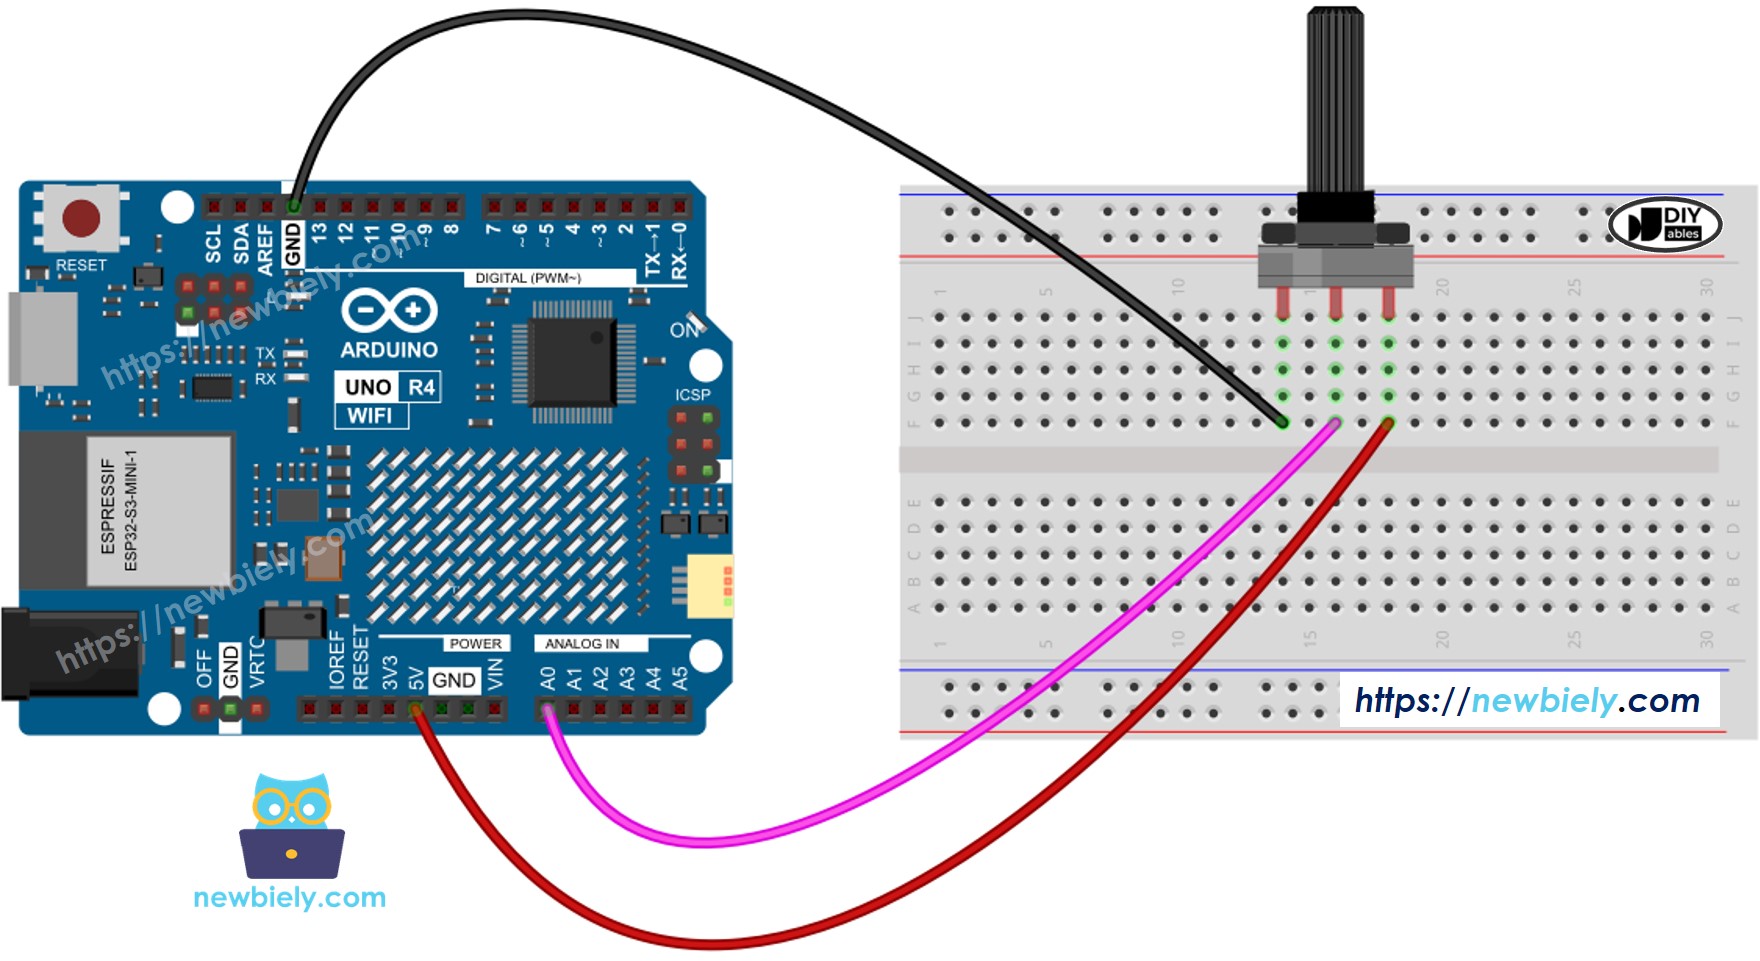
This image is created using Fritzing. Click to enlarge image
See The best way to supply power to the Arduino Uno R4 and other components.
How To Program For Potentiometer
- Use the function analogRead() to read the value from a pin that is connected to the potentiometer's output pin.
- Convert the ADC value to the angle of the potentiometer using the map() function.
- Convert the ADC value to the voltage:
- Convert the ADC value to a manageable level (for example, the volume of the stereo, the brightness, or the speed of the DC motor).
- For example, adjusting the brightness of an LED. The brightness of an LED can be controlled using a PWM value from 0 (always OFF) to 255 (always ON). Therefore, we can map the ADC value to the LED brightness (from OFF to the brightest) as follows:
※ NOTE THAT:
The map() function is used to change an analog value to either an int or long type value. If you need to work with a float type value, you should use the floatMap() function instead.
The floatMap() function:
Arduino UNO R4 Code
Detailed Instructions
Follow these instructions step by step:
- If this is your first time using the Arduino Uno R4 WiFi/Minima, refer to the tutorial on setting up the environment for Arduino Uno R4 WiFi/Minima in the Arduino IDE.
- Connect the potentiometer to Arduino Uno R4 according to the provided diagram.
- Connect the Arduino Uno R4 board to your computer using a USB cable.
- Launch the Arduino IDE on your computer.
- Select the appropriate Arduino Uno R4 board (e.g., Arduino Uno R4 WiFi) and COM port.
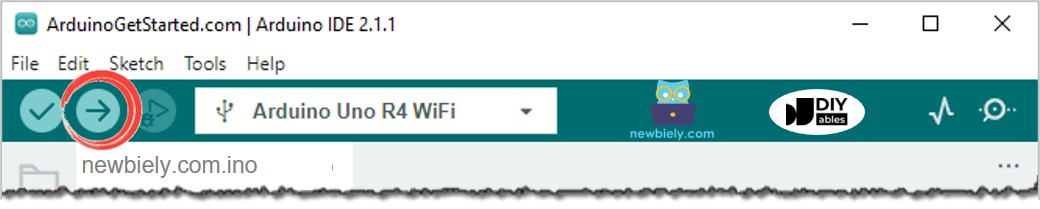
- Copy the code above and open it with Arduino IDE
- Click the Upload button in Arduino IDE to upload the code to Arduino UNO R4
- Open the Serial Monitor
- Turn the potentiometer
- Check the Serial Monitor for the result