Arduino UNO Q - Force Sensor
A force sensor (FSR — Force Sensitive Resistor) changes its resistance based on how hard you press it. Connected to the Arduino UNO Q's 12-bit ADC with a pull-down resistor, it gives you a reading from 0 (no pressure) to 4095 (maximum squeeze). With Bridge and Telegram, you can get instant alerts and query pressure levels remotely.
In this tutorial, you will learn:
- How a force sensor works
- How to wire the force sensor to the Arduino UNO Q MCU with a pull-down resistor
- How to read analog values and classify pressure levels (12-bit ADC: 0–4095)
- How to use Bridge to expose force data and events to the Linux side (Python)
- How to receive Telegram alerts when force is applied on Arduino UNO Q
- How to use OpenClaw on Arduino UNO Q with the force sensor

Hardware Preparation
Or you can buy the following kits:
| 1 | × | DIYables Sensor Kit (18 sensors/displays) |
Additionally, some of these links are for products from our own brand, DIYables .
Overview of the Force Sensor
The force sensor (also called FSR — Force Sensitive Resistor) is a thin, flexible component that acts like a variable resistor:
- No pressure applied: Very high resistance (several MΩ) → near-zero voltage at the analog pin
- More pressure applied: Lower resistance → higher voltage → higher ADC reading
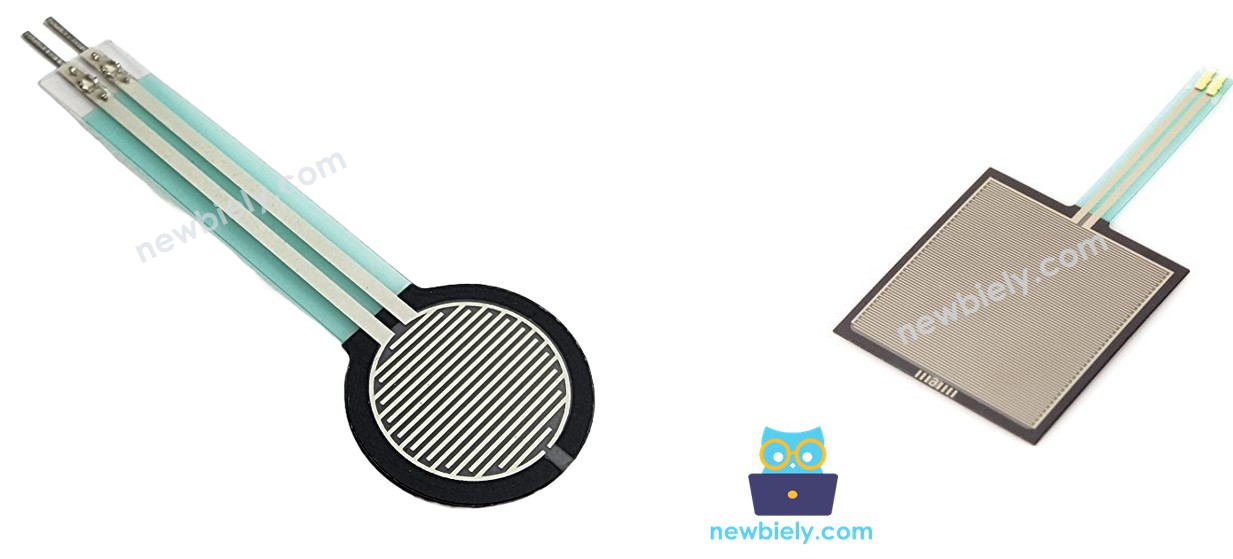
The force sensor has two identical pins (it is a resistor — polarity does not matter). It is not suitable for precise weight measurement in grams or pounds, but is excellent for detecting touch, squeeze, or press events.
Voltage Divider Wiring
Because the FSR is just a resistor, it must be wired in a voltage divider with a known pull-down resistor (10 kΩ) to produce a measurable voltage:
- When the FSR resistance is high (no pressure), A0 reads near 0
- When the FSR resistance drops (pressure applied), A0 reads higher
12-bit ADC on Arduino UNO Q
The UNO Q MCU uses a 12-bit ADC (0–4095) with a 3.3V reference. The pressure classification thresholds in this tutorial are scaled accordingly (R4 used 10-bit 0–1023; all thresholds are multiplied by 4 for UNO Q).
Wiring Diagram
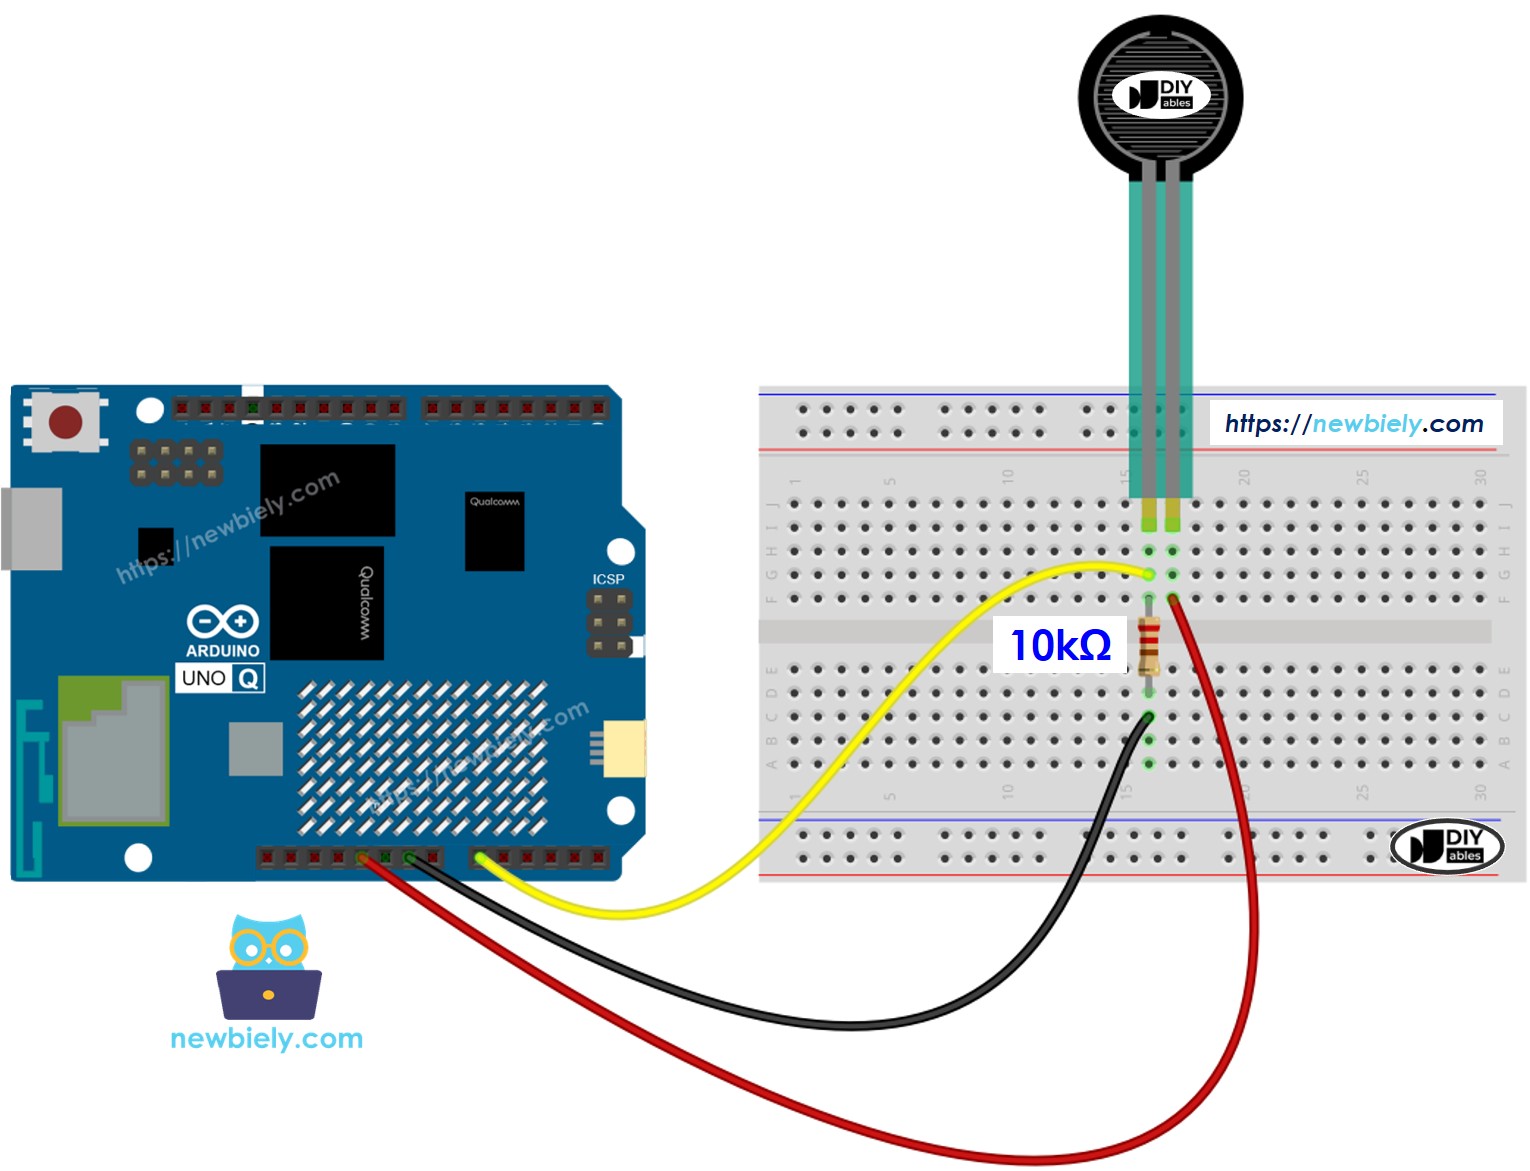
This image is created using Fritzing. Click to enlarge image
| Component | Arduino UNO Q MCU |
|---|---|
| Force sensor pin 1 | 3.3V |
| Force sensor pin 2 | A0 |
| 10 kΩ resistor pin 1 | A0 |
| 10 kΩ resistor pin 2 | GND |
How To Program For Force Sensor
- Read the analog voltage at the force sensor pin:
- Classify the pressure level based on ADC value (12-bit, 0–4095):
Arduino UNO Q Code
The Arduino UNO Q has two processors working together:
- The STM32 MCU reads the force sensor analog value every second and classifies the pressure level
- The Qualcomm MPU runs Debian Linux with Wi-Fi — in this section, only the MCU is programmed. A later section shows how both processors work together via Bridge.
Detailed Instructions
First time with Arduino UNO Q? Follow the Getting Started with Arduino UNO Q tutorial before proceeding.
- Connect: Wire the force sensor and resistor to the Arduino UNO Q MCU as shown in the wiring diagram.
- Open Arduino App Lab: Launch Arduino App Lab and wait until it detects your Arduino UNO Q.
- Create a new App: Click the Create New App button.

- Give the App a name, for example: ForceSensor
- Click Create to confirm.

- Paste the sketch: Copy the MCU code above and paste it into sketch/sketch.ino.
- Upload: Click the Run button in Arduino App Lab.

- Press the force sensor gently and then harder — observe the readings change in the Serial Monitor.
App Lab Console Output
Bridge: Linux + MCU
This section shows how to program both processors of the Arduino UNO Q so the Linux side can read force values and receive pressure events via Bridge:
- The force sensor is connected to the MCU — the MCU reads the analog value every 500 ms and caches it
- The MPU cannot read the analog pin directly — it calls Bridge functions to get the raw value, pressure level, or a new-press event
- The MPU has Wi-Fi — running full Debian Linux, it can send Telegram alerts the moment force is applied
- Arduino_RouterBridge enables RPC communication between the two processors
- ⚠️ /dev/ttyHS1 (Linux) and Serial1 (MCU) are RESERVED by the router — never open them in user code
MCU Code (Bridge)
Python Code (Bridge)
Detailed Instructions
- Connect: Wire the force sensor and resistor as shown in the wiring diagram.
- Open Arduino App Lab and create a new App named ForceSensorBridge.
- Paste the MCU sketch into sketch/sketch.ino.
- Paste the Python code into the Python file.
- Install the library: Click the Add sketch library button (the open book icon with a + sign) in the left sidebar.

- Search for Arduino_RouterBridge created by Arduino and click the Install button.
- Upload: Click the Run button.
- Press the force sensor — observe the event and pressure level appear in both consoles.
App Lab Console Output
Telegram
Receive Telegram alerts when force is applied on the Arduino UNO Q force sensor, and query pressure levels remotely.
MCU sketch: Keep the same MCU sketch from the previous Bridge section.
Python Code (Telegram)
Detailed Instructions
- Replace YOUR_TELEGRAM_BOT_TOKEN with your actual bot token from BotFather.
- Replace YOUR_CHAT_ID with your Telegram chat ID.
- Paste this Python code into your App's Python file (keep the same MCU sketch).
- Click the Run button — press the force sensor to trigger a Telegram alert.
App Lab Console Output

ArduinoBot
OpenClaw
You can adapt the OpenClaw to this tutorial by refering the instruction on Arduino Uno Q - OpenClaw Tutorial
Project Ideas
You can build many useful projects with the force sensor and Arduino UNO Q:
- Smart Doorbell: Mount the FSR under a doormat — when someone steps on it, the MPU sends a Telegram alert "Someone is at the door!", making an invisible pressure-activated doorbell
- Grip Trainer: Squeeze the FSR as part of a hand strength exercise — Python tracks the peak pressure value each session and sends a Telegram summary with your best squeeze of the day
- Package Weight Monitor: Place the FSR under a package on a shelf — if the package is removed (pressure drops to zero), the MPU sends a "Package removed" Telegram alert immediately
- Press Counter: Count how many times force is detected per hour — log the count to a CSV file and send an hourly Telegram report (useful for button presses in kiosks or machinery)
- Bed Occupancy Sensor: Place multiple FSRs under a mattress — Python receives pressure events and sends a Telegram alert when the bed is occupied or vacated (useful for monitoring elderly or patients)
Challenge Yourself
Ready to go further with the force sensor on Arduino UNO Q? Try these challenges:
- Easy: Add a /peak Telegram command: Python tracks the highest raw ADC value ever read since startup and returns it when asked — useful for finding the maximum force applied during testing.
- Medium: Implement a force duration tracker: record the timestamp when pressure starts (value ≥ 40) and when it ends — send a Telegram message reporting the duration each time force is released.
- Advanced: Build a tap counter with debounce: detect rapid force presses (taps) in Python by checking if the pressure_detected event fires more than once within 2 seconds — count sequences of taps and send a Telegram message like "3 taps detected!" for patterns you define.