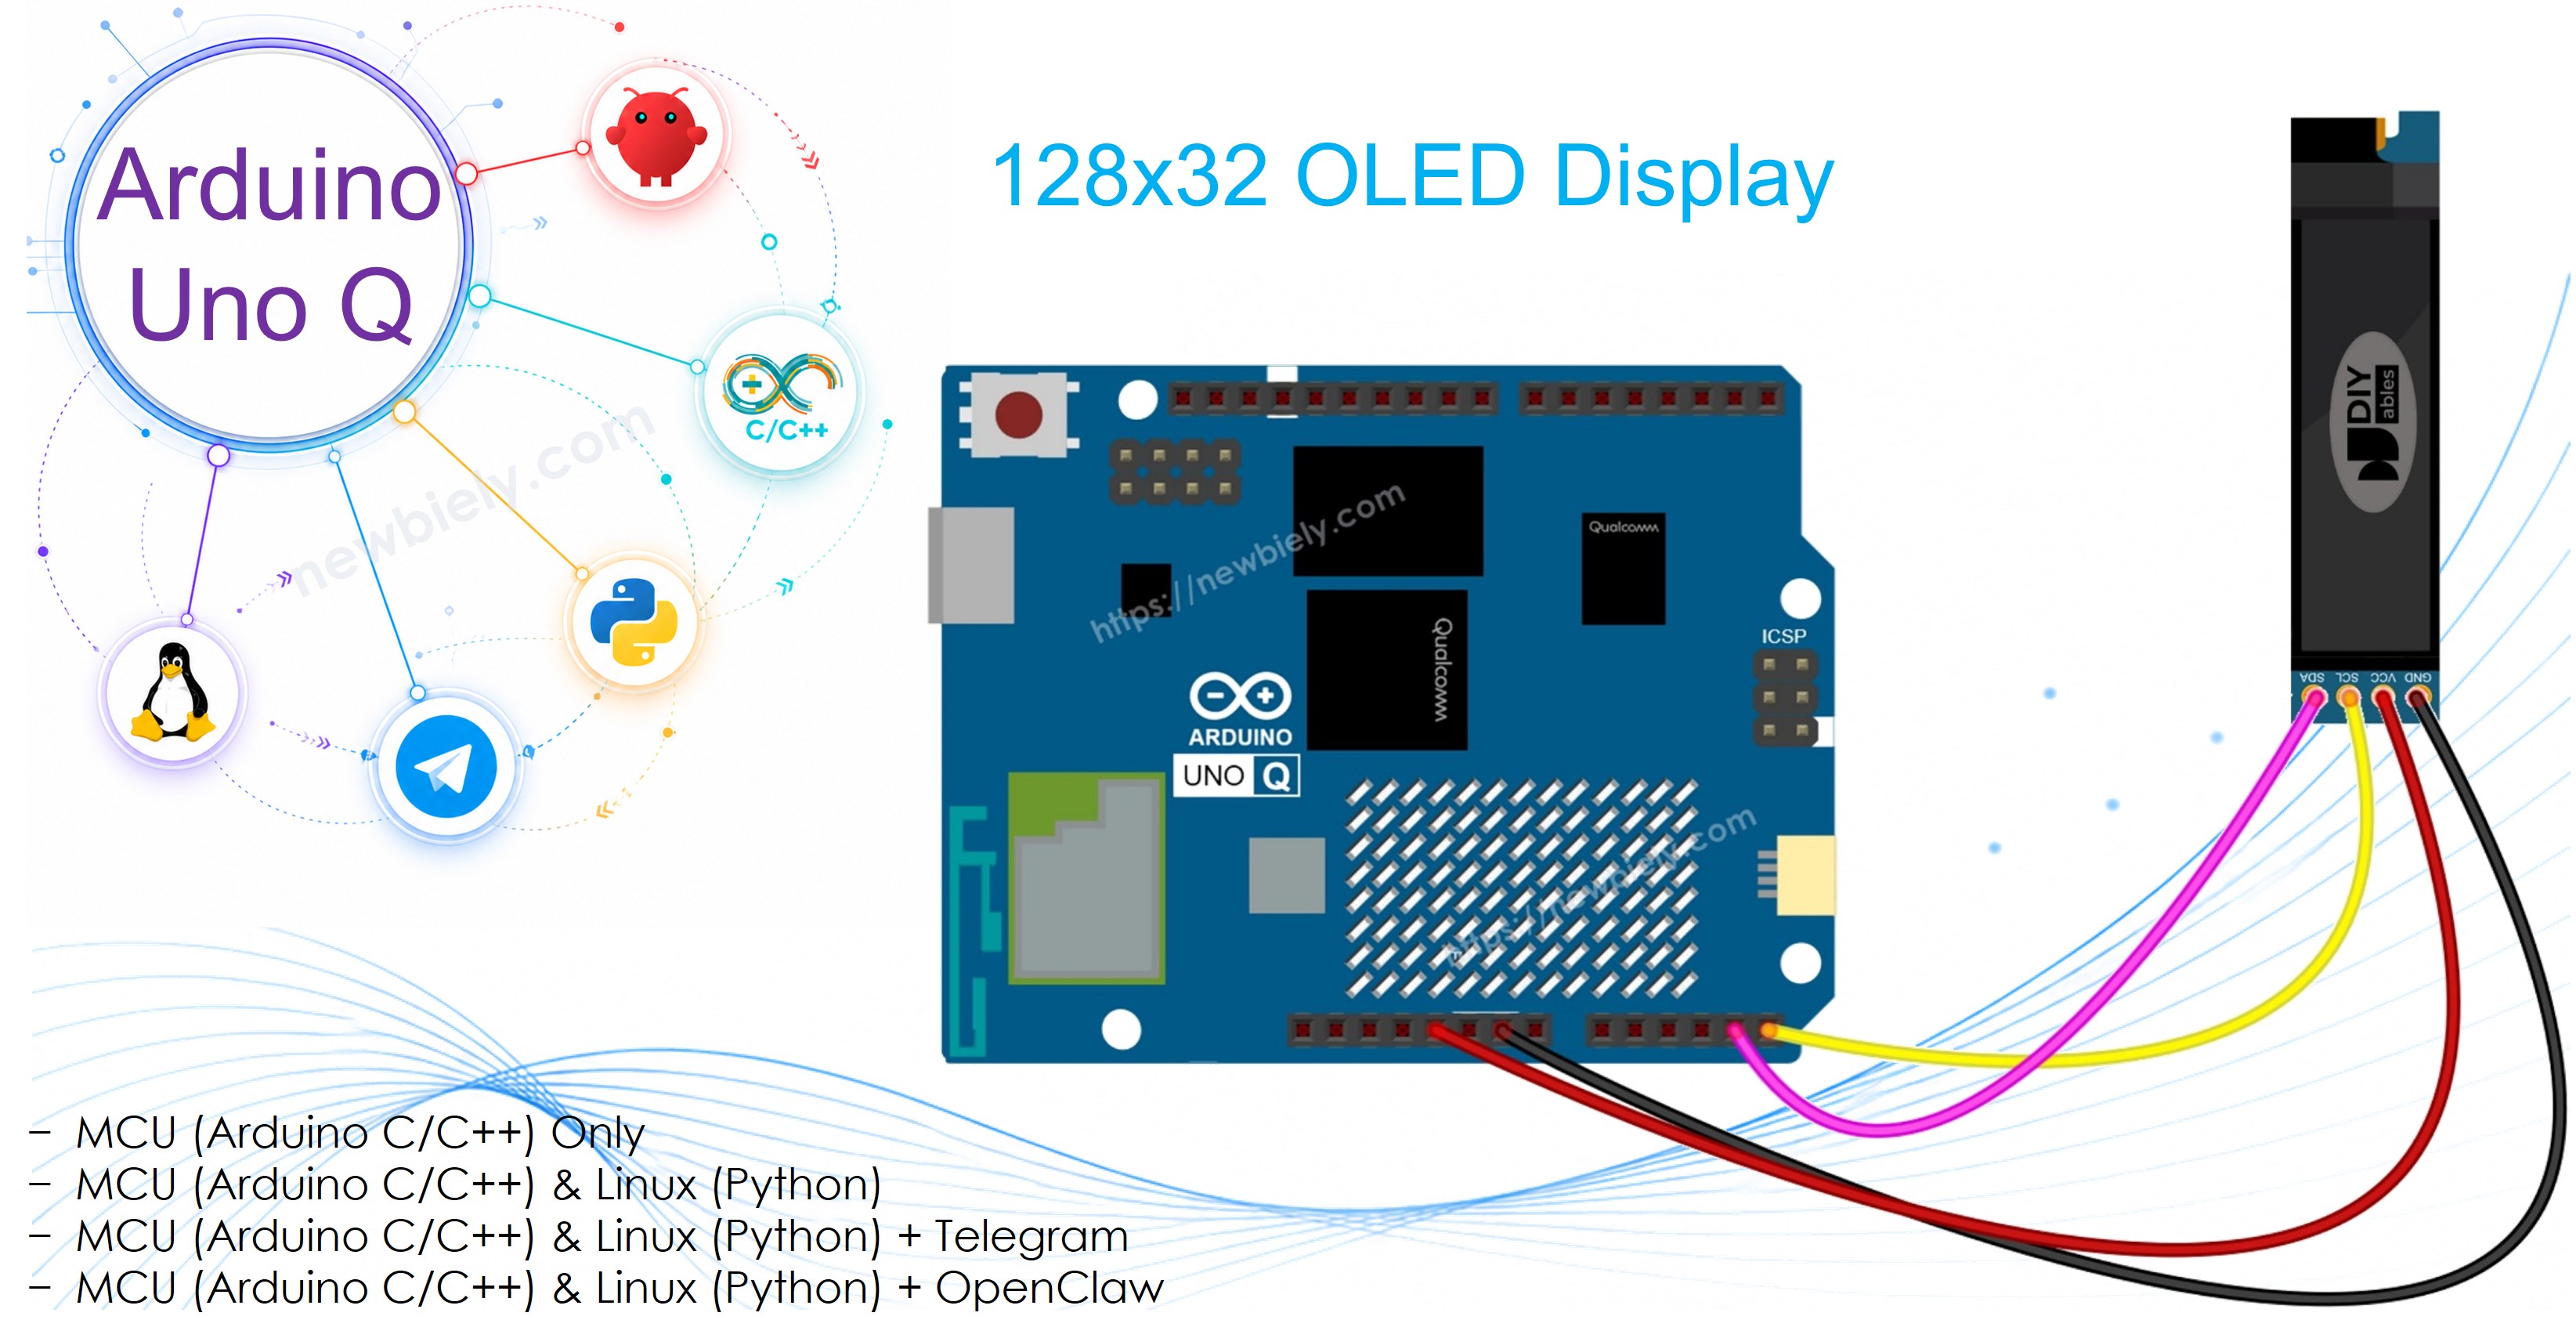
Arduino UNO Q - OLED 128x32
This tutorial shows you how to use an SSD1306 OLED 128x32 display with Arduino UNO Q — from basic text to shapes, images, and remote Telegram control.
- How to connect an SSD1306 OLED 128x32 to Arduino UNO Q
- How to display "Hello World" text in multiple sizes on the OLED
- How to display text, integers, floats, and hex numbers
- How to draw shapes: pixels, lines, rectangles, circles, and triangles
- How to use hardware scrolling (right, left, diagonal)
- How to display bitmap images on the OLED
- How to control display brightness and contrast
- How to use custom external fonts
- How to control the OLED remotely from Linux via Bridge programming
- How to control the OLED remotely from Telegram via Bridge programming
Hardware Preparation
Or you can buy the following kits:
| 1 | × | DIYables Sensor Kit (18 sensors/displays) |
Additionally, some of these links are for products from our own brand, DIYables .
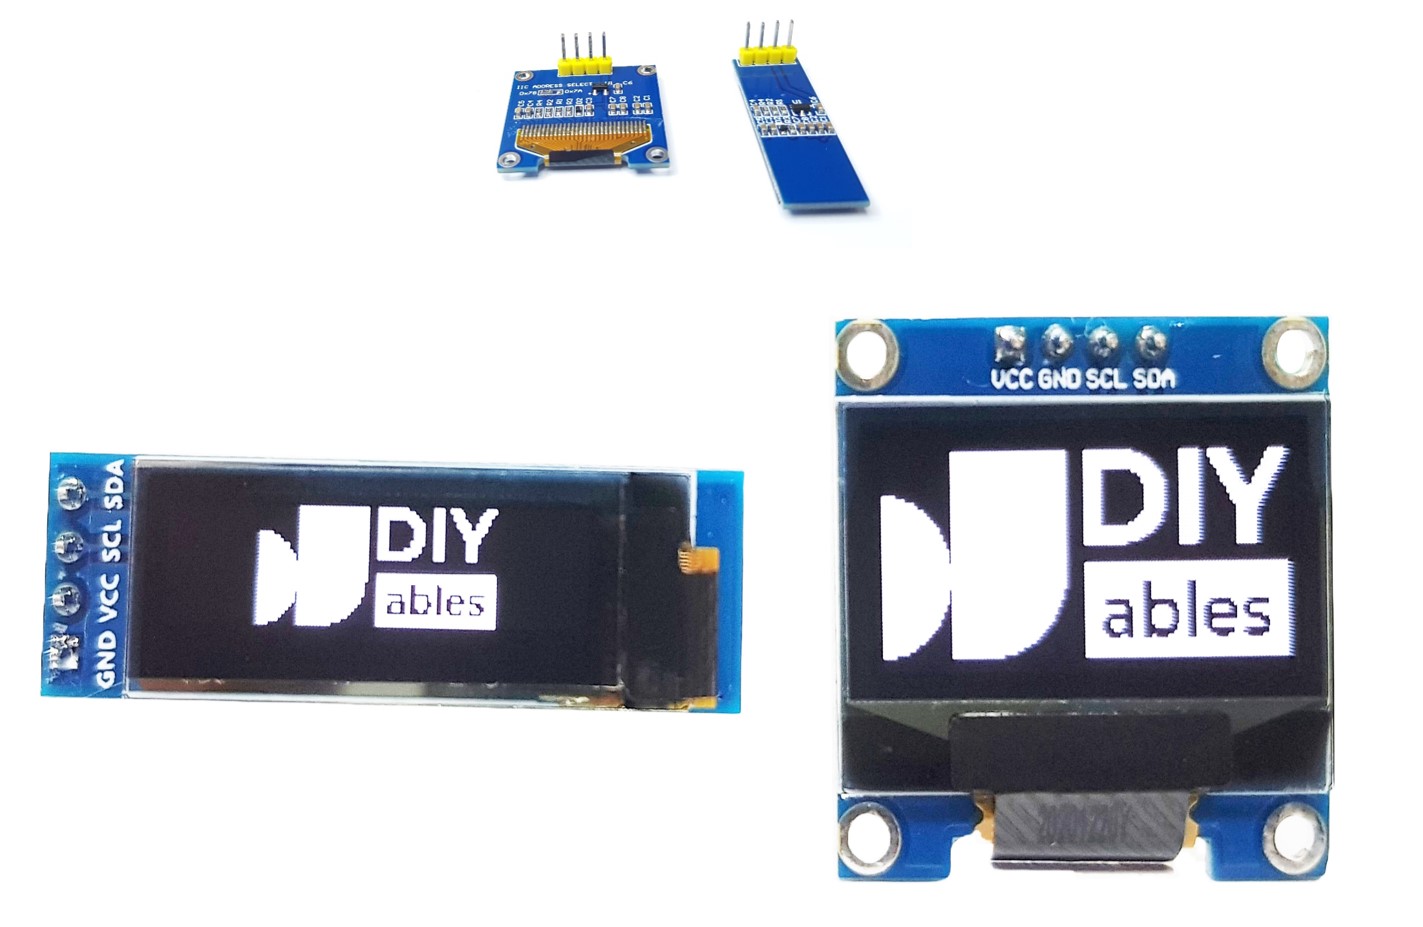
Overview of OLED 128x32 Display
The OLED 128x32 is a thinner version of the 128x64 — it has half the vertical pixels, making it ideal for compact enclosures, badge displays, and minimal UI panels. It uses the same SSD1306 controller and the same Adafruit library.
OLED Pinout
- GND — connect to GND
- VCC — connect to 3.3V or 5V
- SCL — I2C clock signal
- SDA — I2C data signal
※ NOTE THAT:
Always refer to the labels printed on your OLED module — pin order may differ between manufacturers.
Wiring Diagram
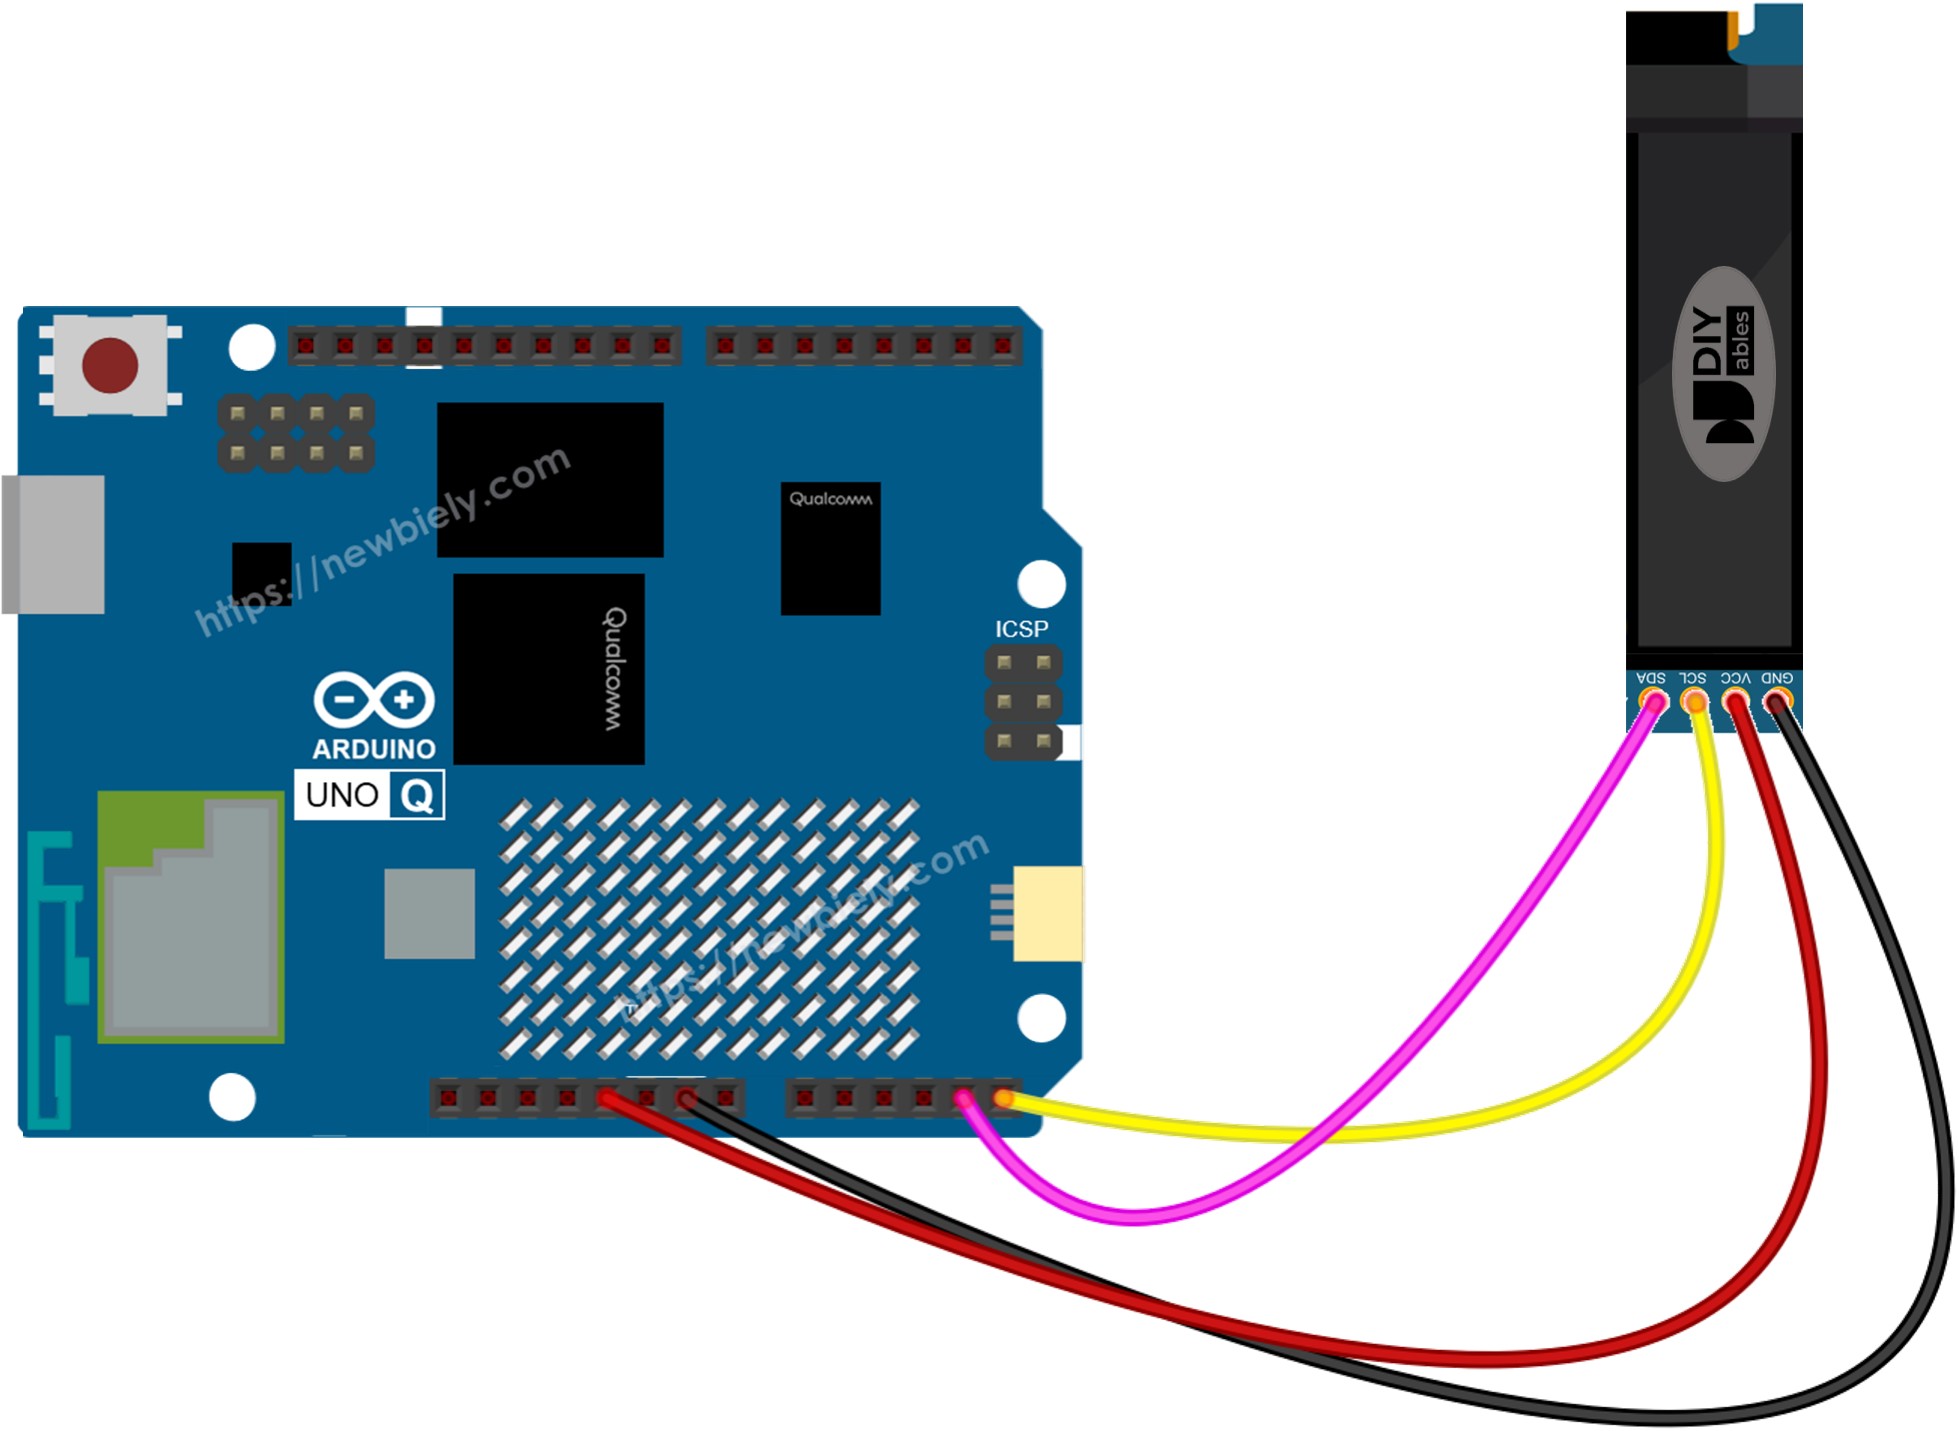
This image is created using Fritzing. Click to enlarge image
| OLED Pin | Arduino UNO Q Pin |
|---|---|
| GND | GND |
| VCC | 3.3V |
| SCL | SCL |
| SDA | SDA |
※ NOTE THAT:
The only difference between the 128x64 and 128x32 in code is SCREEN_HEIGHT 32 instead of 64. The library and wiring are identical.
Arduino UNO Q Code — Hello World on SSD1306 OLED 128x32
The Arduino UNO Q has two processors: the STM32 MCU (handles real-time hardware control) and the Qualcomm MPU (runs Debian Linux). In this section, only the STM32 MCU is programmed — the Linux side stays idle. A later section will show how both processors work together.
The sketch below displays text in two different sizes on the OLED.
Detailed Instructions
- First time with Arduino UNO Q? Follow the Getting Started with Arduino UNO Q tutorial to get your development environment ready before proceeding.
- Wire the OLED: Connect GND→GND, VCC→3.3V, SCL→SCL, SDA→SDA.
- Connect: Plug the Arduino UNO Q into your computer with a USB-C cable.
- Open Arduino App Lab: Launch Arduino App Lab and wait until it detects your Arduino UNO Q.
- Create a new App: Click the Create New App button.

- Give the App a name, for example: DIYables_OLED_128x32
- Click Create to confirm.
- You will see a set of folders and files generated inside your new App.

- Find the sketch/sketch.ino file — this is where you will paste the MCU sketch.
- Install the library: Click the Add sketch library button (the open book icon with a + sign) in the left sidebar.

- Search for Arduino_RouterBridge created by Arduino and click the Install button.
- Search for Adafruit SSD1306 created by Adafruit and click the Install button.
- Upload: Click the Run button in Arduino App Lab to compile and upload to the STM32.

Look at the OLED — it shows "Hello, World!" on the first row and "DIYables" in larger text on the second row!
Arduino UNO Q Code — Display Text on SSD1306 OLED 128x32
This example demonstrates different text sizes and how to display integers, floats, and hexadecimal numbers on the OLED.
Detailed Instructions
- Copy the code above and paste it into sketch/sketch.ino.
- Click the Run button in Arduino App Lab.
The OLED cycles through text size demos, then shows an integer, a float, and a hex number.
Useful Display Functions Reference
Quick reference for commonly-used SSD1306 OLED functions:
- oled.clearDisplay() — erase the frame buffer (all pixels off)
- oled.display() — push the buffer to the screen — required after every drawing call
- oled.drawPixel(x, y, color) — set or clear a single pixel
- oled.setTextSize(n) — scale the font by factor *n* (1 = 6×8 px, 2 = 12×16 px, …)
- oled.setCursor(x, y) — move the text cursor to pixel coordinates *(x, y)*
- oled.setTextColor(WHITE) — text foreground only (transparent background)
- oled.setTextColor(BLACK, WHITE) — text with explicit background
- oled.println("message") — print a string and advance to the next line
- oled.println(number) — print an integer in decimal
- oled.println(number, HEX) — print an integer in hexadecimal
- oled.startscrollright(start, stop) — hardware-scroll right between pages
- oled.startscrollleft(start, stop) — hardware-scroll left
- oled.startscrolldiagright(start, stop) — diagonal scroll right
- oled.startscrolldiagleft(start, stop) — diagonal scroll left
- oled.stopscroll() — stop any active hardware scroll
- oled.setContrast(value) — adjust brightness (0–255)
- oled.dim(true/false) — quick dim toggle
- oled.invertDisplay(true/false) — hardware-level color inversion
Arduino UNO Q Code — Draw Shapes on SSD1306 OLED 128x32
The Adafruit SSD1306 library inherits from Adafruit_GFX, giving you pixels, lines, rectangles, circles, triangles, and rounded rectangles. The sketch below cycles through all of them — with coordinates adjusted to fit the 32-pixel height.
Detailed Instructions
- Copy the code above and paste it into sketch/sketch.ino.
- Click the Run button in Arduino App Lab.
Watch the OLED cycle through every shape — pixels, lines, rectangles, circles, rounded rectangles, and triangles!
Arduino UNO Q Code — Hardware Scrolling on SSD1306 OLED 128x32
The SSD1306 has a built-in hardware scrolling engine that moves content without any CPU work. The library provides four scroll directions: right, left, diagonal-right, and diagonal-left.
※ NOTE THAT:
Always call oled.display() to transfer your content to the OLED before starting a scroll. Call stopscroll() before drawing new content. For the 128x32 display, use page range 0x00, 0x03 instead of 0x00, 0x07.
Detailed Instructions
- Copy the code above and paste it into sketch/sketch.ino.
- Click the Run button in Arduino App Lab.
The OLED scrolls "DIYables" right, left, diagonal-right, and diagonal-left, repeating forever.
Arduino UNO Q Code — Display Bitmap Image on SSD1306 OLED 128x32
To display a bitmap on the OLED, you must first convert your image into a C byte array. Use the free Image to Bitmap Converter tool:
- Upload your image file (PNG, JPG, BMP, etc.).
- Set the canvas size to 128×32 (or smaller).
- Select Arduino code as the output format.
- Copy the generated array into your sketch.
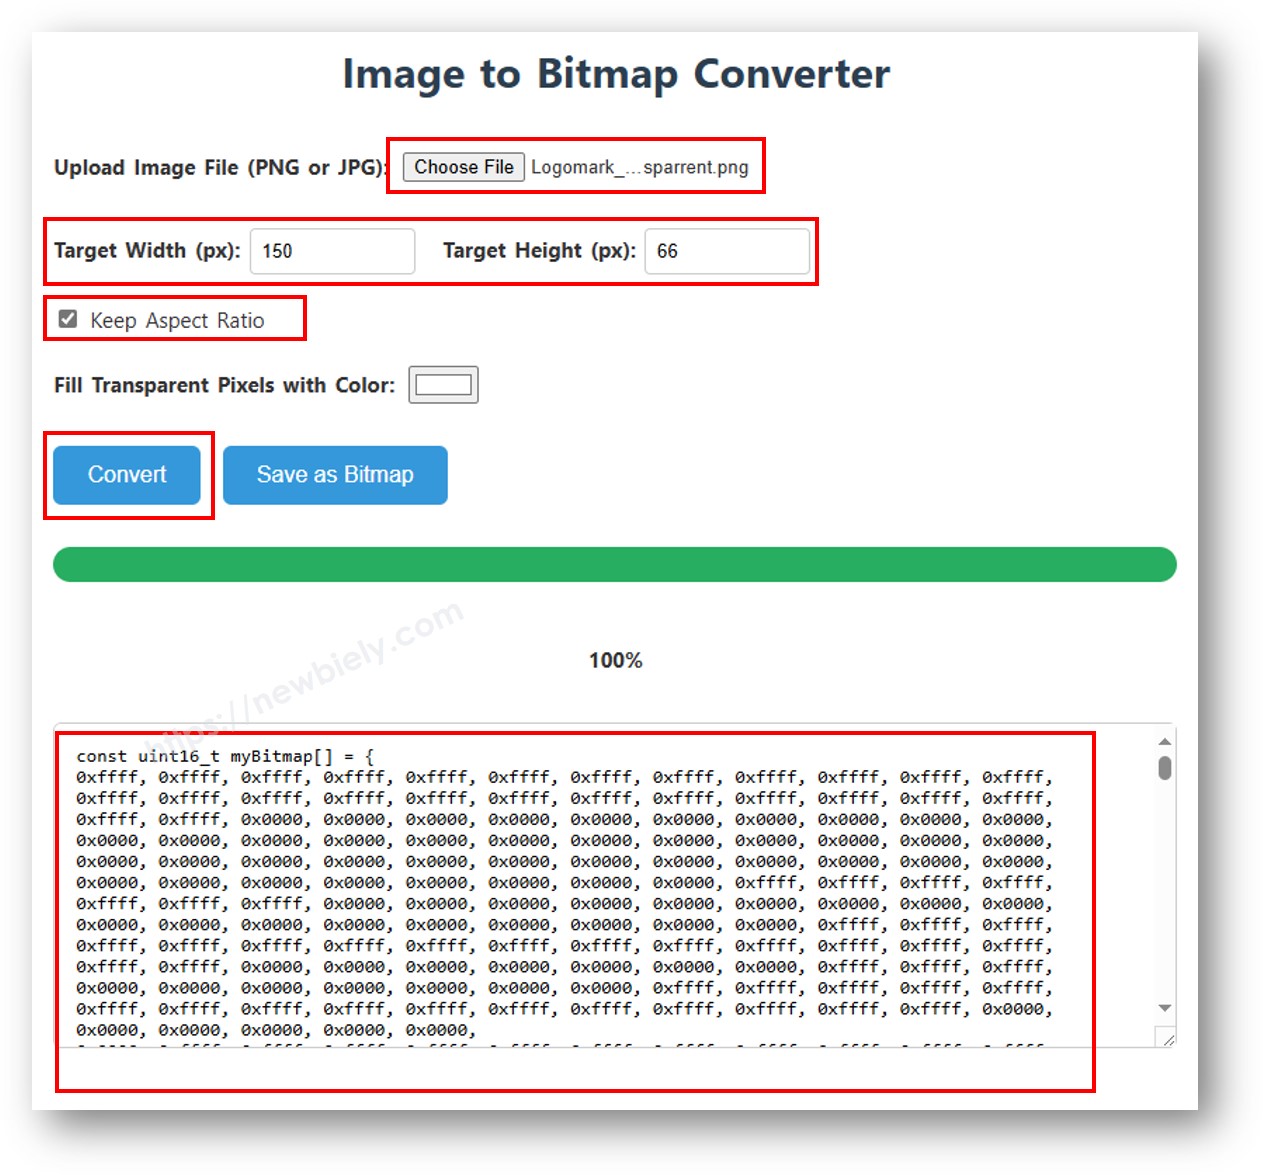
The sketch below shows a 16×16 heart icon then switches to a 72×32 DIYables icon — both stored as byte arrays in the code:
Detailed Instructions
- Copy the code above and paste it into sketch/sketch.ino.
- Click the Run button in Arduino App Lab.
The OLED shows the heart icon for 3 seconds, then switches to the DIYables icon.
※ NOTE THAT:
Bitmap dimensions must not exceed the screen resolution (128×32). Keep width ≤ 128 and height ≤ 32.
Arduino UNO Q Code — Contrast and Dim on SSD1306 OLED 128x32
The SSD1306 supports 256 contrast levels (0–255). Use setContrast() for fine control and dim() for a quick brightness toggle.
Detailed Instructions
- Copy the code above and paste it into sketch/sketch.ino.
- Click the Run button in Arduino App Lab.
Watch the OLED brightness ramp up then down, followed by a dim-on/dim-off cycle.
Arduino UNO Q Code — Custom External Fonts on SSD1306 OLED 128x32
The Adafruit GFX library includes many FreeFont typefaces. With only 32 pixels of height, smaller fonts (9pt) allow two lines while larger fonts (12pt) fill a single row.
※ NOTE THAT:
When an external font is active, the cursor Y coordinate refers to the text baseline, not the top-left corner. This differs from the built-in 5×7 font.
Detailed Instructions
- Copy the code above and paste it into sketch/sketch.ino.
- Click the Run button in Arduino App Lab.
The OLED cycles through the built-in font, FreeSerif 9pt (two lines), and FreeSansBold 12pt (single row).
Linux + MCU Bridge Programming
The Arduino UNO Q has two processors that work together: the MPU (Qualcomm, runs Debian Linux) and the MCU (STM32, runs Zephyr OS with your Arduino sketch). They communicate using RPC via the Arduino_RouterBridge library — never via raw serial ports.
- The OLED is connected to the MCU (STM32) — via I2C (SCL/SDA). Only the MCU can directly drive it.
- The MPU cannot control the OLED directly — it calls Bridge.call("display_text", "text") which updates the OLED and prints the result to Monitor.
- The MPU has Wi-Fi — because the MPU runs full Debian Linux with Wi-Fi, it can receive Telegram commands and display any message on the OLED remotely.
- Communication: Bridge.call() on the Linux side invokes Bridge.provide_safe() functions on the MCU side (since OLED writes are hardware API calls).
- ⚠️ Reserved: /dev/ttyHS1 (Linux) and Serial1 (MCU) are used by the Arduino Router — never open them directly.
MCU sketch — OLED 128x32 with Bridge and Monitor output:
Python script (Arduino App Lab) — display text on OLED 128x32 from Linux:
Detailed Instructions
- Create a new App: Open Arduino App Lab, click Create New App, name it DIYables_OLED_128x32_Bridge, and click Create.
- Paste the MCU sketch: Copy the Bridge MCU code above and paste it into sketch/sketch.ino.
- Paste the Python script: Copy the Python code above and paste it into the Python file in the App.
- Run the App: Click the Run button — the Python side cycles through messages on the OLED.
App Lab Console Output
Telegram Integration
Display any text on your OLED 128x32 remotely from anywhere via Telegram.
If you do not have a Telegram bot yet, see How to Create a Telegram Bot to get your bot token before continuing.
MCU sketch: Keep the same MCU sketch from the previous Bridge section — no changes needed. Make sure it is already uploaded and running on the STM32 before proceeding.
Python script (Arduino App Lab) — Telegram bot for OLED 128x32:
- Note: Replace YOUR_BOT_TOKEN with the token from @BotFather on Telegram.
- Send /display Hello — appears on the OLED.
- Send /clear — clears the OLED.
- Send /status — bot replies with the current OLED text.
App Lab Console Output

ArduinoBot
OpenClaw Integration
You can adapt the OpenClaw to this tutorial by refering the instruction on Arduino Uno Q - OpenClaw Tutorial
Application/Project Ideas
- Wearable status display: Fit the thin 128x32 into a badge or wristband to show live sensor readings
- Single-line alert display: Show the last Telegram alert message on the OLED at all times
- Wi-Fi network info: Display connected SSID and IP address from the Linux side on the narrow OLED
- Minimal dashboard: Use the two text rows for temperature and humidity side by side
- Notification ticker: Scroll incoming Telegram messages across the 128x32 screen
Challenge Yourself
- Easy: Send /display without a space — add error handling that replies "Usage: /display
" - Medium: Split a message into two lines of 21 characters each and display both on the 128x32 using setCursor(0, 0) and setCursor(0, 16)
- Advanced: Add a /blink command that flashes the OLED on and off 3 times using clearDisplay()/display() in a loop on the MCU side