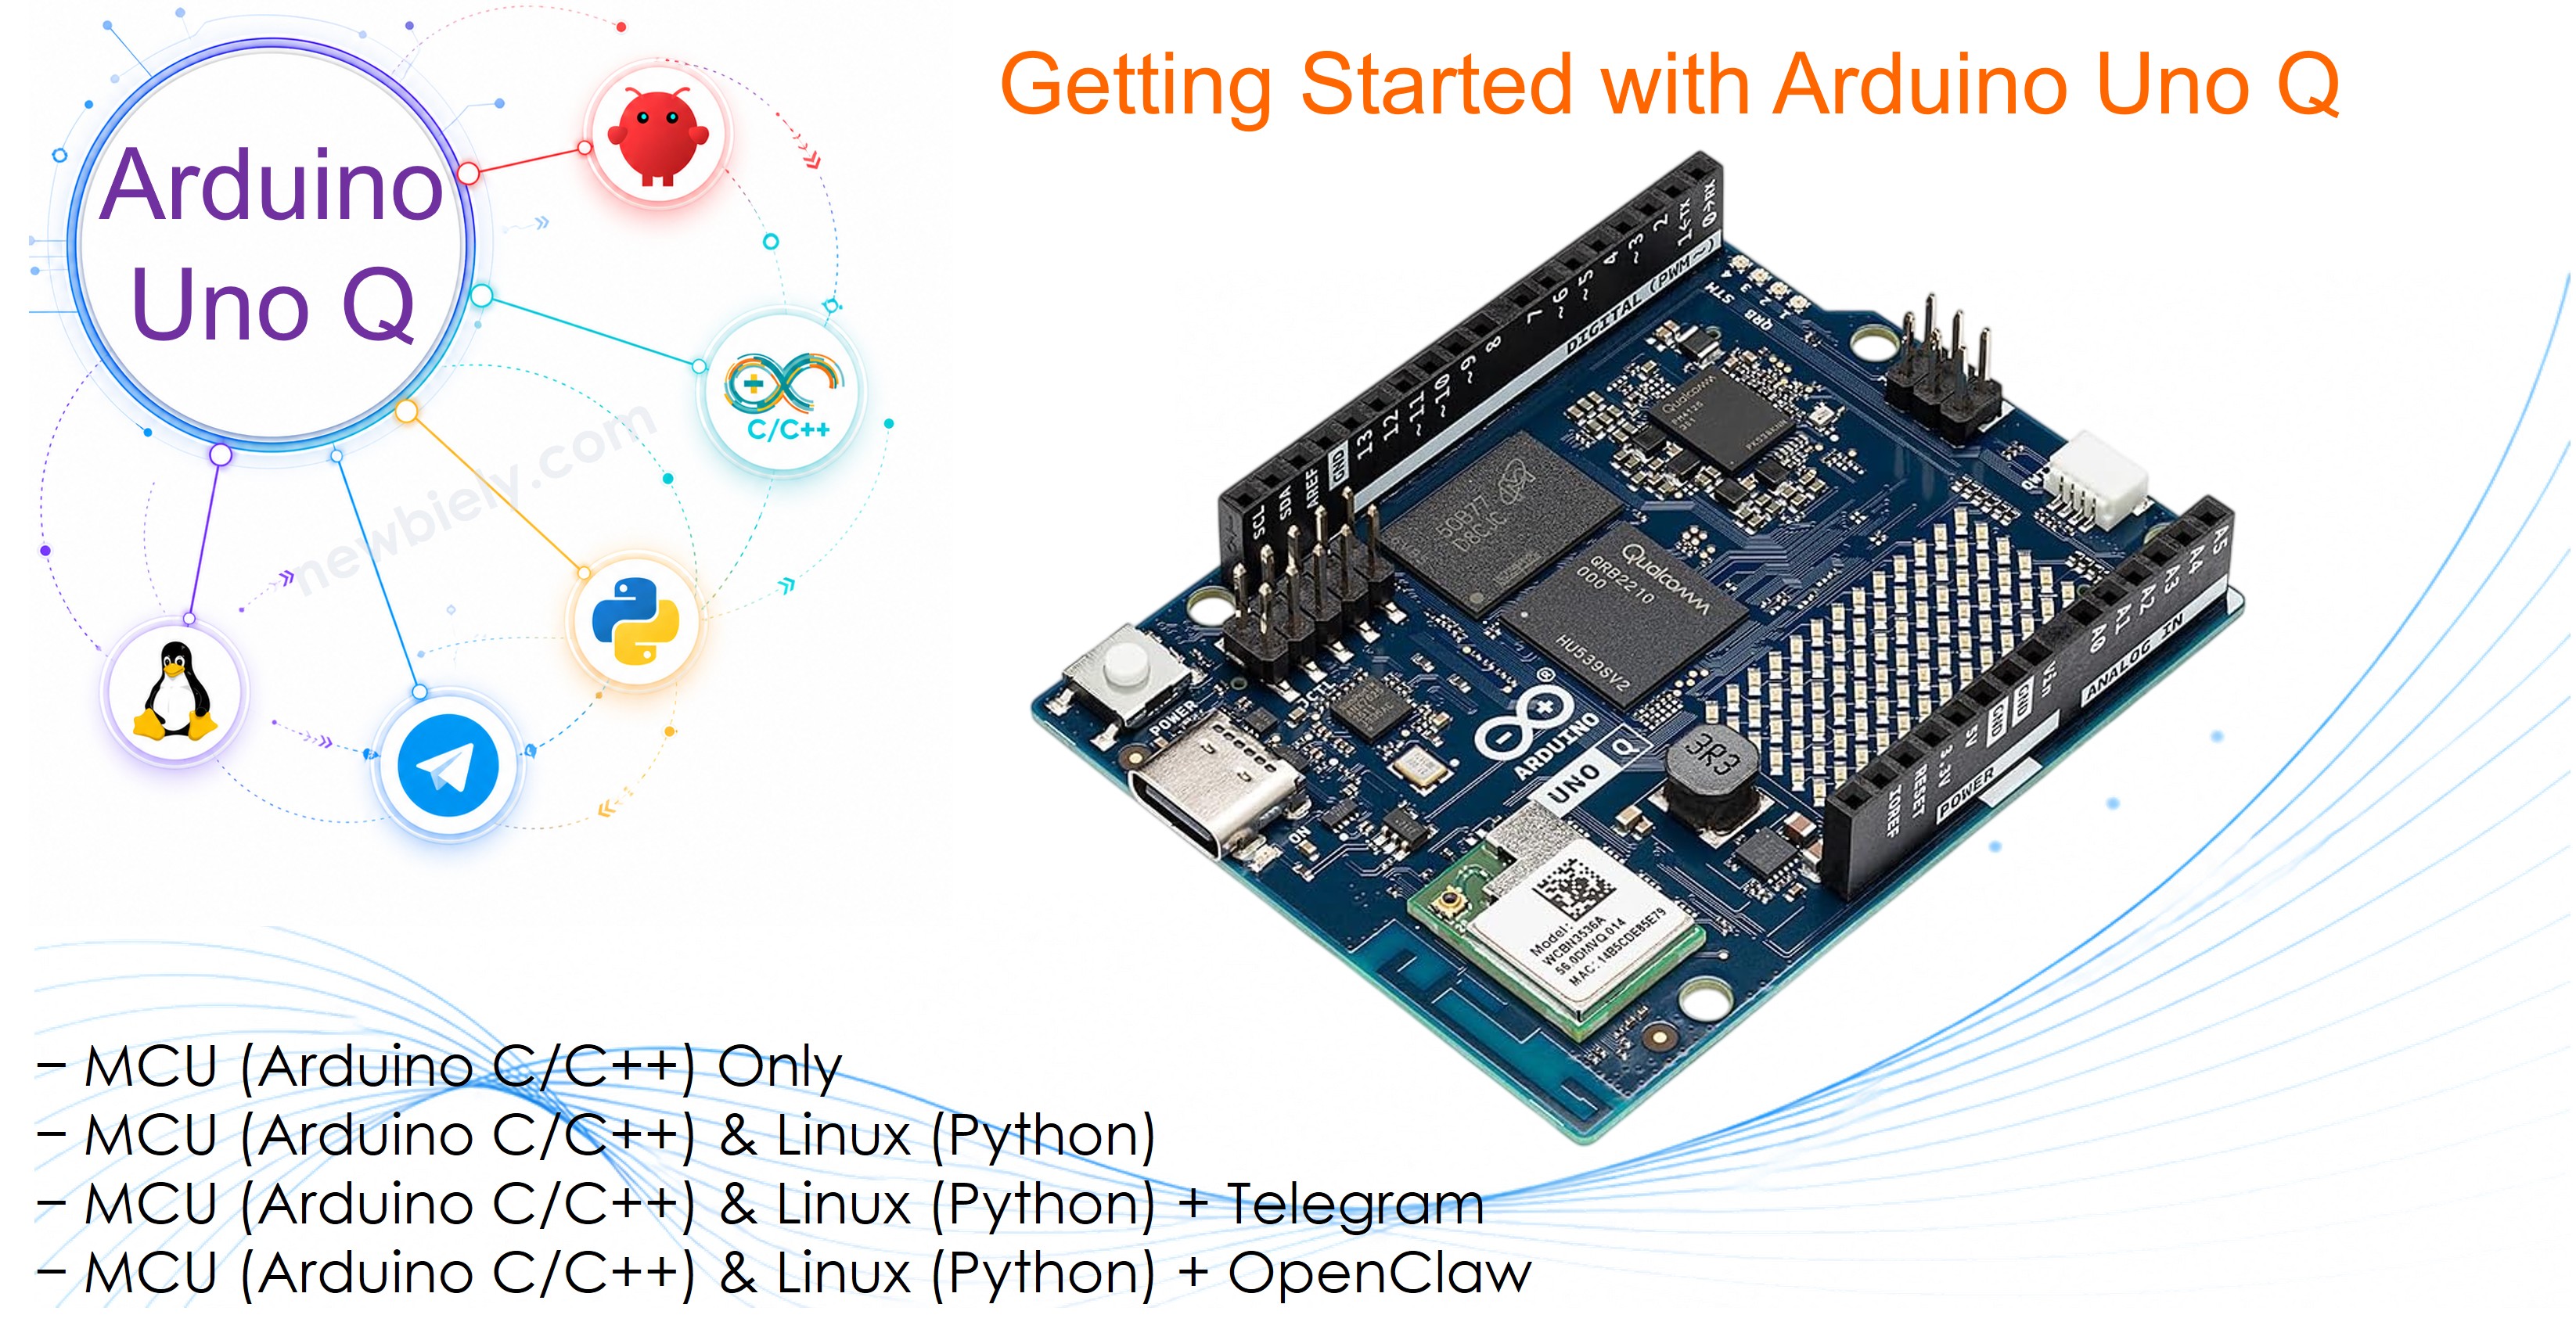
Arduino UNO Q - Getting Started
New to Arduino UNO Q? This step-by-step guide walks you through everything you need to get your Arduino UNO Q up and running — from unboxing to uploading your first program.
In this tutorial, you will learn:
- What Arduino UNO Q is and what makes it unique
- What hardware you need to get started
- How to install and set up Arduino App Lab
- How to upload your first MCU sketch (blink the built-in LED)
- How to run your first Python program on the Linux side
Hardware Preparation
Or you can buy the following kits:
| 1 | × | DIYables Sensor Kit (18 sensors/displays) |
Additionally, some of these links are for products from our own brand, DIYables .
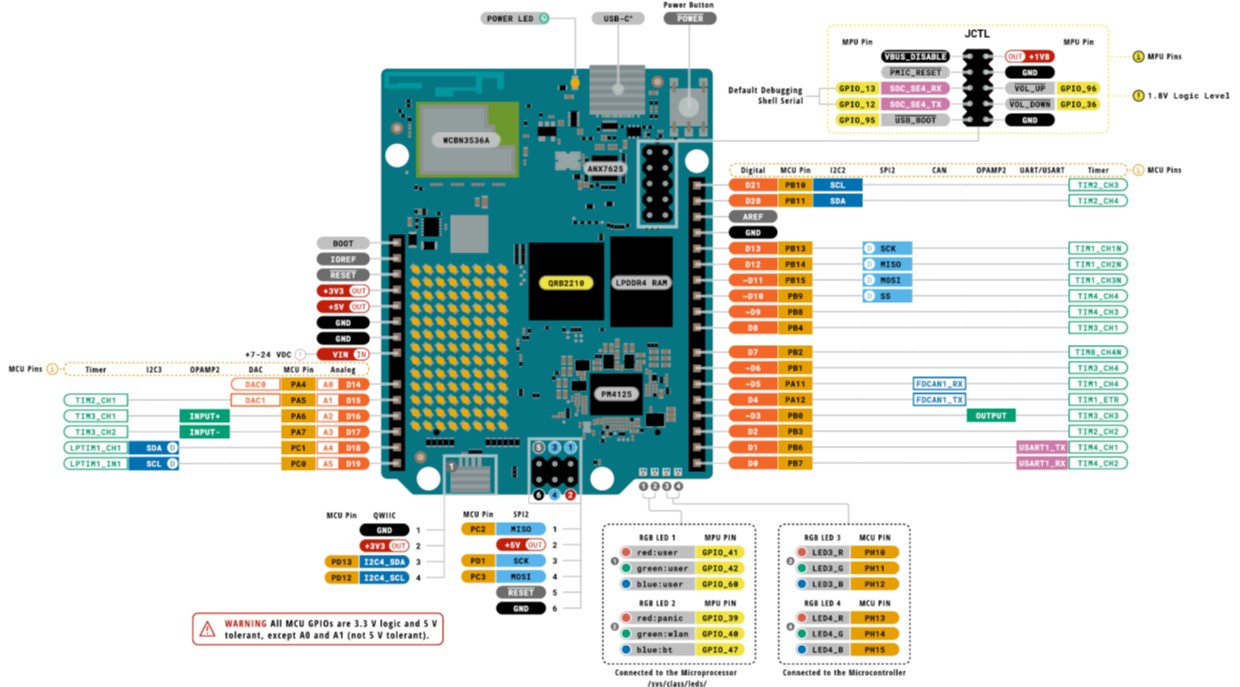
Overview of the Arduino UNO Q
The Arduino UNO Q is a next-generation Arduino board that combines two powerful processors on a single board:
- STM32U585 MCU — An ARM Cortex-M33 microcontroller running up to 160 MHz that runs your Arduino sketches (C/C++) on Zephyr OS and handles real-time hardware control: digital I/O, PWM, SPI, I2C, UART, and more. It is compatible with the standard Arduino UNO pin layout.
- Qualcomm QRB2210 MPU — A quad-core ARM Cortex-A53 processor running at 2.0 GHz that runs full Debian Linux. It supports Wi-Fi, Python, Telegram, REST APIs, and cloud connectivity. It communicates with the MCU via an internal Bridge.
This dual-processor design allows the Arduino UNO Q to handle both hardware control and internet connectivity — making it ideal for IoT projects, remote control, and Linux-powered automation.
Key features:
- Arduino UNO-compatible pin layout (digital, analog, PWM, SPI, I2C, UART)
- Built-in Wi-Fi
- Runs Debian Linux on the MPU side
- Programmable with Arduino App Lab (desktop IDE — connects over USB or Wi-Fi)
- Bridge communication between MCU and MPU via Arduino_RouterBridge
- USB-C connector
Development Environment
There are three ways to program the Arduino UNO Q:
- On your PC using the Arduino IDE: You can install the Arduino IDE on your computer and upload sketches to the STM32 MCU via USB. However, this only programs the MCU side — you cannot program or interact with the Linux side this way. This approach is not recommended for Arduino UNO Q projects.
- On your PC using Arduino App Lab (recommended): Arduino App Lab is a desktop application you install on your PC. It connects to the board's Linux side over USB or Wi-Fi and lets you write and upload Arduino sketches (C/C++) to the STM32 MCU, write and run Python scripts on the Linux side, manage libraries, and monitor output from both processors. This is the recommended approach.
- Directly on the Arduino UNO Q (no PC needed): Because the Arduino UNO Q runs Debian Linux, you can treat it as a standalone computer. Connect a USB hub to the board and attach a keyboard, mouse, and monitor — then develop and run programs directly on the board without a separate PC.
In this tutorial, we will use the second approach — Arduino App Lab on your PC.
Setting Up Arduino App Lab
Follow these steps to install Arduino App Lab and connect to your Arduino UNO Q for the first time.
※ NOTE THAT:
Different versions of Arduino App Lab may have a slightly different UI or step order, but the main setup process remains the same.
Step 1: Download and Install Arduino App Lab
- Download the Arduino App Lab installer for your operating system (Windows, macOS, or Linux).
- Run the installer and follow the on-screen instructions to complete the installation.
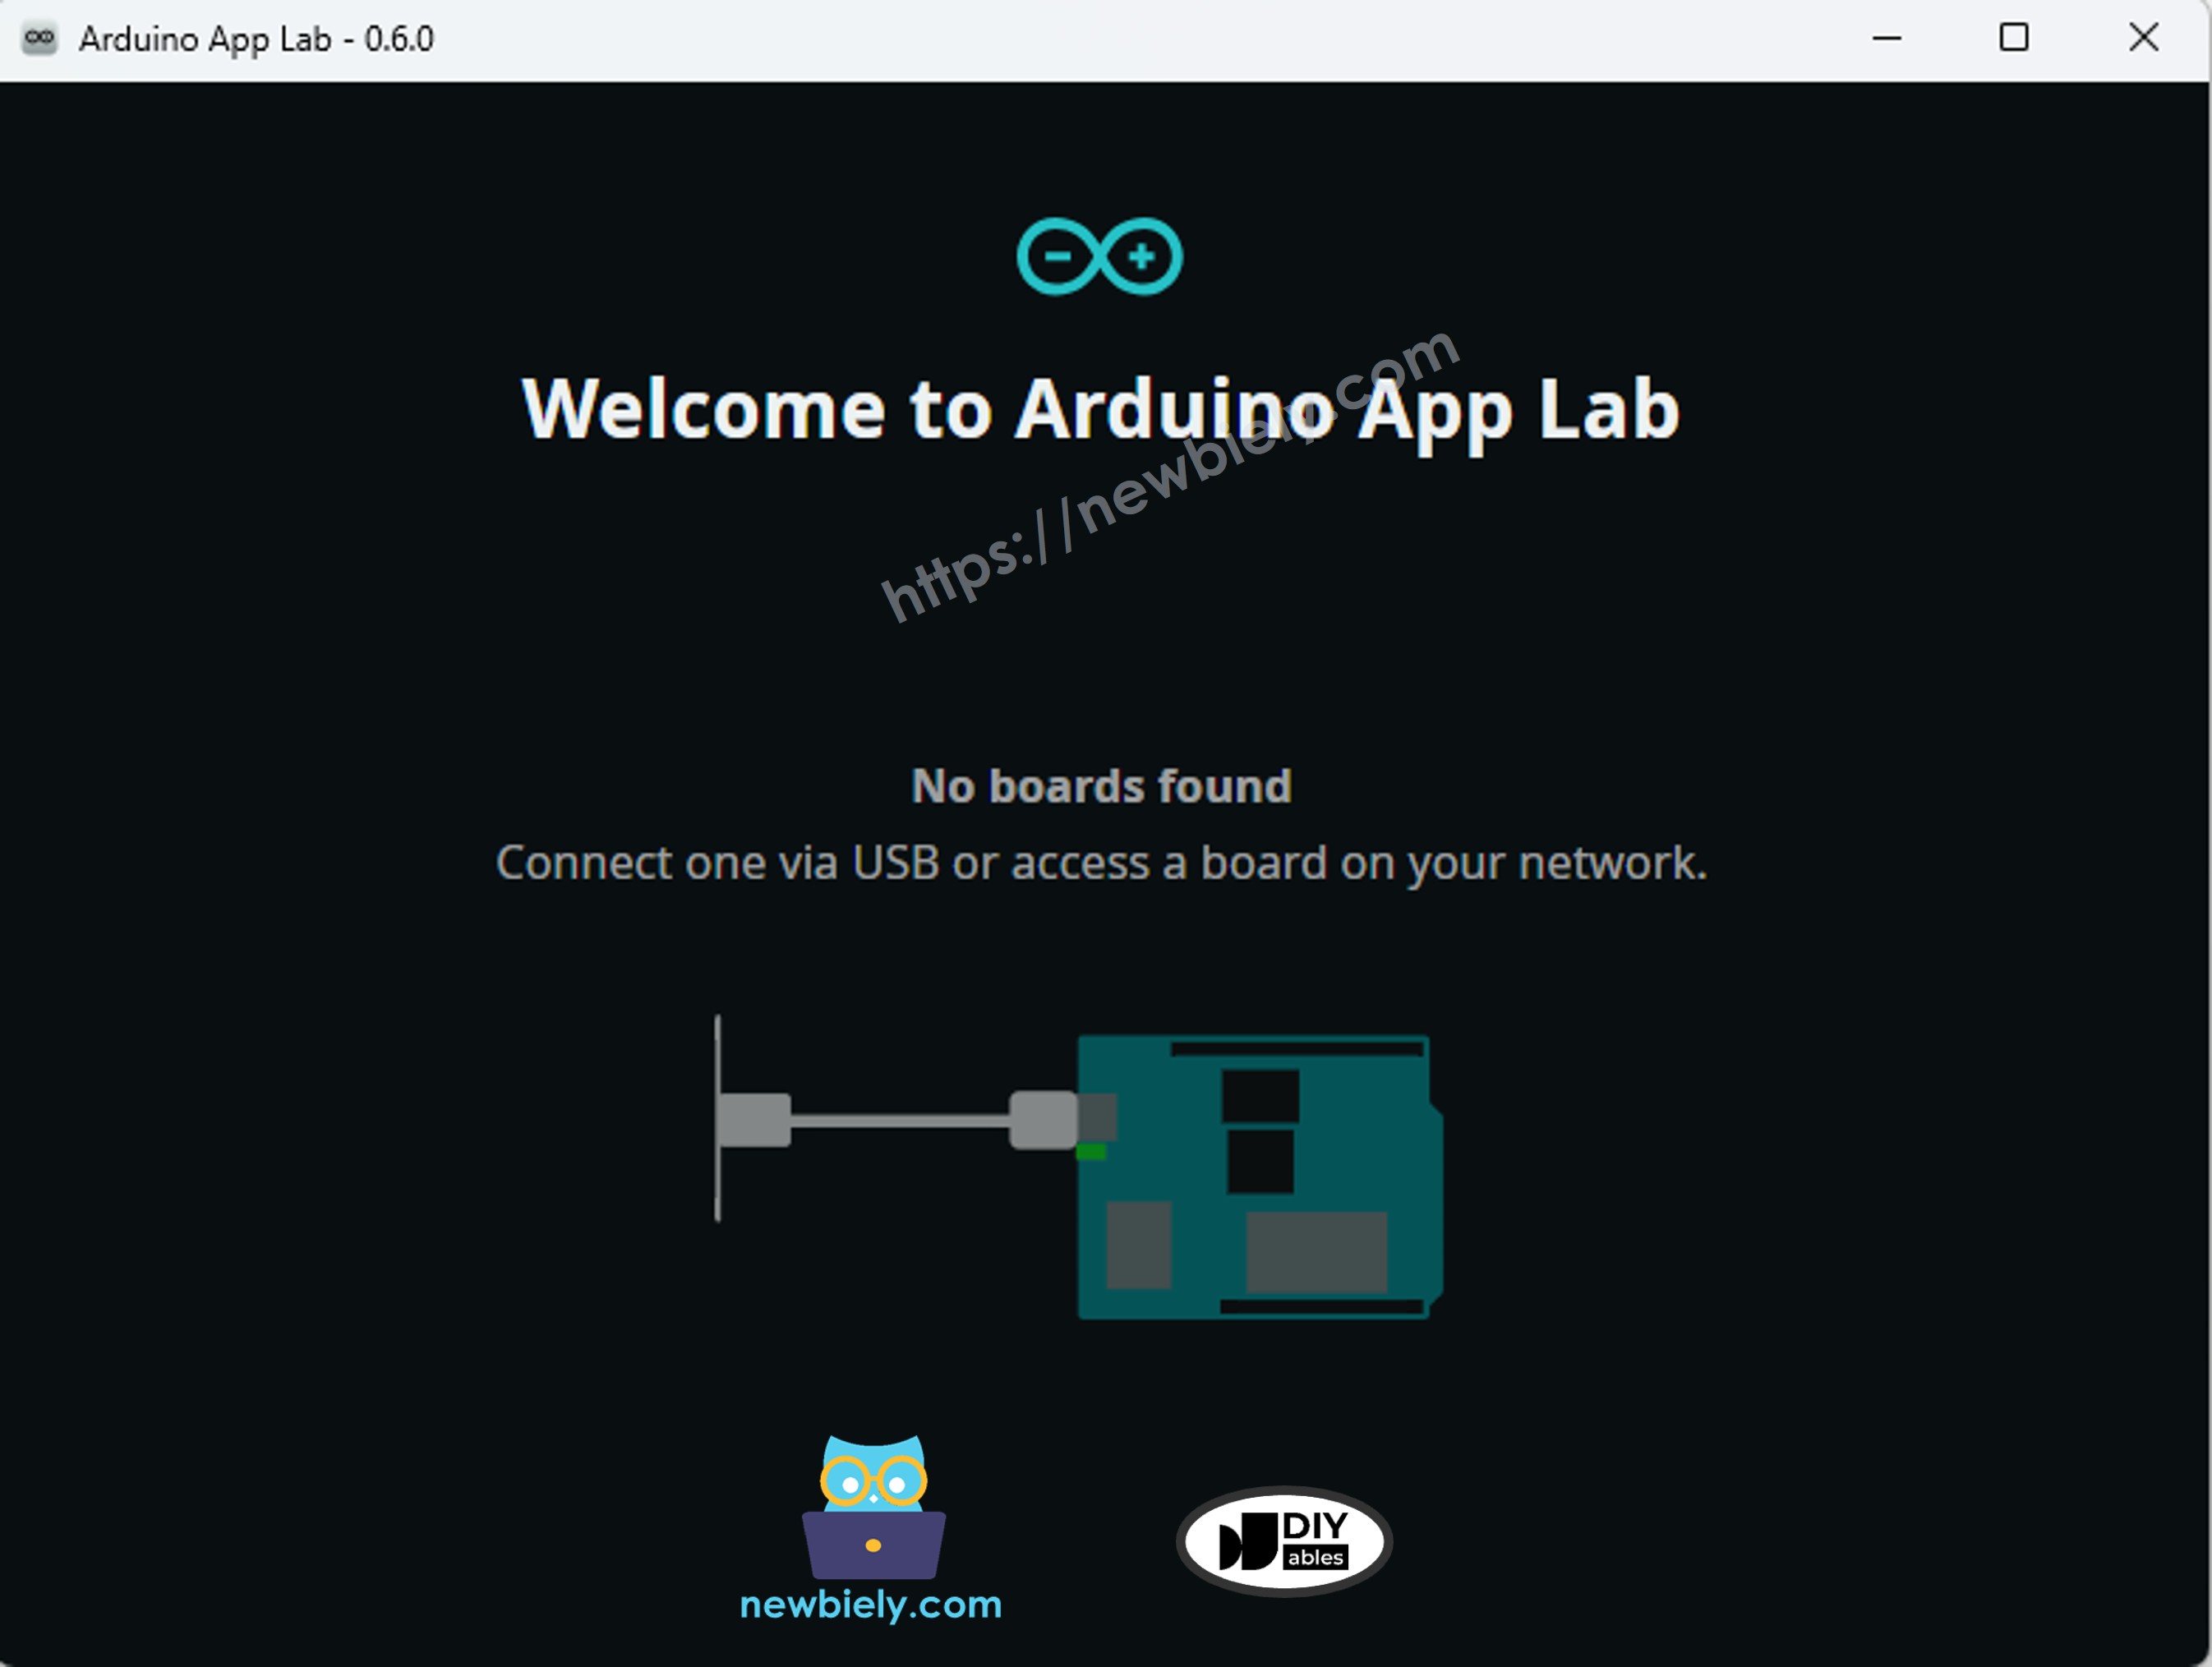
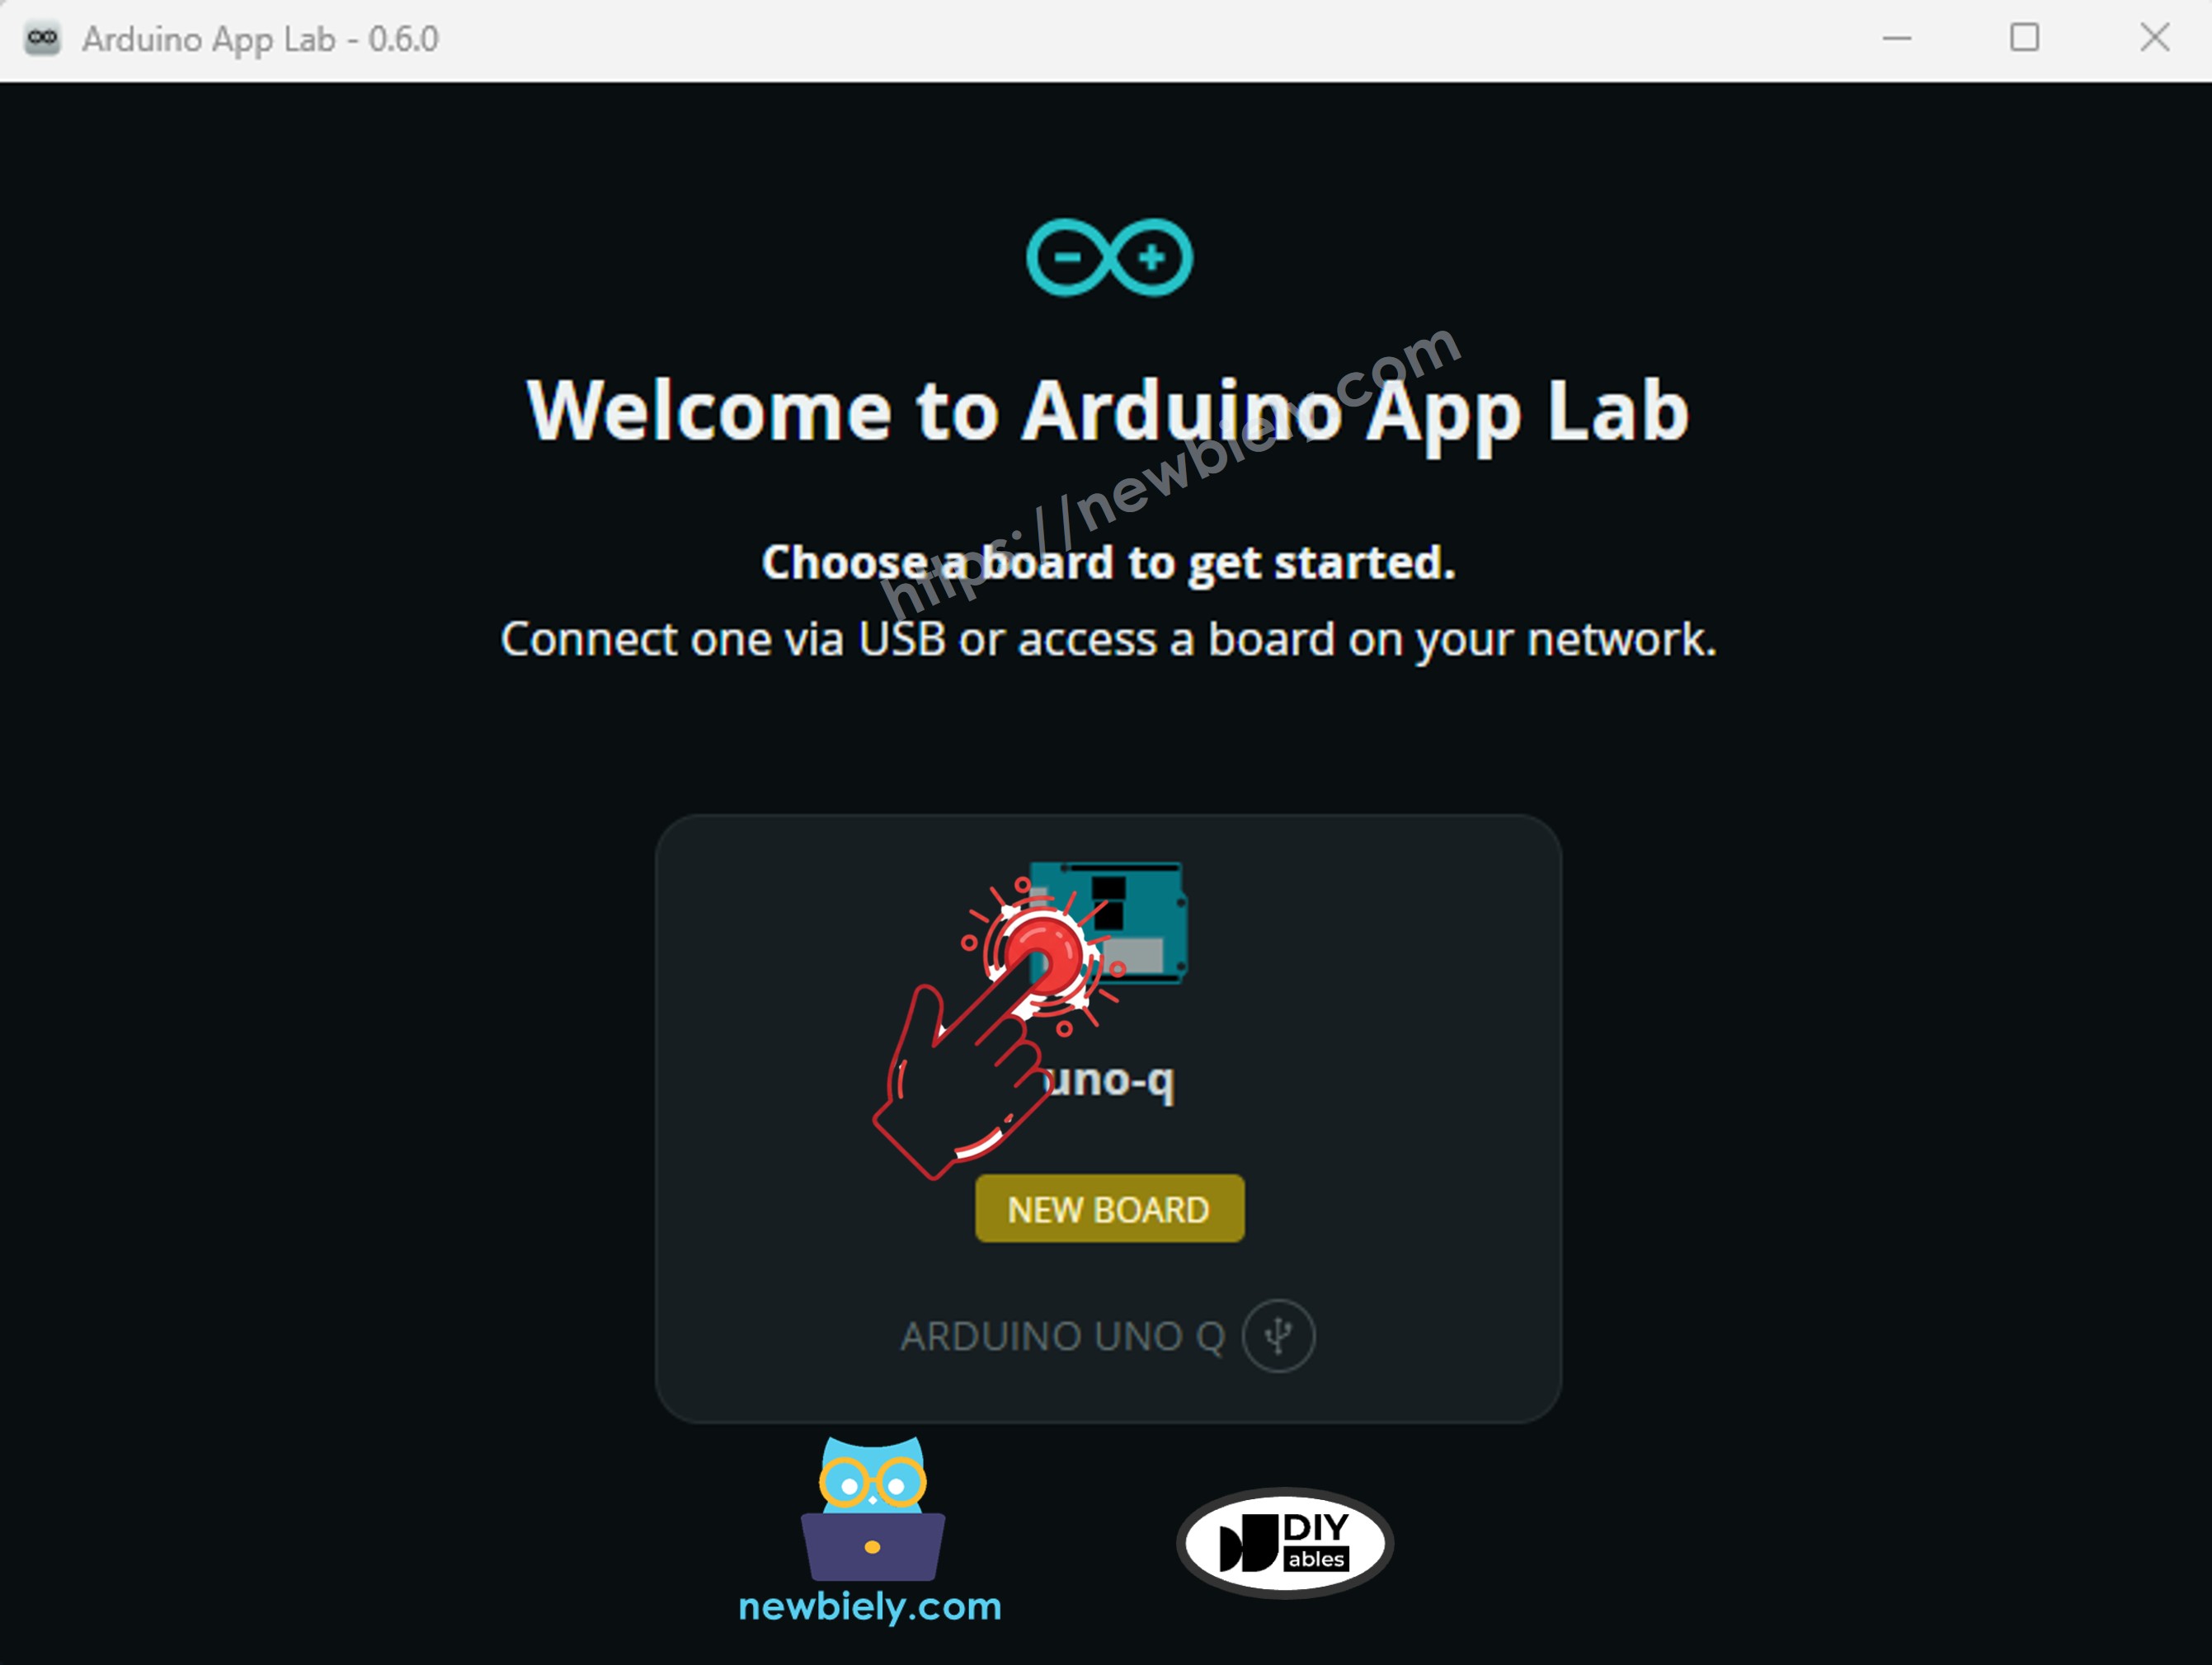
- After installation, open Arduino App Lab. You will see that no board is connected yet:
Step 2: Power the Board
- Connect the Arduino UNO Q to your computer using the USB-C cable.
- The board will boot Debian Linux on the MPU side — this takes about 1–2 minutes on first boot (sometimes up to 10 minutes).
- After booting, Arduino App Lab automatically detects the board and shows it as connected:
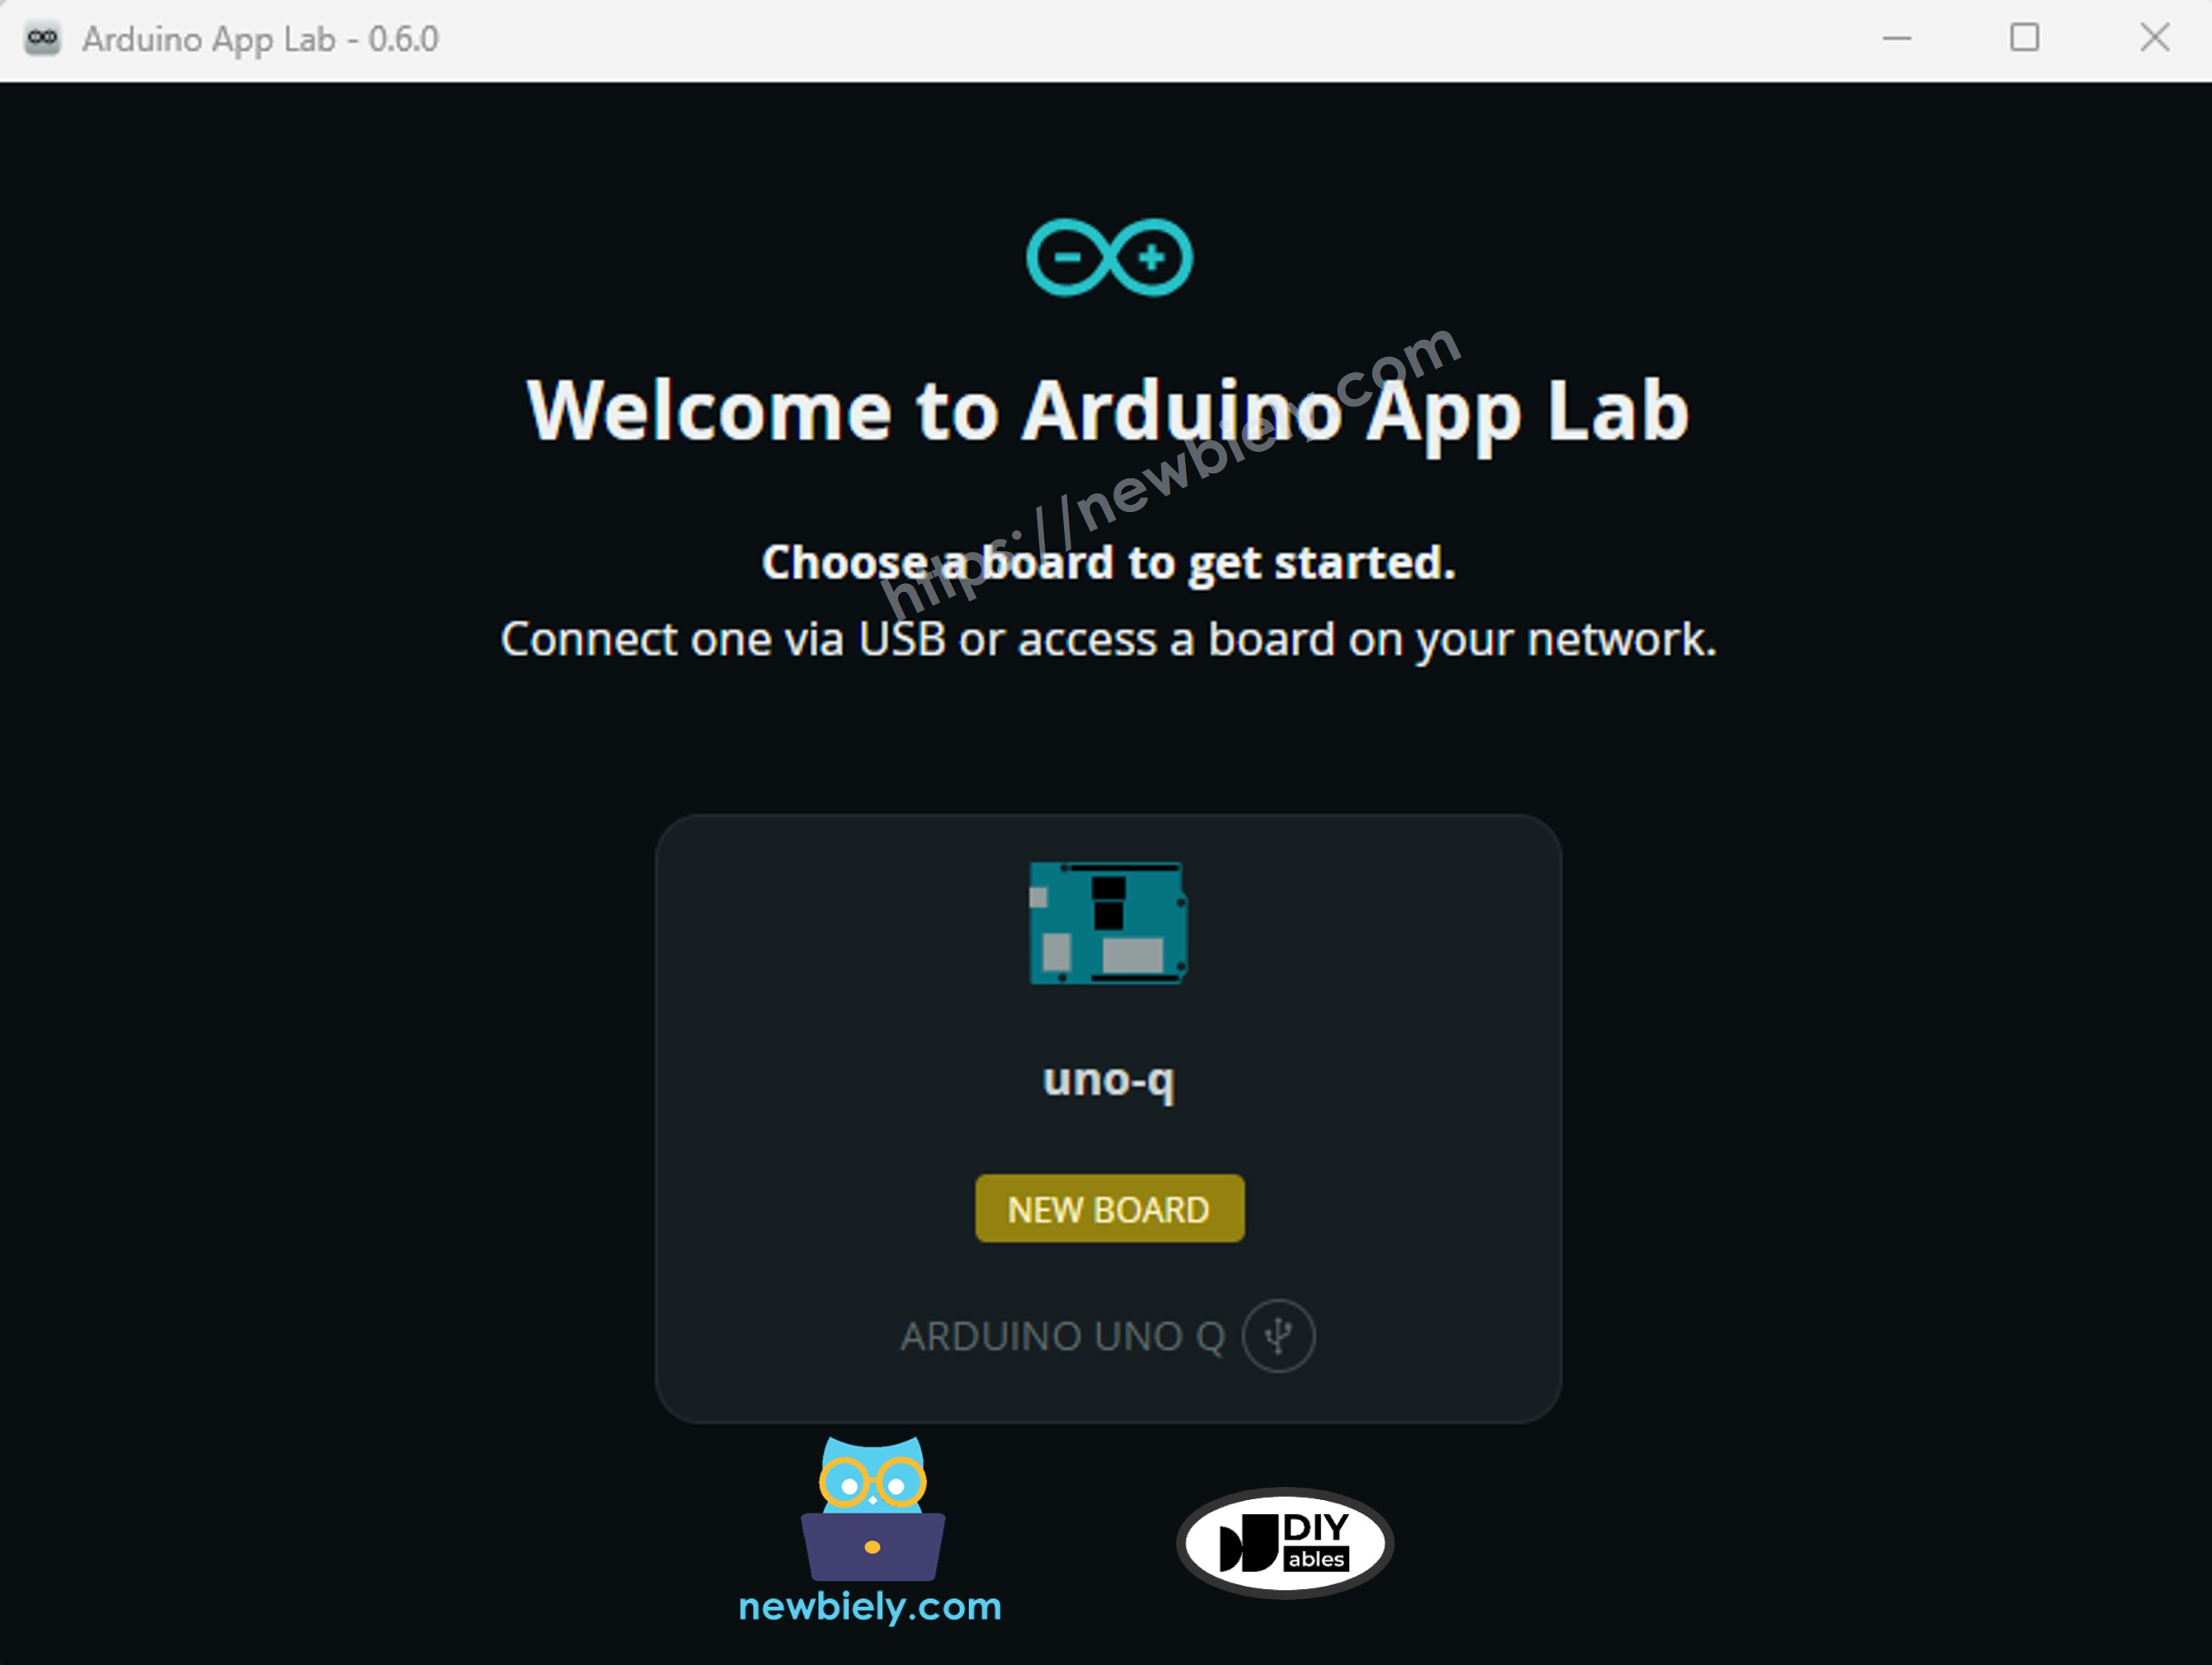
- Click on the board to connect to it.
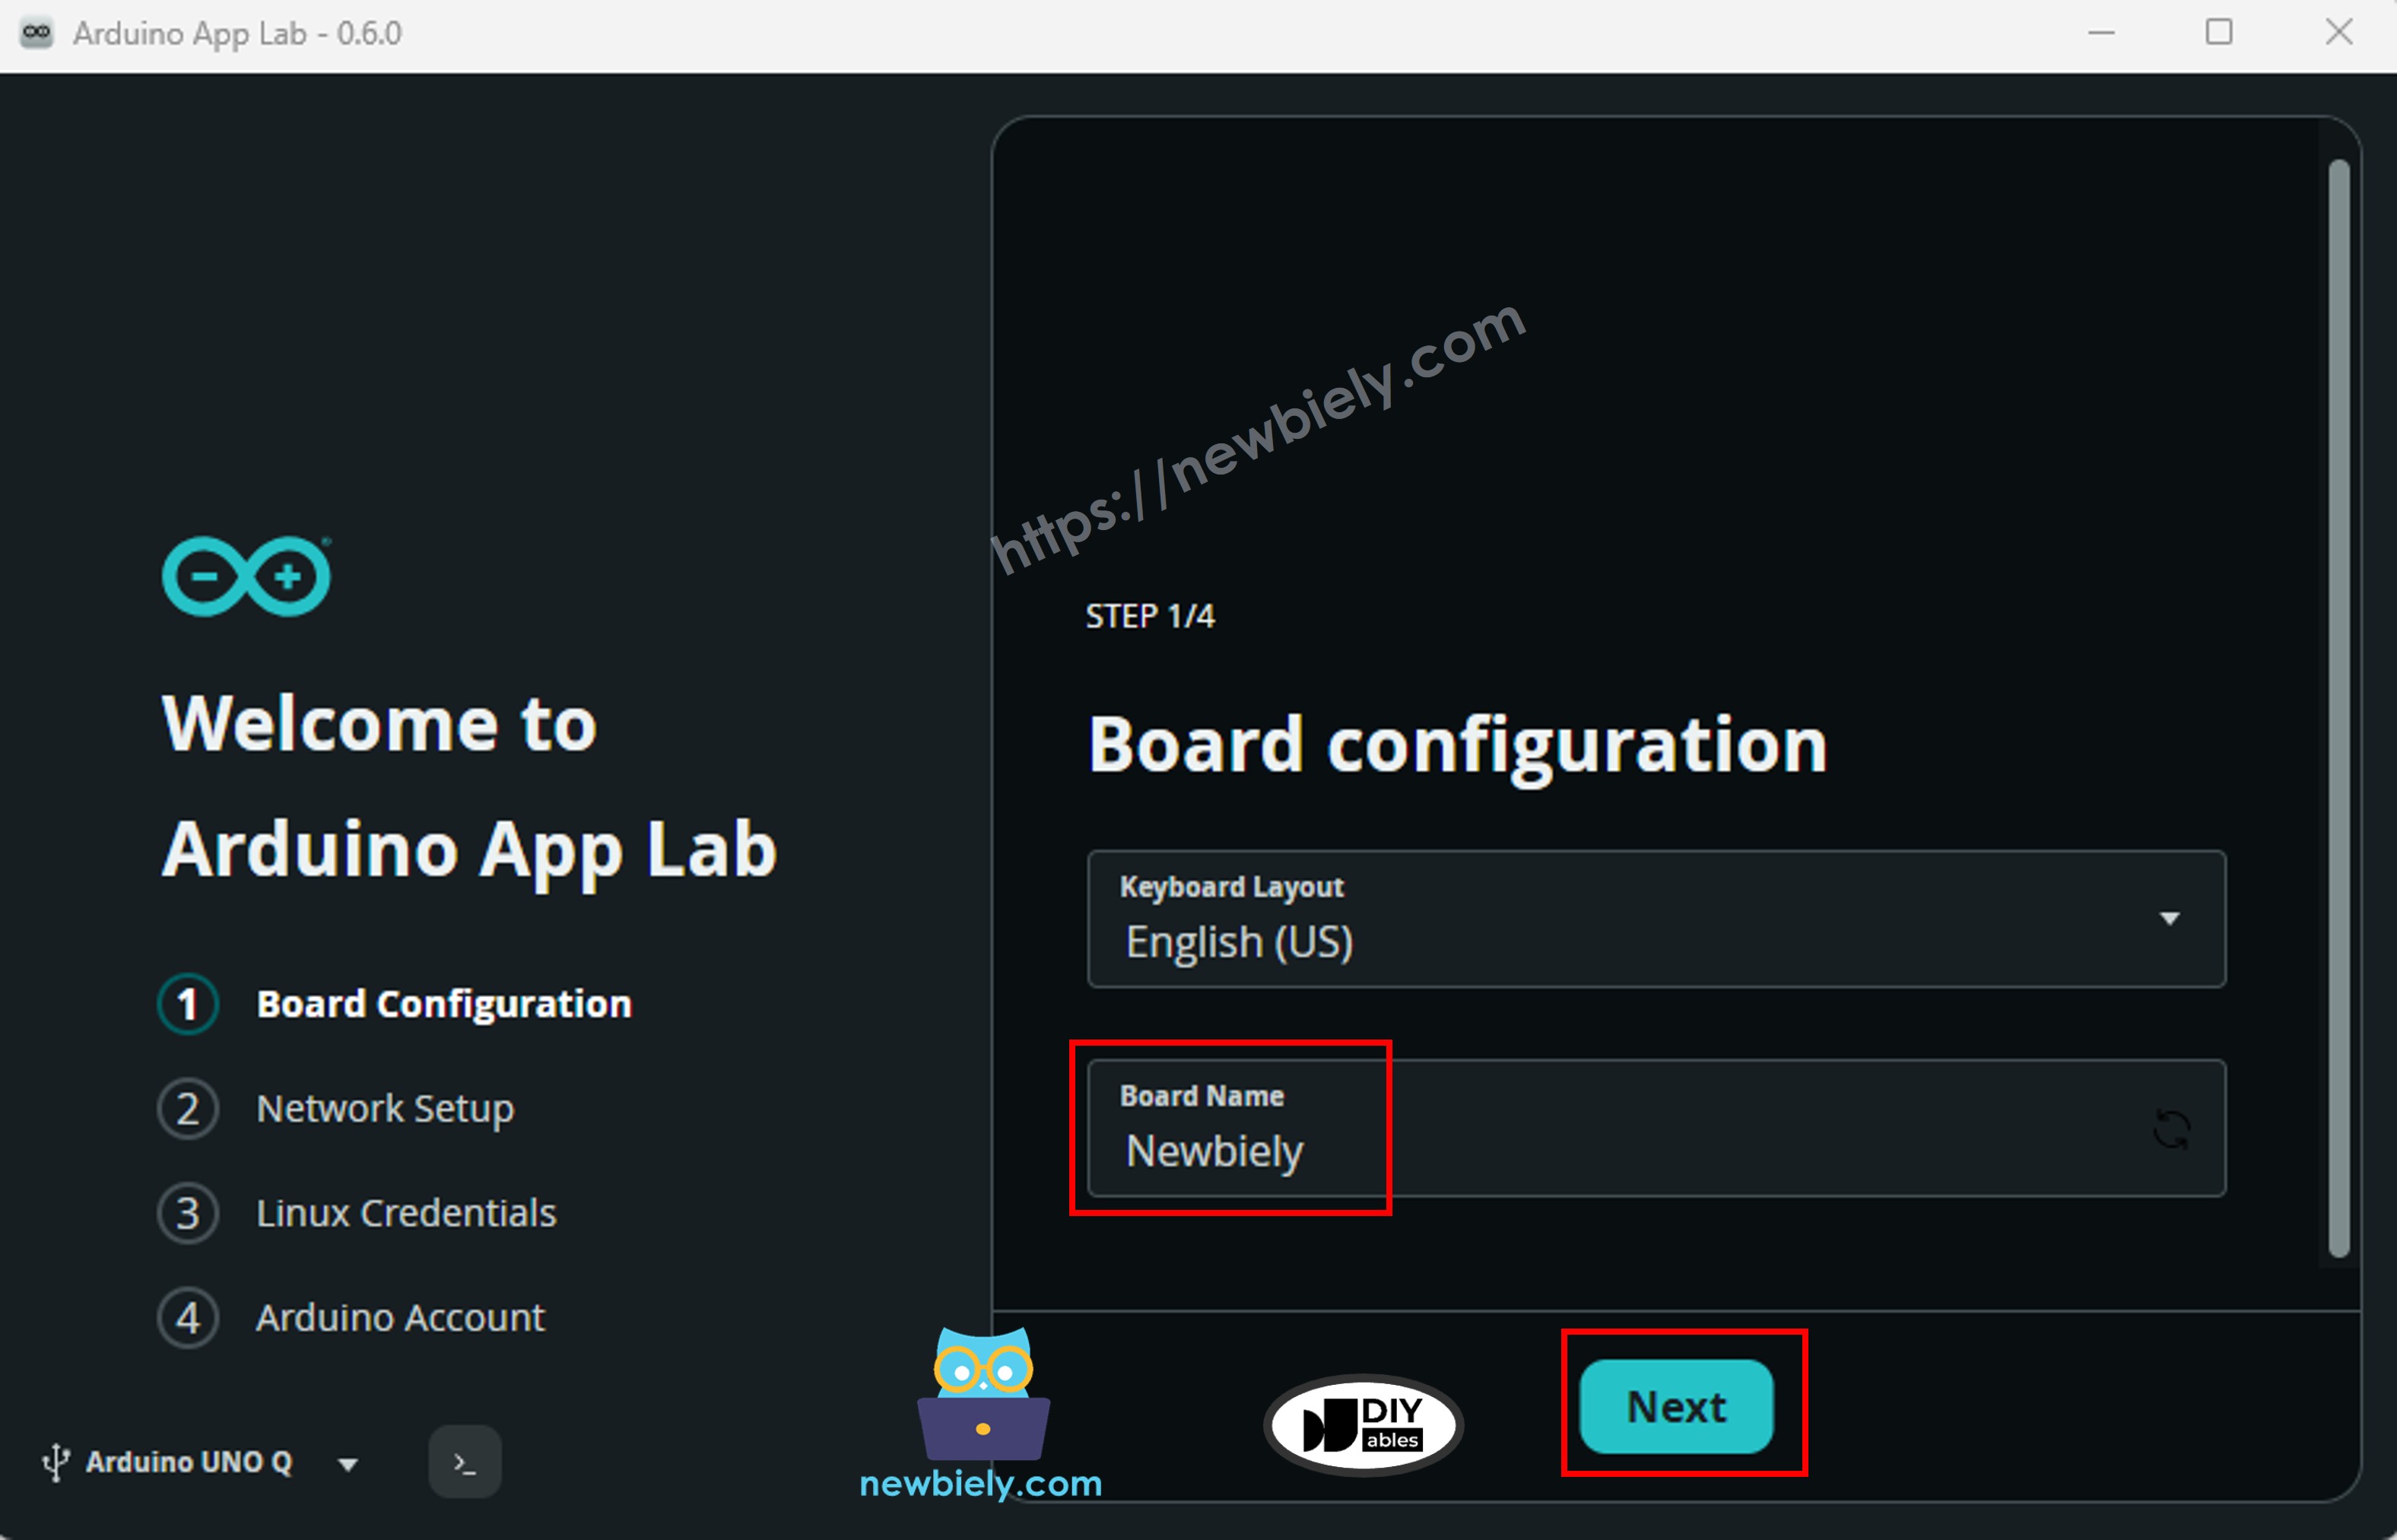
Step 3: Board Configuration
- A setup wizard will open. Enter a name for your board (for example: Newbiely), then click Next.
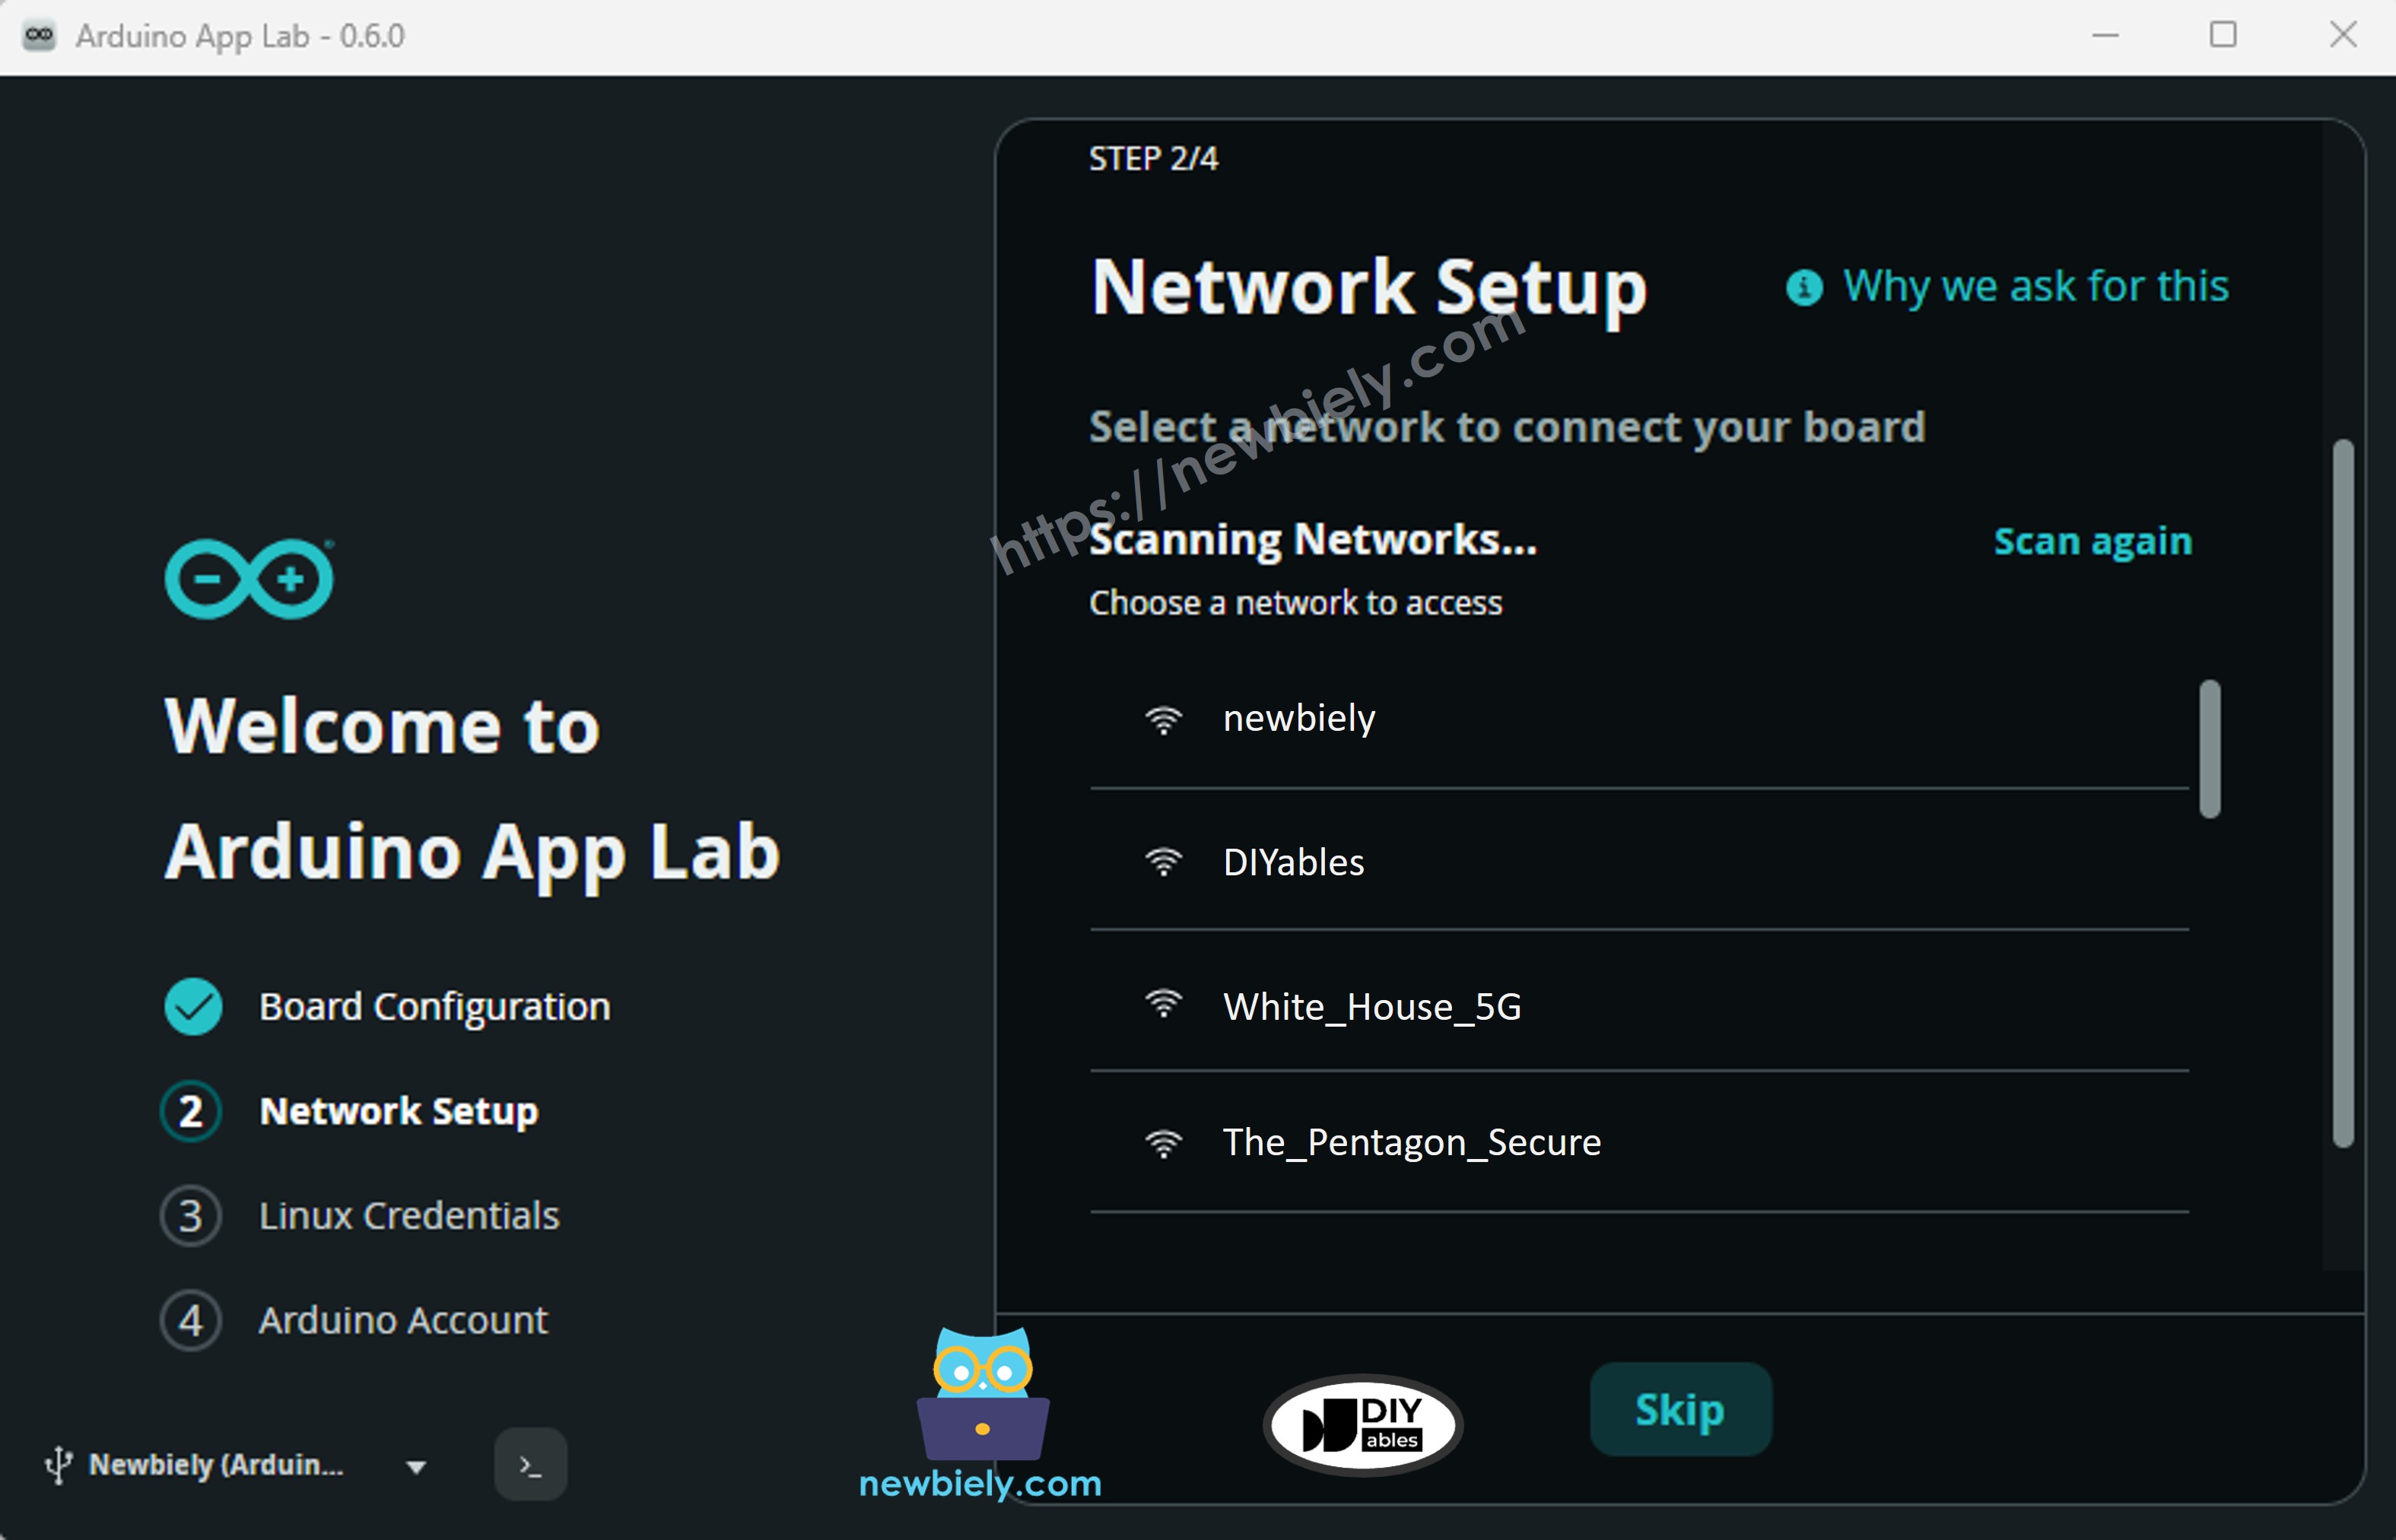
Step 4: Network Setup
- Arduino App Lab scans for available Wi-Fi networks. Select your Wi-Fi network from the list.
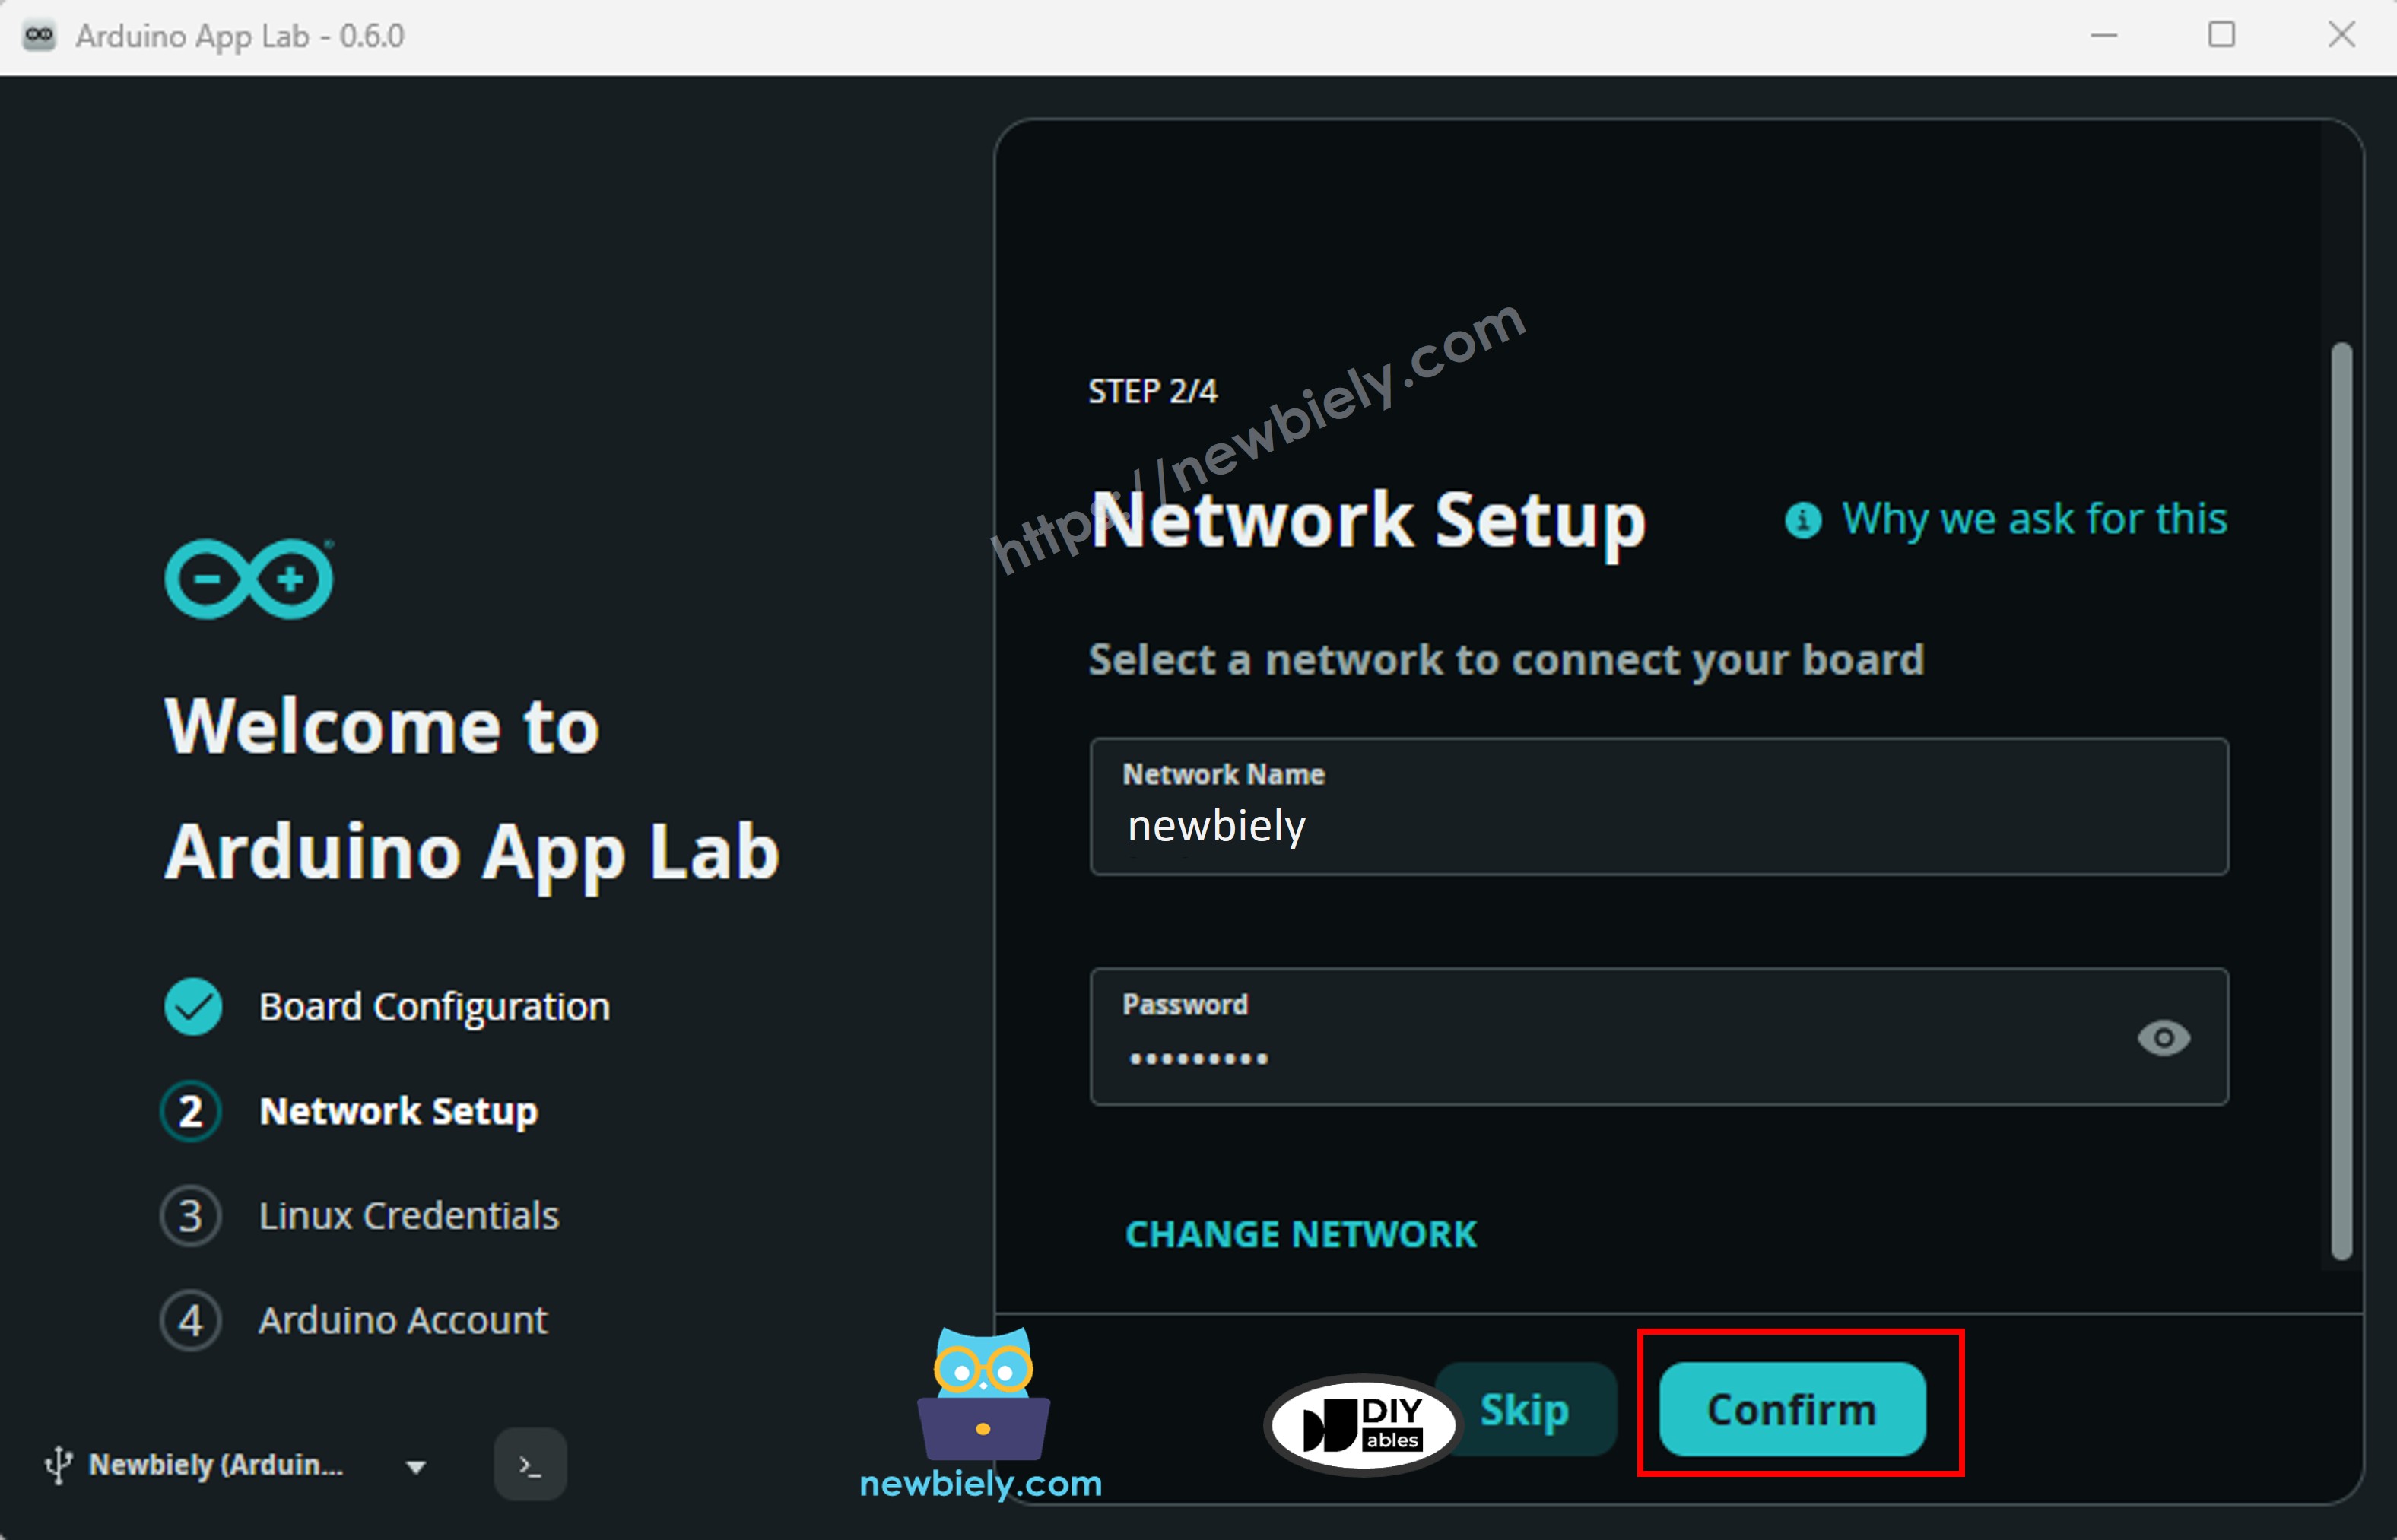
Step 5: Enter Wi-Fi Credentials
- Enter your Wi-Fi password, then click Connect (or Next).
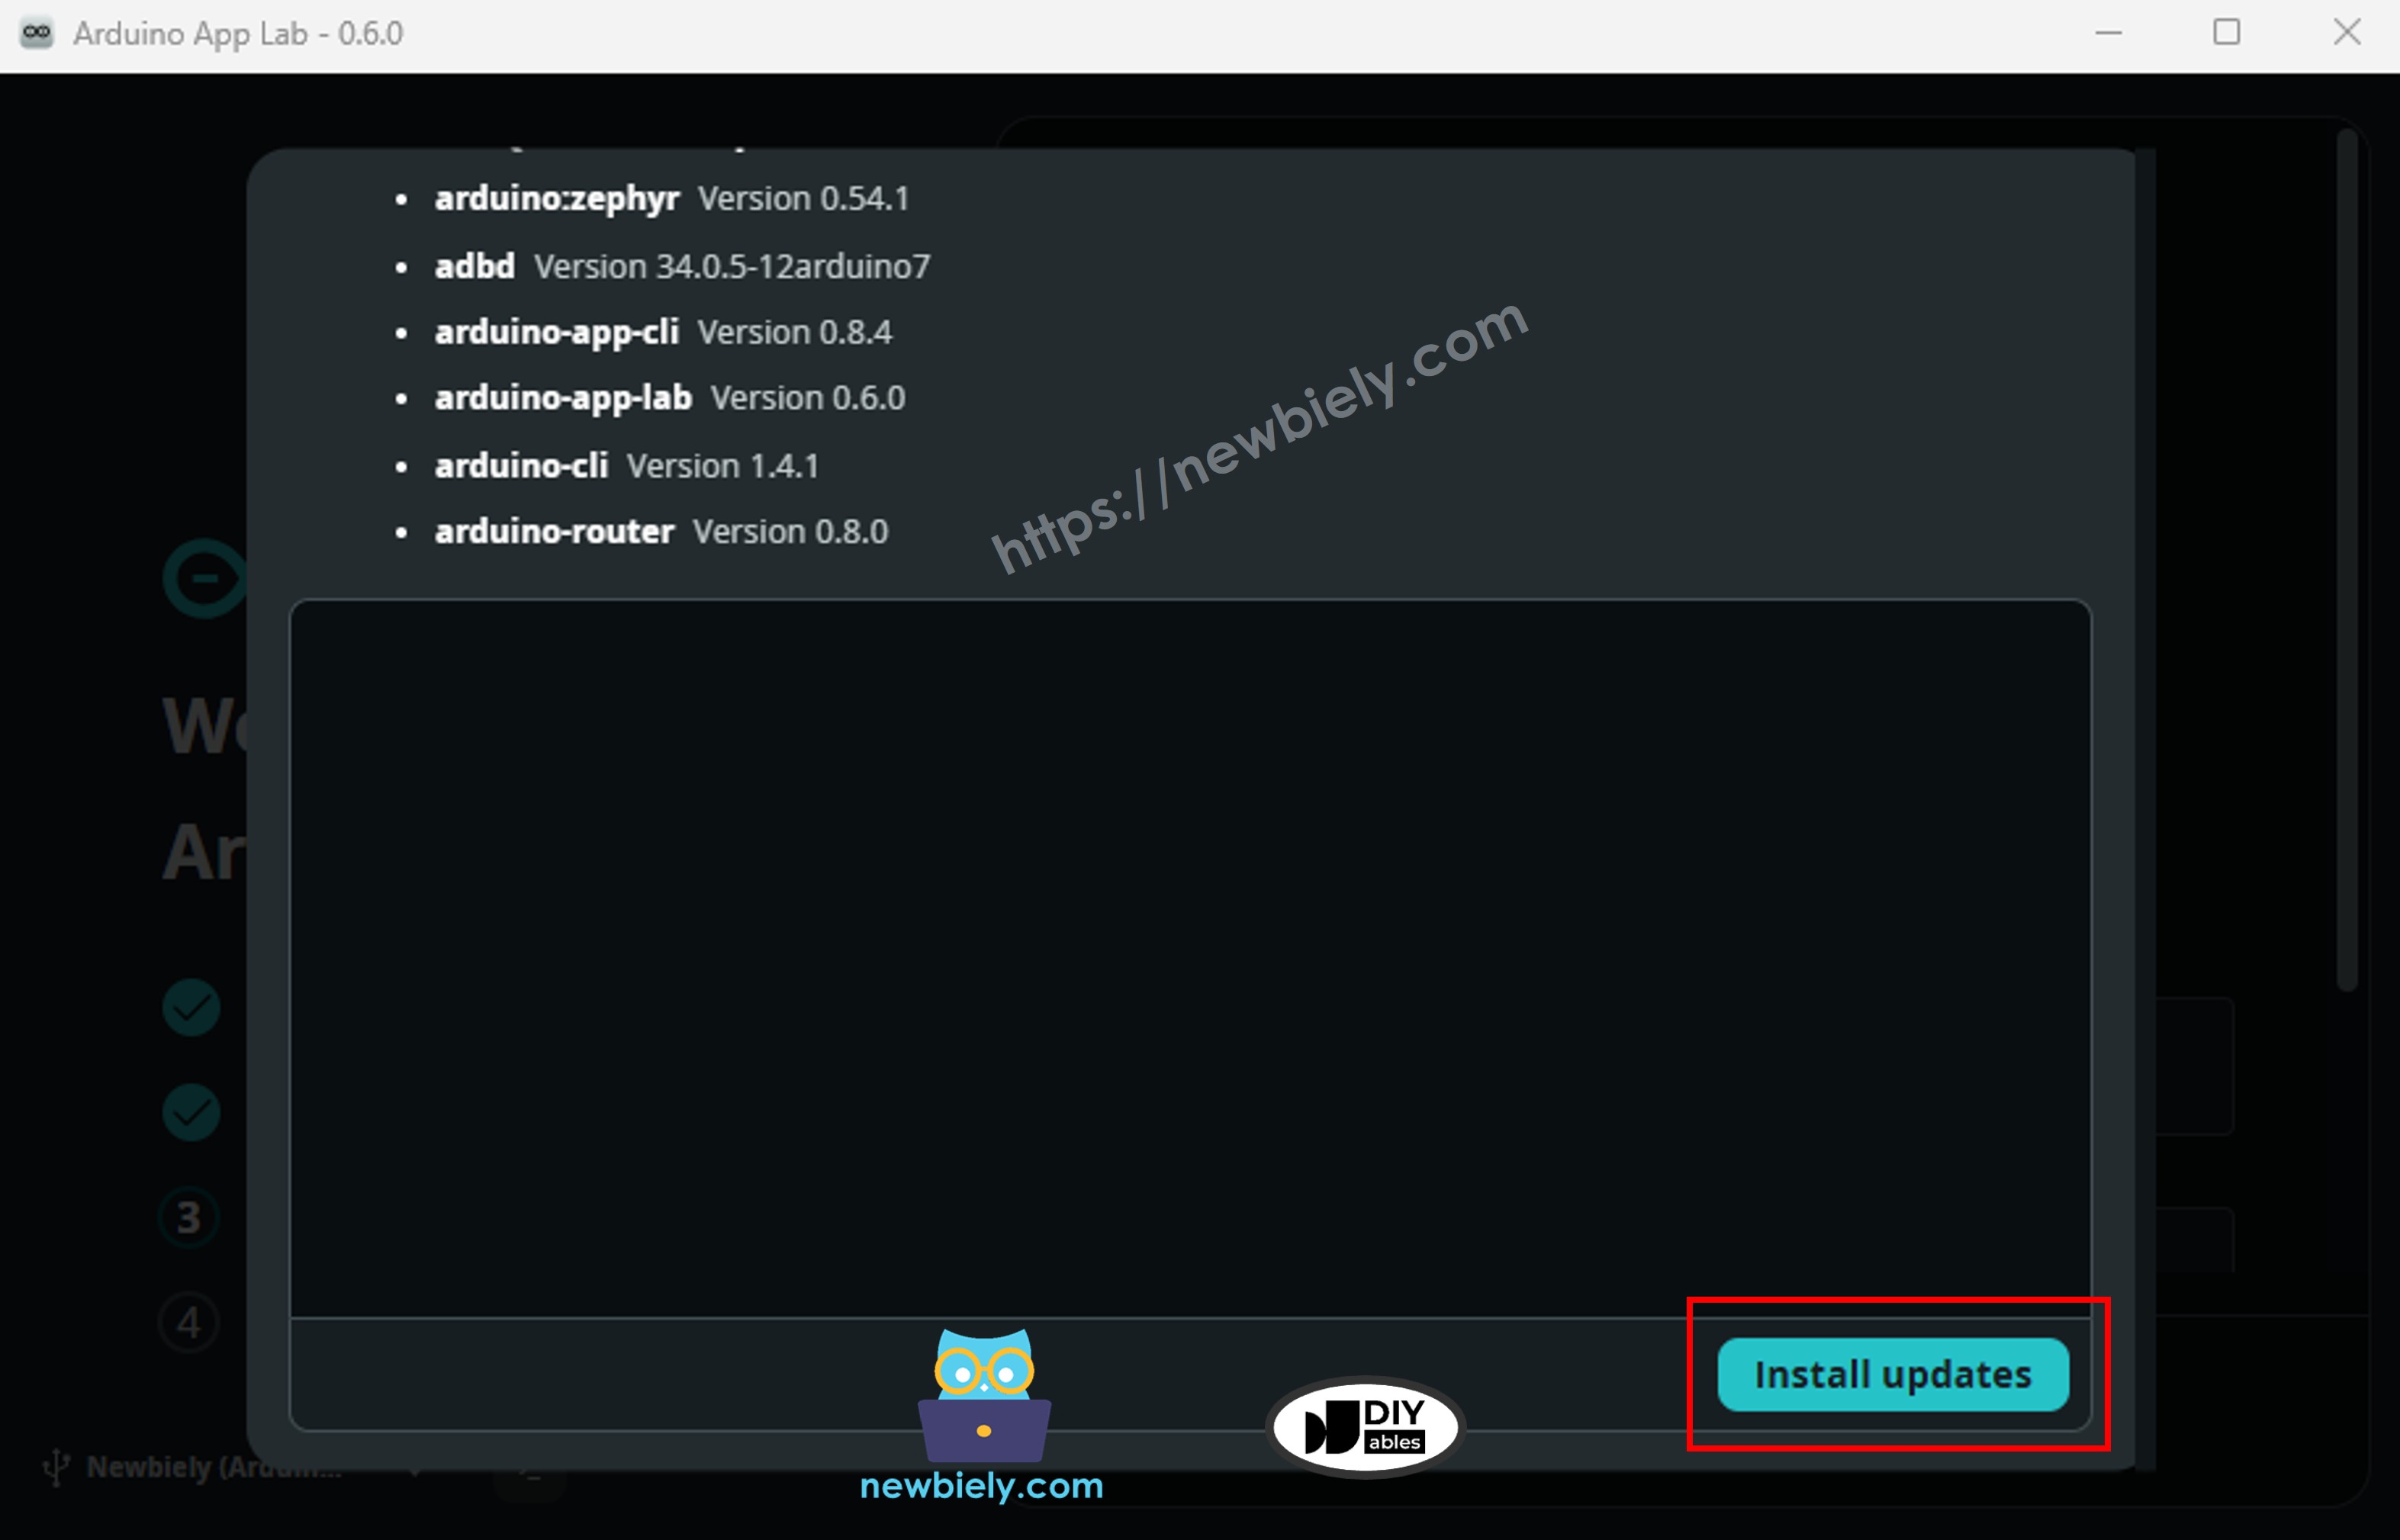
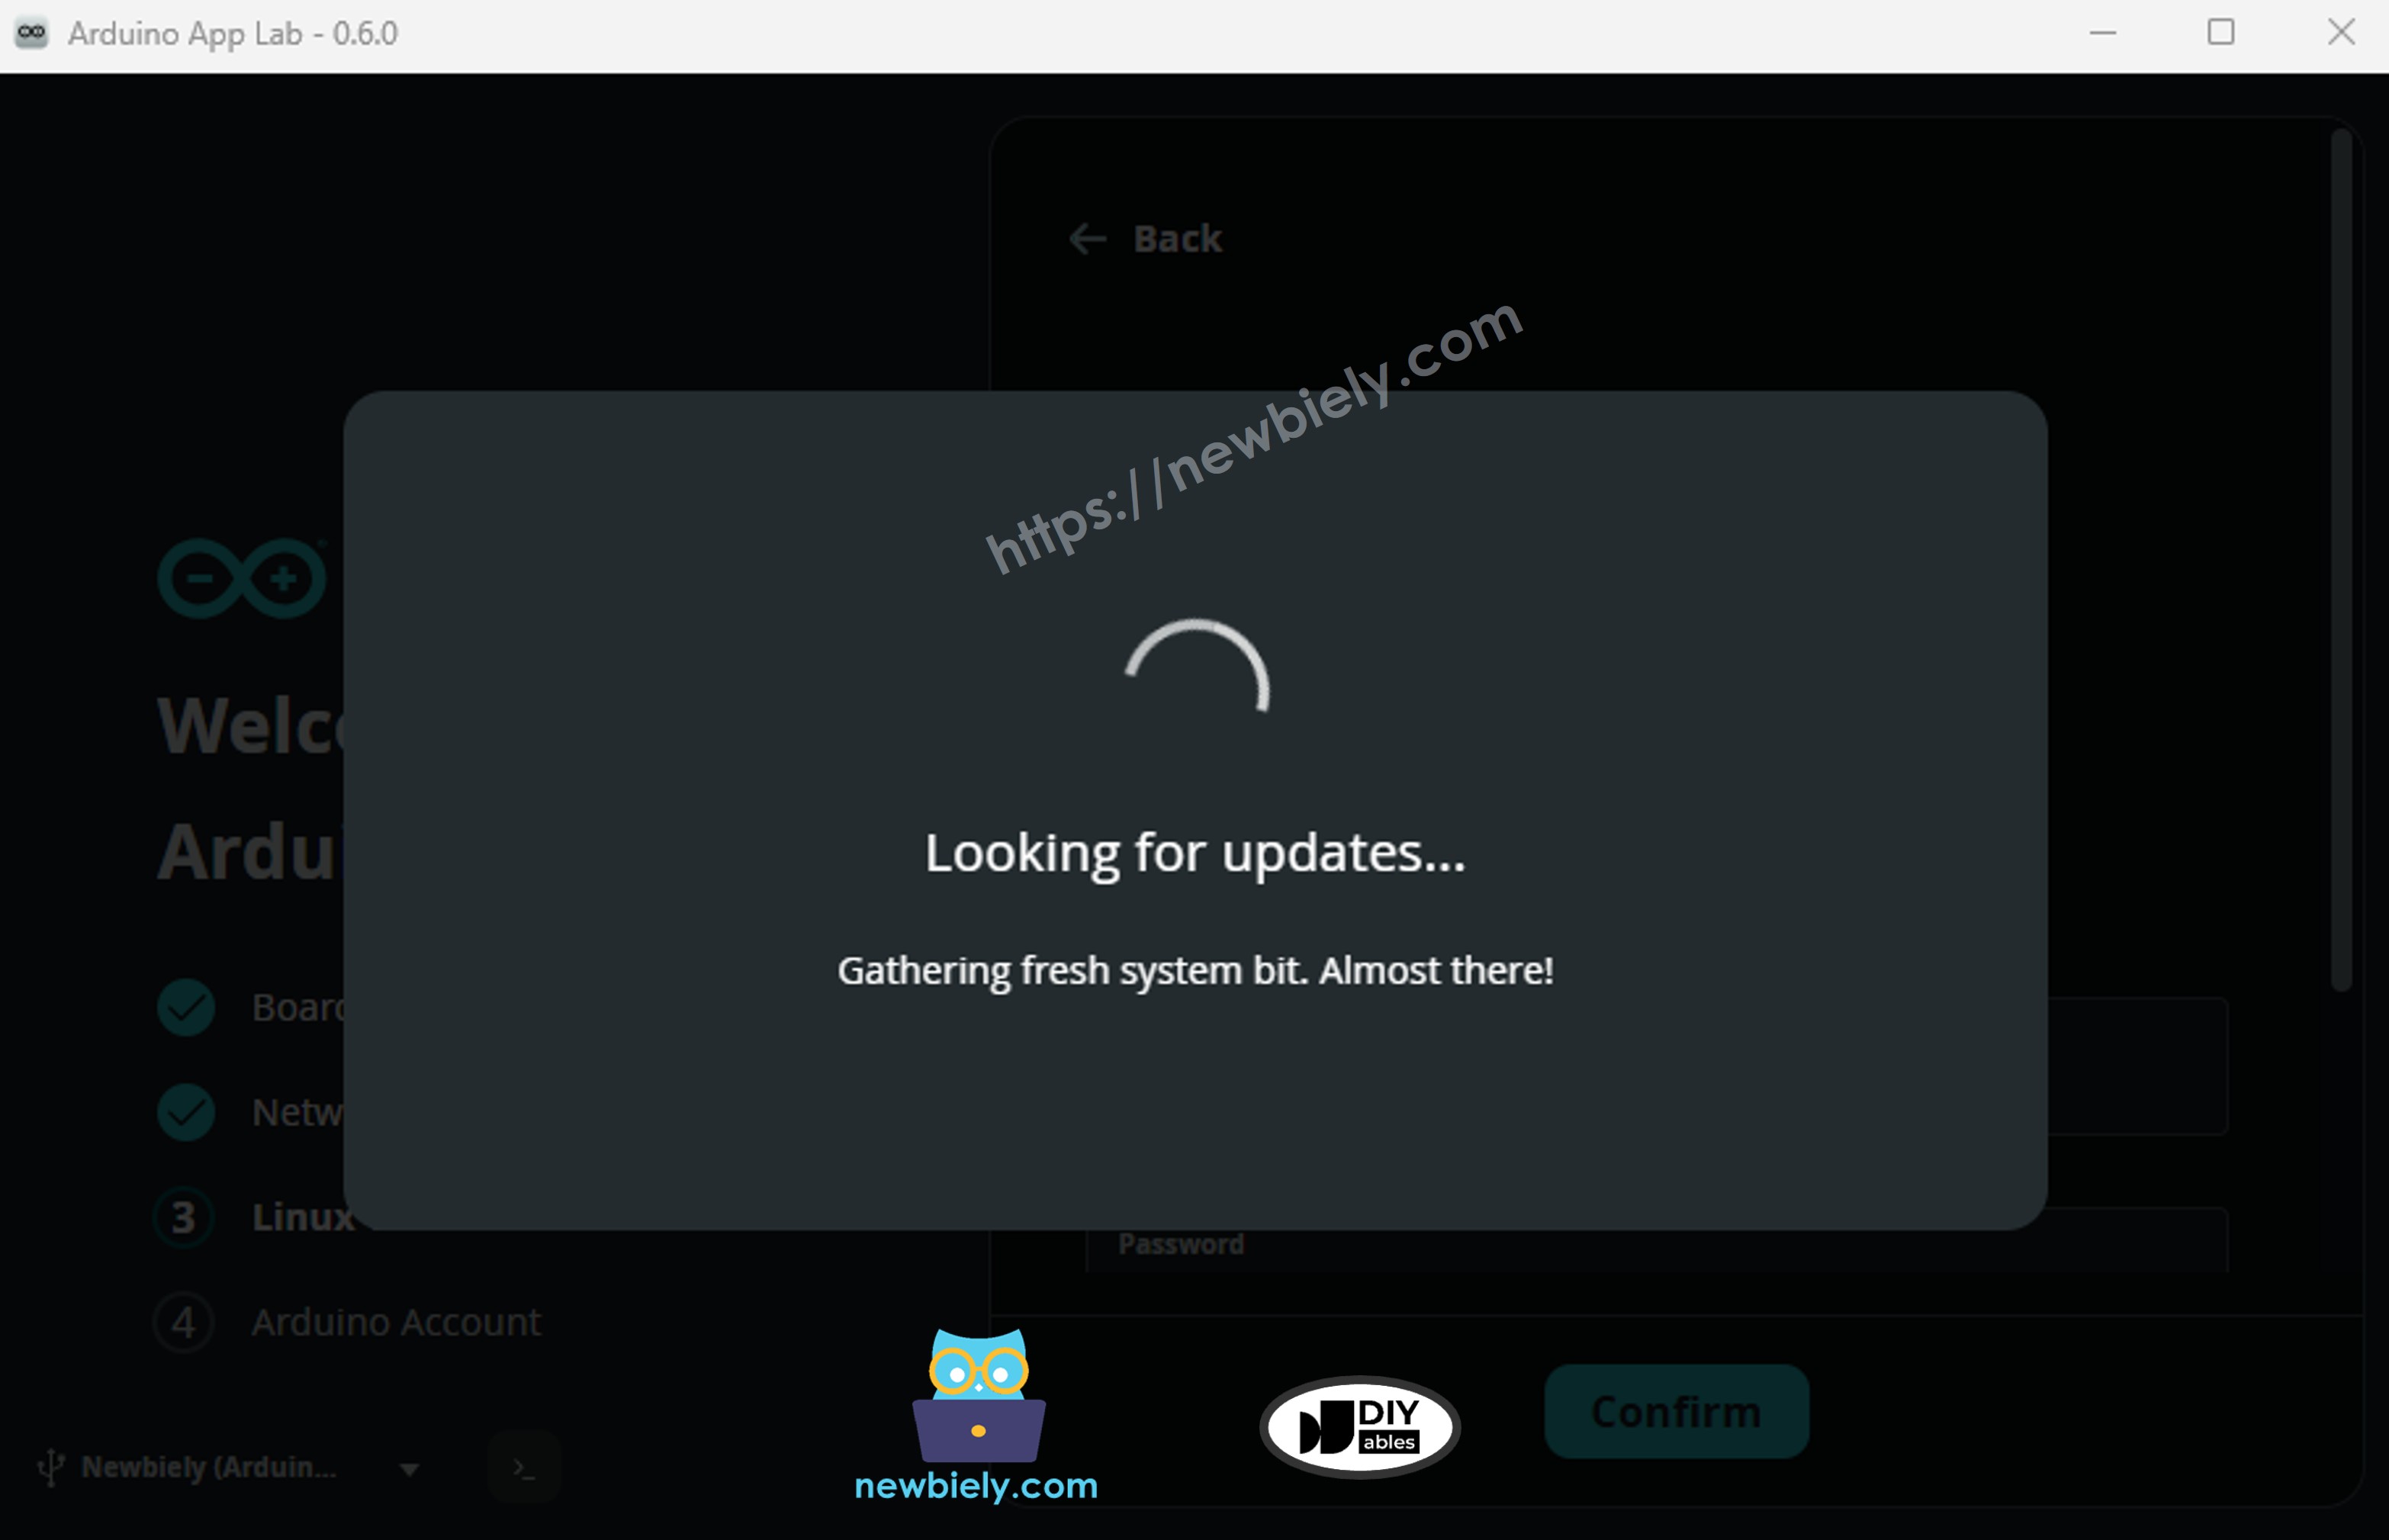
Step 6: Firmware Update
- The board may search for a firmware update.
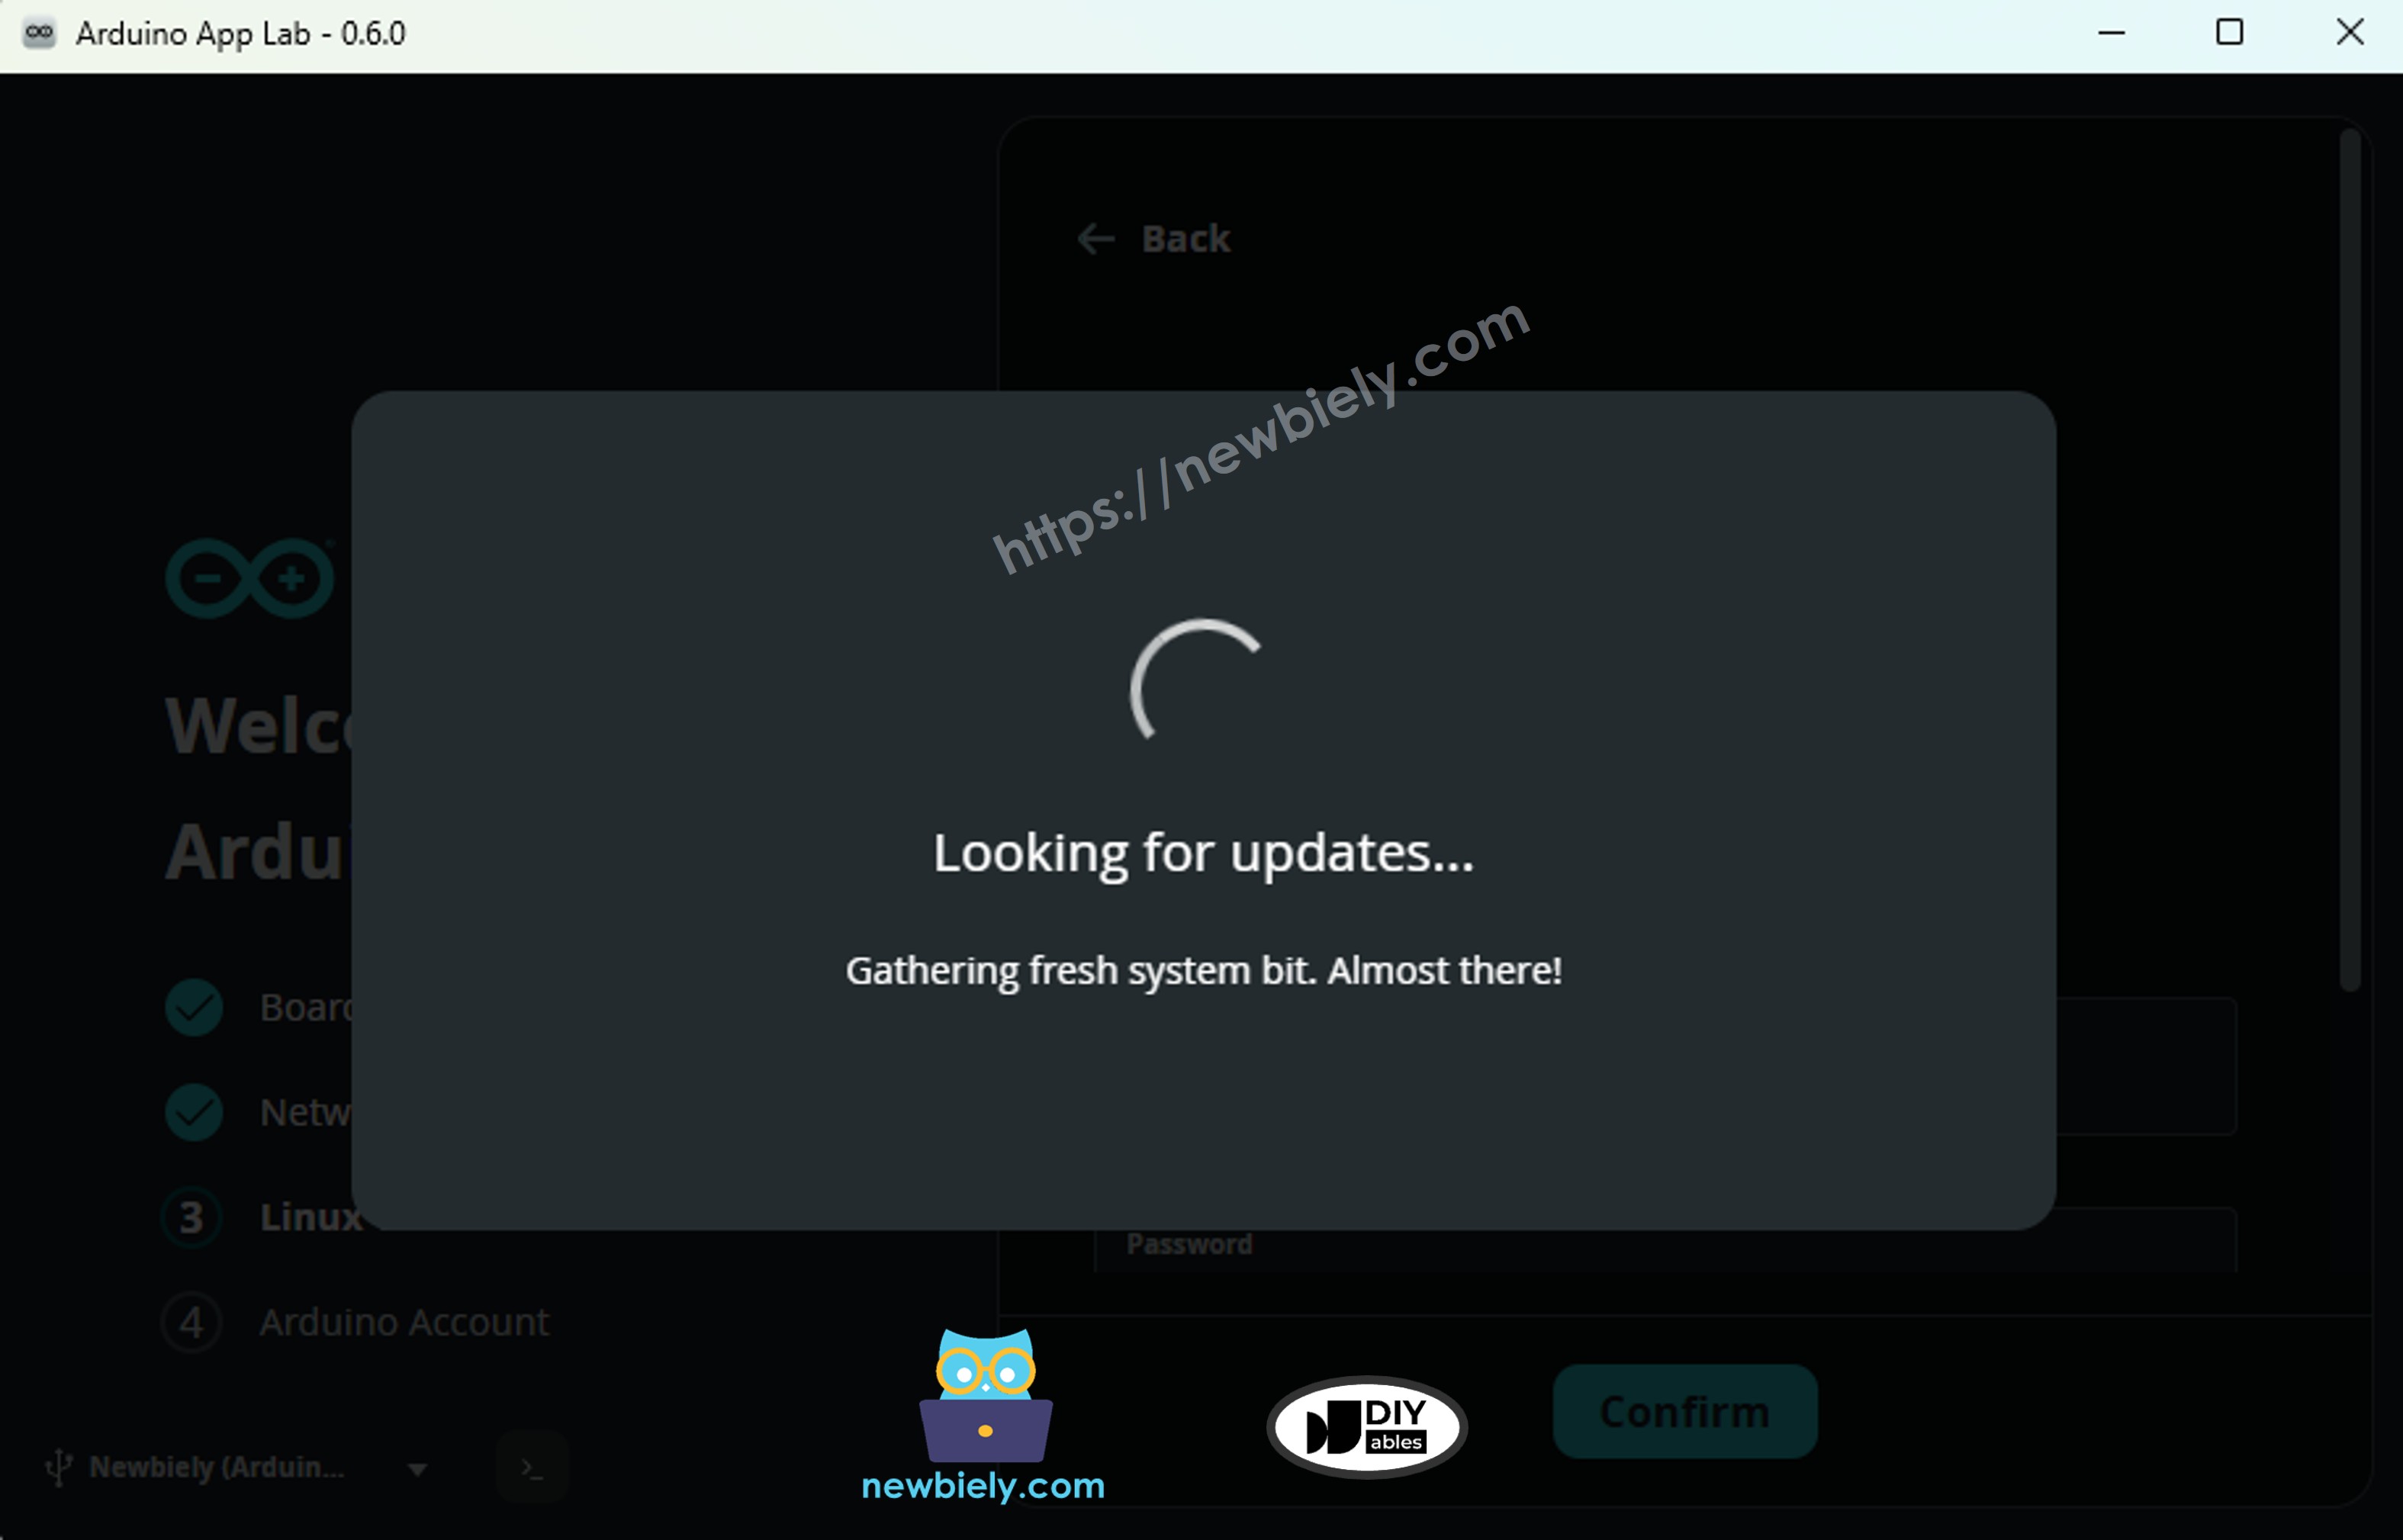
- Click the install update button and Wait for the process to complete.
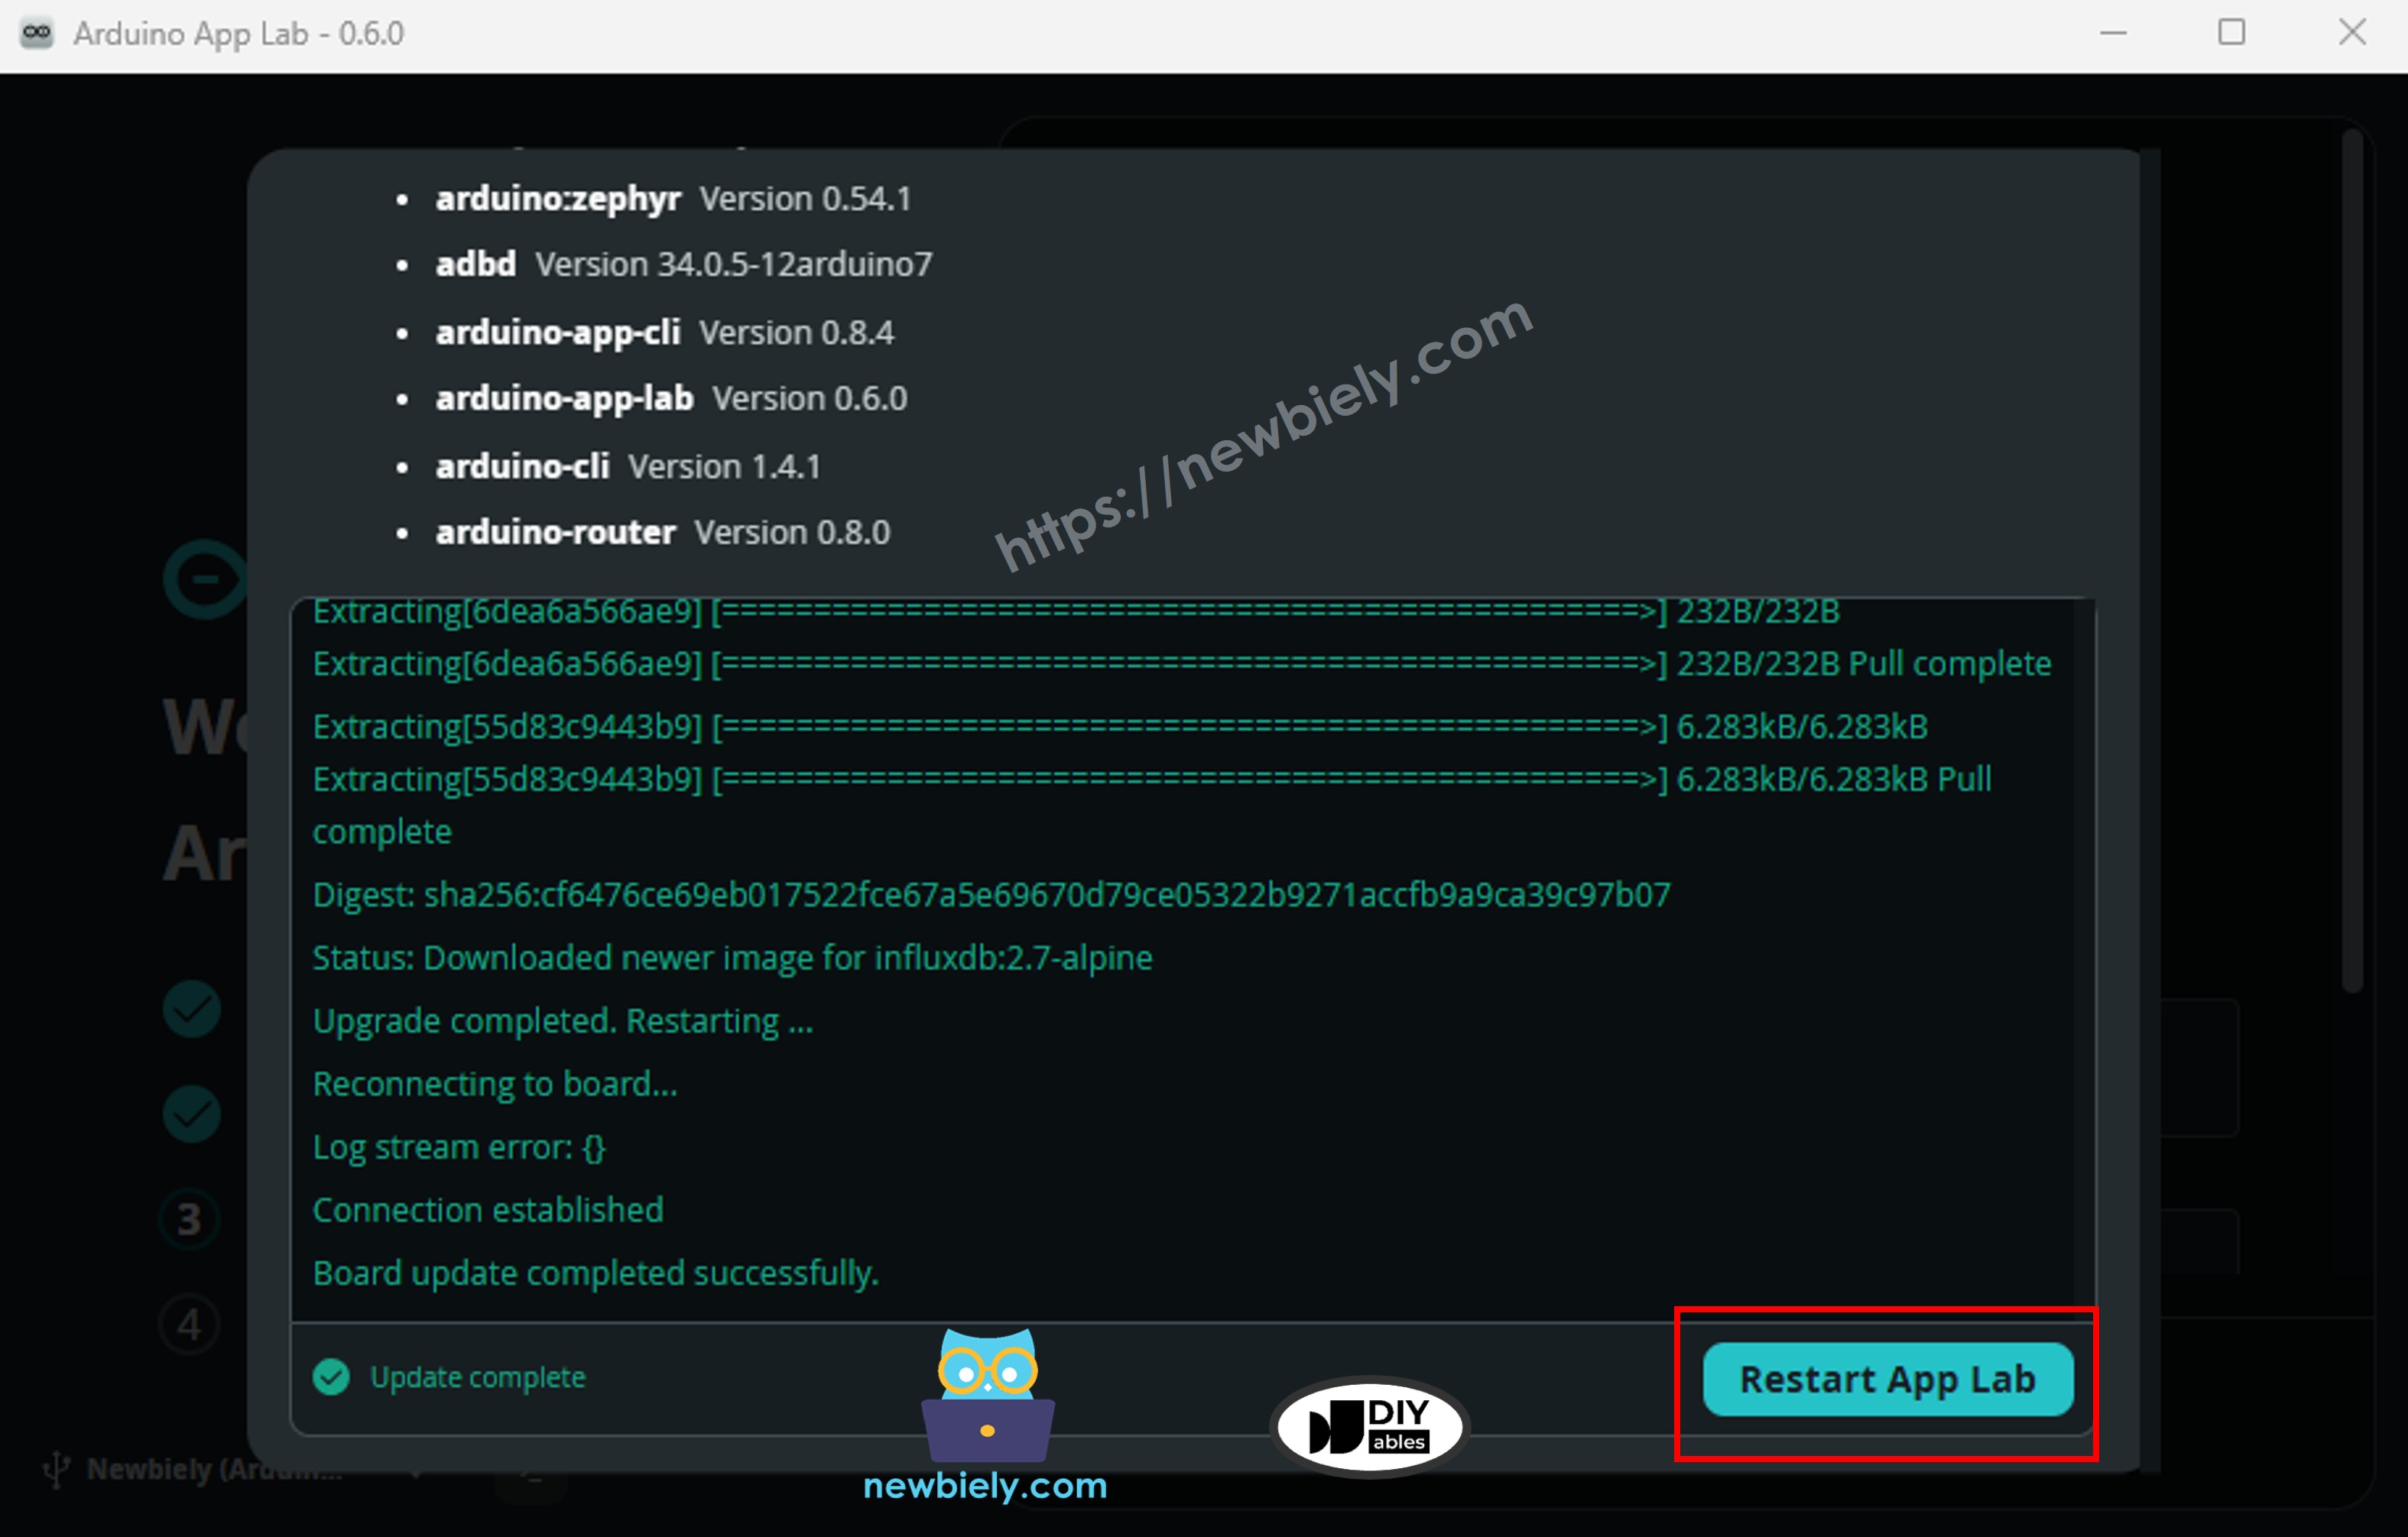
Step 7: Restart Arduino App Lab
- After the update, click the Restart Arduino App Lab button.
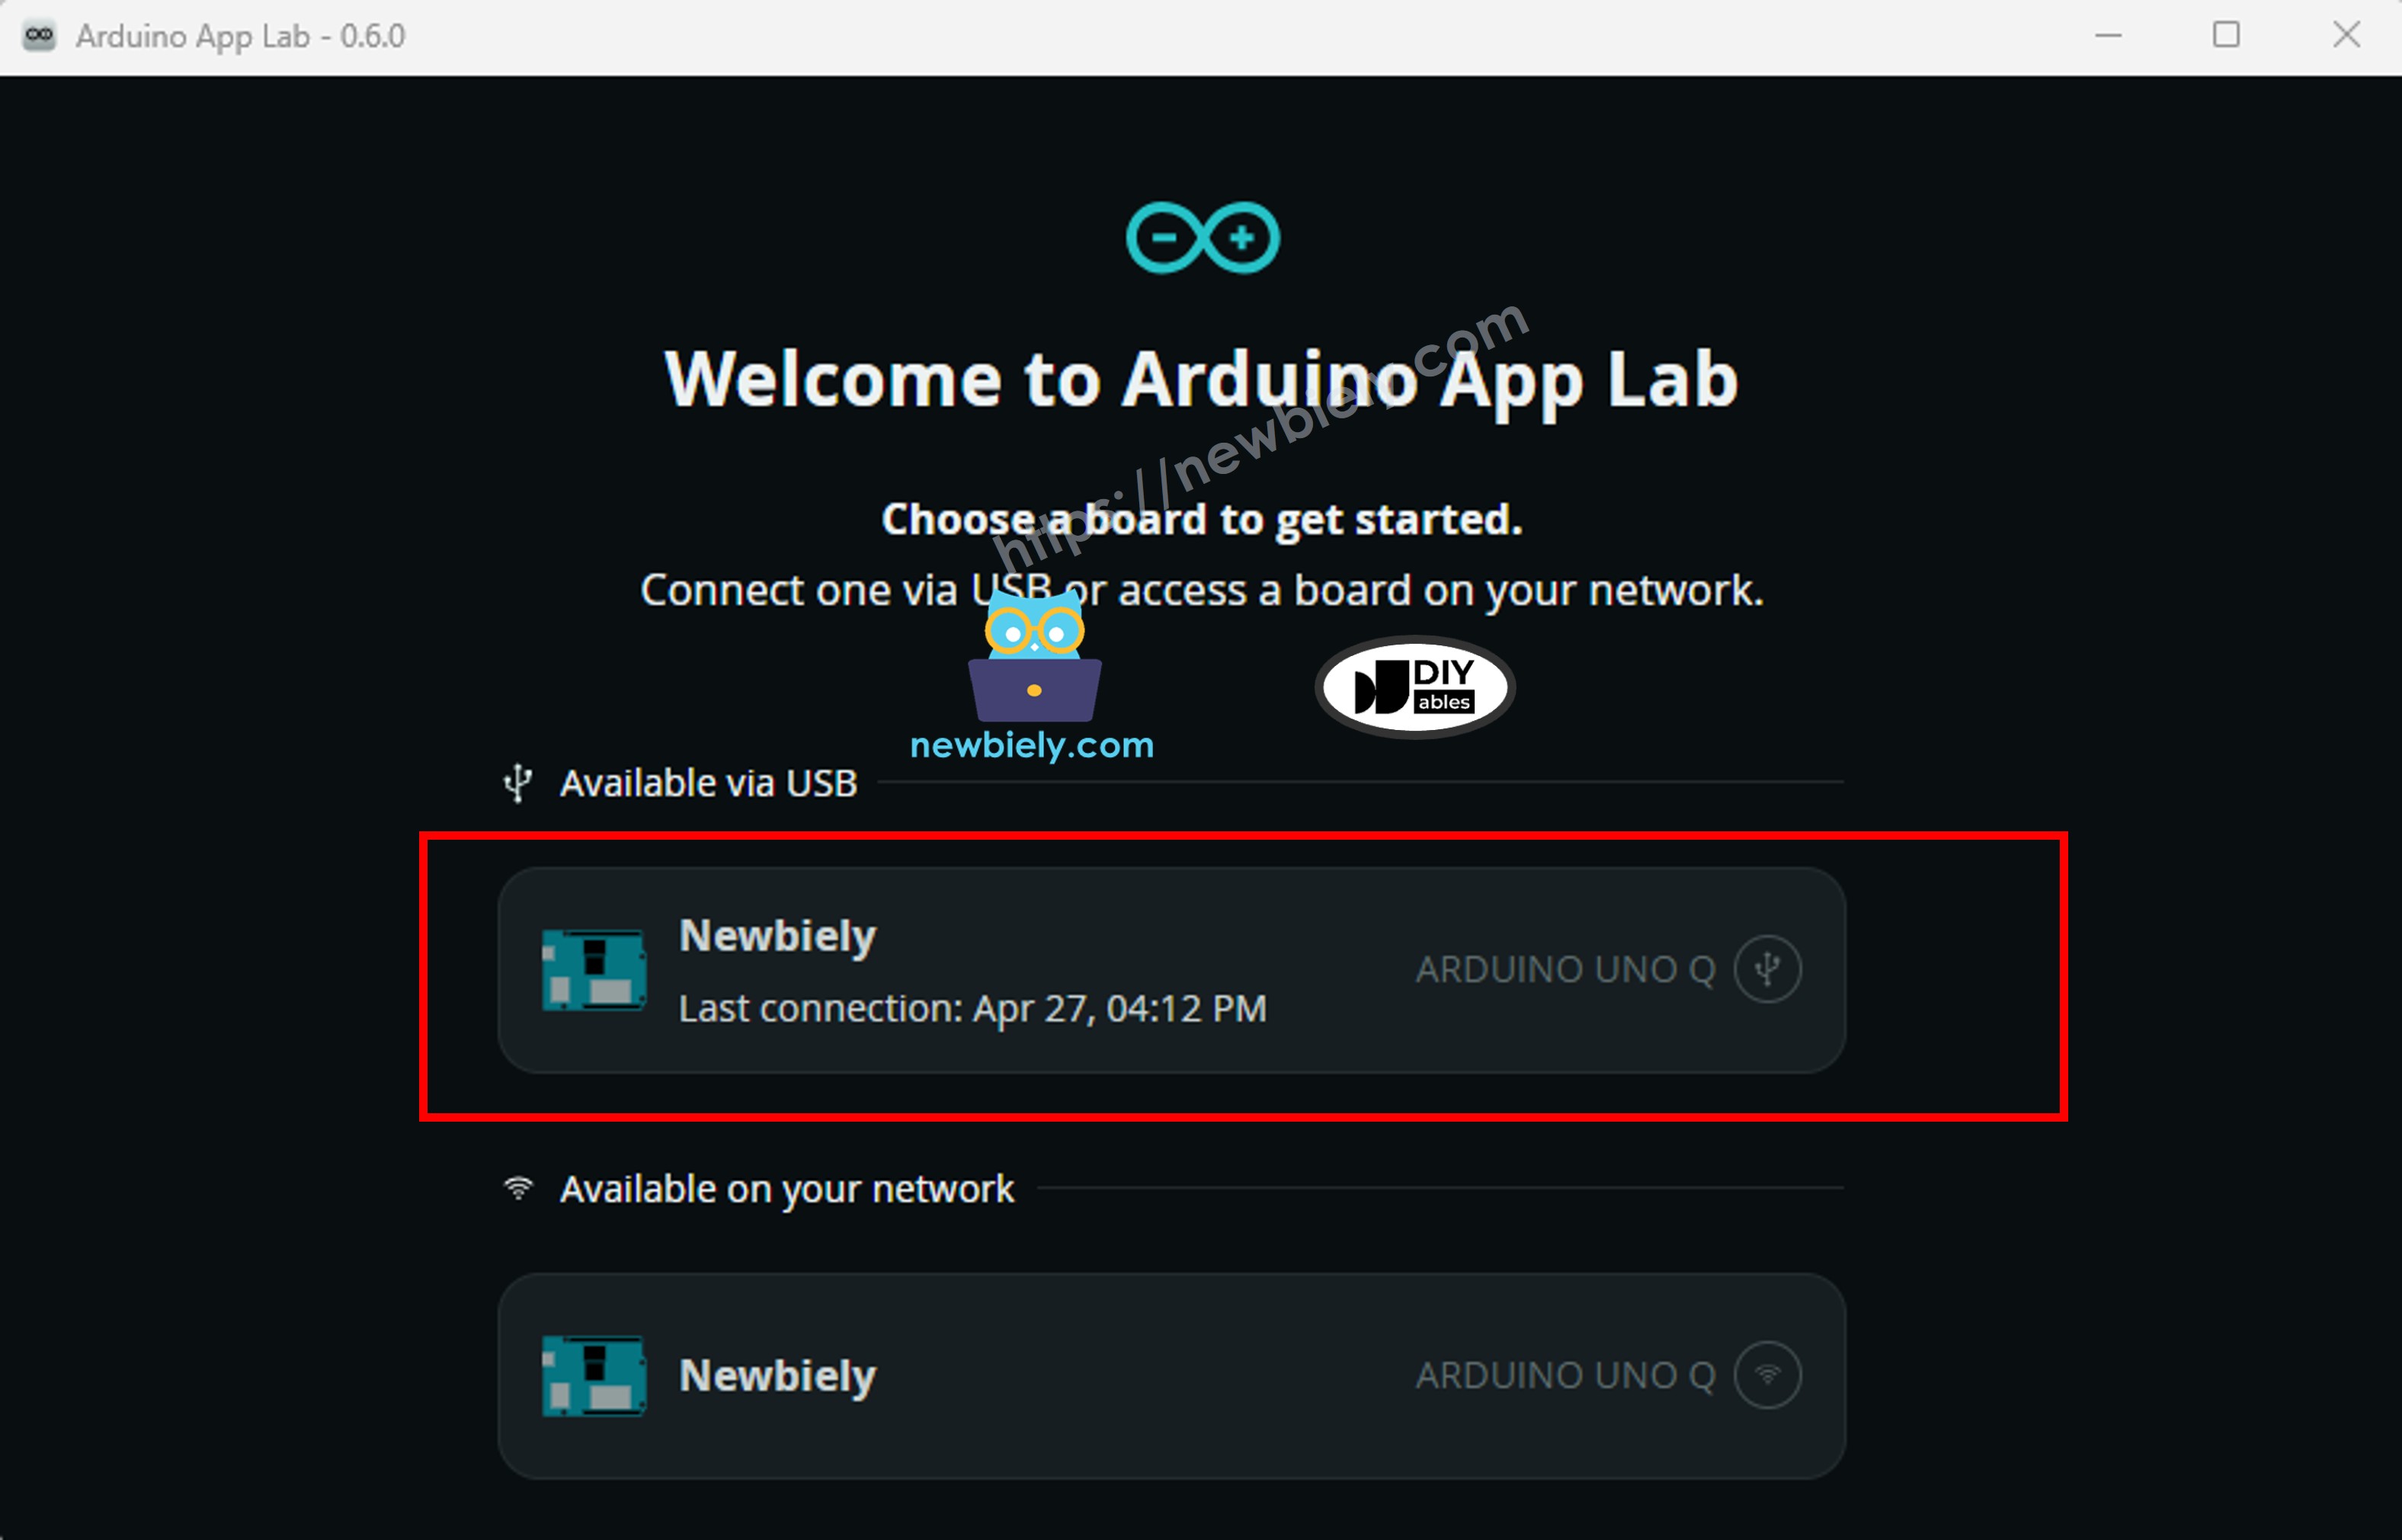
Step 8: Select Board Connection
- After restarting, the app shows a list of available connections for your board — one via USB and one via Wi-Fi. Select either one to connect.
Step 9: Second Update Check
- The app may check for another update. Wait for it to finish if prompted.
Step 10: Set Linux Credentials
- The app will ask you to set a password for the Linux side. Enter the password you want and click Confirm.

Step 11: Welcome Screen
- Setup is complete. The app shows a welcome message — click Ok, got it to finish.
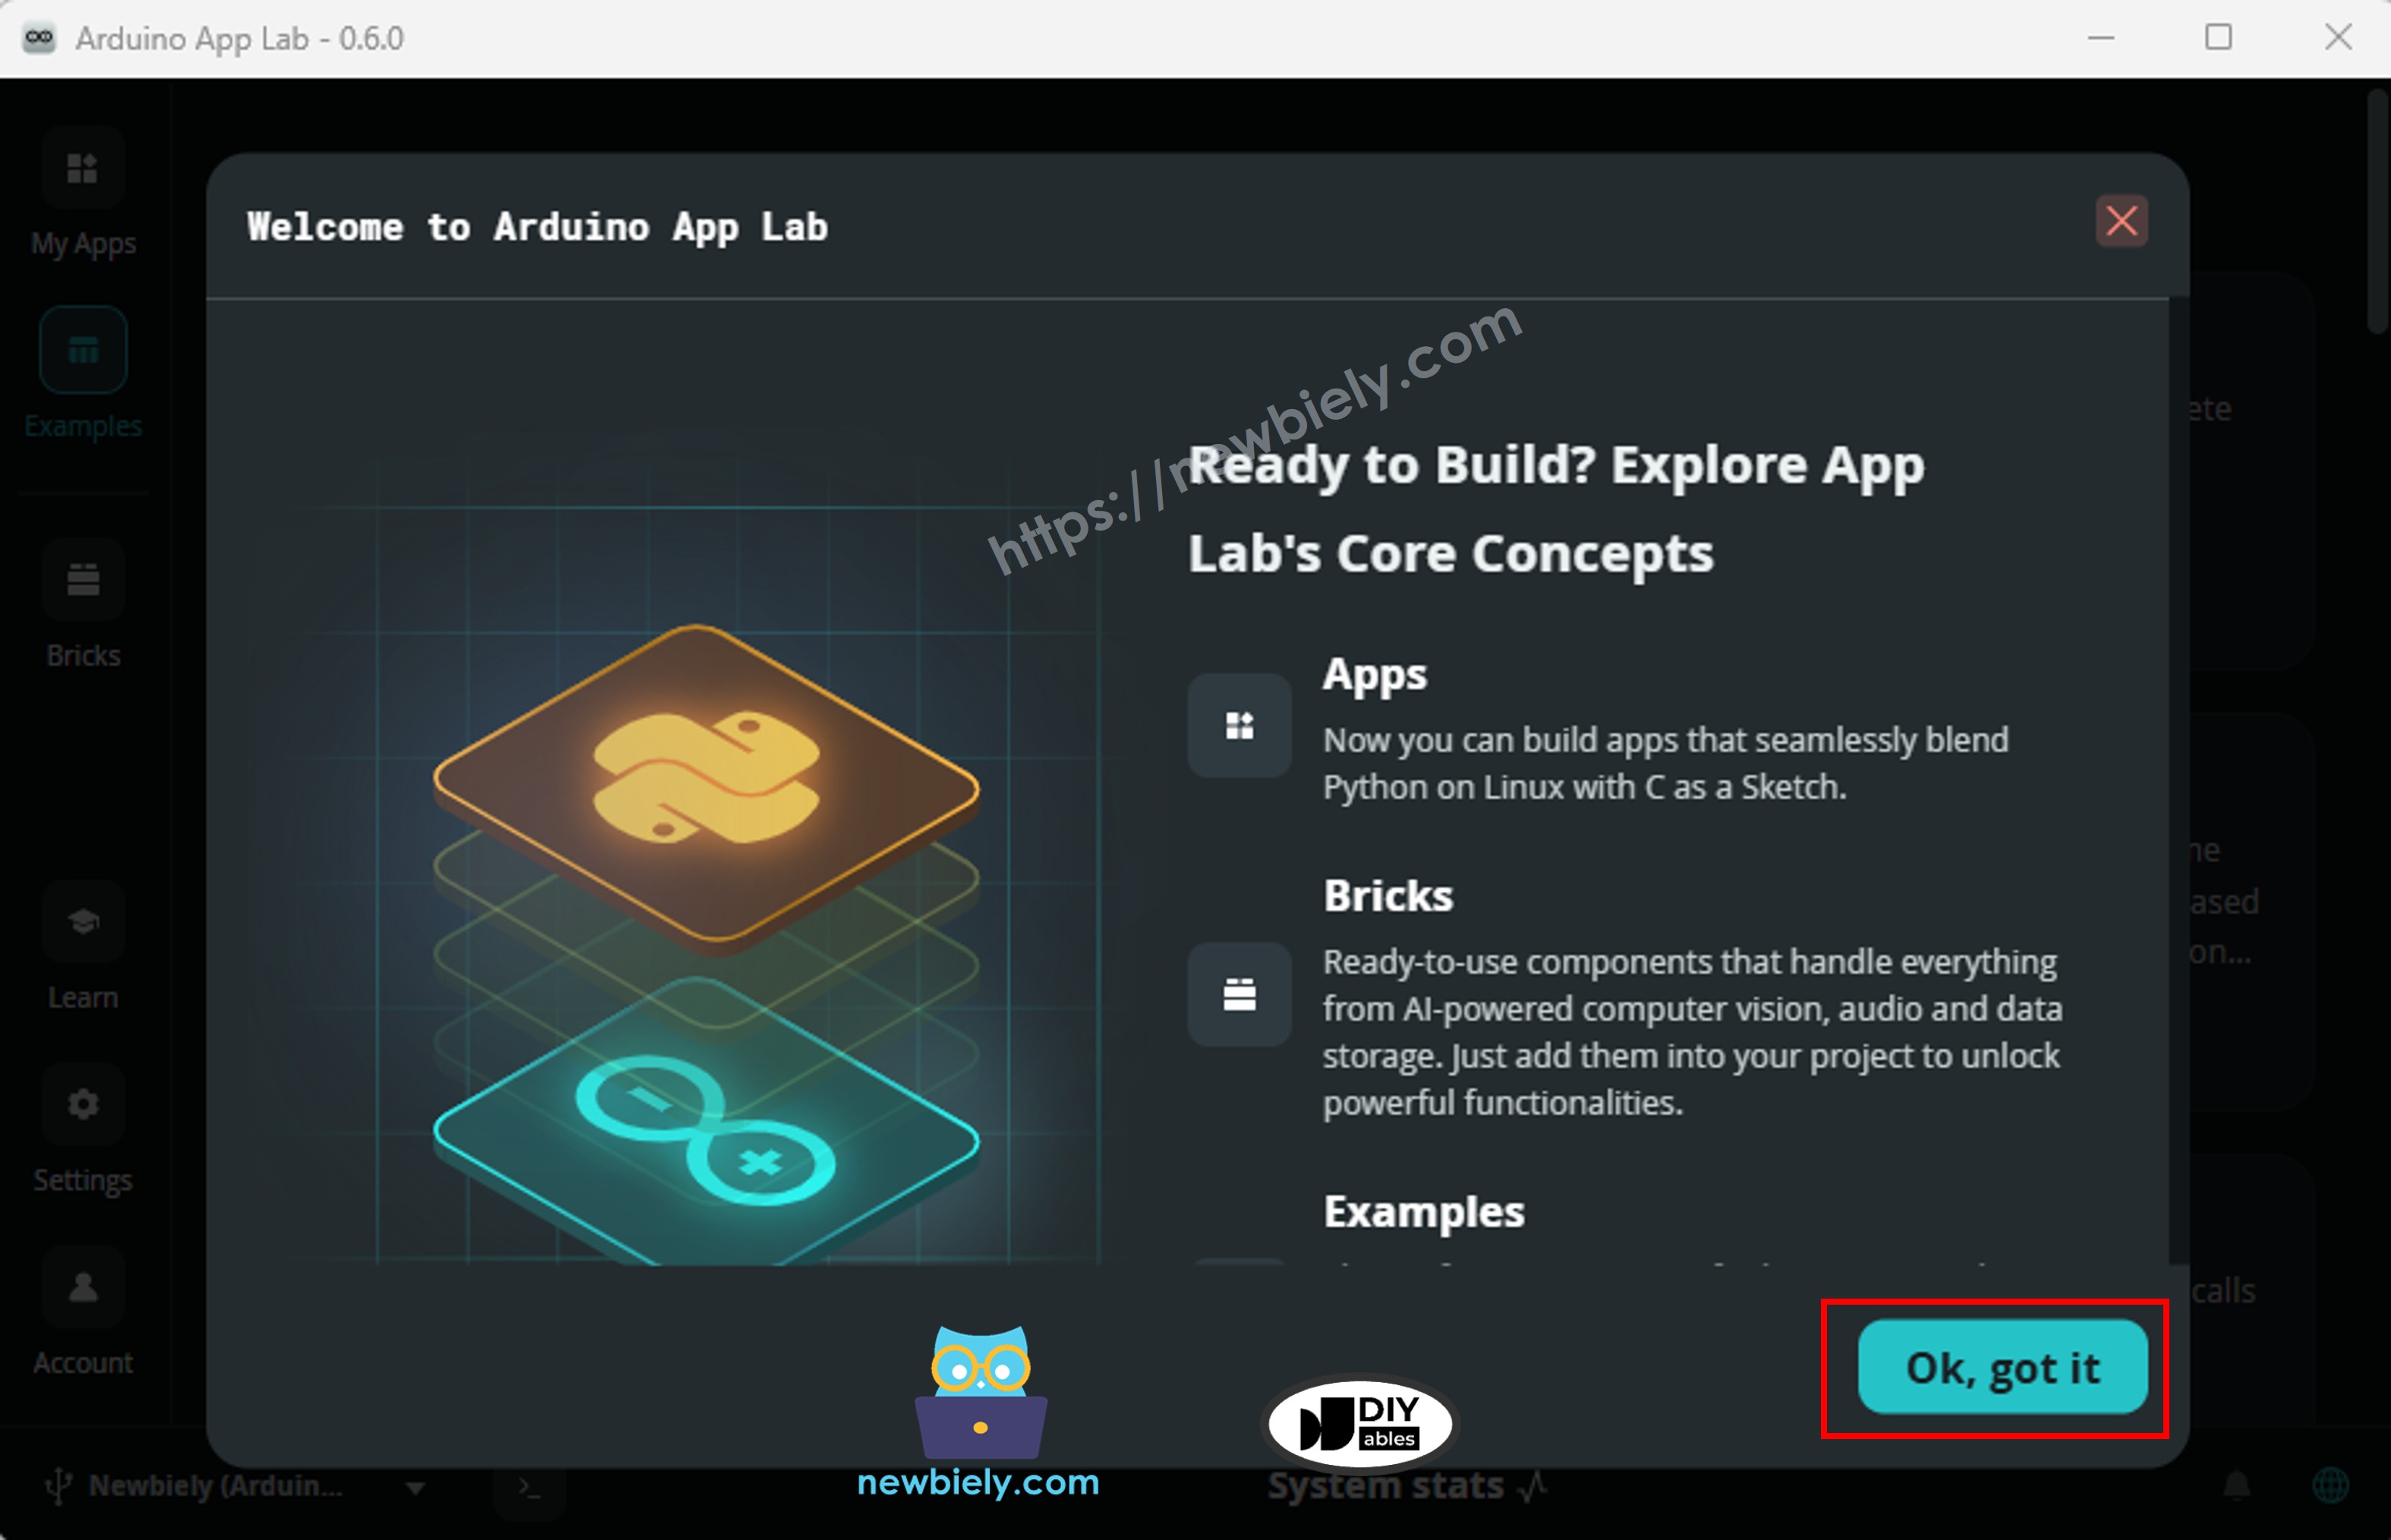
Your Arduino UNO Q is now connected and ready to program.
Your First Program: Blink the Built-in LED
Let's upload your first Arduino sketch to the STM32 MCU — the classic blink program that turns the built-in LED on and off.
The Arduino UNO Q has a built-in RGB LED controlled by the MCU. Unlike a standard Arduino UNO, this LED is active LOW — meaning you write LOW to turn it on and HIGH to turn it off.
MCU Code
The sketch below blinks the built-in LED on and off every 500ms:
Detailed Instructions
- Connect: Plug the Arduino UNO Q into your computer with the USB-C cable.
- Open Arduino App Lab: Launch the Arduino App Lab desktop application and wait for the board to be detected.
- Create a new App: Click the Create New App button.

- Give the App a name, for example: Newbiely
- Click Create to confirm.
- You will see a set of folders and files generated inside your new App.

- Find the sketch/sketch.ino file — this is where you will paste the MCU sketch.
- Install the library: Click the Add sketch library button (the open book icon with a + sign) in the left sidebar.

- Search for Arduino_RouterBridge created by Arduino and click the Install button.
- Upload: Click the Run button in Arduino App Lab to compile and upload to the STM32.

- Check the result: The built-in RGB LED will blink on and off every 500ms (it will light up red).
Congratulations — you have successfully uploaded your first program to the Arduino UNO Q!
Understanding the Two-Processor Architecture
The Arduino UNO Q has two processors that can work together via Bridge:
| Feature | STM32 MCU | Qualcomm MPU (Linux) |
|---|---|---|
| Language | C/C++ (Arduino sketch) | Python |
| Role | Real-time hardware control | Internet, cloud, Wi-Fi |
| Controls | Digital pins, sensors, actuators | REST APIs, Telegram, MQTT |
| Communication | Bridge.provide_safe() | Bridge.call() |
- ⚠️ Reserved: /dev/ttyHS1 (Linux) and Serial1 (MCU) are used internally by the Arduino Router — never open them in your code.
- The two processors communicate using RPC via the Arduino_RouterBridge library.
Your First Bridge Program: Linux Controls the LED
Now let's write a program where the Linux side (Python) controls an LED on the MCU side (STM32) via Bridge. This demonstrates the core pattern used in all Arduino UNO Q IoT projects.
MCU Code (Bridge)
The MCU sketch listens for Bridge calls from the Linux side and turns the built-in LED on or off:
Python Code (Bridge)
The Python script runs on the Linux (MPU) side and sends Bridge commands to the MCU:
Detailed Instructions
- Open Arduino App Lab: Launch the Arduino App Lab desktop application.
- Create a new App: Click Create New App, name it GettingStartedBridge, then click Create.
- Paste the MCU sketch: Copy the MCU Bridge code above and paste it into sketch/sketch.ino.
- Paste the Python code: Copy the Python Bridge code above and paste it into the Python file in the App.
- Upload: Click the Run button in Arduino App Lab.
App Lab Console Output
Connecting to Your Home Wi-Fi
After the initial setup, you can connect the Arduino UNO Q to your home or office Wi-Fi network. You may have already done this during the setup wizard. If not:
- Open Arduino App Lab and connect to your board.
- Click the network icon in the upper-right corner of the App Lab interface.
- Select your Wi-Fi network from the list and enter your password.
- The board will connect to the network.
Once connected, Arduino App Lab can detect and connect to your board over Wi-Fi (Network Mode) — you no longer need the USB cable.
What's Next?
Now that your Arduino UNO Q is set up, here are some great next tutorials to explore:
- Arduino UNO Q - Blink LED — Blink an external LED with control over timing
- Arduino UNO Q - Button — Read button input on the MCU
- Arduino UNO Q - DHT11 Temperature & Humidity Sensor — Read sensor data on the MCU
- Arduino UNO Q - Relay — Control high-voltage devices safely
Troubleshooting
Arduino UNO Q is not detected in Device Manager (Windows):
- Make sure you are using a USB cable rated at 3A or above. Cables below 3A may work with other Arduino boards (such as the UNO R4) but cannot reliably power the Arduino UNO Q.
The board is not detected in Arduino App Lab:
- Wait 1–2 minutes after plugging in — Linux needs time to fully boot.
- Unplug and replug the USB-C cable, then wait for detection again.
- On Windows, if prompted by Windows Defender about mdns-discovery.exe, click Allow — this is required for the board to be discovered.
Sketch upload fails:
- Make sure the Arduino_RouterBridge library is installed in Arduino App Lab.
- Check that the board status indicator shows Ready before uploading.
Built-in LED does not blink after upload:
- Confirm you pasted the sketch into sketch/sketch.ino (not another file).
- Click the Run button again to re-upload.