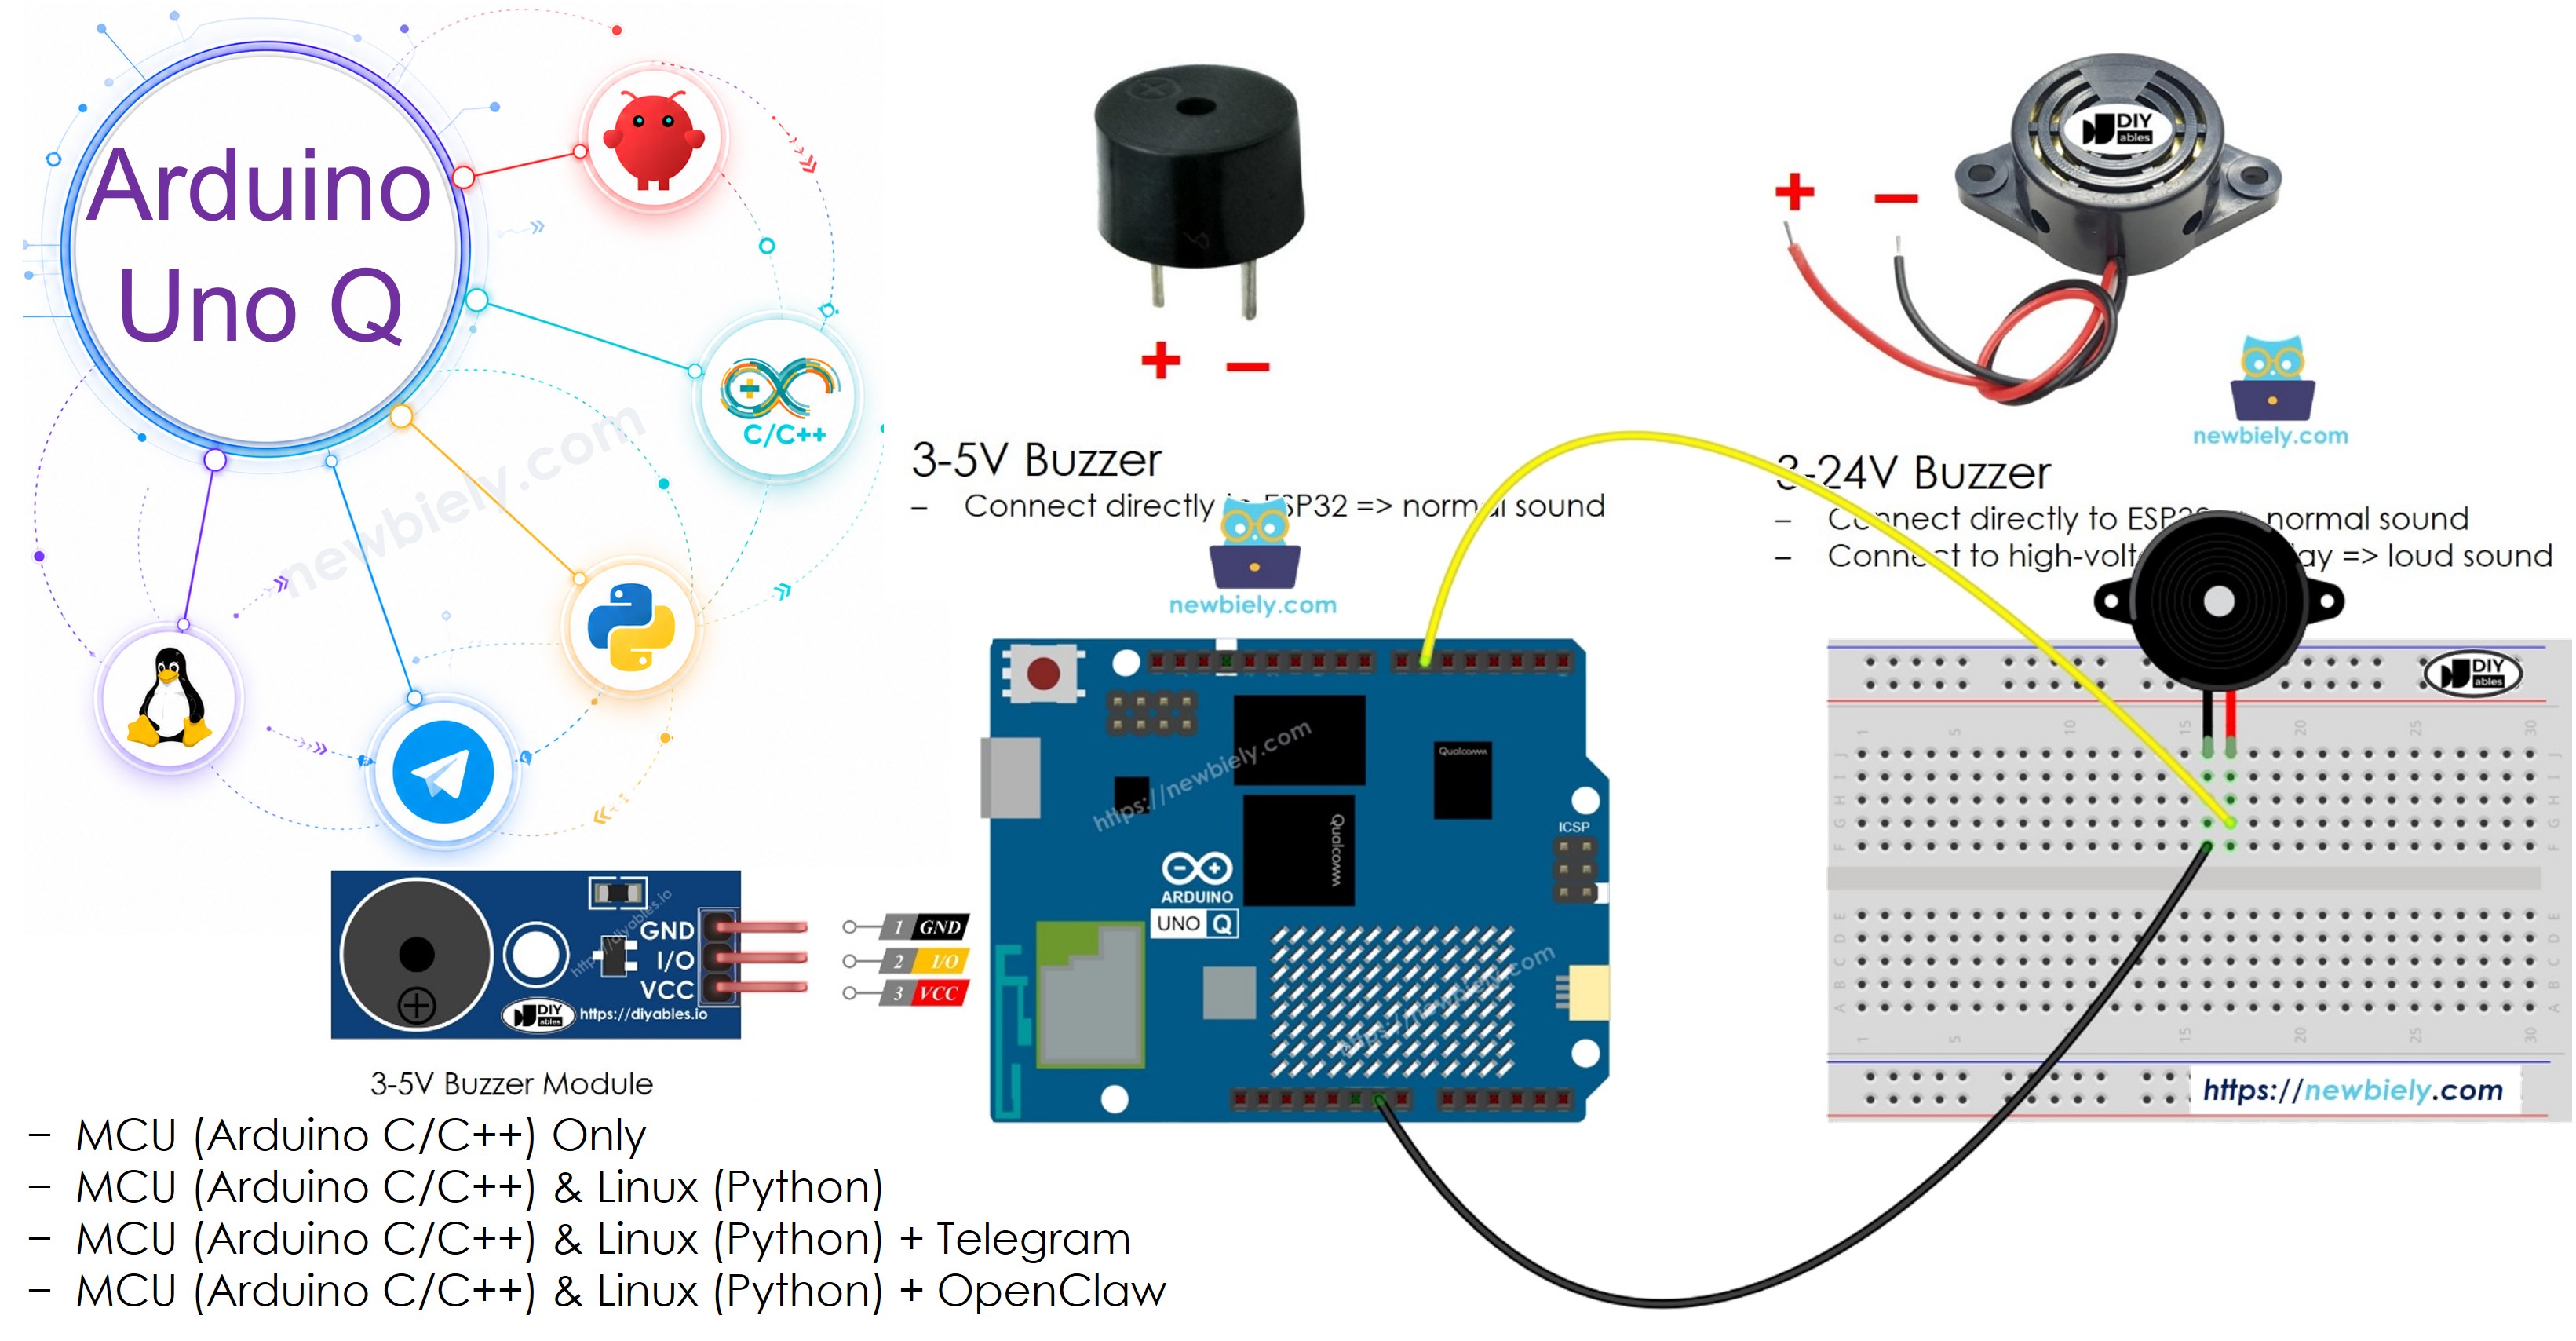
Arduino UNO Q - Piezo Buzzer
A buzzer produces sounds — from simple beeps to full melodies. In this tutorial, you will learn how to connect a piezo buzzer to Arduino UNO Q, play tones and melodies using the tone() function, and trigger sounds remotely via Telegram.
Hardware Preparation
Or you can buy the following kits:
| 1 | × | DIYables Sensor Kit (18 sensors/displays) |
Additionally, some of these links are for products from our own brand, DIYables .
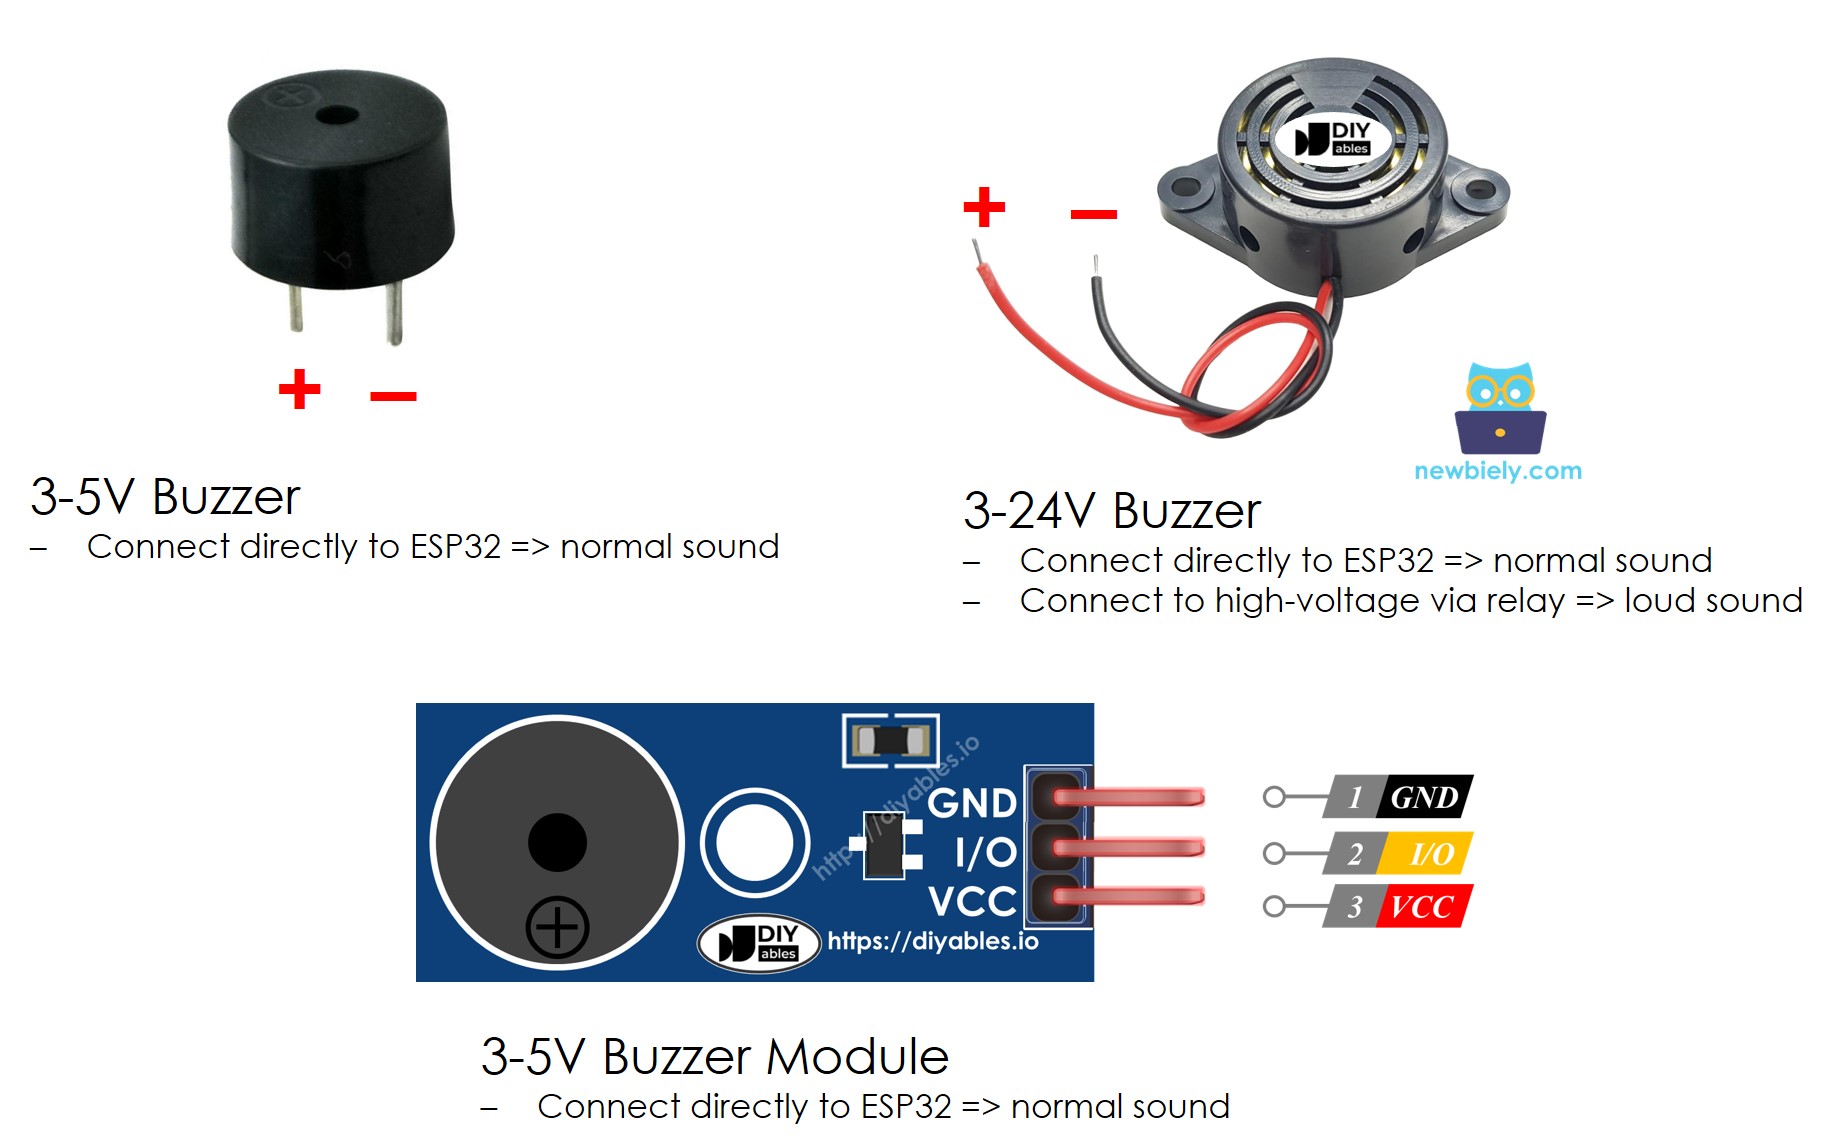
Overview of Piezo Buzzer
Active vs Passive Buzzer
- Active Buzzer: Makes continuous sound when voltage is applied — simplest to use
- Passive Buzzer: Requires a changing frequency signal (square wave) — can produce different tones and melodies
Pinout
A buzzer has two pins:
- Positive (+) pin: Connect to the Arduino UNO Q output pin
- Negative (−) pin: Connect to GND
How To Program
Arduino's built-in tone() function generates a square wave on any digital pin, driving both active and passive buzzers:
- tone(pin, frequency, duration) — play a note at a given frequency for a given duration
- noTone(pin) — stop the tone
Wiring Diagram
- Wiring with standalone piezo buzzer:
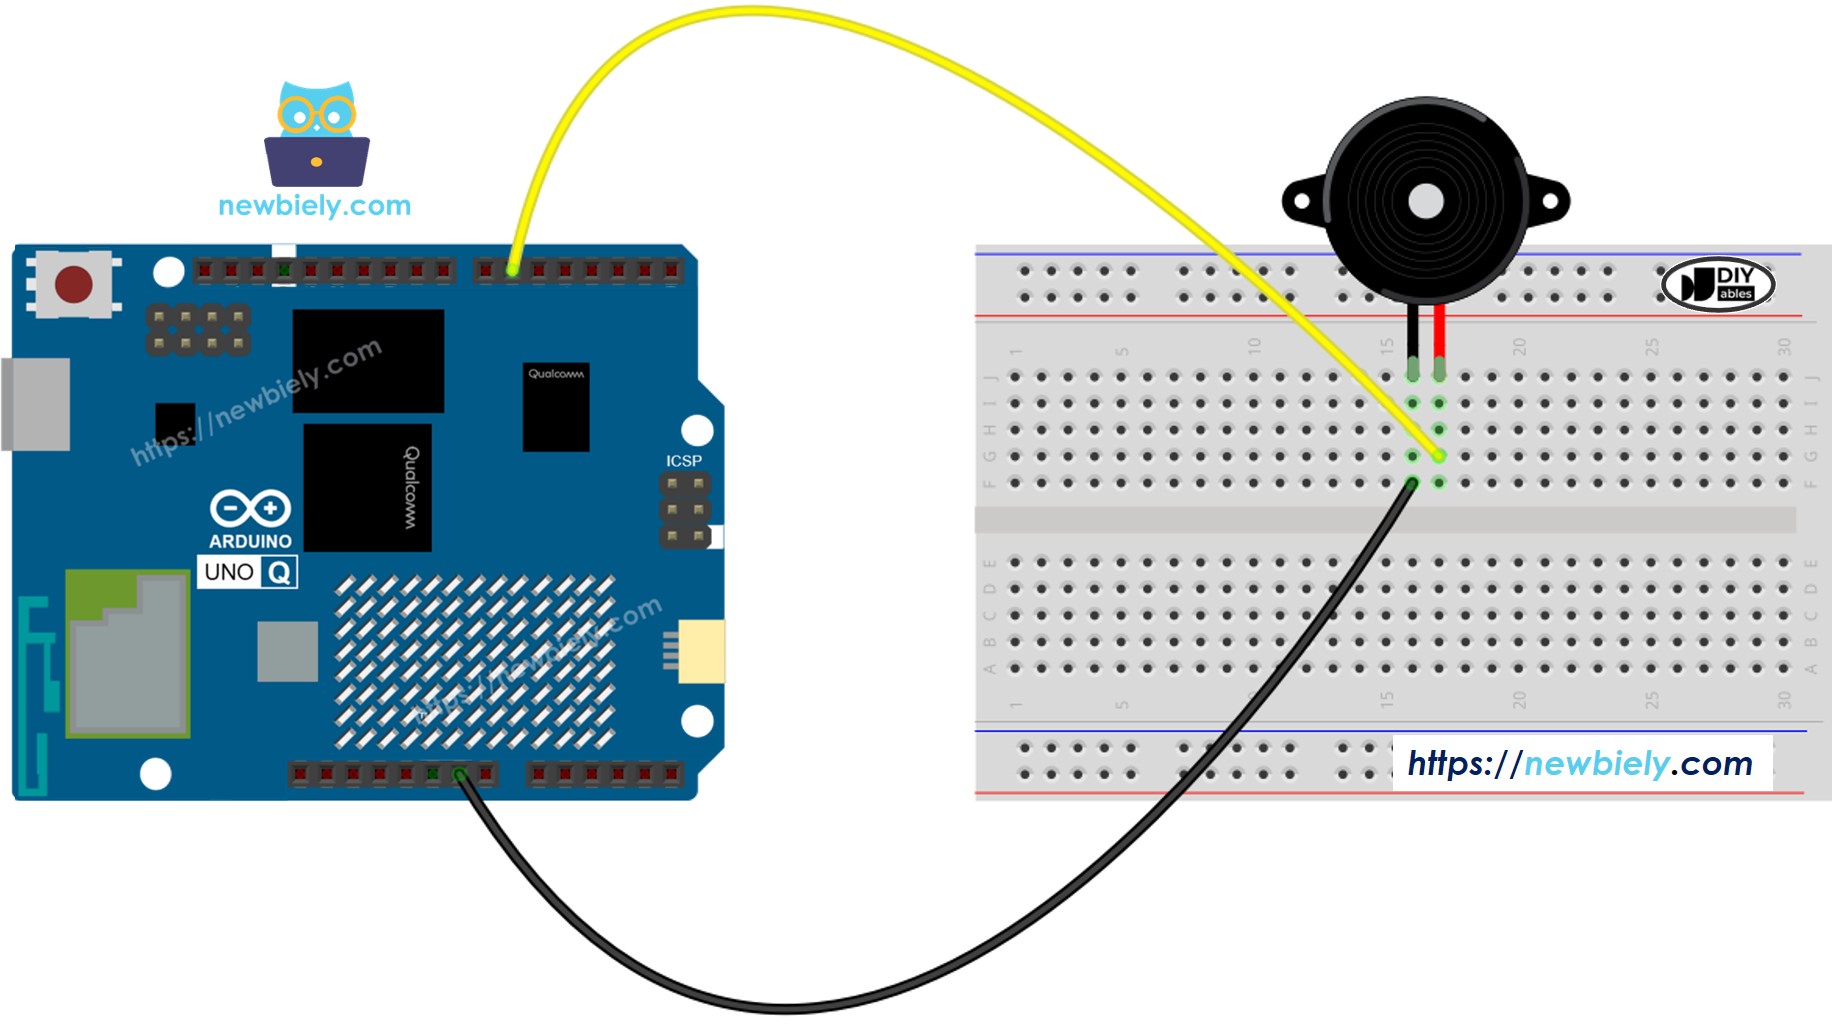
This image is created using Fritzing. Click to enlarge image
- Wiring with piezo buzzer module:

This image is created using Fritzing. Click to enlarge image
MCU Code — Play a Melody
The Arduino UNO Q has two processors: the STM32 MCU (handles real-time hardware control) and the Qualcomm MPU (runs Debian Linux). In this section, only the STM32 MCU is programmed — the Linux side stays idle. A later section will show how both processors work together.
Detailed Instructions
- First time with Arduino UNO Q? Follow the Getting Started with Arduino UNO Q tutorial to get your development environment ready before proceeding.
- Wire the buzzer: Connect the positive pin to pin 6 and the negative pin to GND.
- Connect: Plug the Arduino UNO Q into your computer with a USB-C cable.
- Open Arduino App Lab: Launch Arduino App Lab and wait until it detects your Arduino UNO Q.
- Create a new App: Click the Create New App button.

- Give the App a name, for example: DIYables_Buzzer
- Click Create to confirm.
- You will see a set of folders and files generated inside your new App.

- Find the sketch/sketch.ino file — this is where you will paste the MCU sketch.
- Install the library: Click the Add sketch library button (the open book icon with a + sign) in the left sidebar.

- Search for Arduino_RouterBridge created by Arduino and click the Install button.
- Upload: Click the Run button in Arduino App Lab to compile and upload to the STM32.

- Listen: The buzzer plays the melody once when the board starts.
Modifying the Melody — Jingle Bells
To play a different song, update the melody[] and noteDurations[] arrays. Here is the Jingle Bells version:
Detailed Instructions
- Replace the sketch with the Jingle Bells version and click Run.
- Listen to the buzzer play Jingle Bells on startup.
Linux + MCU Bridge Programming
The Arduino UNO Q has two processors that work together: the MPU (Qualcomm, runs Debian Linux) and the MCU (STM32, runs Zephyr OS with your Arduino sketch). They communicate using RPC via the Arduino_RouterBridge library — never via raw serial ports.
- The buzzer is connected to the MCU (STM32) — wired to a digital output pin. The MCU drives the buzzer using tone() and noTone().
- The MPU cannot control the buzzer directly — it must trigger a sound by calling a function on the MCU via Bridge.call().
- The MPU has Wi-Fi — because the MPU runs full Debian Linux with Wi-Fi, it can trigger buzzer sounds via Telegram on demand.
- Communication: Bridge.call() on the Linux side invokes Bridge.provide_safe() functions on the MCU side (since tone()/noTone() are hardware APIs)
- ⚠️ Reserved: /dev/ttyHS1 (Linux) and Serial1 (MCU) are used by the Arduino Router — never open them directly
In short: MPU requests beep or melody → MCU drives buzzer via tone() → MCU confirms action → MPU logs or forwards it.
MCU sketch — buzzer with Bridge and Monitor output:
Python script (Arduino App Lab) — trigger buzzer from Linux:
- Note: Make sure Bridge.begin() is called in the MCU sketch and the sketch is uploaded before running the Python script on the Linux side.
- ⚠️ Warning: Never directly open /dev/ttyHS1 (on Linux) or use Serial1 (on MCU) in your code — these are reserved by the Arduino Router and accessing them will break the Bridge.
Detailed Instructions
- Upload the MCU sketch: Open Arduino App Lab, create a new App, paste the Bridge MCU sketch into sketch/sketch.ino, add pitches.h as a new tab, install the Arduino_RouterBridge library, and click Run.
- Add the Python script: Paste the Python code above into the Python tab of the same App.
- Run the App: Click Run — the Python side cycles between beep and melody automatically.
- Check the console: Open the Console tab → MCU Monitor subtab to see "Beep played" and "Melody played" messages.
App Lab Console Output
Telegram Integration
Trigger buzzer sounds remotely from anywhere via Telegram.
If you do not have a Telegram bot yet, see How to Create a Telegram Bot to get your bot token before continuing.
MCU sketch: Keep the same MCU sketch from the previous Bridge section — no changes needed. Make sure it is already uploaded and running on the STM32 before proceeding.
Python script (Arduino App Lab) — Telegram bot for buzzer control:
- Note: Replace YOUR_BOT_TOKEN with the token obtained from @BotFather on Telegram.
- Send /beep to trigger a short beep.
- Send /melody to play the melody.
Detailed Instructions
- Upload the MCU sketch: Use the Bridge MCU sketch from the previous section (upload it first if not already done).
- Paste the Telegram script: Copy the Python code above into the Python tab of your App in Arduino App Lab.
- Set your token: Replace YOUR_BOT_TOKEN in the script with your actual bot token.
- Run the App: Click Run — the bot starts listening for Telegram messages.
- Test it: Send /beep — hear a short tone from the buzzer. Send /melody — hear the full melody play.
App Lab Console Output

ArduinoBot
OpenClaw Integration
You can adapt the OpenClaw to this tutorial by refering the instruction on Arduino Uno Q - OpenClaw Tutorial
Application/Project Ideas
- Remote alarm: Trigger a buzzer alarm remotely via Telegram when an event occurs
- Notification beeper: Beep when a sensor threshold is crossed — triggered from MPU Linux logic
- Doorbell: Use a button to beep a doorbell tone; notify via Telegram that someone rang
- Melody jukebox: Build a Telegram bot that lets you pick different melodies to play remotely
- Timer alert: Use the Linux MPU's clock to play a buzzer alarm at a scheduled time
Challenge Yourself
- Easy: Add a second melody (e.g., Happy Birthday) and expose it as /birthday in Telegram
- Medium: Add a play_n_beeps(n) Bridge callback and expose it in Telegram as /beep <count>
- Advanced: Build a Telegram bot that plays a countdown melody before triggering an action — use time-based scheduling on the Linux MPU side