Arduino Nano 33 IoT - Hello World
This guide teaches you how to create your first program with the Arduino Nano 33 IoT. You will learn how to set up the Arduino Nano 33 IoT so it shows "Hello World" on the Serial screen.
Hardware Preparation
Or you can buy the following kits:
| 1 | × | DIYables Sensor Kit (18 sensors/displays) |
Disclosure: Some of the links provided in this section are Amazon affiliate links. We may receive a commission for any purchases made through these links at no additional cost to you.
Additionally, some of these links are for products from our own brand, DIYables .
Additionally, some of these links are for products from our own brand, DIYables .
Detailed Instructions
If you are new to the Arduino Nano 33 IoT, be sure to check out our Getting Started with Arduino Nano 33 IoT tutorial. Then, follow these steps:
- Connect the components to the Arduino Nano 33 IoT board as depicted in the diagram.
- Use a USB cable to connect the Arduino Nano 33 IoT board to your computer.
- Launch the Arduino IDE on your computer.
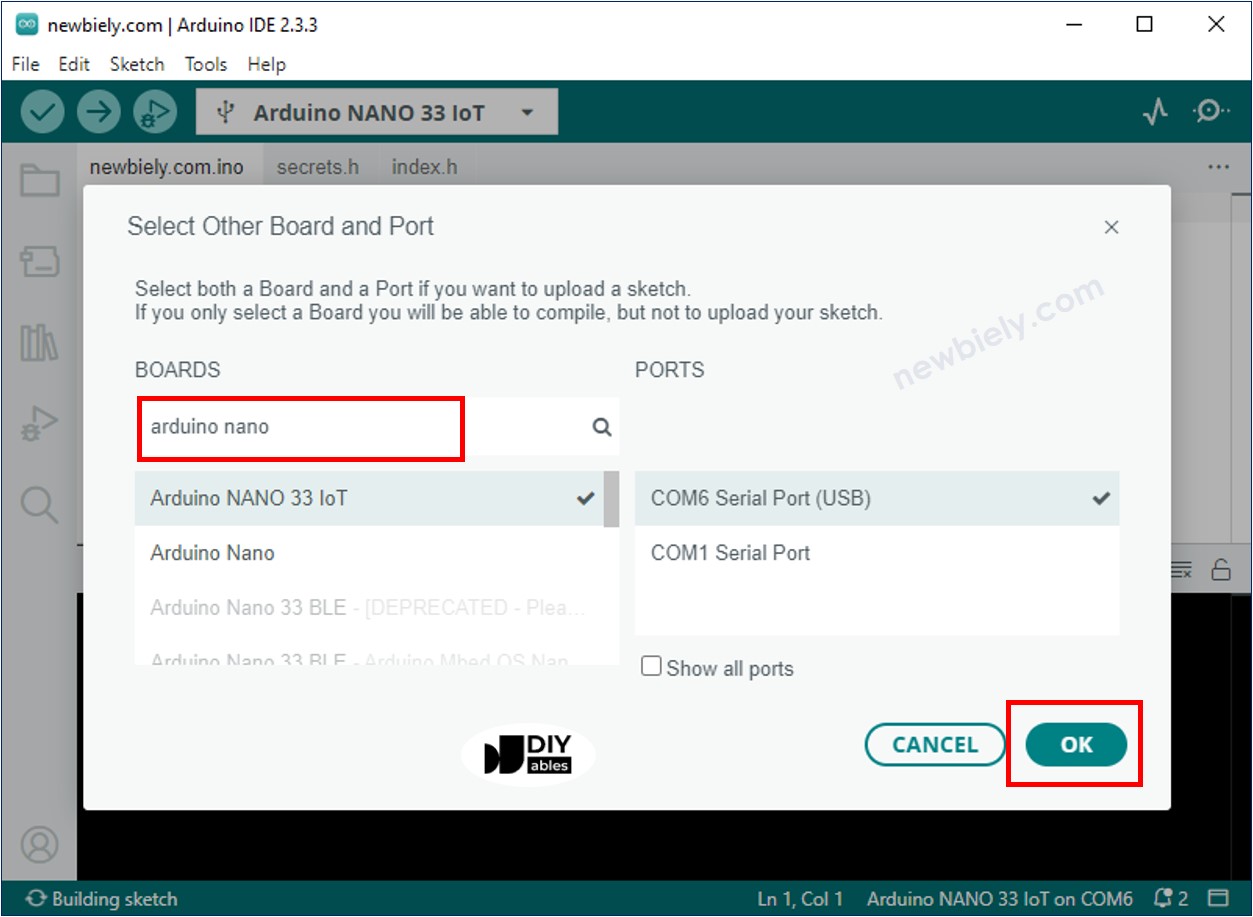
- Select the Arduino Nano 33 IoT board.
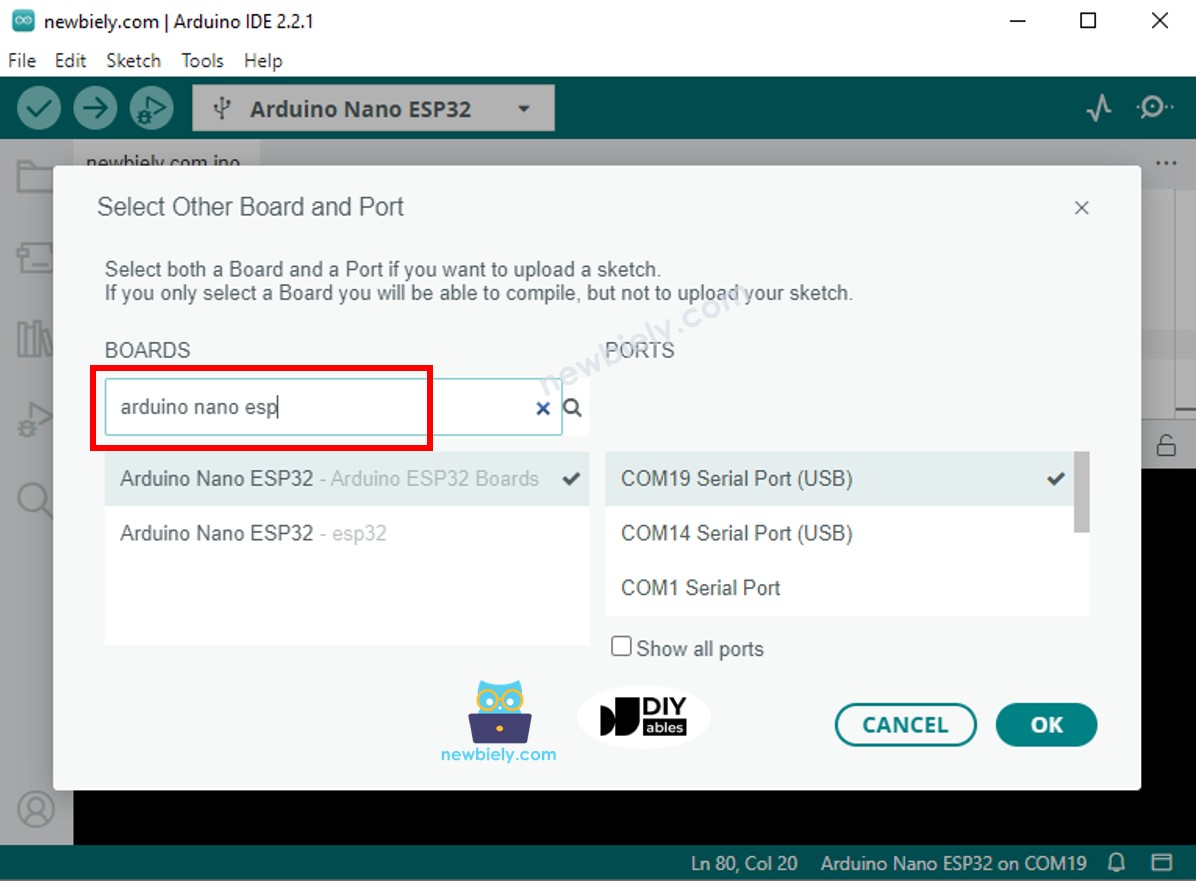
- Select the Arduino Nano 33 IoT COM port (the number might be different).
- Enter the following code.
void setup() {
// Initialize system settings; this code runs once at startup:
Serial.begin(9600);
}
void loop() {
// Execute the main routine continuously; this code runs repeatedly:
Serial.println("Hello World!");
delay(500);
}
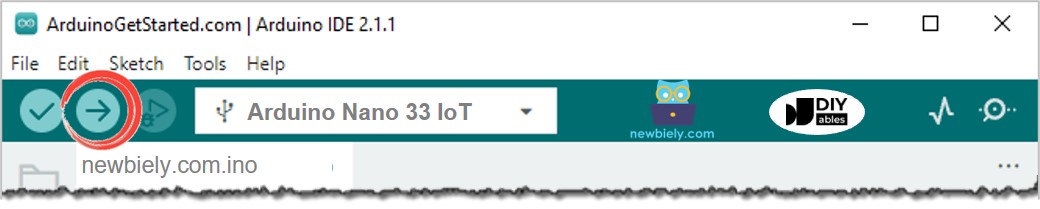
- Build and send your code to the Arduino Nano 33 IoT board by clicking the Upload button in the Arduino software.
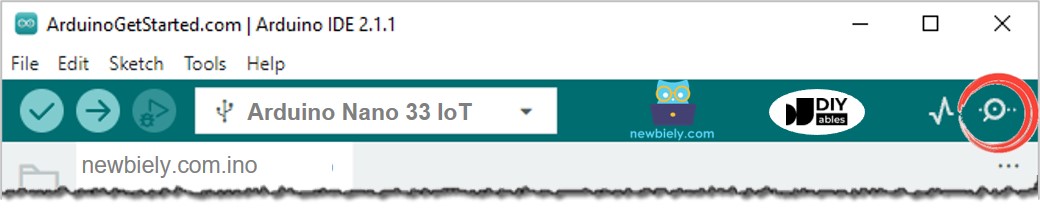
- Open the Serial Monitor in the Arduino application.
- Look at the output on the Serial Monitor. It appears like this:
8
Serial.println("Hello World!");
Message (Enter to send message to 'Arduino Nano 33 IoT' on 'COM15')
New Line
9600 baud
Hello World!
Hello World!
Hello World!
Hello World!
Modifying Arduino Nano 33 IoT Code
- Change "Hello World!" to any text you like, for example, "Hello newbiely.com".
- Build and upload the program to your Arduino Nano 33 IoT board by clicking the Upload button in the Arduino IDE.
- Look at the output on the Serial Monitor. It should appear as shown below.
8
Serial.println("Hello World!");
Message (Enter to send message to 'Arduino Nano 33 IoT' on 'COM15')
New Line
9600 baud
Hello newbiely.com
Hello newbiely.com
Hello newbiely.com
Hello newbiely.com