Arduino Nano 33 IoT - Switch
An ON/OFF, or toggle, switch only has two positions: ON (closed) and OFF (open). Every time you press the switch, it changes from one position to the other and stays that way even after you let go. This lesson will show you how to use an ON/OFF switch with an Arduino Nano 33 IoT microcontroller.

Remember, the ON/OFF switch is different from the items listed below. Do not mix them up.
Hardware Preparation
Or you can buy the following kits:
| 1 | × | DIYables Sensor Kit (18 sensors/displays) |
Additionally, some of these links are for products from our own brand, DIYables .
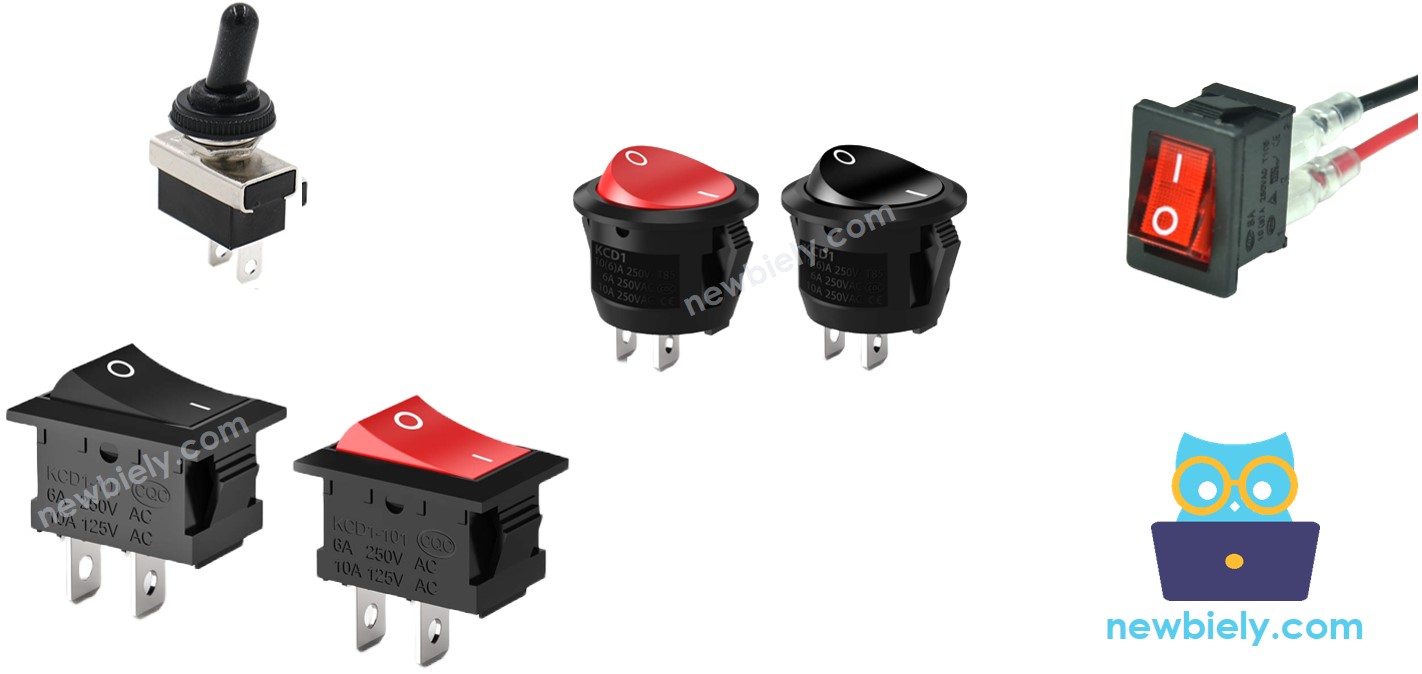
Overview of ON/OFF Switch
An ON/OFF Switch is a device that switches from on to off (or off to on) when you press it. It stays in that position even after you let go. To change it again, you need to press it once more.
Pinout
Usually, there are two kinds of ON/OFF switches: one with two pins and one with three pins. This guide will use the two-pin switch, because you don’t need to worry about the difference between the pins.
How It Works
There are two ways to use an ON/OFF switch. The table below shows the wiring and the state readings on an Arduino Nano 33 IoT for each way.
| pin 1 | pin 2 | Arduino Nano 33 IoT Input Pin's State | |
|---|---|---|---|
| 1 | GND | Arduino Nano 33 IoT Input Pin (with pull-up) | HIGH ⇒ OFF, LOW ⇒ ON |
| 2 | VCC | Arduino Nano 33 IoT Input Pin (with pull-down) | HIGH ⇒ ON, LOW ⇒ OFF |
Between the two options, this guide will only cover one. We'll use the first method as an example.
Wiring Diagram
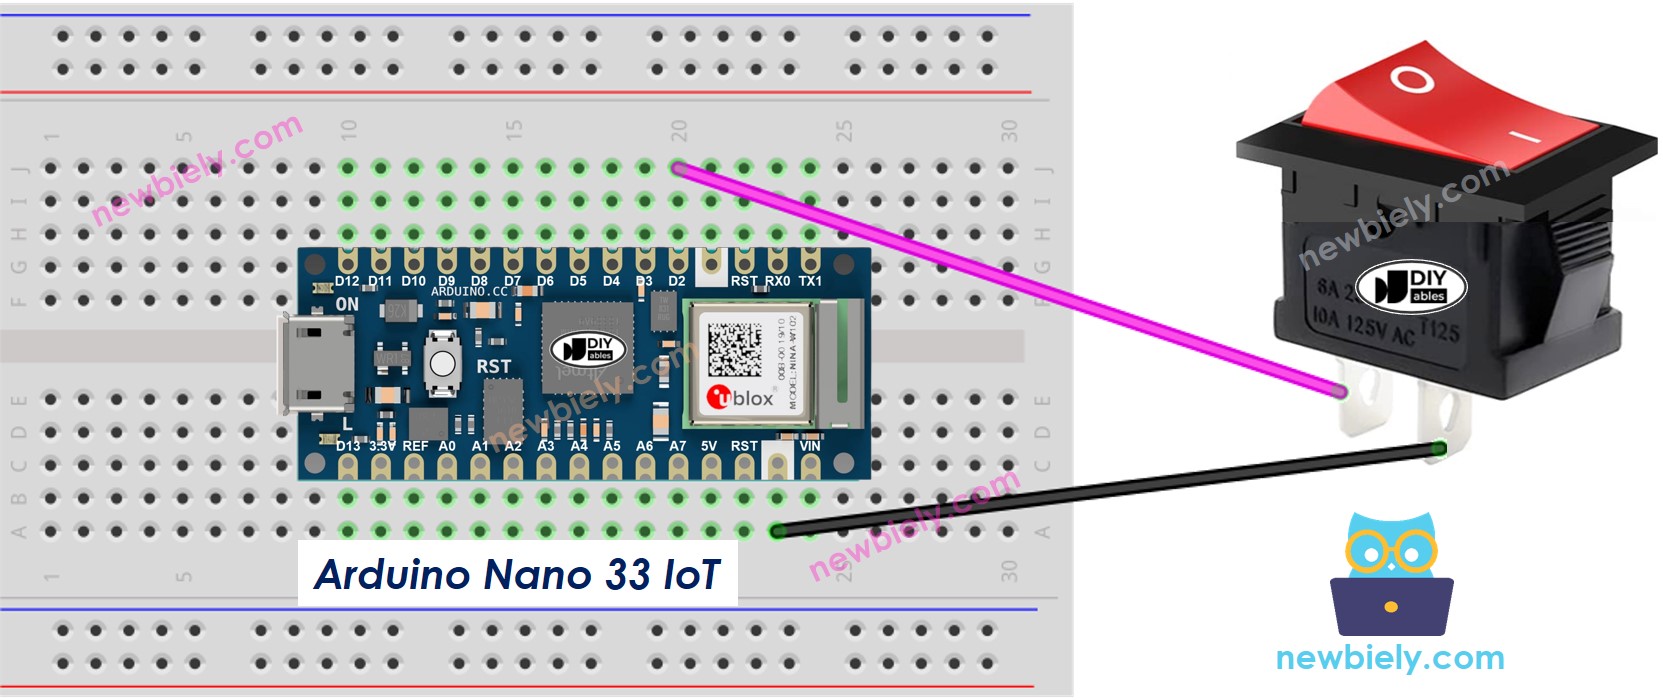
This image is created using Fritzing. Click to enlarge image
To keep the wiring connection strong and steady, we suggest soldering the wires to the ON/OFF switch pin and then securing them for safety.
For a strong and safe connection, it’s best to use a soldering iron to join the wires and the ON/OFF switch pins. Then, cover them with heat shrink tubes for extra protection.
※ NOTE THAT:
Please note that the Arduino Nano 33 IoT pins A4 and A5 have built-in pull-up resistors for I2C communication. Although these pins can be used as digital input pins, it is recommended to avoid using them for digital input. If you must use them, do NOT use internal or external pull-down resistors for these pins
Arduino Nano 33 IoT Code - ON/OFF Switch
Just like a button, an ON/OFF switch needs help to avoid noise when switching (see more at ). This extra work, called debouncing, can make the code more complex. Luckily, the library already includes a debouncing function and uses an internal pull-up register. These features make programming easier for us.
Just like a normal button, an ON/OFF switch also needs debouncing (you can learn more at Whe needs debouce for button. Debouncing can make the code a little more complicated. Luckily, the ezButton library has built-in debouncing and uses internal pull-up registers, which makes programming much easier.
※ NOTE THAT:
Two common ways to use an ON/OFF switch are:
- First, if the switch is ON, do one action. If it is OFF, do the opposite.
- Second, when the switch changes from ON to OFF (or from OFF to ON), do a special action.
Detailed Instructions
If you are new to the Arduino Nano 33 IoT, be sure to check out our Getting Started with Arduino Nano 33 IoT tutorial. Then, follow these steps:
- Connect the components to the Arduino Nano 33 IoT board as depicted in the diagram.
- Use a USB cable to connect the Arduino Nano 33 IoT board to your computer.
- Launch the Arduino IDE on your computer.
- Select the Arduino Nano 33 IoT board and choose its corresponding COM port.
- Use the wiring diagram above to connect the ON/OFF switch to your Arduino Nano 33 IoT.
- Attach your Arduino Nano 33 IoT to your computer with a USB cable.
- Open the Arduino program on your computer.
- Install the ezButton library by following these instructions
- In the Arduino program, choose the correct board and port for your device.
- Click the Upload button to compile and send your code to the Arduino Nano 33 IoT.
- Turn the switch ON to test it.
- Look at the Serial Monitor in the Arduino program to see the output.
- Turn the switch OFF.
- Check the output again in the Serial Monitor in the Arduino program.