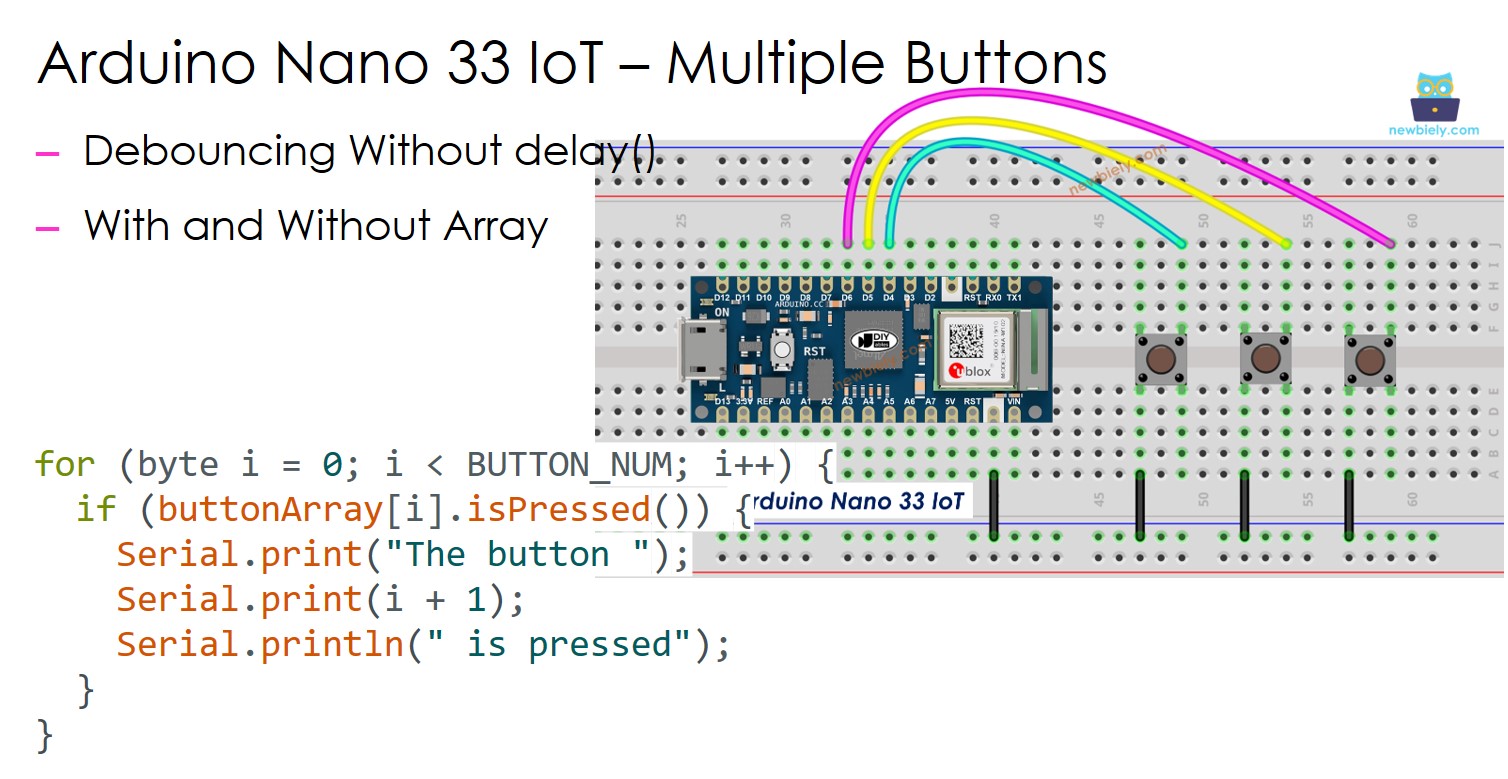
Arduino Nano 33 IoT - Multiple Button

This lesson shows you how to program an Arduino Nano 33 IoT to work with several buttons at once without using the delay() function. The lesson provides code in two different ways.

We are using three buttons as examples. You can easily change it to work with two, four, or even more buttons.

Arduino Nano 33 IoT multiple button

Hardware Preparation

1×Arduino Nano 33 IoT
1×Micro USB Cable
1×Breadboard-mount Button with Cap
1×Breadboard-mount Button Kit
1×Panel-mount Button
1×Push Button Module
1×Breadboard
1×Jumper Wires
1×Recommended: Screw Terminal Expansion Board for Arduino Nano
1×Recommended: Breakout Expansion Board for Arduino Nano
1×Recommended: Power Splitter for Arduino Nano

Or you can buy the following sensor kits:

1×DIYables Sensor Kit (30 sensors/displays)
1×DIYables Sensor Kit (18 sensors/displays)
Disclosure: Some of the links provided in this section are Amazon affiliate links. We may receive a commission for any purchases made through these links at no additional cost to you.
Additionally, some of these links are for products from our own brand, DIYables .

Overview of Button

If you are not familiar with the button (its pin layout, how it works, or how to program it), these tutorials will give you more details.

Wiring Diagram

The wiring diagram between Arduino Nano and 33 IoT multiple button

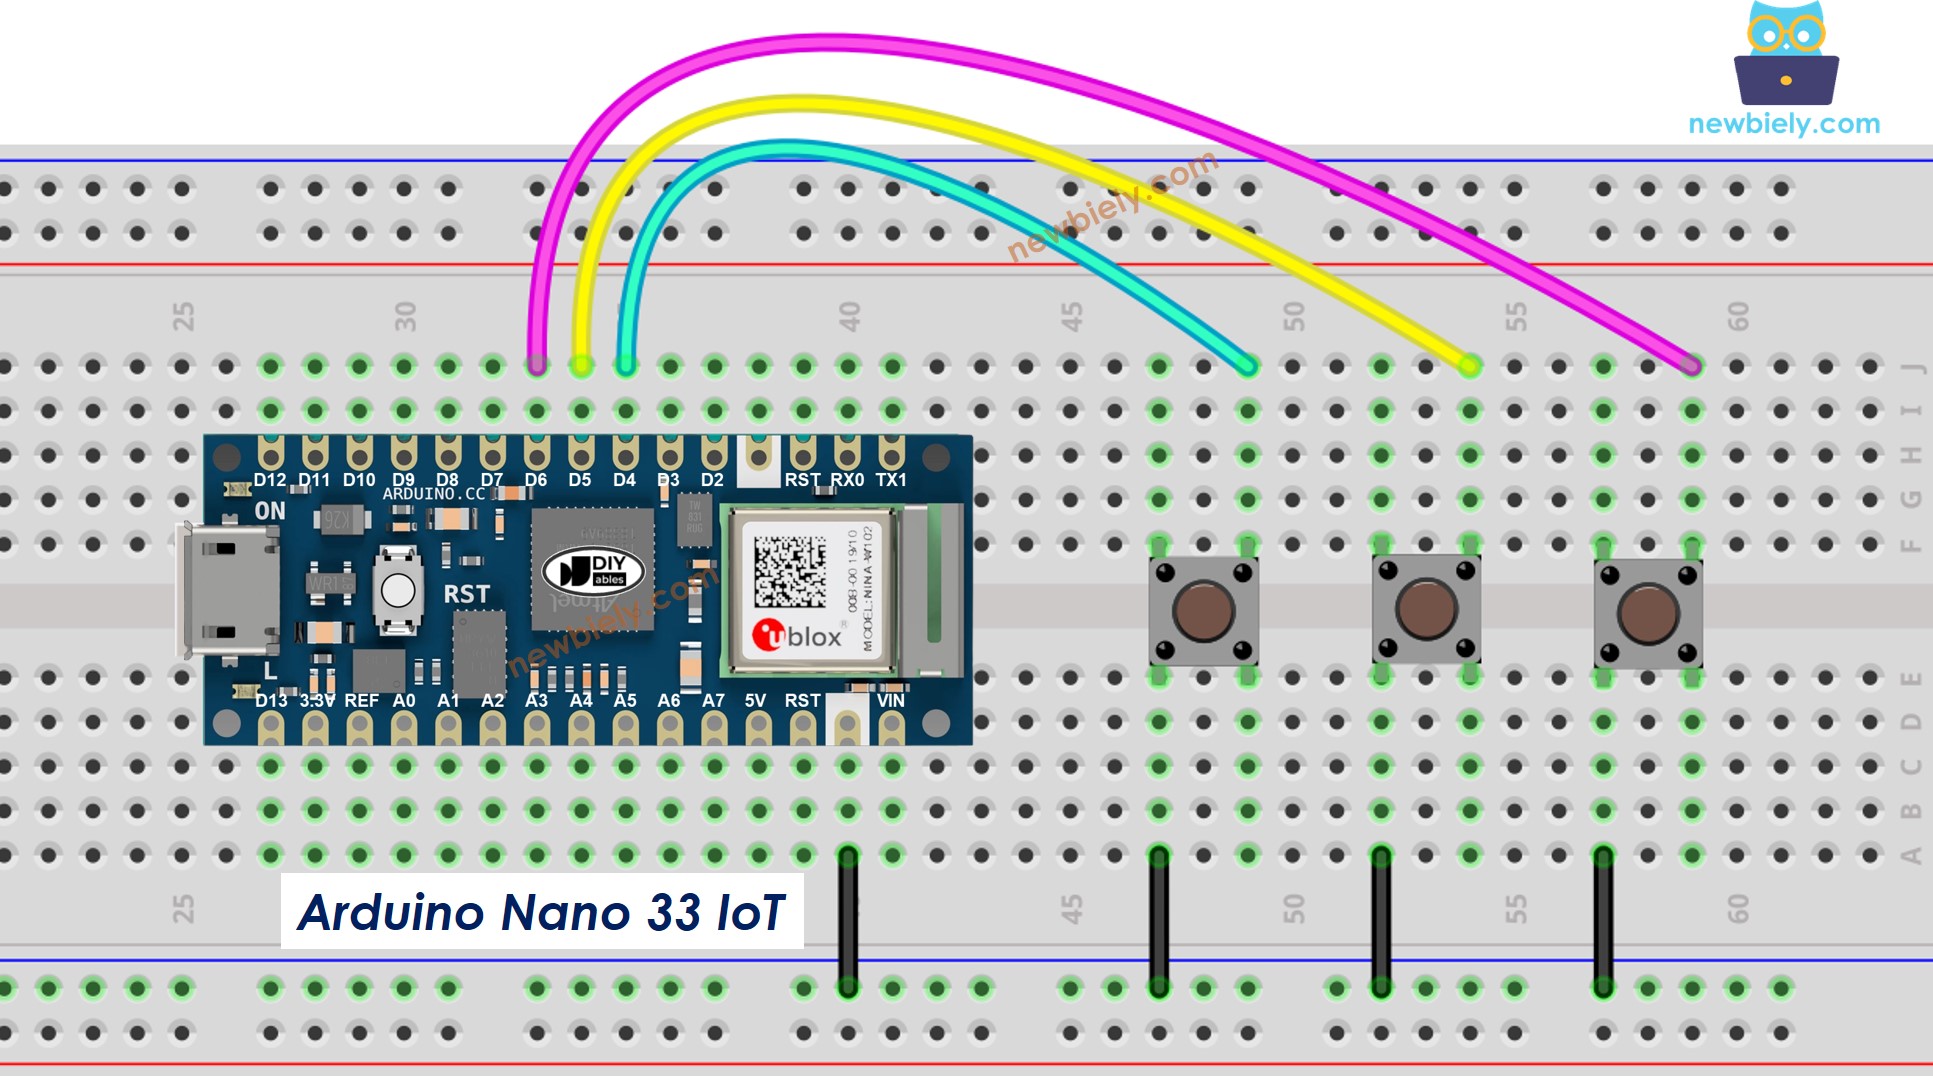
This image is created using Fritzing. Click to enlarge image

※ NOTE THAT:

Please note that the Arduino Nano 33 IoT pins A4 and A5 have built-in pull-up resistors for I2C communication. Although these pins can be used as digital input pins, it is recommended to avoid using them for digital input. If you must use them, do not use internal or external pull-down resistors for these pins

Arduino Nano 33 IoT Code - Multiple Buttons with debounce

When you use many buttons, some situations may become confusing:

  • For projects that need to clear extra signals when a button is pressed (see this explanation: https://arduinogetstarted.com/faq/why-needs-debounce-for-button)
  • For projects that need to notice when the button is pressed or released

Fortunately, the ezButton library makes this process easier by taking care of button bounce and events itself. This means you don't have to worry about managing time stamps or extra variables when using the library. Also, using a list of buttons can make your code clearer and shorter.

/* * This Arduino Nano 33 IoT code was developed by newbiely.com * * This Arduino Nano 33 IoT code is made available for public use without any restriction * * For comprehensive instructions and wiring diagrams, please visit: * https://newbiely.com/tutorials/arduino-nano-iot/arduino-nano-33-iot-multiple-button */ #include <ezButton.h> #define BUTTON_PIN_1 4 // The Arduino Nano 33 IoT pin connected to the button 1 #define BUTTON_PIN_2 5 // The Arduino Nano 33 IoT pin connected to the button 2 #define BUTTON_PIN_3 6 // The Arduino Nano 33 IoT pin connected to the button 3 ezButton button1(BUTTON_PIN_1); // create ezButton object for button 1 ezButton button2(BUTTON_PIN_2); // create ezButton object for button 2 ezButton button3(BUTTON_PIN_3); // create ezButton object for button 3 void setup() { Serial.begin(9600); button1.setDebounceTime(100); // set debounce time to 100 milliseconds button2.setDebounceTime(100); // set debounce time to 100 milliseconds button3.setDebounceTime(100); // set debounce time to 100 milliseconds } void loop() { button1.loop(); // MUST call the loop() function first button2.loop(); // MUST call the loop() function first button3.loop(); // MUST call the loop() function first // get button state after debounce int button1_state = button1.getState(); // the state after debounce int button2_state = button2.getState(); // the state after debounce int button3_state = button3.getState(); // the state after debounce /* Serial.print("The button 1 state: "); Serial.println(button1_state); Serial.print("The button 2 state: "); Serial.println(button2_state); Serial.print("The button 3 state: "); Serial.println(button3_state); */ if (button1.isPressed()) Serial.println("The button 1 is pressed"); if (button1.isReleased()) Serial.println("The button 1 is released"); if (button2.isPressed()) Serial.println("The button 2 is pressed"); if (button2.isReleased()) Serial.println("The button 2 is released"); if (button3.isPressed()) Serial.println("The button 3 is pressed"); if (button3.isReleased()) Serial.println("The button 3 is released"); }

Detailed Instructions

If you are new to the Arduino Nano 33 IoT, be sure to check out our Getting Started with Arduino Nano 33 IoT tutorial. Then, follow these steps:

  • Connect the components to the Arduino Nano 33 IoT board as depicted in the diagram.
  • Use a USB cable to connect the Arduino Nano 33 IoT board to your computer.
  • Launch the Arduino IDE on your computer.
  • Select the Arduino Nano 33 IoT board and choose its corresponding COM port.
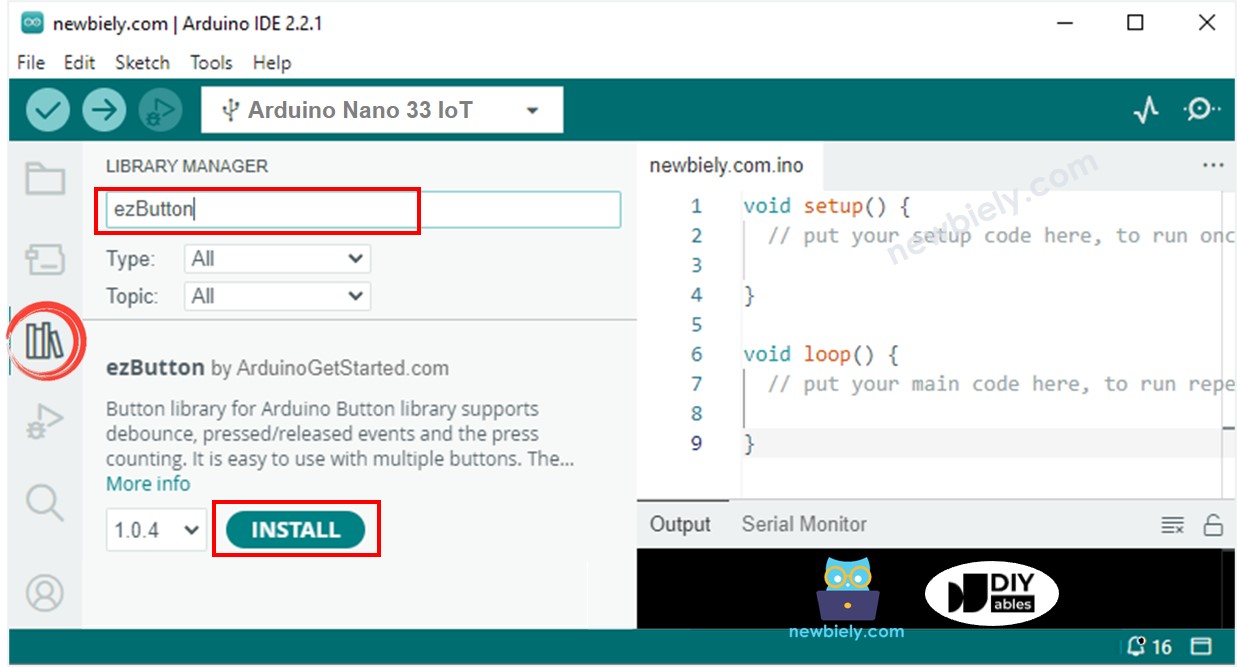
  • Click on the Libraries icon on the left side of the Arduino IDE.
  • Search for ezButton and find the button library by ArduinoGetStarted.
  • Click the Install button to add the ezButton library.
Arduino Nano 33 IoT button library
  • Copy the code shown above and paste it into the Arduino IDE.
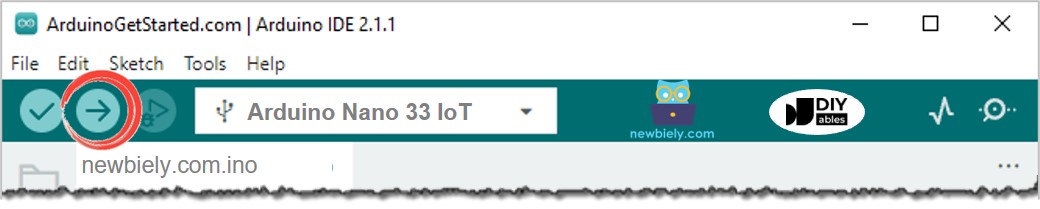
  • Click the Upload button in the Arduino IDE to compile and send the code to your Arduino Nano 33 IoT board.
How to upload Arduino Nano 33 IoT code on Arduino IDE
  • Open the Serial Monitor in the Arduino program.
  • Press each button one at a time and then let go.
COM6
Send
The button 1 is pressed The button 1 is released The button 2 is pressed The button 2 is released The button 3 is pressed The button 3 is released
Autoscroll Show timestamp
Clear output
9600 baud  
Newline  

Arduino Nano 33 IoT Code - Multiple Buttons using array

We can make the code better by using a list of buttons. The code below shows how this list is used to work with button objects.

/* * This Arduino Nano 33 IoT code was developed by newbiely.com * * This Arduino Nano 33 IoT code is made available for public use without any restriction * * For comprehensive instructions and wiring diagrams, please visit: * https://newbiely.com/tutorials/arduino-nano-iot/arduino-nano-33-iot-multiple-button */ #include <ezButton.h> #define BUTTON_NUM 3 // the number of buttons #define BUTTON_PIN_1 4 // The Arduino Nano 33 IoT pin connected to the button 1 #define BUTTON_PIN_2 5 // The Arduino Nano 33 IoT pin connected to the button 2 #define BUTTON_PIN_3 6 // The Arduino Nano 33 IoT pin connected to the button 3 ezButton buttonArray[] = { ezButton(BUTTON_PIN_1), ezButton(BUTTON_PIN_2), ezButton(BUTTON_PIN_3) }; void setup() { Serial.begin(9600); for (byte i = 0; i < BUTTON_NUM; i++) { buttonArray[i].setDebounceTime(100); // set debounce time to 100 milliseconds } } void loop() { for (byte i = 0; i < BUTTON_NUM; i++) buttonArray[i].loop(); // MUST call the loop() function first for (byte i = 0; i < BUTTON_NUM; i++) { // get button state after debounce int button_state = buttonArray[i].getState(); // the state after debounce /* Serial.print("The button "); Serial.print(i + 1); Serial.print(": "); Serial.println(button_state); */ if (buttonArray[i].isPressed()) { Serial.print("The button "); Serial.print(i + 1); Serial.println(" is pressed"); } if (buttonArray[i].isReleased()) { Serial.print("The button "); Serial.print(i + 1); Serial.println(" is released"); } } }

Video Tutorial

※ OUR MESSAGES

  • As freelancers, We are AVAILABLE for HIRE. See how to outsource your project to us
  • Please feel free to share the link of this tutorial. However, Please do not use our content on any other websites. We invested a lot of effort and time to create the content, please respect our work!