Arduino Nano 33 IoT - Ultrasonic Sensor
This guide shows you how to use the Arduino Nano 33 IoT with the HC-SR04 ultrasonic sensor to measure the distance to an object.
Hardware Preparation
Or you can buy the following kits:
| 1 | × | DIYables Sensor Kit (18 sensors/displays) |
Additionally, some of these links are for products from our own brand, DIYables .
Overview of Ultrasonic Sensor
The HC-SR04 sensor uses sound waves to find out how far away an object is. It sends a sound, listens for the echo, and then calculates the distance.
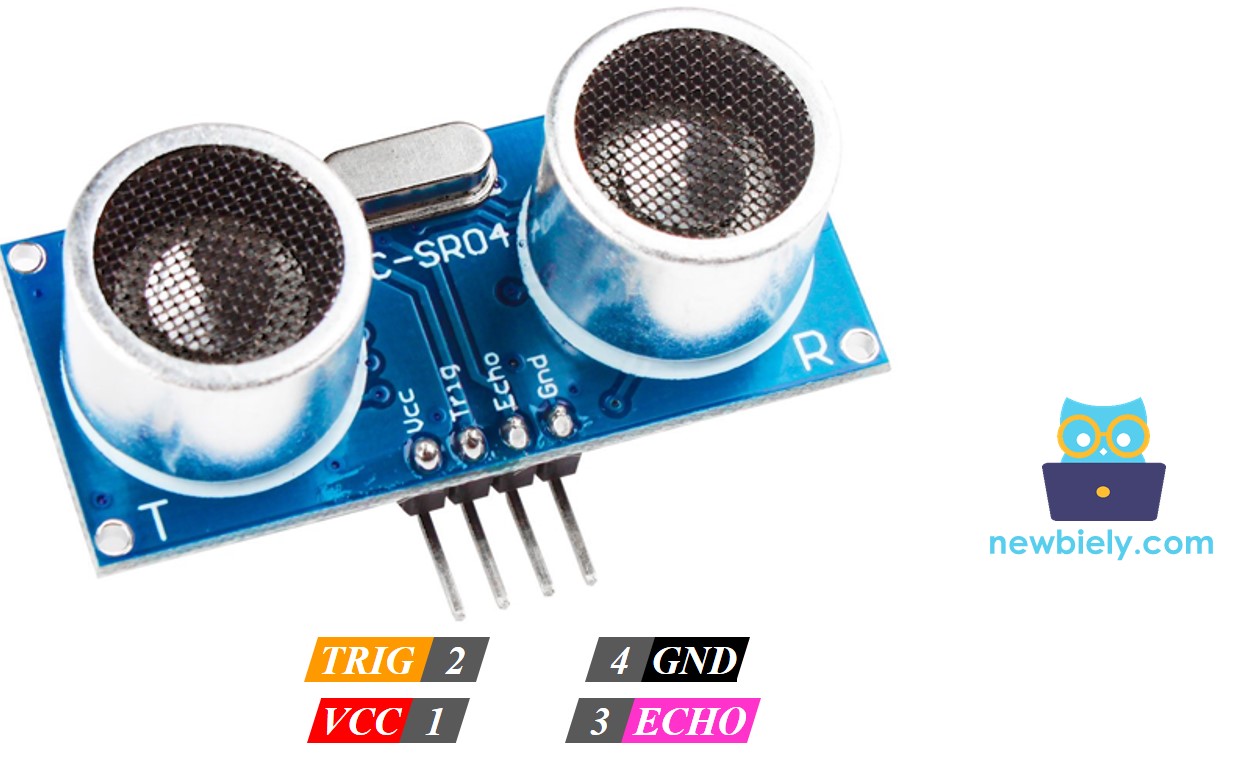
Ultrasonic Sensor Pinout
The HC-SR04 ultrasonic sensor has four pins:
- VCC pin: Hook up this pin to the 5V power supply.
- GND pin: Hook up this pin to the 0V ground.
- TRIG pin: This pin gets a start signal from the Arduino Nano 33 IoT.
- ECHO pin: This pin sends a signal back to the Arduino Nano 33 IoT that shows how far away an object is.
How Ultrasonic Sensor Works
Check out how an ultrasonic sensor works
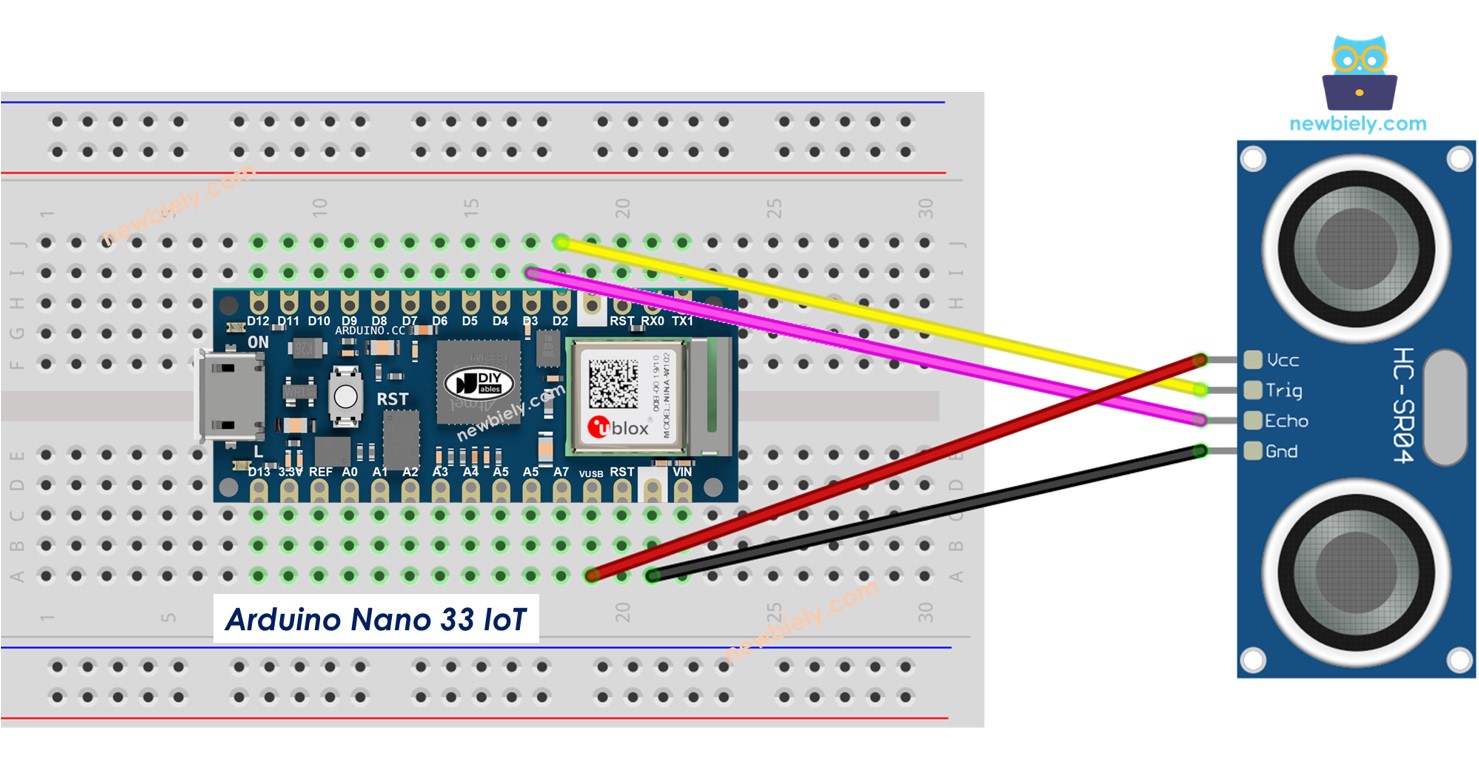
Wiring Diagram between Ultrasonic Sensor and Arduino Nano 33 IoT
- Wiring diagram for powering the Arduino Nano 33 IoT board using a USB cable.
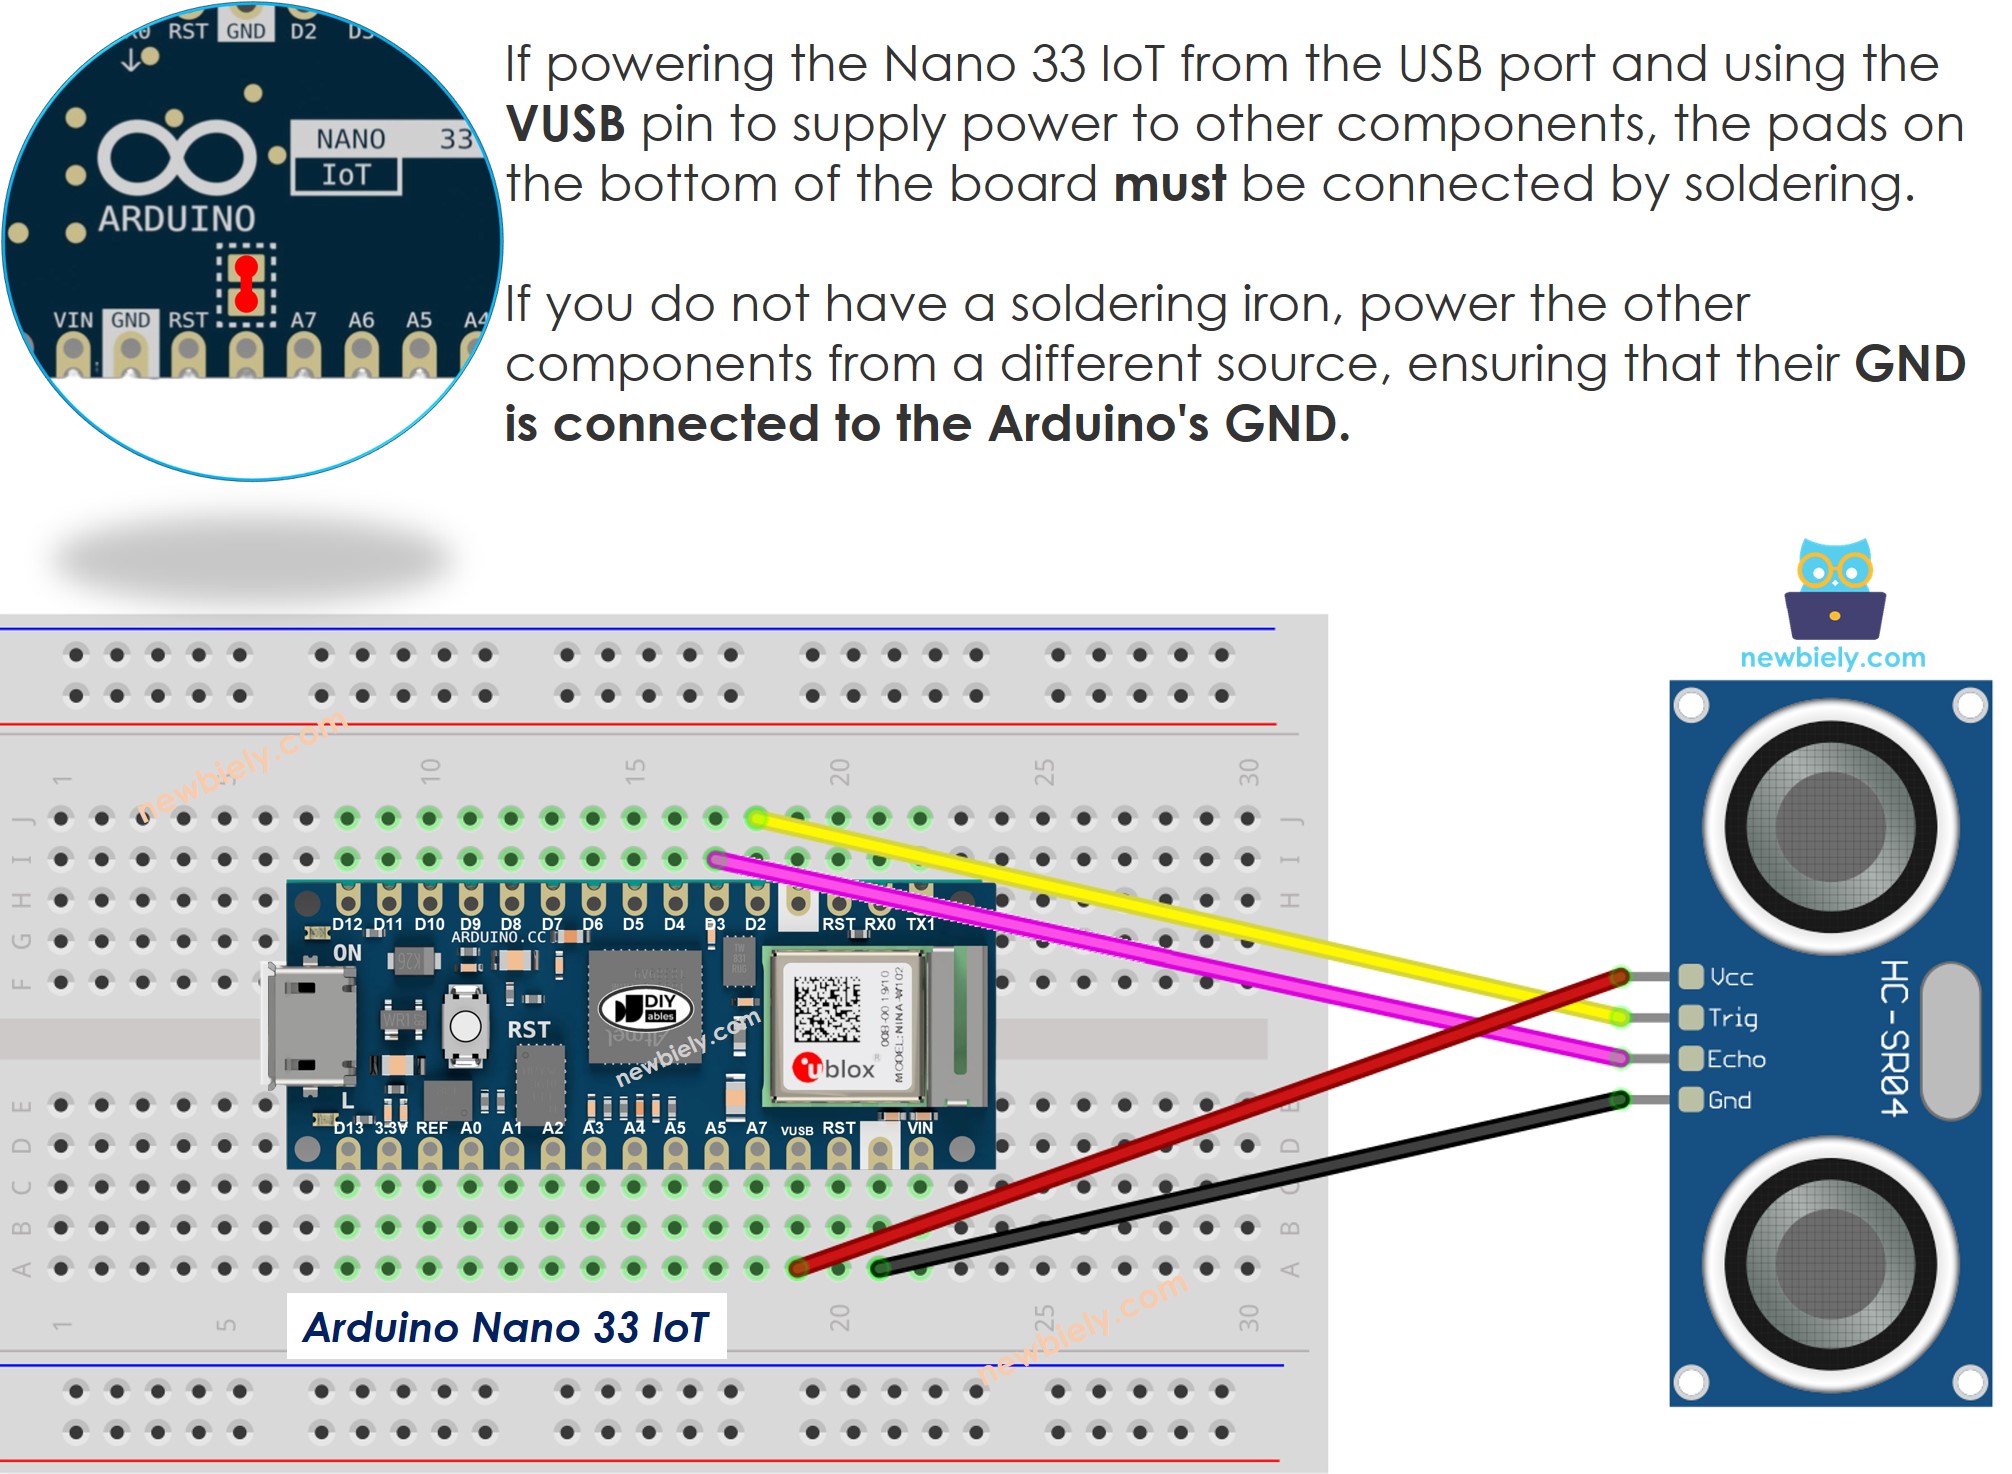
This image is created using Fritzing. Click to enlarge image
- This diagram shows how to connect power to the Arduino Nano 33 IoT board using the Vin pin.
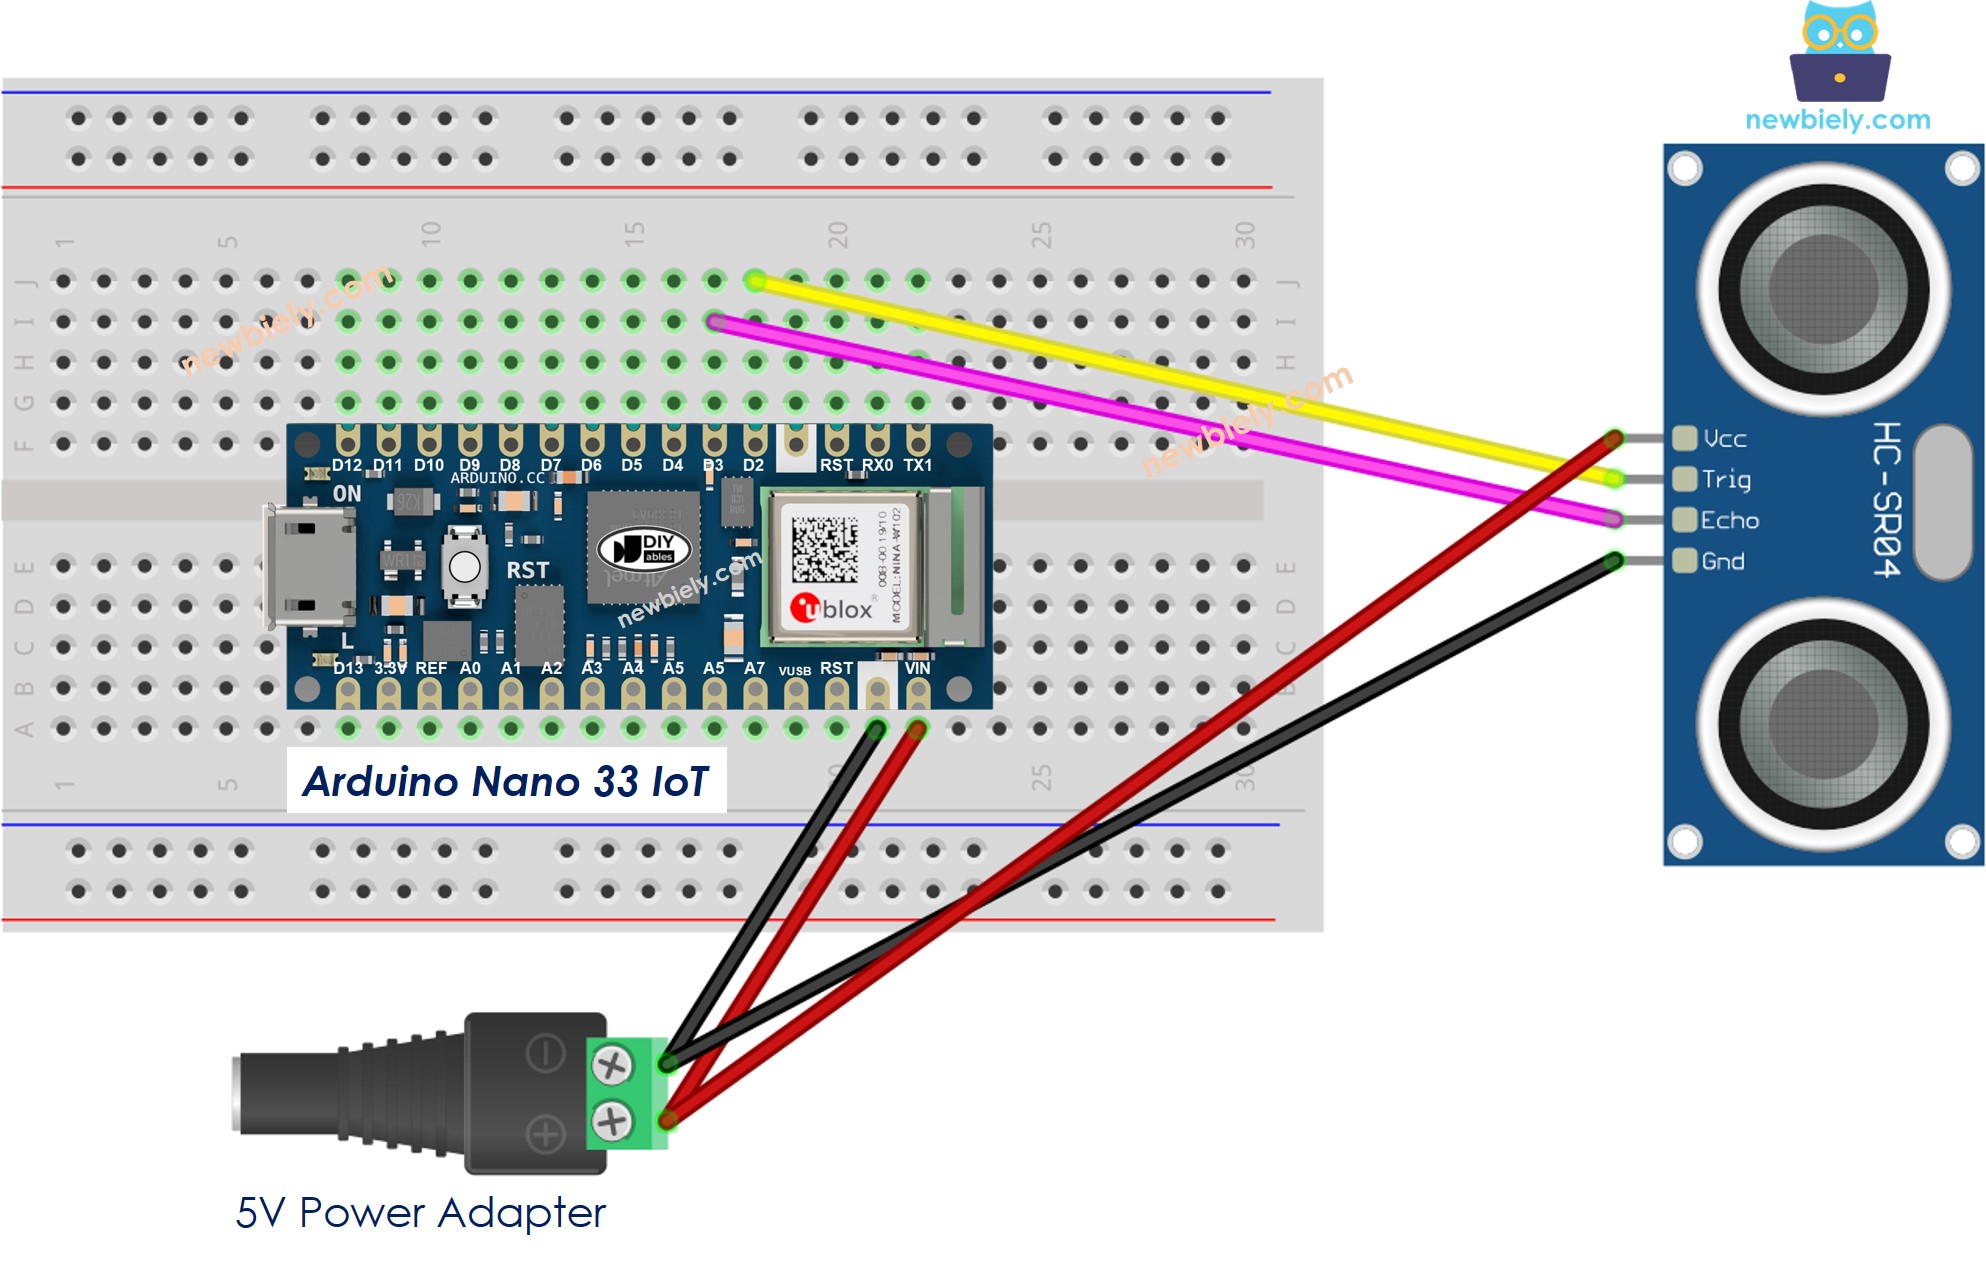
This image is created using Fritzing. Click to enlarge image
How To Program Ultrasonic Sensor
- To create a 10-microsecond pulse on a pin of the Arduino Nano 33 IoT, use the digitalWrite() function followed by the delayMicroseconds() function. For example, you can use pin D2.
- It checks how long the pulse lasts (in microseconds) on a pin of the Arduino Nano 33 IoT using the pulseIn() function. For example, use it on pin D3.
- Find distance in centimeters:
Arduino Nano 33 IoT Code
Detailed Instructions
If you are new to the Arduino Nano 33 IoT, be sure to check out our Getting Started with Arduino Nano 33 IoT tutorial. Then, follow these steps:
- Connect the components to the Arduino Nano 33 IoT board as depicted in the diagram.
- Use a USB cable to connect the Arduino Nano 33 IoT board to your computer.
- Launch the Arduino IDE on your computer.
- Select the Arduino Nano 33 IoT board and choose its corresponding COM port.
- Copy the code above and paste it into the Arduino IDE.
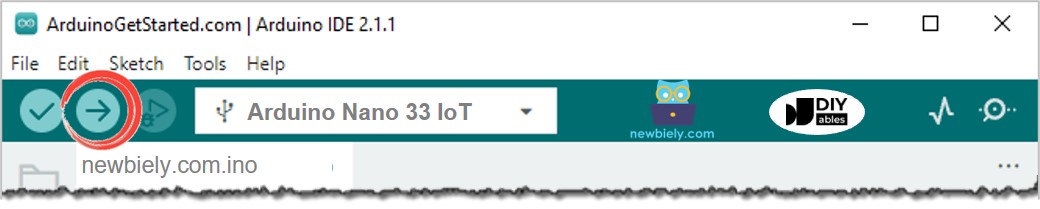
- Click the Upload button in the Arduino IDE to compile the code and send it to the Arduino Nano 33 IoT board.
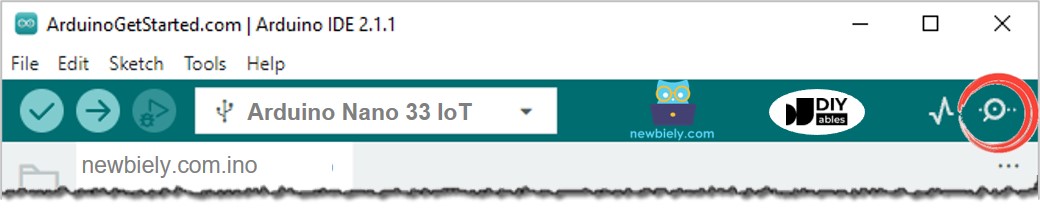
- Open the serial window in the Arduino software.
- Place your hand in front of the ultrasonic sensor.
- Look at the screen to see how far your hand is from the sensor.
Line-by-line Code Explanation
The Arduino Nano 33 IoT code shown above has a simple explanation for each line. Please read the notes in the code.
How to Filter Noise from Distance Measurements of Ultrasonic Sensor
Check out this guide on how to remove unwanted errors from the distance readings of an ultrasonic sensor