Arduino Nano 33 IoT - Water Sensor
This guide shows you how to use the Arduino Nano 33 IoT and a water sensor to detect rain, water leaks, a tank overflow, and measure the water level.
Hardware Preparation
Or you can buy the following kits:
| 1 | × | DIYables Sensor Kit (18 sensors/displays) |
Additionally, some of these links are for products from our own brand, DIYables .
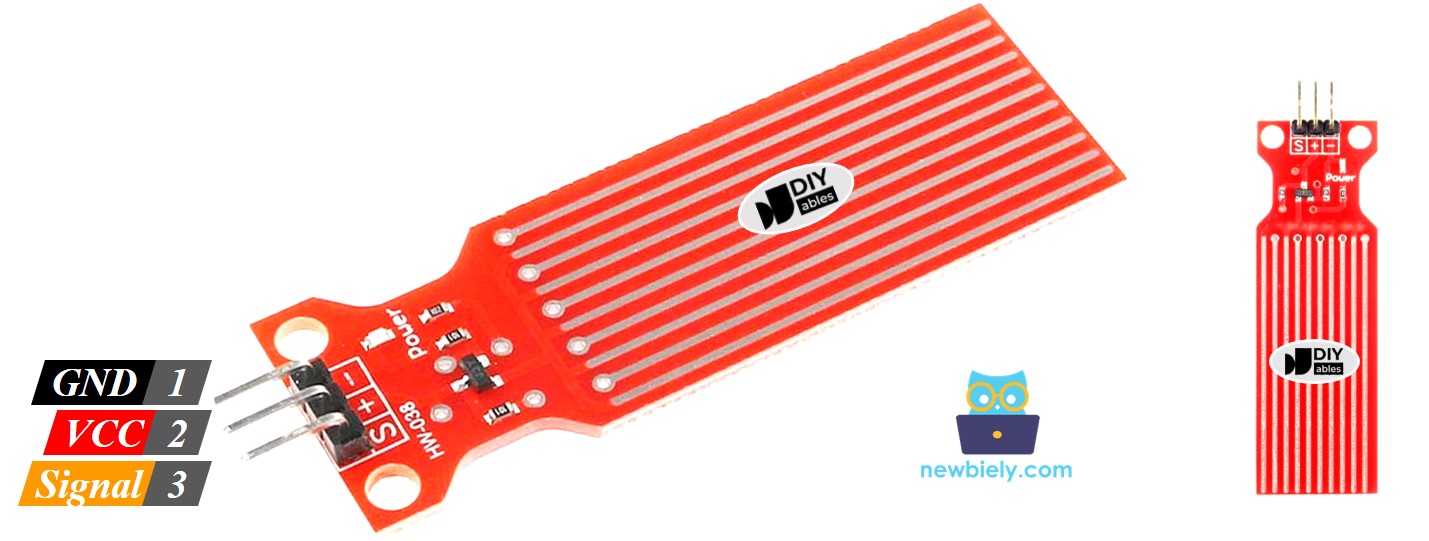
Overview of Water Level Sensor
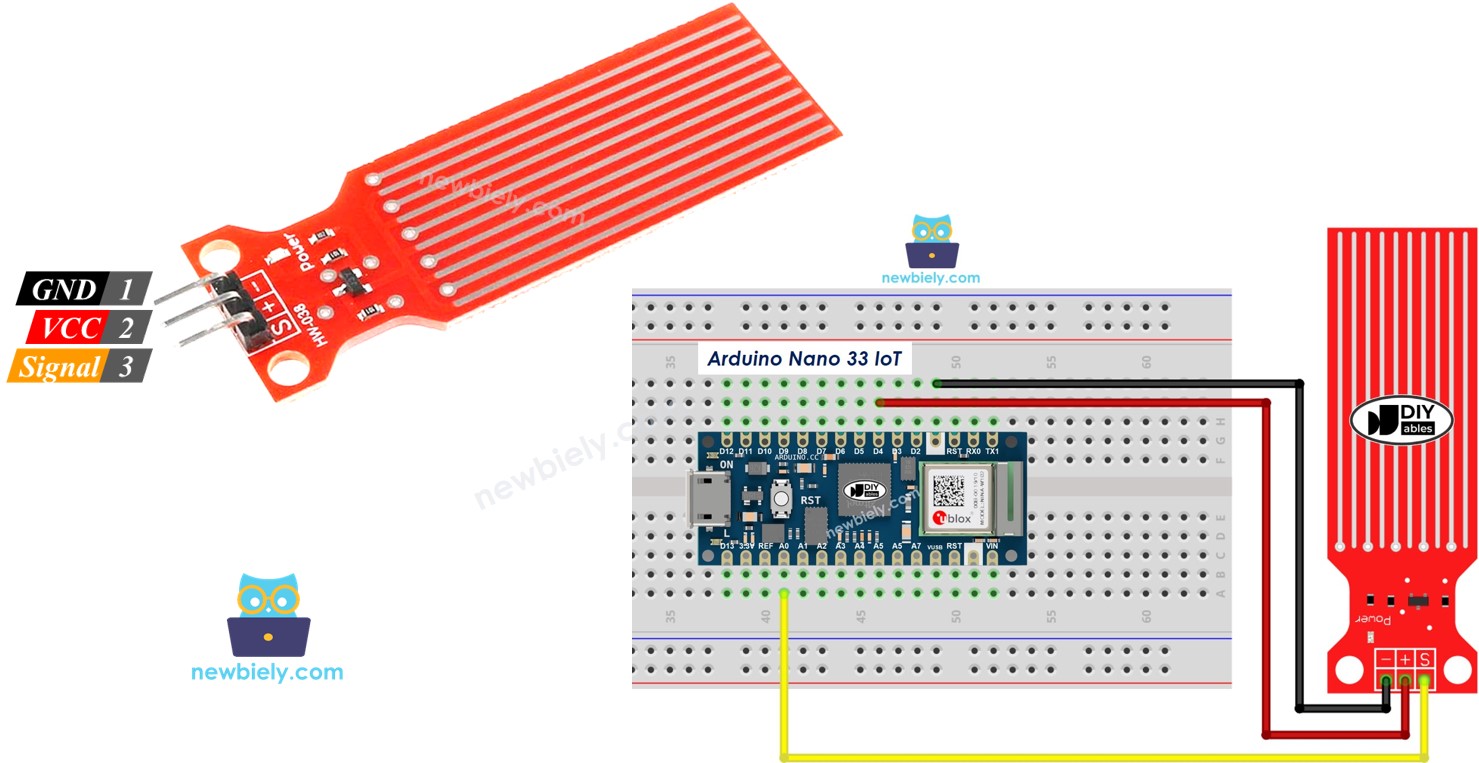
Water Level Sensor Pinout
The water level sensor has 3 pins:
- S (Signal) pin: This pin gives an analog voltage that changes with the water level. Connect it to an analog input on the Arduino Nano 33 IoT.
- + (VCC) pin: Connect this pin to a 3.3V or 5V power source.
- - (GND) pin: Connect this pin to ground.
How Water Level Sensor Works
The deeper the sensor goes into the water, the higher the voltage at the S pin becomes. By checking the voltage, we can tell the water level.
Wiring Diagram
You can power the water sensor by connecting its VCC pin to the 3.3V pin and its GND pin to the GND pin on the Arduino Nano 33 IoT.
This method is not the best idea in practice. Constantly powering the water sensor makes it corrode faster because of the wet environment. It's better to only power the sensor when you need to read its value. To do this, connect the sensor's VCC pin to a digital pin on the Arduino Nano 33 IoT. Then, program that pin to be HIGH before taking a reading and LOW after finishing.
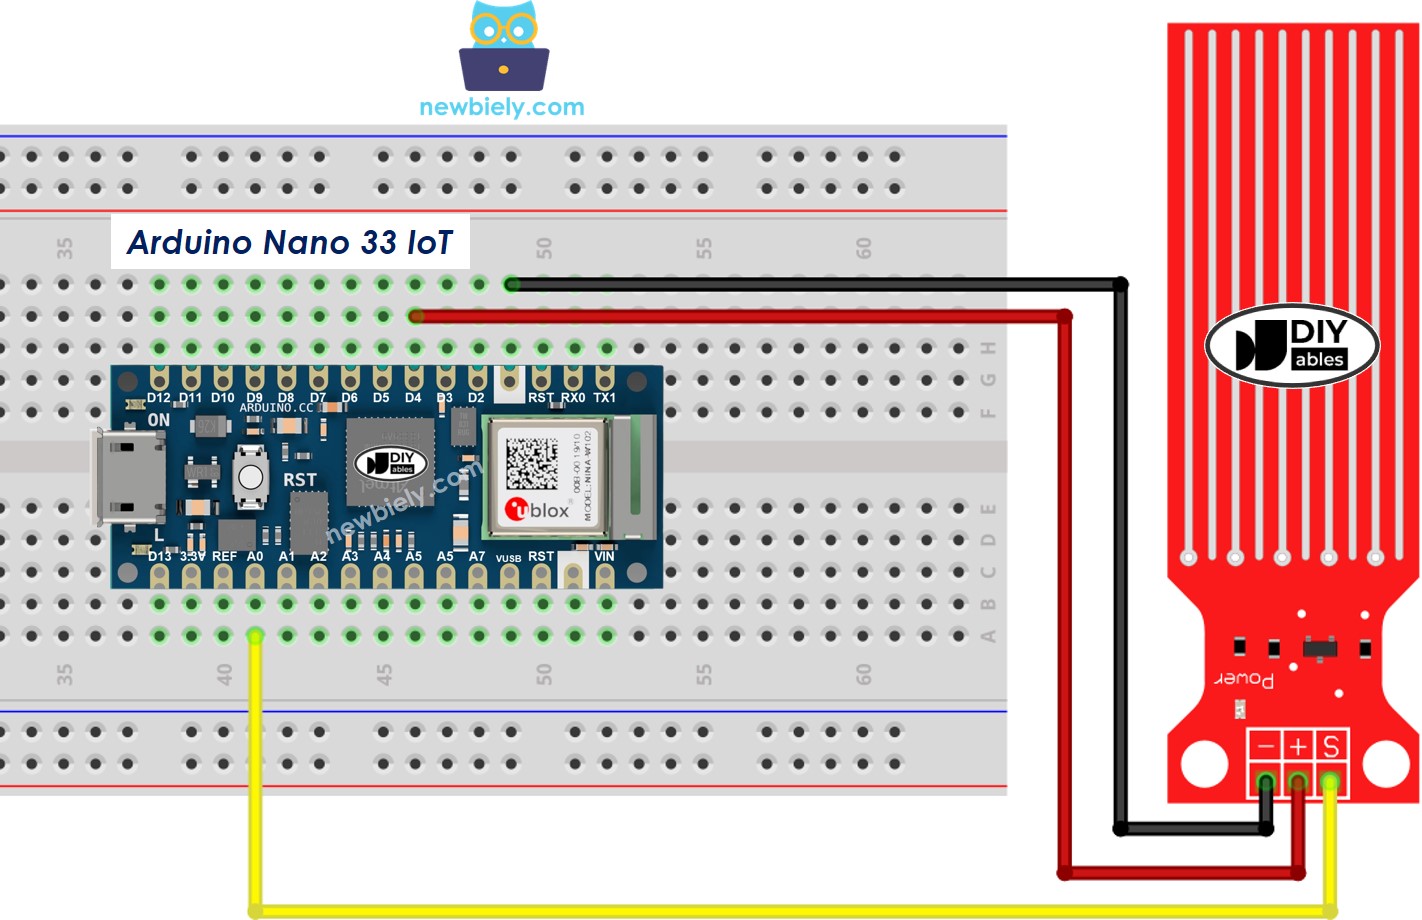
This image is created using Fritzing. Click to enlarge image
Arduino Nano 33 IoT Code - Reading Value from Water Sensor
Detailed Instructions
If you are new to the Arduino Nano 33 IoT, be sure to check out our Getting Started with Arduino Nano 33 IoT tutorial. Then, follow these steps:
- Connect the components to the Arduino Nano 33 IoT board as depicted in the diagram.
- Use a USB cable to connect the Arduino Nano 33 IoT board to your computer.
- Launch the Arduino IDE on your computer.
- Select the Arduino Nano 33 IoT board and choose its corresponding COM port.
- Copy the code above and paste it into the Arduino IDE.
- Click the Upload button to compile and send the code to your Arduino Nano 33 IoT board.
- Slowly lower the sensor into a glass of water.
- Look at the Serial Monitor to see the result. You will see a value of 0 when the sensor is not touching anything.
※ NOTE THAT:
The water sensor is not meant to be completely underwater. Only the parts that are meant to be wet on the circuit board can touch the water. Please be careful when installing it.
How To Detect Water Leakage
To find water leaks, rain, or a tank overflow, you only need to compare the sensor reading with a set limit. This limit is chosen during the calibration step of this guide.
Let's program the Arduino Nano 33 IoT to turn on an LED when it detects a water leak.
Wiring Diagram
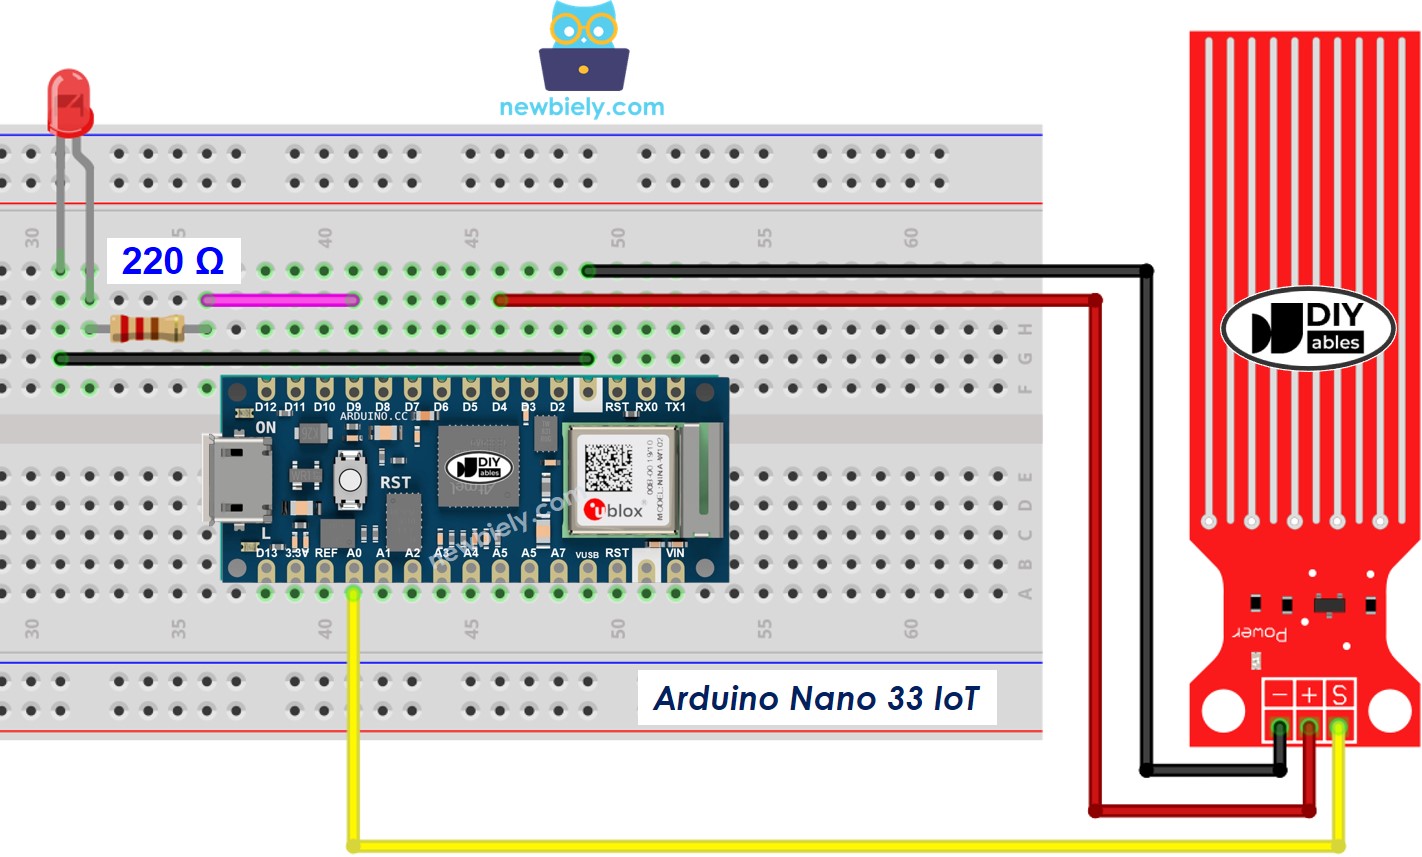
This image is created using Fritzing. Click to enlarge image
Arduino Nano 33 IoT Code - Detecting Water Leakage
※ NOTE THAT:
Please note that the Arduino Nano 33 IoT pins A4 and A5 have built-in pull-up resistors for I2C communication. This can affect analog readings, so it is recommended to avoid using these pins with any devices/sensors that relies on ADC.
How To Measure The Water Level
The following code splits the water level into four parts.
※ NOTE THAT:
SENSOR_MIN and SENSOR_MAX are set during the calibration process. The mapping method above is not perfectly accurate, but it works well for many uses.
Water Level Sensor Calibration
Check out this guide to learn how to adjust the water level sensor: https://arduinogetstarted.com/tutorials/arduino-water-sensor#content_water_level_sensor_calibration