Arduino Nano 33 IoT - Joystick - Servo Motor
In this guide, you'll learn how to use the Arduino Nano 33 IoT board and a joystick to control either two servo motors or a pan-tilt kit that uses servos.
A joystick has two built-in variable resistors that are arranged at right angles (called the X-axis and Y-axis). These resistors send analog signals (called the X-value and Y-value) through the VRX and VRY pins. We use these signals to control two servo motors separately: the X-value controls servo motor #1 and the Y-value controls servo motor #2. In a pan-tilt kit, moving these two servo motors makes a 3-D movement.
There are two ways to use this application:
- Use case 1: The servo motors move as the joystick thumb moves:
- The servo motors' angles change in proportion to the joystick's X and Y values.
- When the joystick thumb is released, all values go back to the center, and the servo motors return to the center.
- Use case 2: Use the joystick to control the servo motors (up, down, left, right):
- When the joystick thumb is pushed to the left, servo motor #1 moves slowly in a clockwise direction.
- When the joystick thumb is pushed to the right, servo motor #1 moves slowly in an anti-clockwise direction.
- When the joystick thumb is pushed up, servo motor #2 moves slowly in a clockwise direction.
- When the joystick thumb is pushed down, servo motor #2 moves slowly in an anti-clockwise direction.
- When the joystick thumb is released, the servo motors do not return to the center.
- If the joystick is pressed (button pressed), the servo motors return to the center.
- This can affect analog readings, so it is recommended to avoid using these pins with any devices/sensors that relies on ADC.
- Although these pins can be used as digital input pins, it is recommended to avoid using them for digital input. If you must use them, do NOT use internal or external pull-down resistors for these pins.
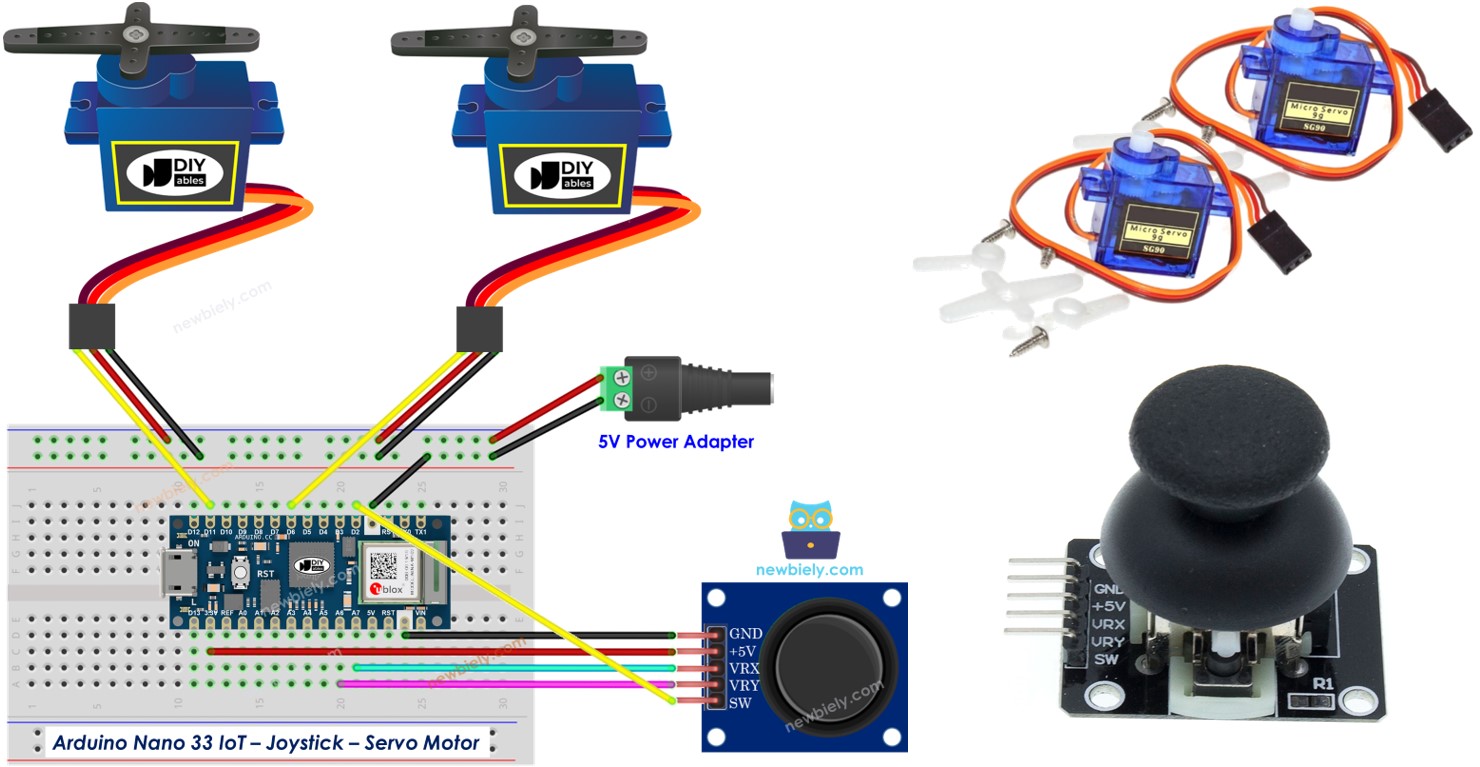
- Connect the components to the Arduino Nano 33 IoT board as depicted in the diagram.
- Use a USB cable to connect the Arduino Nano 33 IoT board to your computer.
- Launch the Arduino IDE on your computer.
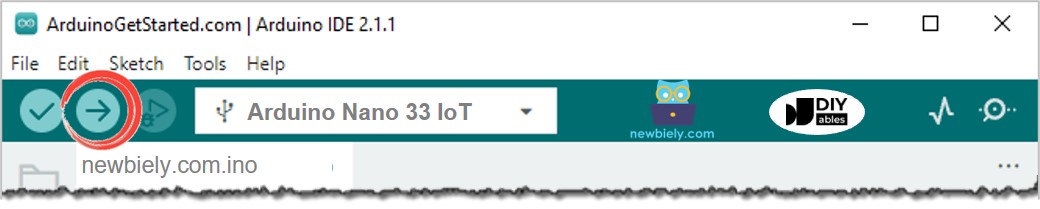
- Select the Arduino Nano 33 IoT board and choose its corresponding COM port.
- Copy the code above and open it in the Arduino IDE. Then click the Upload button in the Arduino IDE to load the code onto your Arduino Nano 33 IoT.
- Open the serial monitor.
- Move the joystick in any direction.
- Watch the servo motor turn.
- Check the outcome in the serial monitor.
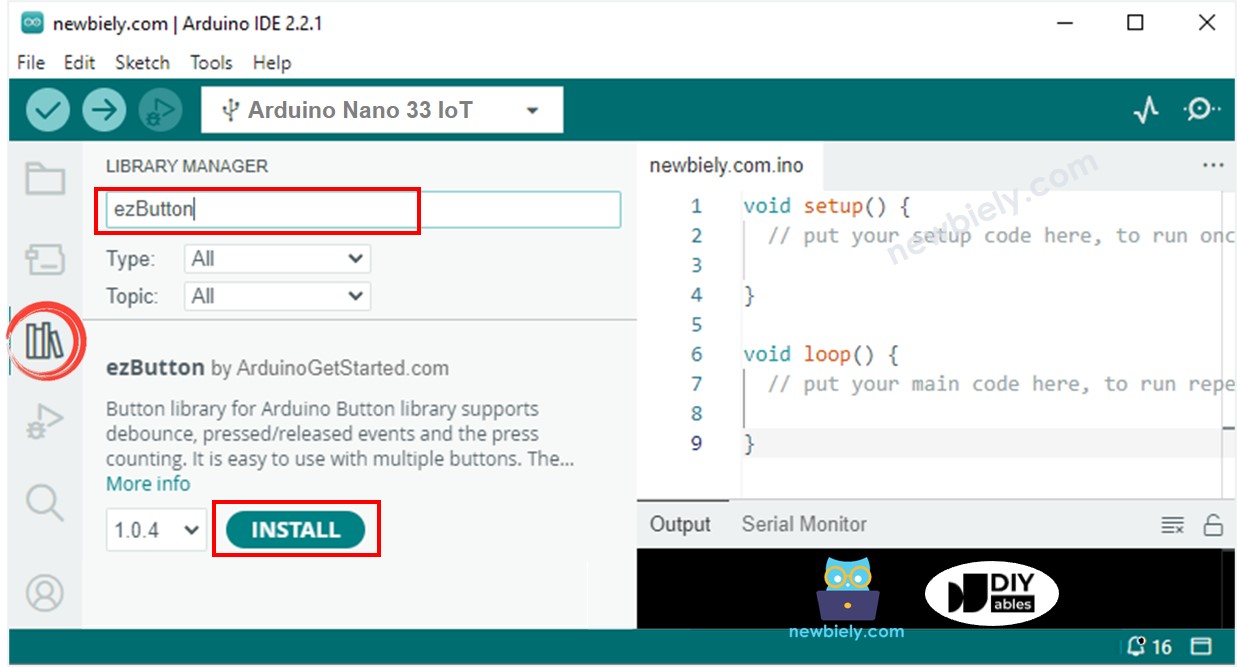
- Open the Library Manager by clicking the Library Manager icon on the left side of the Arduino IDE.
- Type ezButton in the search box and look for the button library from ArduinoGetStarted.com.
- Click the Install button to add the ezButton library.
- Copy the code above and open it in Arduino IDE
- Click the Upload button in Arduino IDE to send the code to the Arduino Nano 33 IoT
- Open the Serial Monitor
- Move the joystick in any direction
- Watch the servo motor turn
- Check the result in the Serial Monitor
In the next sections, we will look at the code for both examples.
Hardware Preparation
Or you can buy the following kits:
| 1 | × | DIYables Sensor Kit (18 sensors/displays) |
Additionally, some of these links are for products from our own brand, DIYables .
Buy Note: For controlling multiple servo motors, use the PCA9685 16 Channel PWM Servo Driver Module to save MCU pins and simplify wiring.
Overview of Joystick and Servo Motor
If you're new to using the Joystick, Servo Motor, and Arduino Nano 33 IoT, please check out these tutorials:
These tutorials explain how Joystick and Servo Motor work, their pinouts, how to connect them to the Arduino Nano 33 IoT, and how to program Arduino Nano 33 IoT to work with the Joystick and Servo Motor.
Wiring Diagram
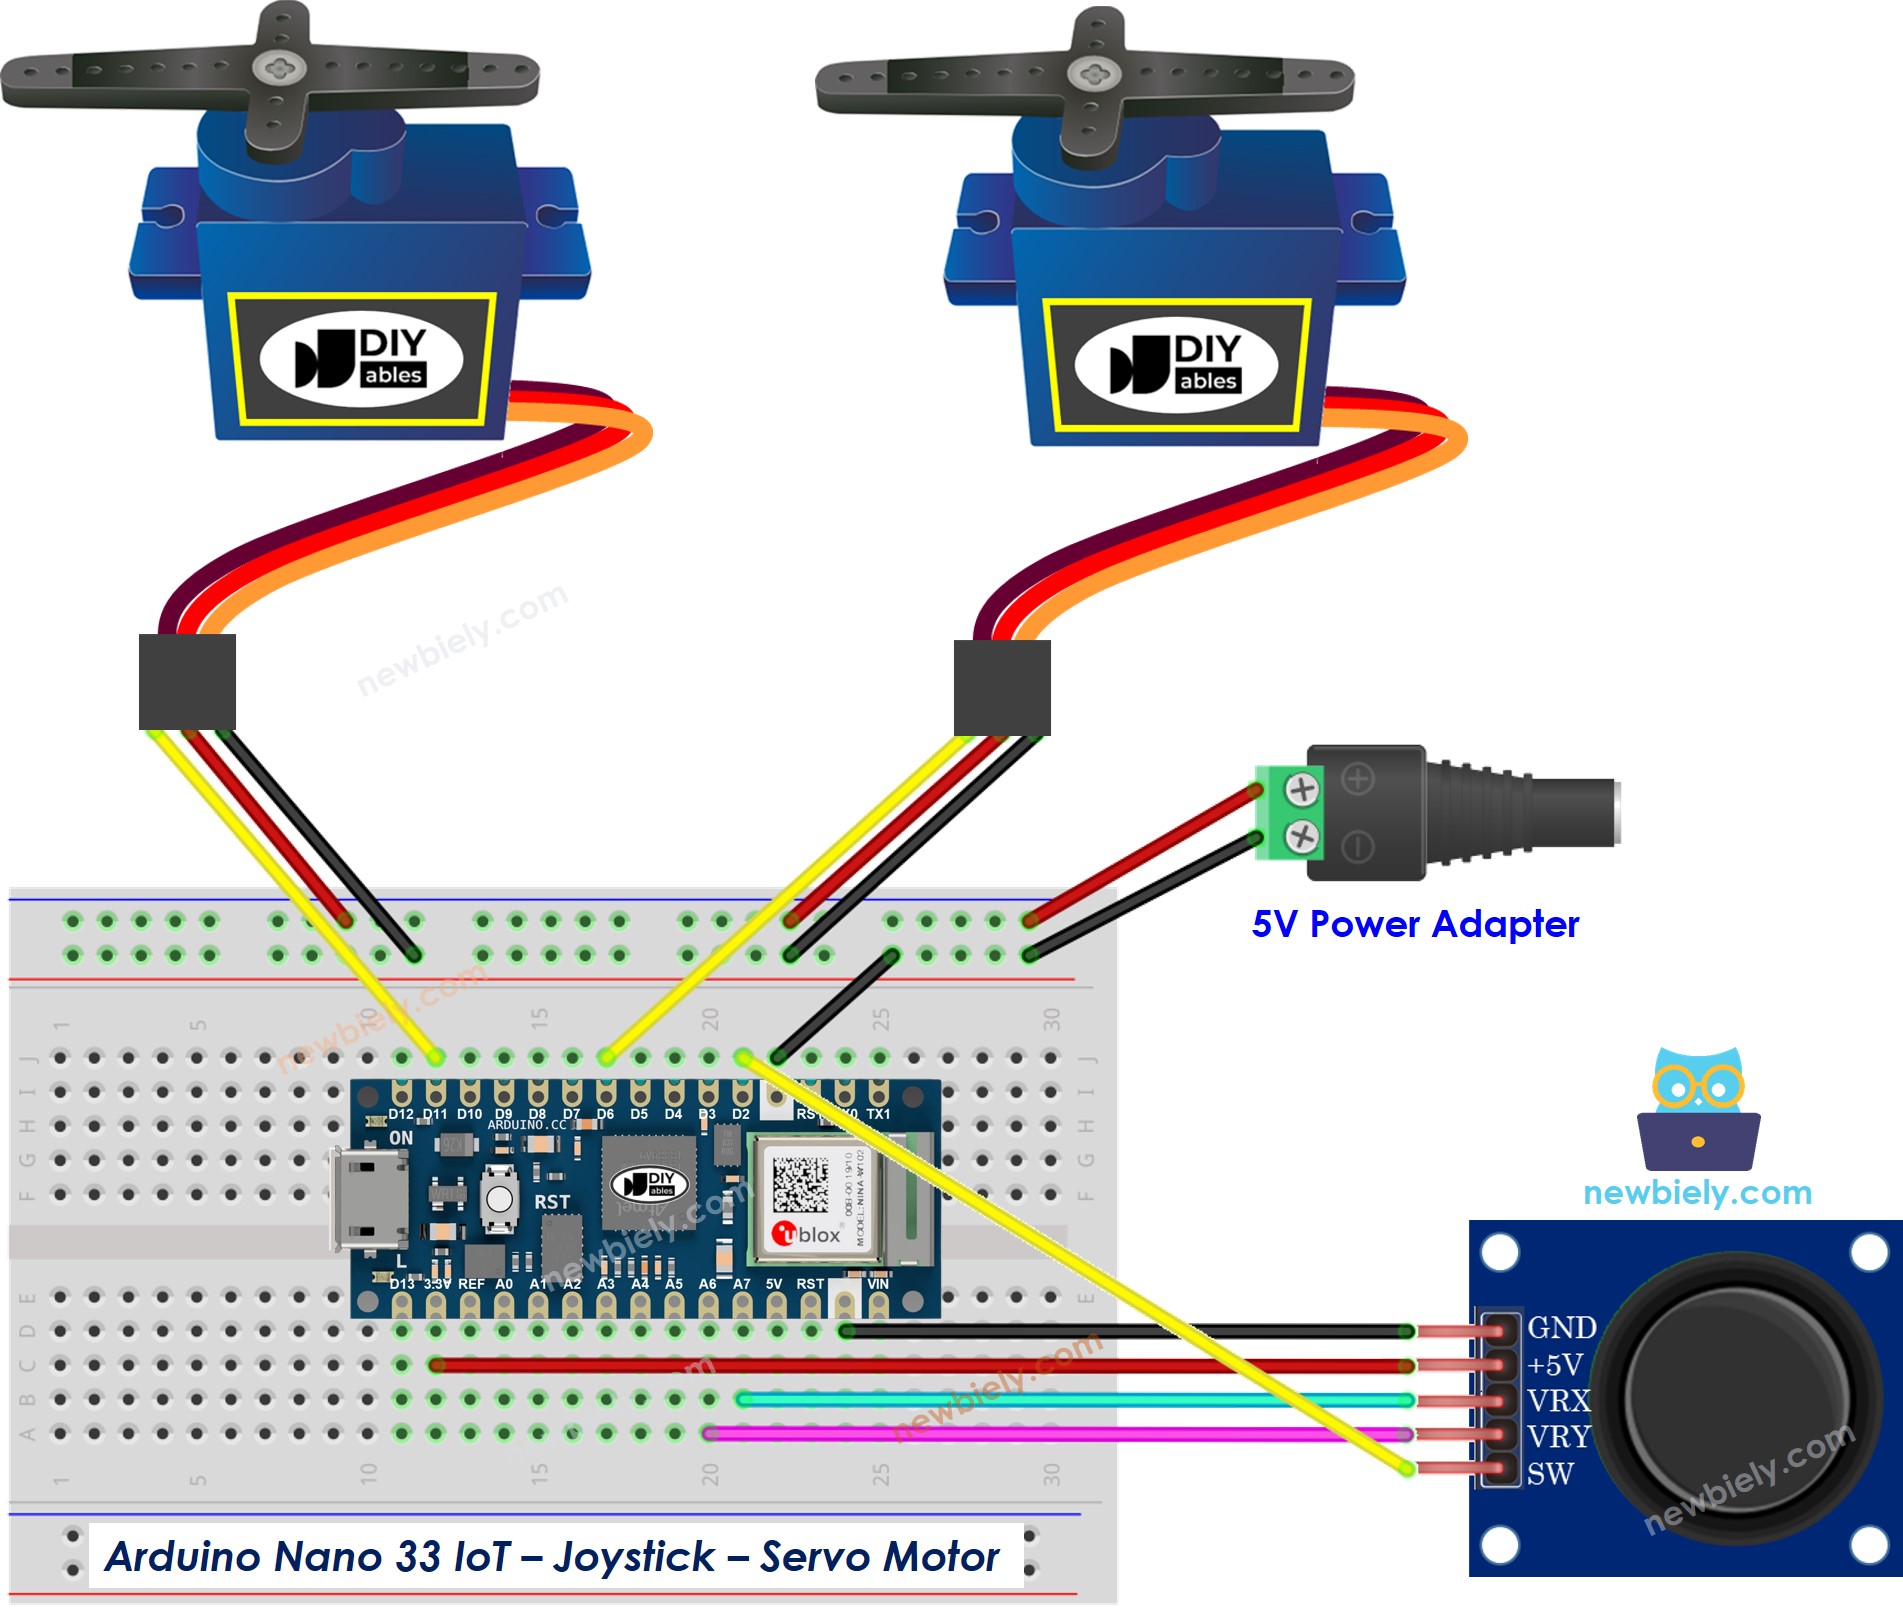
This image is created using Fritzing. Click to enlarge image
※ NOTE THAT:
Please note that the Arduino Nano 33 IoT pins A4 and A5 have built-in pull-up resistors for I2C communication:
Arduino Nano 33 IoT Code
Arduino Nano 33 IoT Code - The servo motors rotate according to the movement of the joystick's thump
Detailed Instructions
If you are new to the Arduino Nano 33 IoT, be sure to check out our Getting Started with Arduino Nano 33 IoT tutorial. Then, follow these steps:
You might have noticed that the servo motor doesn't move exactly the same way as the joystick. This problem isn't caused by the joystick or the servo motor, but by the ADC on the Arduino Nano 33 IoT. We'll explain why this happens at the end of this guide.
Arduino Nano 33 IoT Code - Use the joystick to command servo motors
Detailed Instructions
Code Explanation
Read the step-by-step explanation in the code comments!