Arduino Nano 33 IoT - Potentiometer
This guide explains how to use the Arduino Nano 33 IoT with a potentiometer. In this lesson, we will learn:
- How a potentiometer works
- How to connect a potentiometer to an Arduino Nano 33 IoT
- How to write code for the Arduino Nano 33 IoT to read the potentiometer value
- How to change the potentiometer reading into a useful number
Hardware Preparation
Or you can buy the following kits:
| 1 | × | DIYables Sensor Kit (18 sensors/displays) |
Additionally, some of these links are for products from our own brand, DIYables .
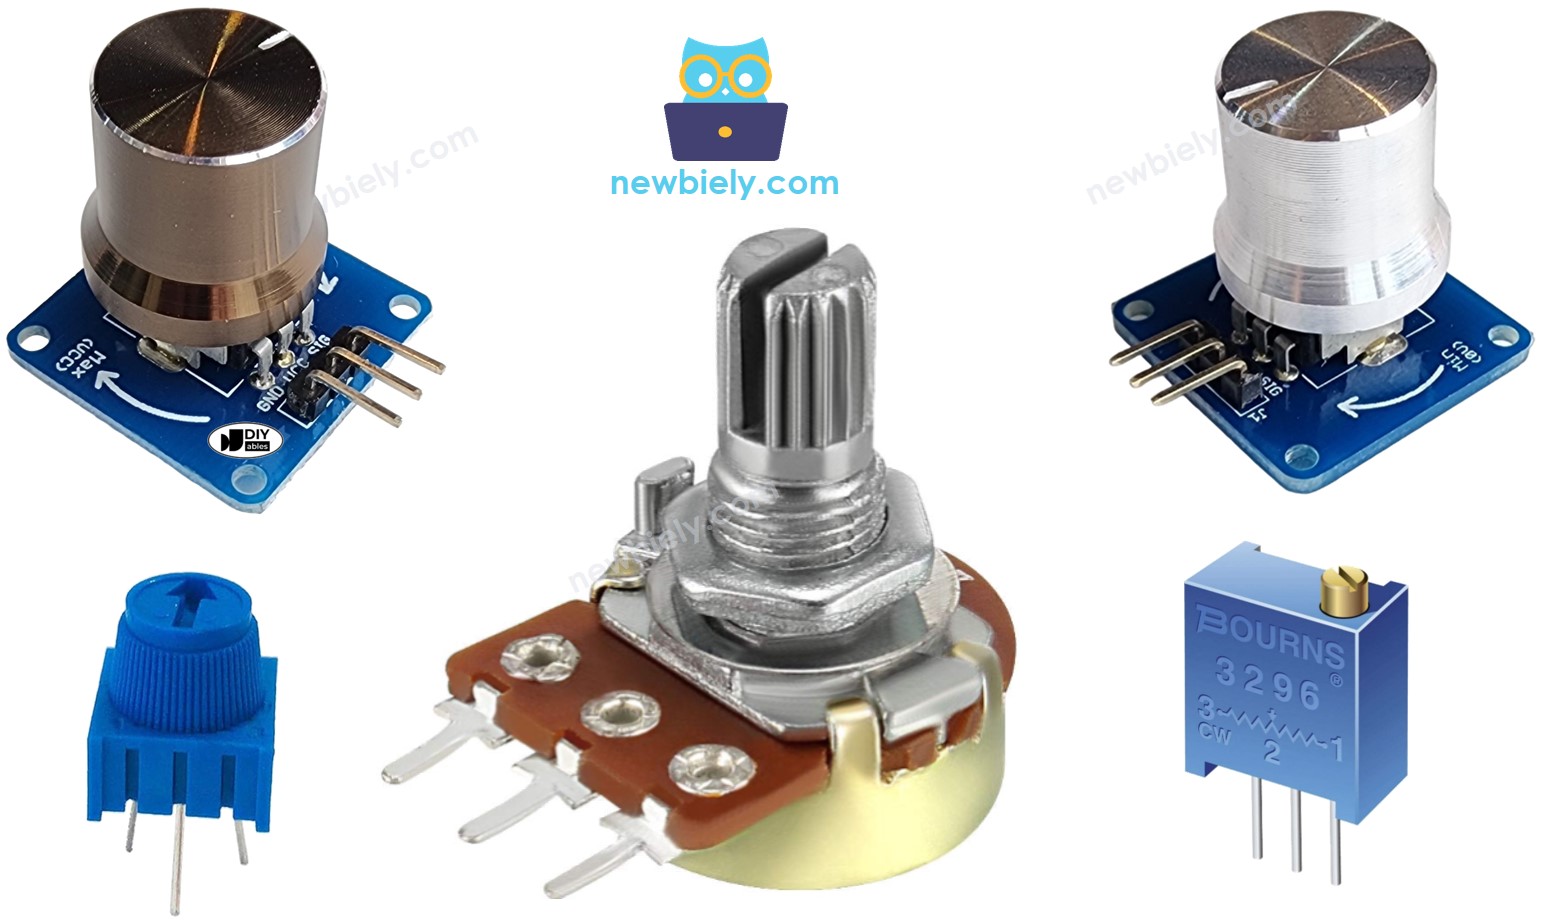
Overview of Potentiometer
A potentiometer, also called a rotary angle sensor, is used to adjust settings like speaker volume, room temperature, or lamp brightness.
Potentiometer Pinout
A potentiometer normally has three pins.
- VCC pin: Connect this pin to the power supply (5V or 3.3V).
- GND pin: Connect this pin to the ground (0V).
- Output pin: This pin sends the voltage to the Arduino Nano 33 IoT's input pin.
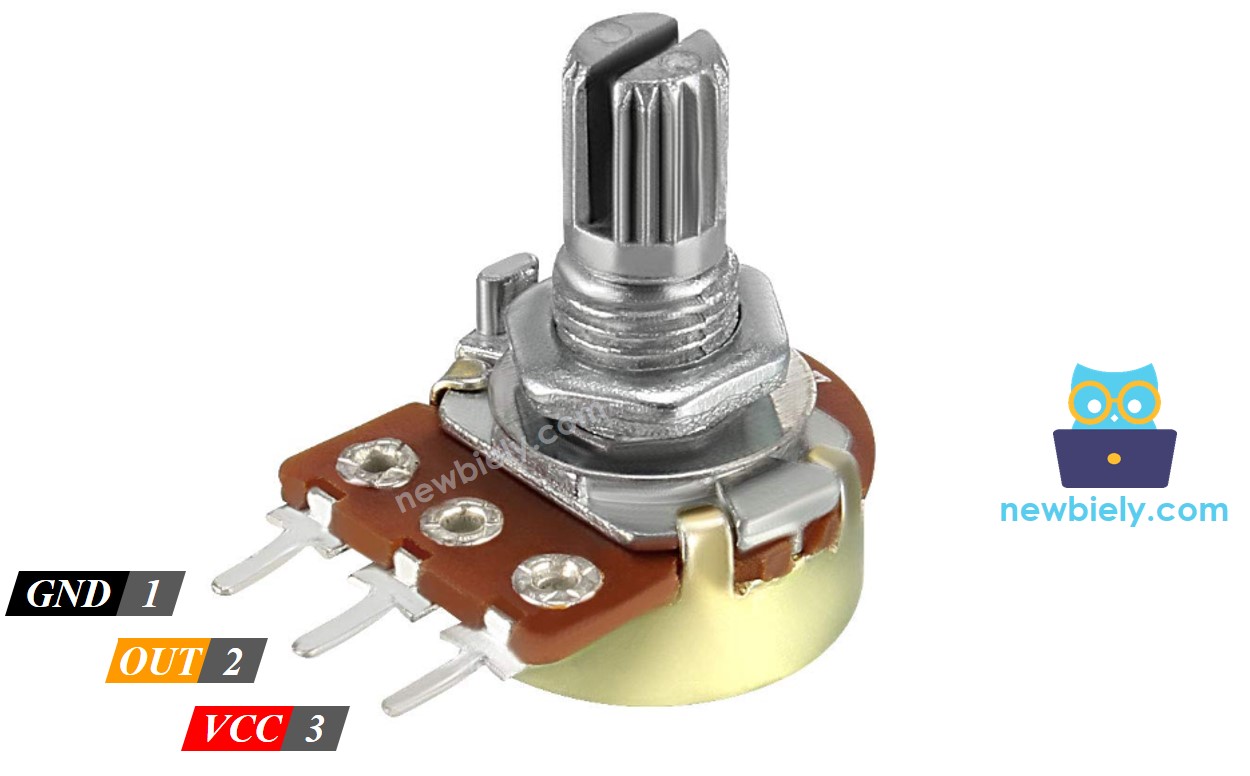
※ NOTE THAT:
You can swap the GND pin with the VCC pin.
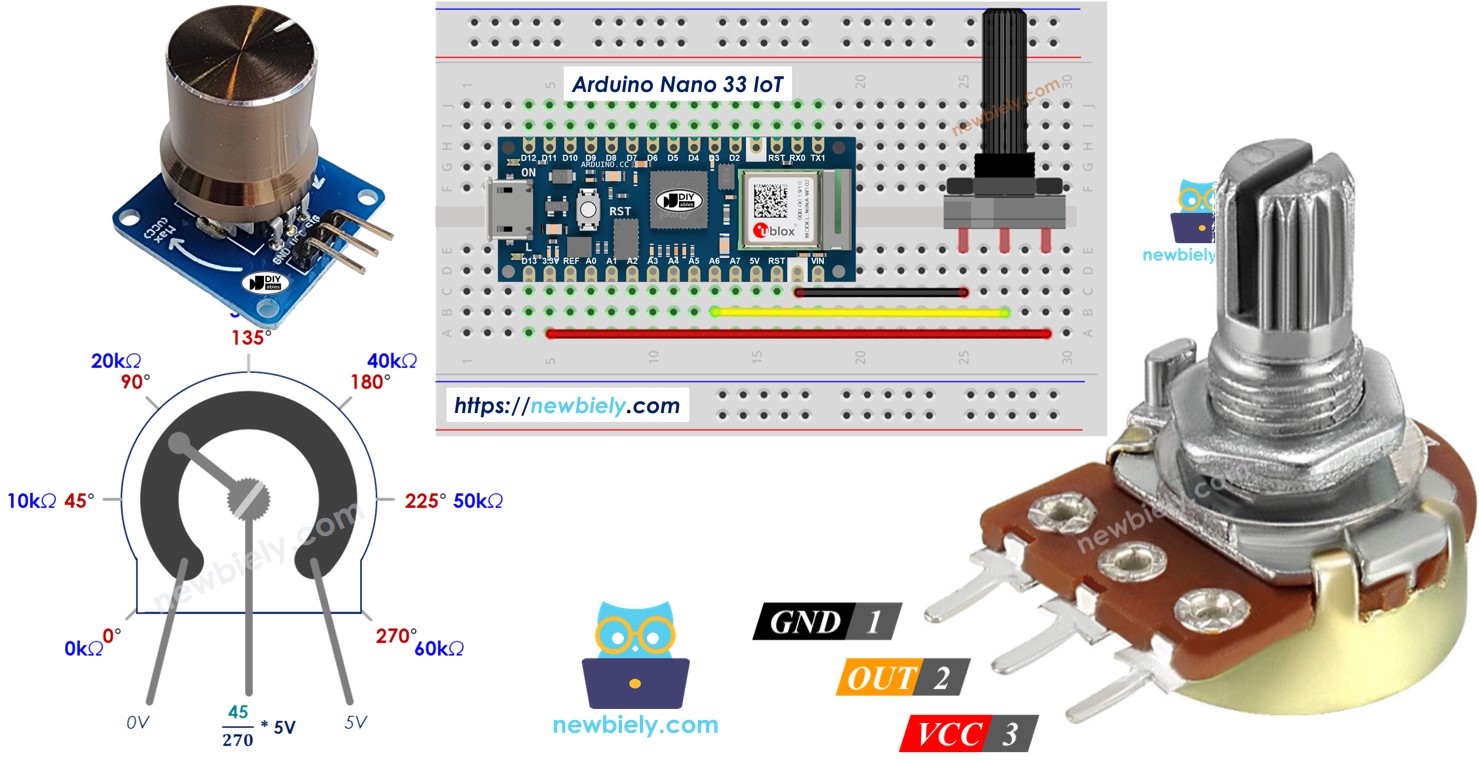
How Potentiometer Works
You can turn the potentiometer's shaft from 0° (nearest the GND pin) up to an angle (closest to the VCC pin) called ANGLE_MAX.
The voltage at the output pin increases in direct relation to the angle of the shaft, ranging from 0 to VCC. The table below shows how the angle and the output pin voltage are related.
| Angle | Voltage |
|---|---|
| 0° | 0v |
| ANGLE_MAX° | VCC |
| angle° | angle° × VCC / ANGLE_MAX° |
※ NOTE THAT:
The ANGLE_MAX value depends on the manufacturer.
Arduino Nano 33 IoT - Rotary Potentiometer
The Arduino Nano 33 IoT's analog input pin reads the voltage (from 0V to 3.3V) and turns it into whole numbers (from 0 to 4095). These numbers are called ADC values or analog values.
We can attach the potentiometer's output pin to one of the Arduino Nano 33 IoT's analog input pins, and then read the analog value from that pin.
You can convert an analog reading from an input pin into a different value. Let's look at some examples.
- Convert the analog reading into the knob’s angle.
- Convert the analog reading into the knob’s voltage.
- Convert the analog reading into a setting value (for example, speaker volume, room temperature, or lamp brightness).
Rescale Range
| FROM | TO | |||
|---|---|---|---|---|
| Angle | rotated by user | 0° | → | ANGLE_MAX° |
| Voltage | from potentiometer's pin | 0V | → | 3.3V |
| ADC value | read byArduino Nano 33 IoT | 0 | → | 4095 |
| Setting value | converted byArduino Nano 33 IoT | VALUE_MIN | → | VALUE_MAX |
Wiring Diagram between Potentiometer and Arduino Nano 33 IoT
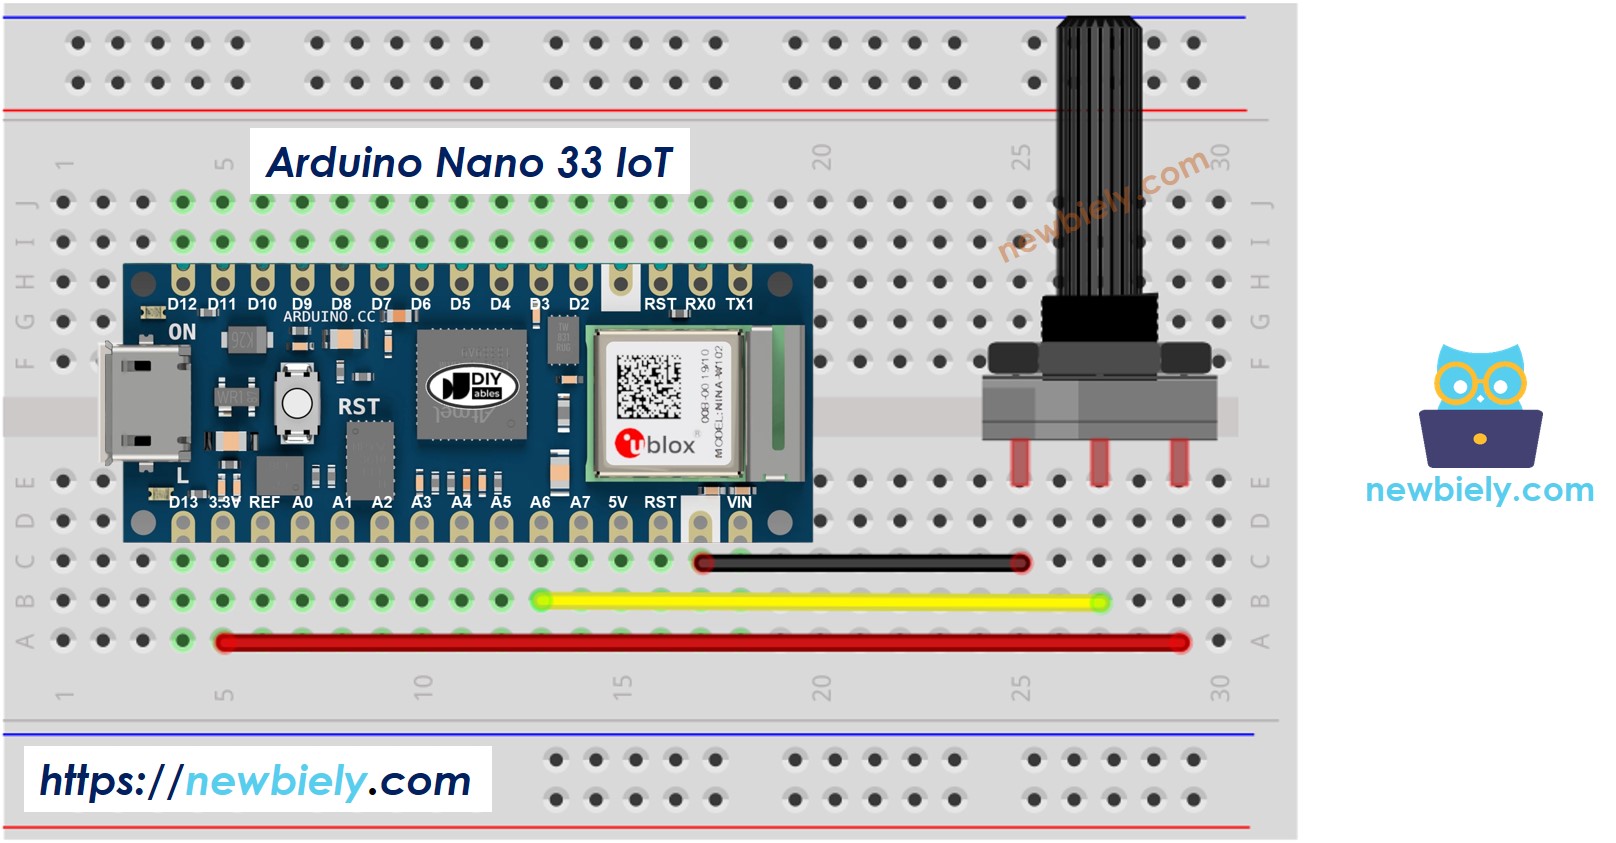
This image is created using Fritzing. Click to enlarge image
※ NOTE THAT:
Please note that the Arduino Nano 33 IoT pins A4 and A5 have built-in pull-up resistors for I2C communication. This can affect analog readings, so it is recommended to avoid using these pins with any devices/sensors that relies on ADC.
How To Program Potentiometer
- Use the analogRead() function to get a value from an input pin that is connected to the potentiometer's output.
- Change the value so it fits the potentiometer's angle by using the map() function.
- Change the scale to match the voltage of the potentiometer.
- Set the value you can control (for example, the stereo volume, screen brightness, or DC motor speed).
- For example, changing the LED brightness. In this guide, we explain that you can control the LED's brightness with a PWM value ranging from 0 (always off) to 255 (always on). So, you can link the analog value to the LED's brightness—from off to the brightest—as shown below.
If you want to adjust the LED brightness from a dim nightlight to full brightness,
※ NOTE THAT:
The map() function can only change an analog value into an int or long number. If you need a float number (one with decimals), use the floatMap() function instead of map().
floatMap() function:
Arduino Nano 33 IoT Code
Detailed Instructions
If you are new to the Arduino Nano 33 IoT, be sure to check out our Getting Started with Arduino Nano 33 IoT tutorial. Then, follow these steps:
- Connect the components to the Arduino Nano 33 IoT board as depicted in the diagram.
- Use a USB cable to connect the Arduino Nano 33 IoT board to your computer.
- Launch the Arduino IDE on your computer.
- Select the Arduino Nano 33 IoT board and choose its corresponding COM port.
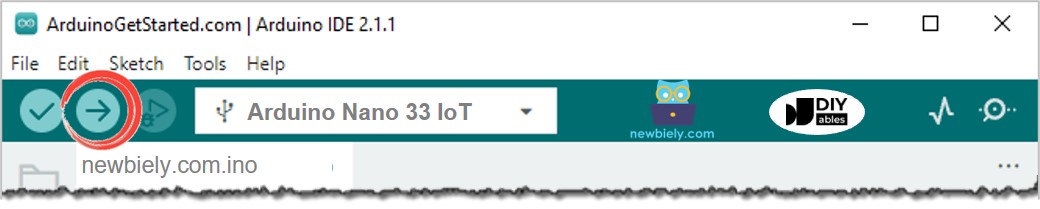
- Copy the code shown above and paste it into the Arduino IDE. Then click the Upload button to check and send the code to your Arduino Nano 33 IoT board.
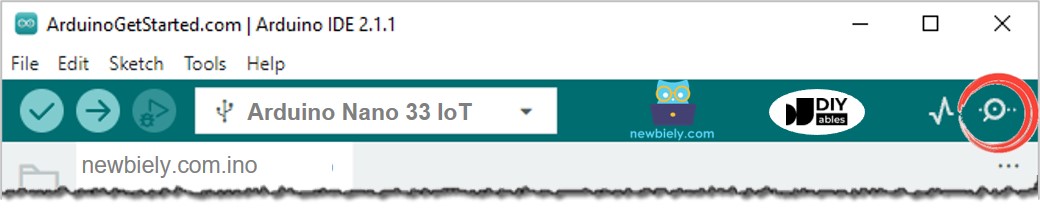
- Open the Serial Monitor in the Arduino program.
- Turn the potentiometer.
- Look at the Serial Monitor. It should show something like this: