Arduino Nano 33 IoT - Motion Sensor
This guide explains how to use the Arduino Nano 33 IoT together with the HC-SR501 motion sensor. In this tutorial, you will learn:
- How does the HC-SR501 motion sensor work
- How to connect the HC-SR501 sensor to an Arduino Nano 33 IoT board
- How to read the sensor’s value to check if a person is nearby
Hardware Preparation
Or you can buy the following kits:
| 1 | × | DIYables Sensor Kit (18 sensors/displays) |
Additionally, some of these links are for products from our own brand, DIYables .
Overview of HC-SR501 Motion Sensor
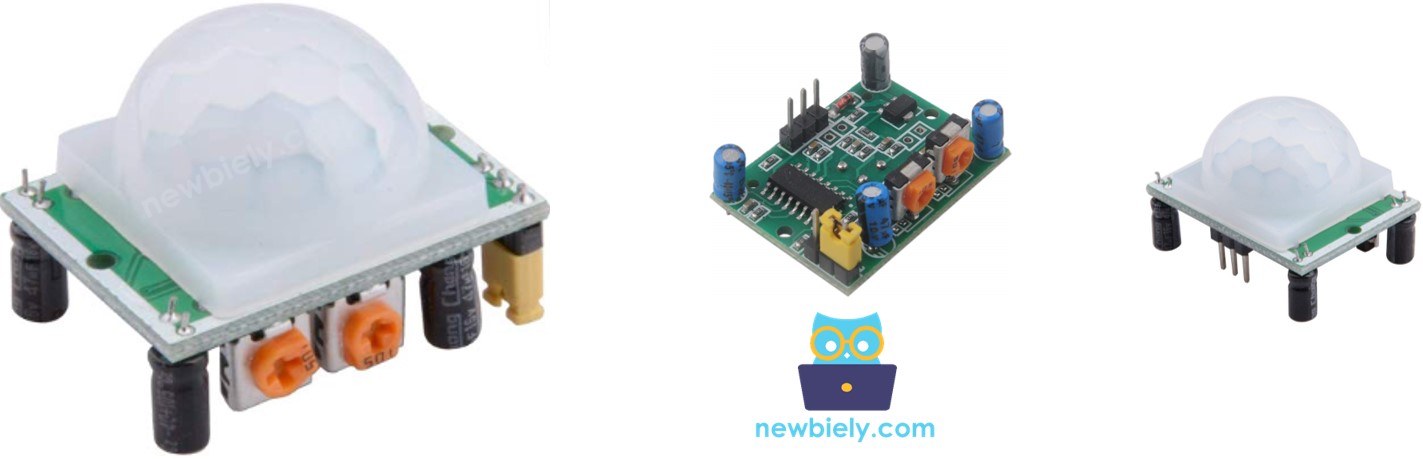
HC-SR501 sensor can sense the movement of people or animals. It is often used to tell if someone is there, such as automatically switching lights on or off, starting or stopping an escalator, spotting an intruder, or opening and closing a door.
HC-SR501 Motion Sensor Pinout
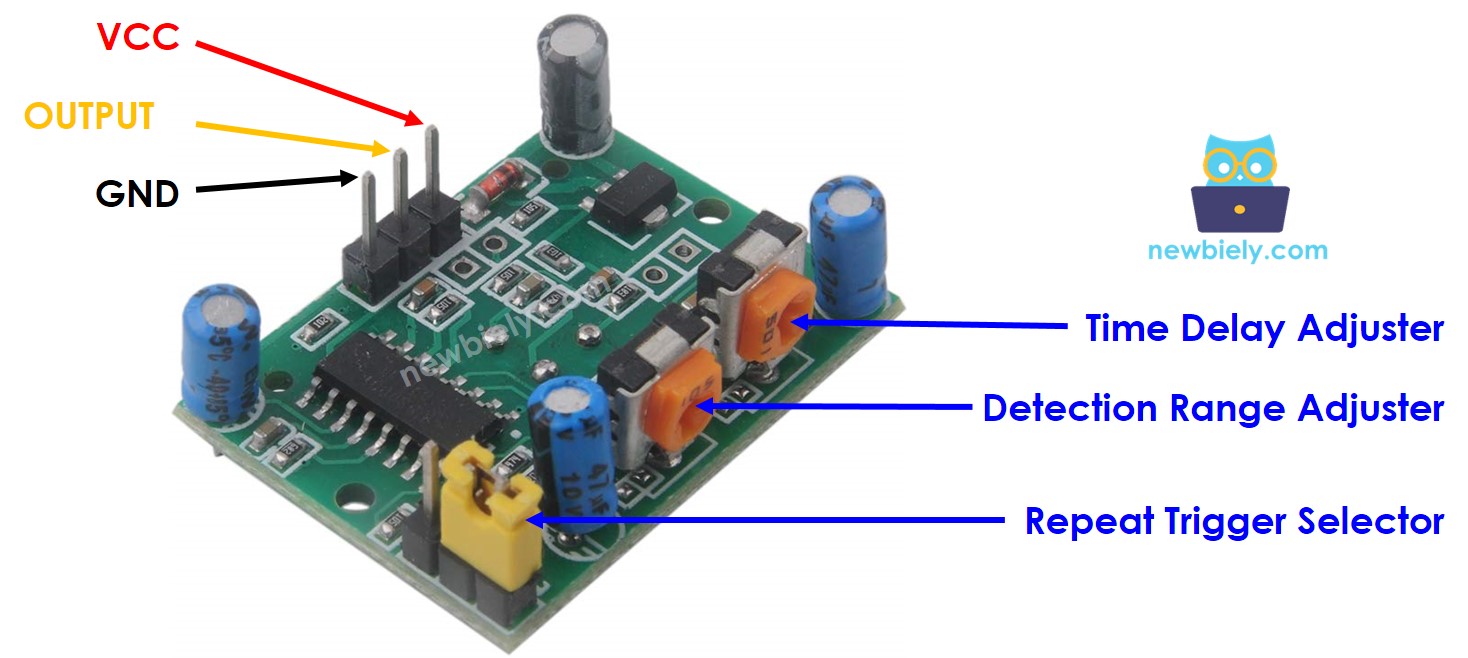
The HC-SR501 motion sensor comes with three pins:
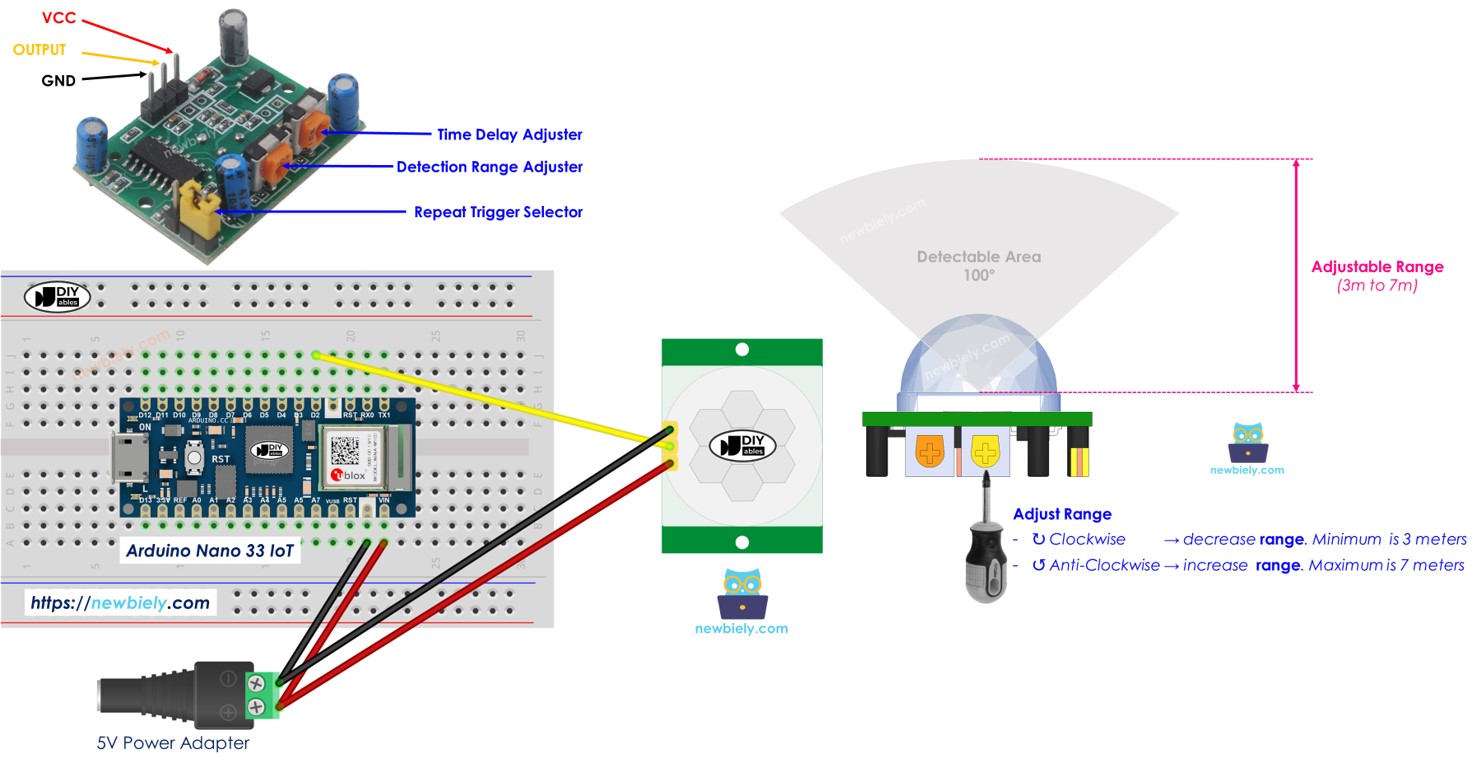
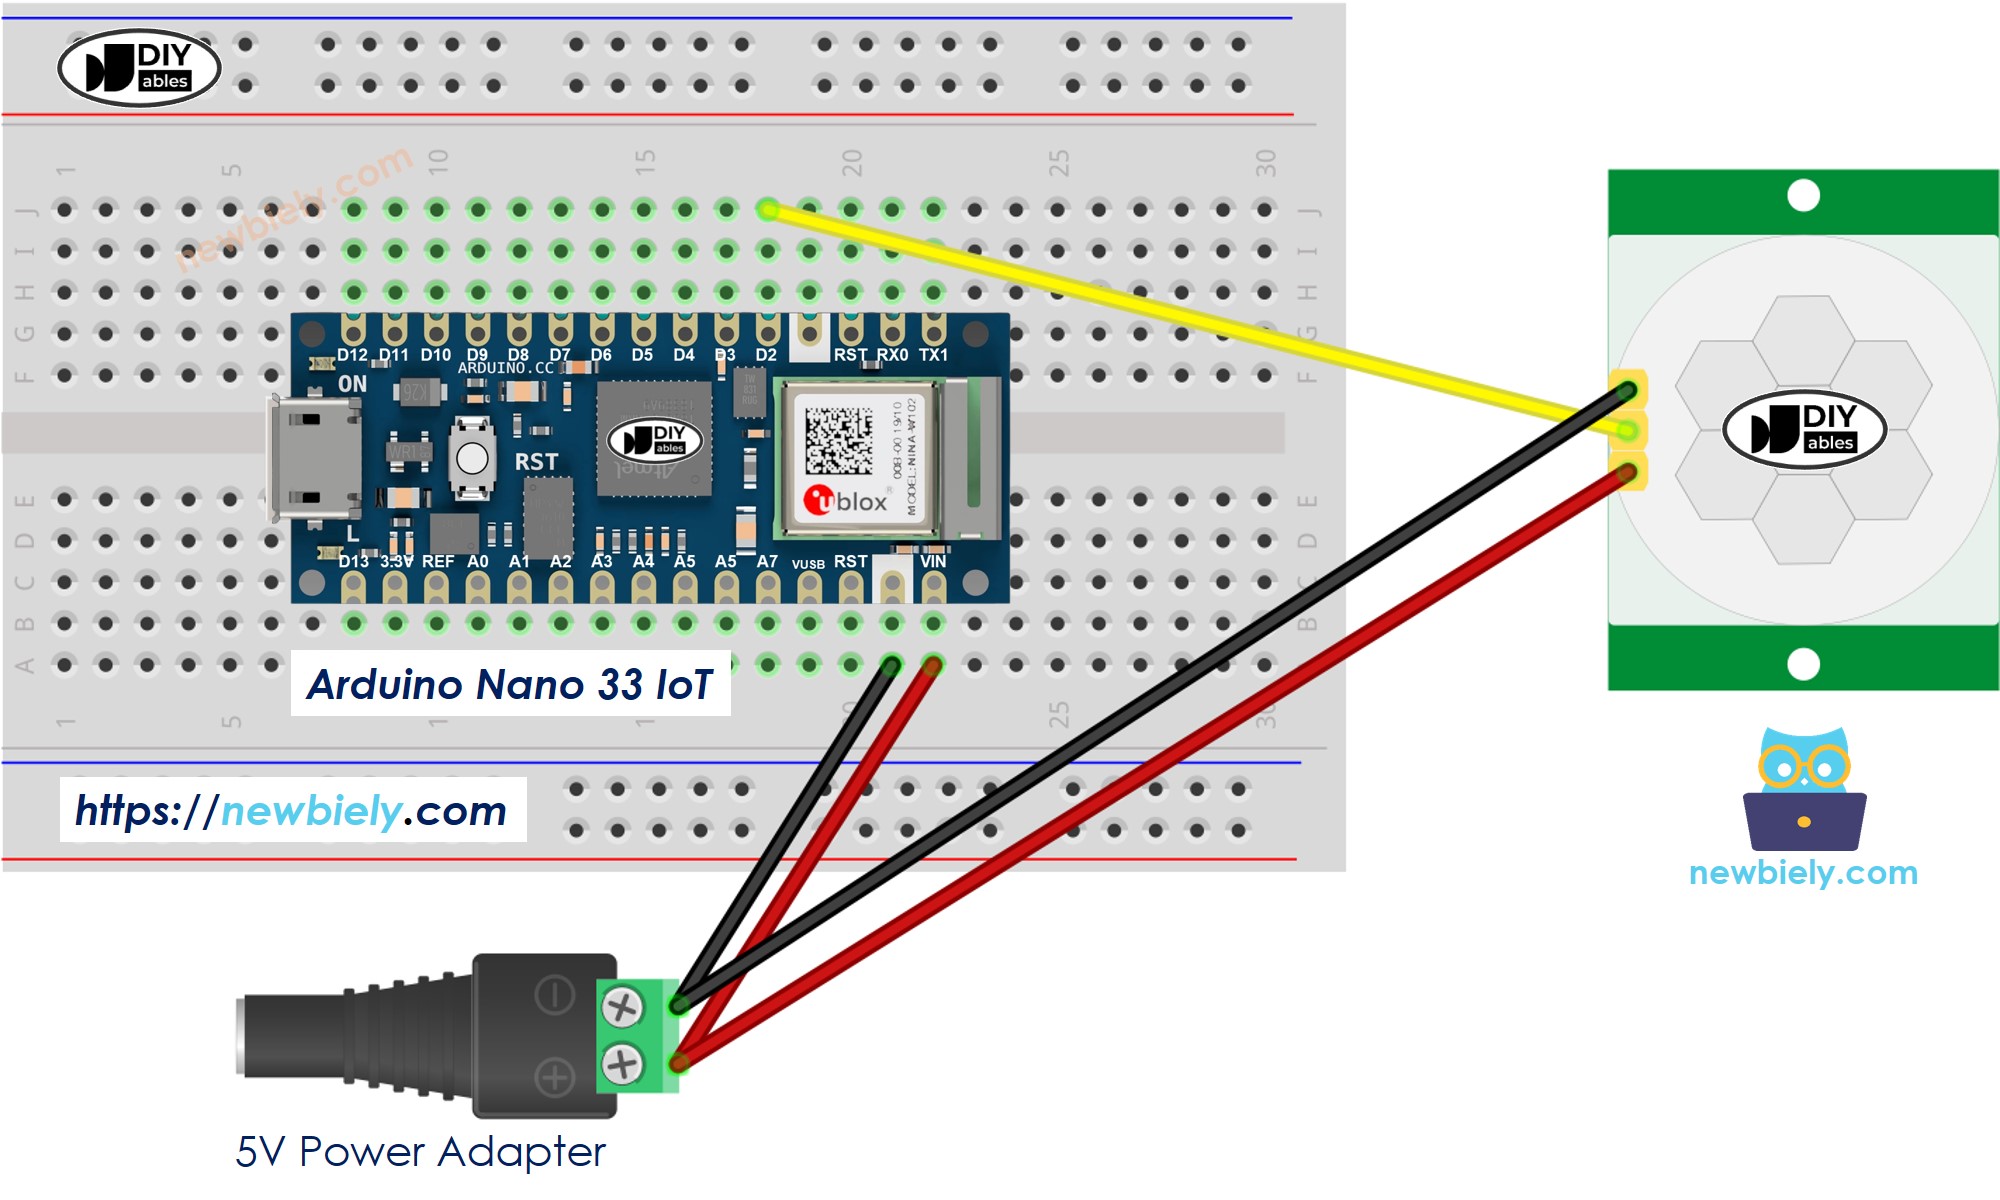
- VCC pin: Hook up this pin to the 5V power supply.
- GND pin: Connect this pin to the ground (0V).
- OUTPUT pin: Attach this pin to an input on the Arduino Nano 33 IoT. It sends a signal based on movement:
- It shows LOW when there is no movement.
- It shows HIGH when it detects movement.
- The object is giving off invisible heat.
- The object is either moving or trembling.
- If an object sends infrared light but stays still (like a person standing without moving), the sensor will not see it.
- If an object moves but does not send infrared light (like a robot or a vehicle), the sensor will not see it.
- If you see movement, there are people.
- If you do not see movement, there are no people.
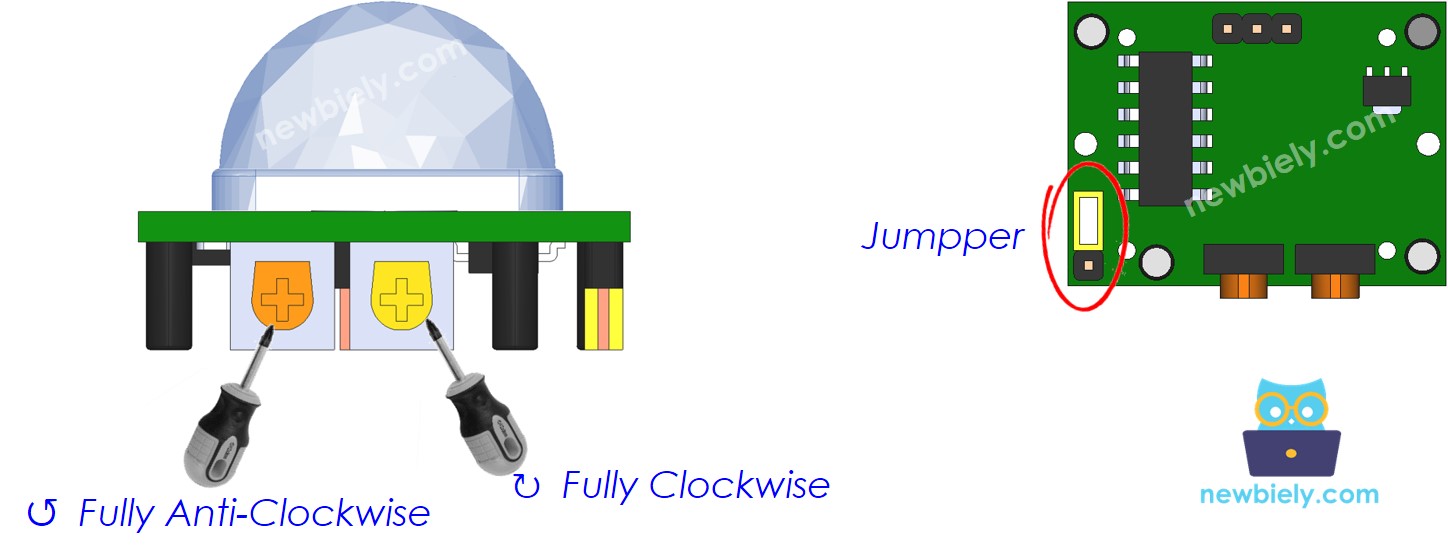
The HC-SR501 motion sensor has two knobs and one jumper. These parts let you change the sensor's settings. For more detailed instructions, please check the Advanced Uses guide available at this link.
How HC-SR501 Motion Sensor Works
The HC-SR501 sensor works by noticing changes in infrared light when an object moves. For the sensor to pick up the object, it must meet two conditions:
This means:
Animals and people naturally give off heat. So if they are moving, the HC-SR501 sensor can detect them.
The video above explains how the motion sensor works. In real life, the sensor might behave differently based on its settings. More details can be found in the Advanced Uses section.
Detecting the Presence of Human
The sensor doesn't actually detect people. It only picks up any movement. When it senses movement, we assume that someone is there.
There is a problem with this rule. In practice, people are in the sensor’s range but not moving, so their movement is not detected. The Arduino Nano 33 IoT (or MCU) then decides that no person is present.
However, the sensor is widely used to detect people in many situations because the issue is not very important and the sensor is very affordable.
Arduino Nano 33 IoT and HC-SR501 Motion Sensor
When you set a pin on the Arduino Nano 33 IoT as a digital input, it can check whether the connected device is in a LOW or HIGH state.
Connect a pin on the Arduino Nano 33 IoT to the HC-SR501 sensor's OUTPUT pin. Then, use the Arduino's code to check the sensor’s output value and detect any motion.
Wiring Diagram between HC-SR501 Motion Sensor and Arduino Nano 33 IoT
- Wiring diagram for powering the Arduino Nano 33 IoT board using a USB port.
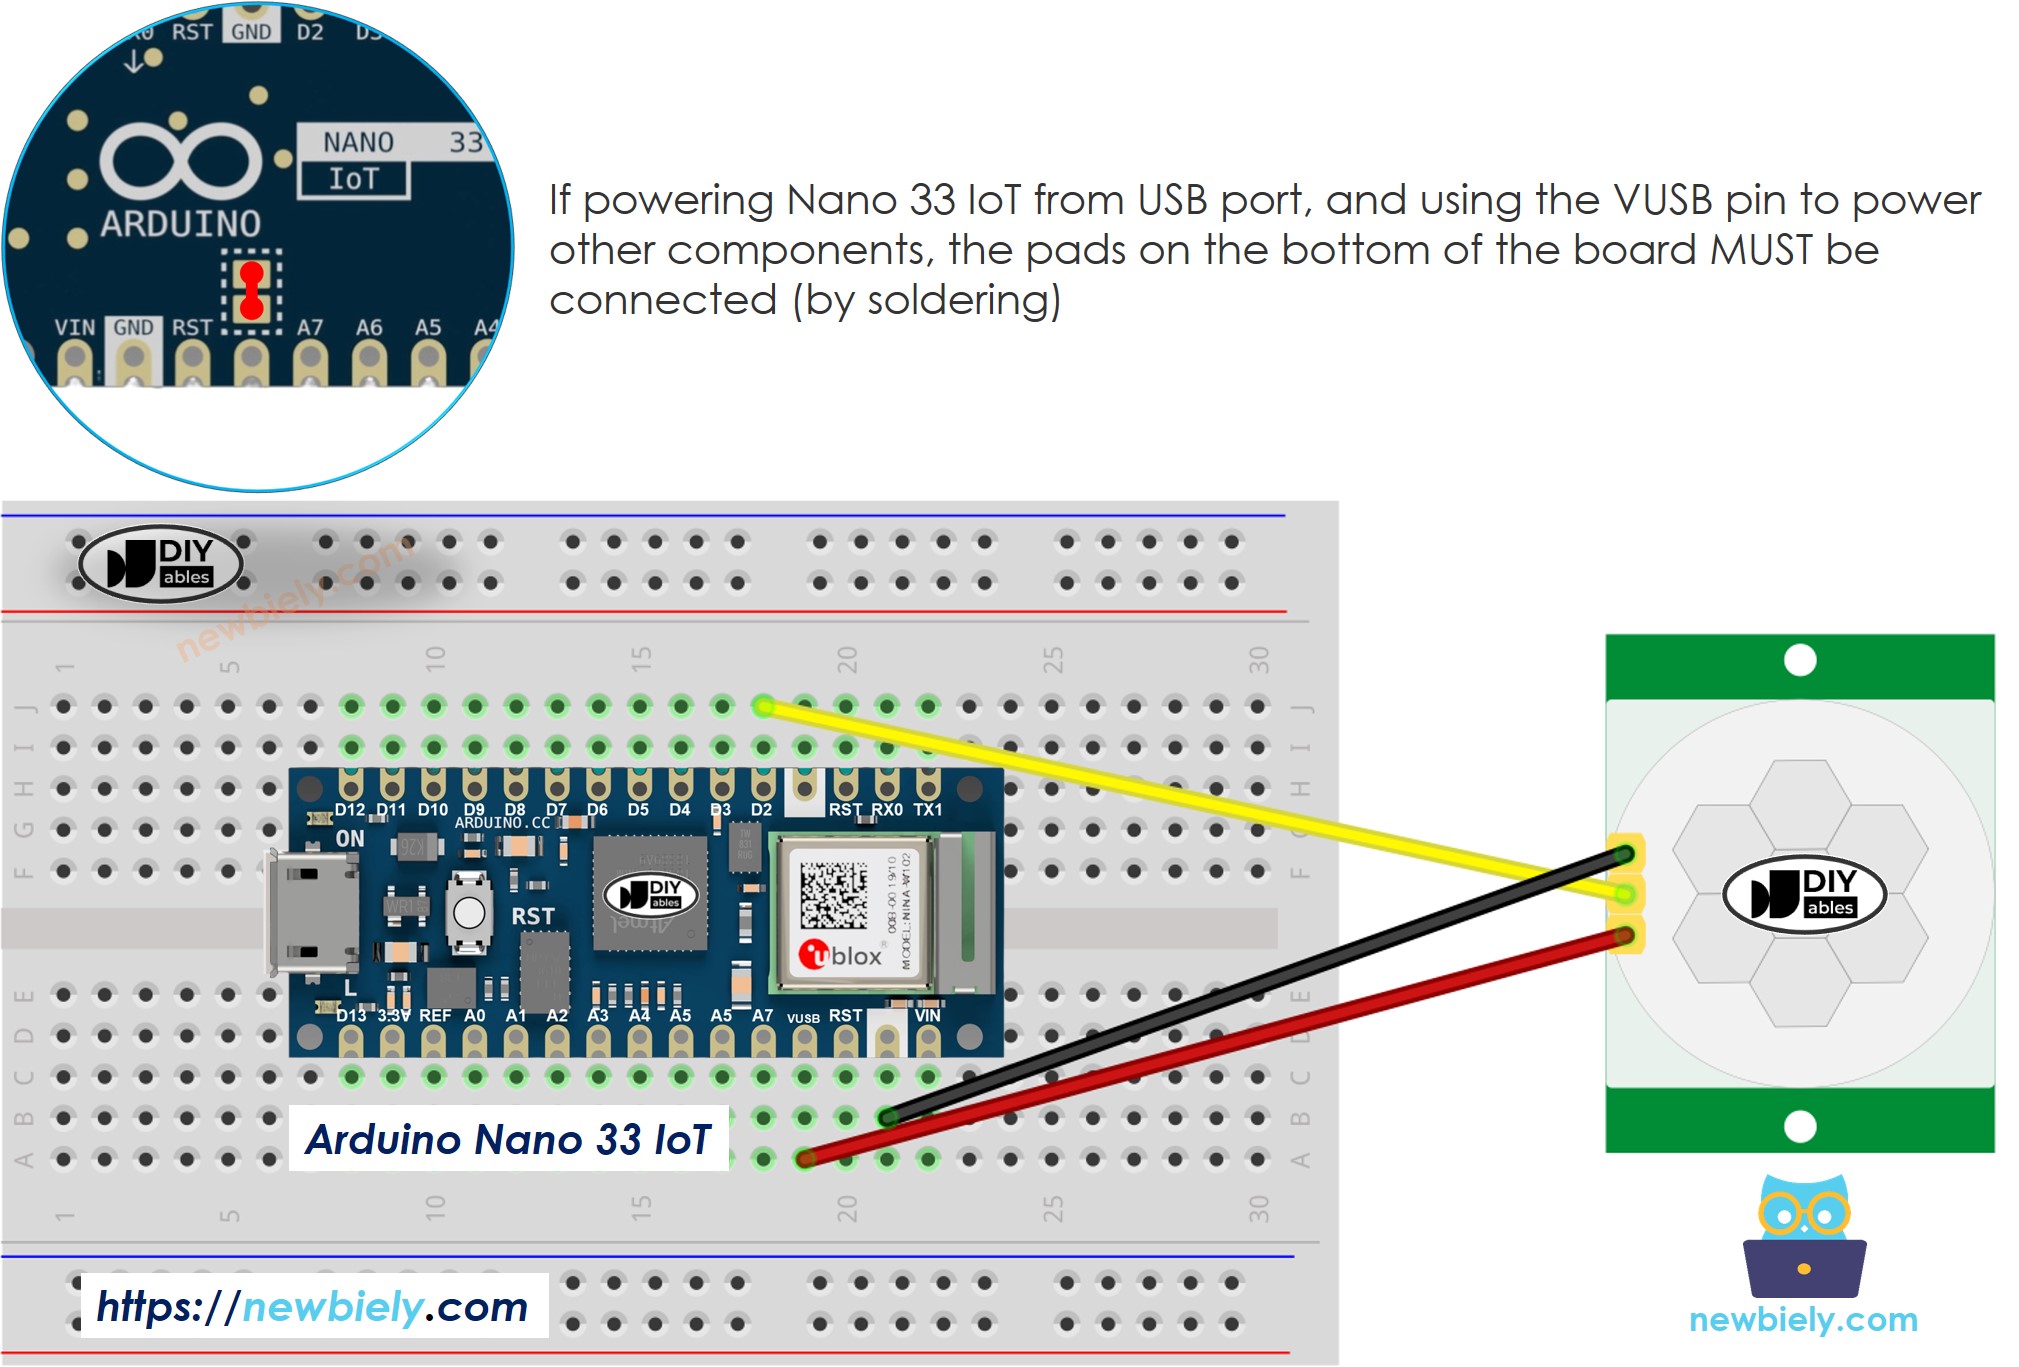
This image is created using Fritzing. Click to enlarge image
- Simple wiring diagram for powering the Arduino Nano 33 IoT board using the Vin pin.
This image is created using Fritzing. Click to enlarge image
※ NOTE THAT:
Please note that the Arduino Nano 33 IoT pins A4 and A5 have built-in pull-up resistors for I2C communication. Although these pins can be used as digital input pins, it is recommended to avoid using them for digital input. If you must use them, do NOT use internal or external pull-down resistors for these pins
Initial Setting
| Detection Range Adjuster | Fully screw it in the clockwise direction. |
| Time Delay Adjuster | Fully screw it in the anti-clockwise direction. |
| Repeat Trigger Selector | Put jumper like the below image. |
How To Program Motion Sensor
- Set one of the pins on your Arduino Nano 33 IoT board as a digital input using the pinMode() function.
- Check the sensor's OUTPUT pin using the digitalRead() function.
- Detect when movement starts (when the pin changes from off to on)
- Detect when movement stops (when the pin changes from HIGH to LOW)
Arduino Nano 33 IoT Code
Detailed Instructions
If you are new to the Arduino Nano 33 IoT, be sure to check out our Getting Started with Arduino Nano 33 IoT tutorial. Then, follow these steps:
- Connect the components to the Arduino Nano 33 IoT board as depicted in the diagram.
- Use a USB cable to connect the Arduino Nano 33 IoT board to your computer.
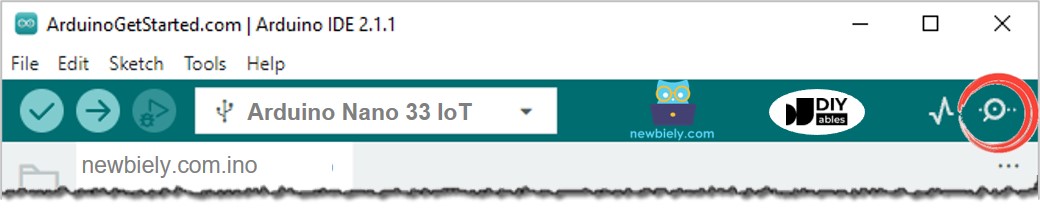
- Launch the Arduino IDE on your computer.
- Select the Arduino Nano 33 IoT board and choose its corresponding COM port.
- Copy the code above and paste it into the Arduino IDE.
- Click the Upload button on the Arduino IDE to build and install the code on your Arduino Nano 33 IoT board.
- Open the Serial Monitor in the Arduino IDE.
- Wave your hand in front of the sensor.
- Look at the output in the Serial Monitor.