Arduino UNO Q - Communication Between Linux and MCU
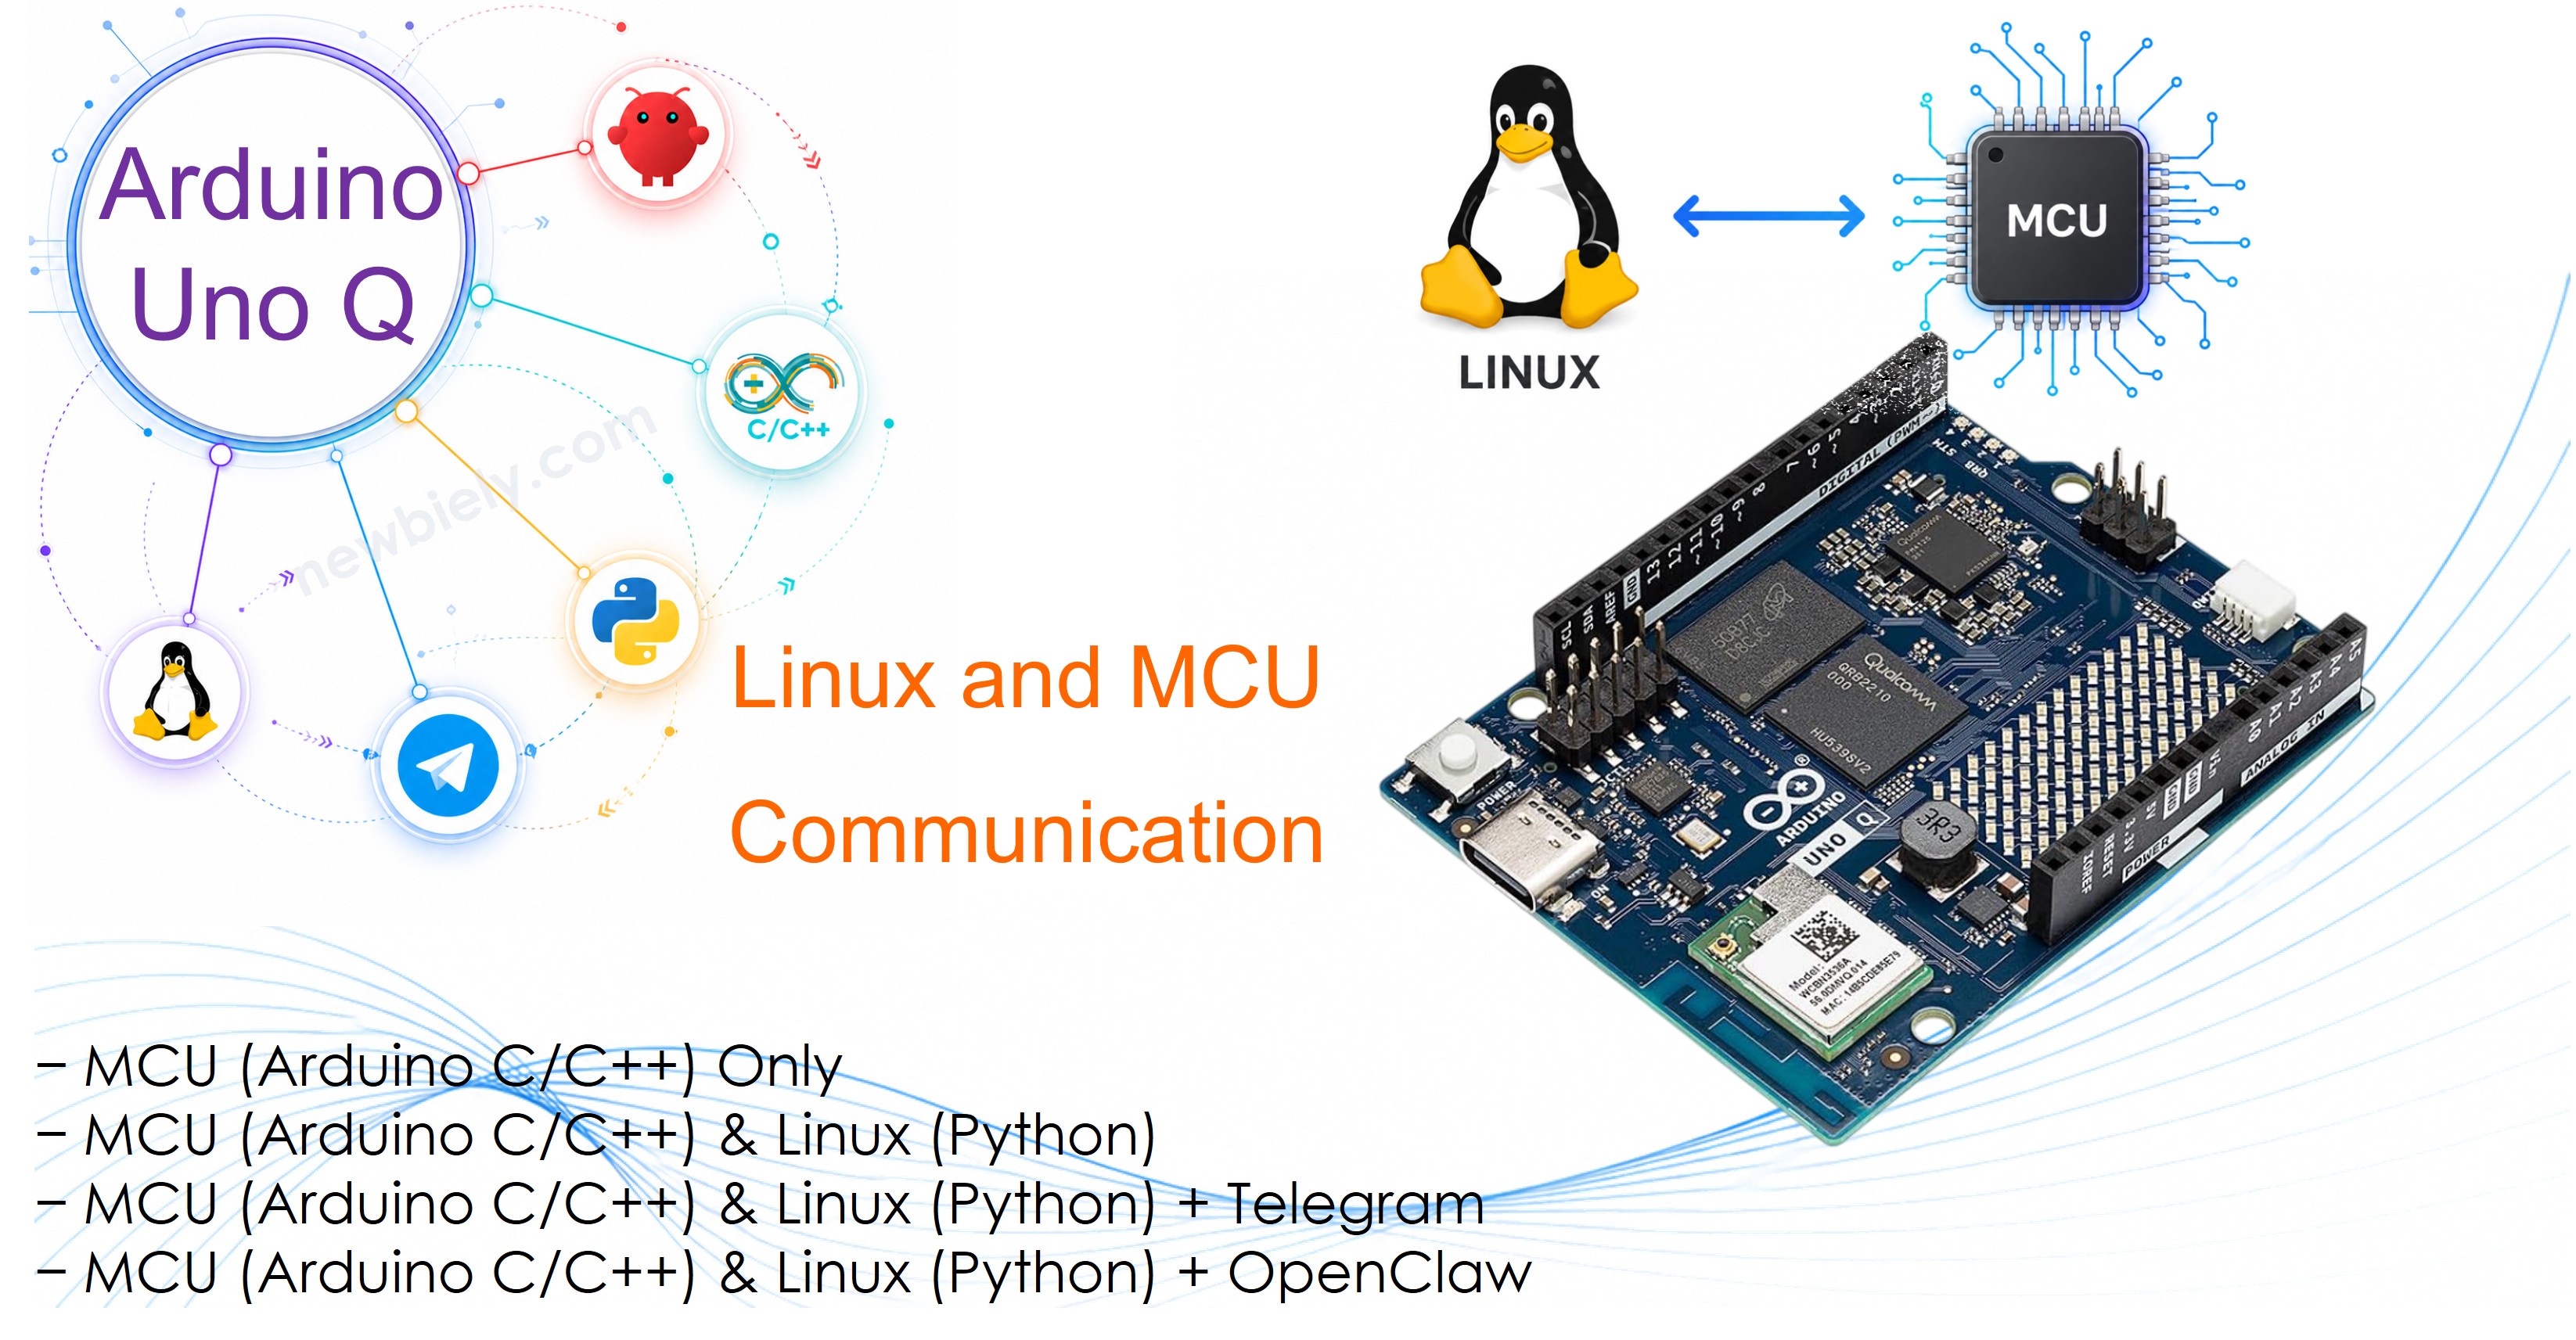
The Arduino UNO Q has two processors: a STM32 MCU running Arduino sketches and a Qualcomm Linux MPU running Python. In this tutorial, you will learn how these two processors talk to each other using the Bridge — the key mechanism that makes Arduino UNO Q unique.
In this tutorial, you will learn:
- How the Bridge works and what the Arduino_RouterBridge library does
- How the Linux side (Python) can call functions on the MCU side
- How the MCU side can send data back to the Linux side
- How to pass arguments and receive return values across the Bridge
Hardware Preparation
Or you can buy the following kits:
| 1 | × | DIYables Sensor Kit (18 sensors/displays) |
Additionally, some of these links are for products from our own brand, DIYables .
How the Bridge Works
The Arduino UNO Q uses an internal serial link between the two processors — this is managed automatically by the Arduino_RouterBridge library. You never open this link directly in your code.
※ NOTE THAT:
/dev/ttyHS1 (on the Linux side) and Serial1 (on the MCU side) are reserved by the router bridge. Never open them in your code — doing so will break the Bridge communication.
The communication follows a request → response model — think of it like a phone call:
- Linux (Python) always makes the call — it asks the MCU to do something or requests a value.
- MCU always answers — it executes the requested function and can send a value back as the response.
- The MCU never calls Linux on its own — it only responds when Linux asks.
| Who | What it does | API |
|---|---|---|
| Linux (Python) | Sends a request to the MCU | Bridge.call("fn") |
| MCU (C/C++) | Receives the request, runs the function, responds | Bridge.provide_safe("fn", fn) |
This means data can flow in both directions — but Linux always starts the conversation:
- Linux → MCU: Linux sends a command (e.g. "turn LED on") and the MCU executes it.
- MCU → Linux: Linux asks "what is the sensor value?" and the MCU replies with the data.
The MCU cannot start a conversation on its own. If the MCU needs to report something (e.g. a button was pressed), the workaround is polling: the MCU saves the event in a variable, and Python checks that variable by calling a Bridge.call("get_event") function at regular intervals.
About Monitor vs Serial
On Arduino UNO Q, there are two ways to print output from the MCU:
| Method | Visible in App Lab Console | Requires library |
|---|---|---|
| Monitor.println() | ✅ Yes | Arduino_RouterBridge |
| Serial.println() | ❌ No | None (built-in) |
Use Monitor.println() when you want to see MCU output in Arduino App Lab. Serial output goes to the UART pins only and is not visible in App Lab.
Example 1: Linux Calls the MCU (Linux → MCU)
This is the most common pattern. The Python script calls a function on the MCU — for example, to turn an LED on or off.
MCU Code
Python Code
Detailed Instructions
First time with Arduino UNO Q? Follow the Getting Started with Arduino UNO Q tutorial before proceeding.
- Connect: Plug the USB-C cable into the Arduino UNO Q.
- Open Arduino App Lab: Launch Arduino App Lab and wait until it detects your board.
- Create a new App: Click the Create New App button.

- Give the App a name, for example: LinuxMcuComm1
- Click Create to confirm.

- Paste the MCU sketch: Copy the MCU code above and paste it into sketch/sketch.ino.
- Paste the Python code: Copy the Python code above and paste it into the Python file in the App.
- Install the library: Click the Add sketch library button (the open book icon with a + sign) in the left sidebar.

- Search for Arduino_RouterBridge created by Arduino and click the Install button.
- Upload: Click the Run button in Arduino App Lab.

App Lab Console Output
How It Works
- The MCU registers a function set_led via Bridge.provide_safe().
- The Python script calls Bridge.call("set_led", 1) — this sends an RPC request to the MCU.
- The MCU executes set_led(1) and prints a confirmation via Monitor.println().
- Bridge.call() returns "OK" when the function completes.
Example 2: MCU Sends Data to Linux (MCU → Linux via return value)
In this pattern, the Python side requests a sensor reading from the MCU. The MCU reads the sensor and returns the value back to Python via the Bridge.
MCU Code
Python Code
App Lab Console Output
How It Works
- The MCU function reads a sensor (here simulated with analogRead(A0)) and returns the value as a string.
- On the Python side, Bridge.call("get_value") returns that string — Python can then parse and use it.
- This is the standard pattern for reading any MCU sensor from the Linux side.
Example 3: Passing Arguments from Linux to MCU
The Python side can pass arguments to the MCU function. This is useful for commands that include parameters — for example, setting a target angle, a threshold, or a speed value.
MCU Code
Python Code
App Lab Console Output
How It Works
- Arguments are passed as additional parameters to Bridge.call("function_name", arg1, arg2, ...).
- On the MCU side, the registered function receives arguments as int (or const char * for strings) parameters.
- The MCU can return a result string back to Python as the function return value.
Summary
| Pattern | MCU side | Python side |
|---|---|---|
| Linux calls MCU | Bridge.provide_safe("fn", fn) | Bridge.call("fn") |
| MCU returns a value | return "value" | result = Bridge.call("fn") |
| Linux passes arguments | void fn(int a, int b) | Bridge.call("fn", a, b) |
| MCU console output | Monitor.println("...") | *(visible in App Lab console)* |
※ NOTE THAT:
All Bridge functions must be non-blocking — do not use delay() inside a Bridge-registered function. The Bridge will time out if the MCU function takes too long.
Troubleshooting
Bridge.call() returns an error or empty string:
- Check that the function name in Bridge.call("name") exactly matches the name used in Bridge.provide_safe("name", fn) on the MCU side — it is case-sensitive.
- Make sure Bridge.begin() is called in setup() before Bridge.provide_safe().
MCU output does not appear in App Lab:
- Use Monitor.println() — not Serial.println(). Only Monitor output appears in the App Lab console.
- Make sure Monitor.begin() is called in setup().
The board stops responding after a while:
- Do not open /dev/ttyHS1 (Linux) or Serial1 (MCU) in your code — these are reserved for the Bridge router.
- Avoid using delay() inside Bridge-registered functions.