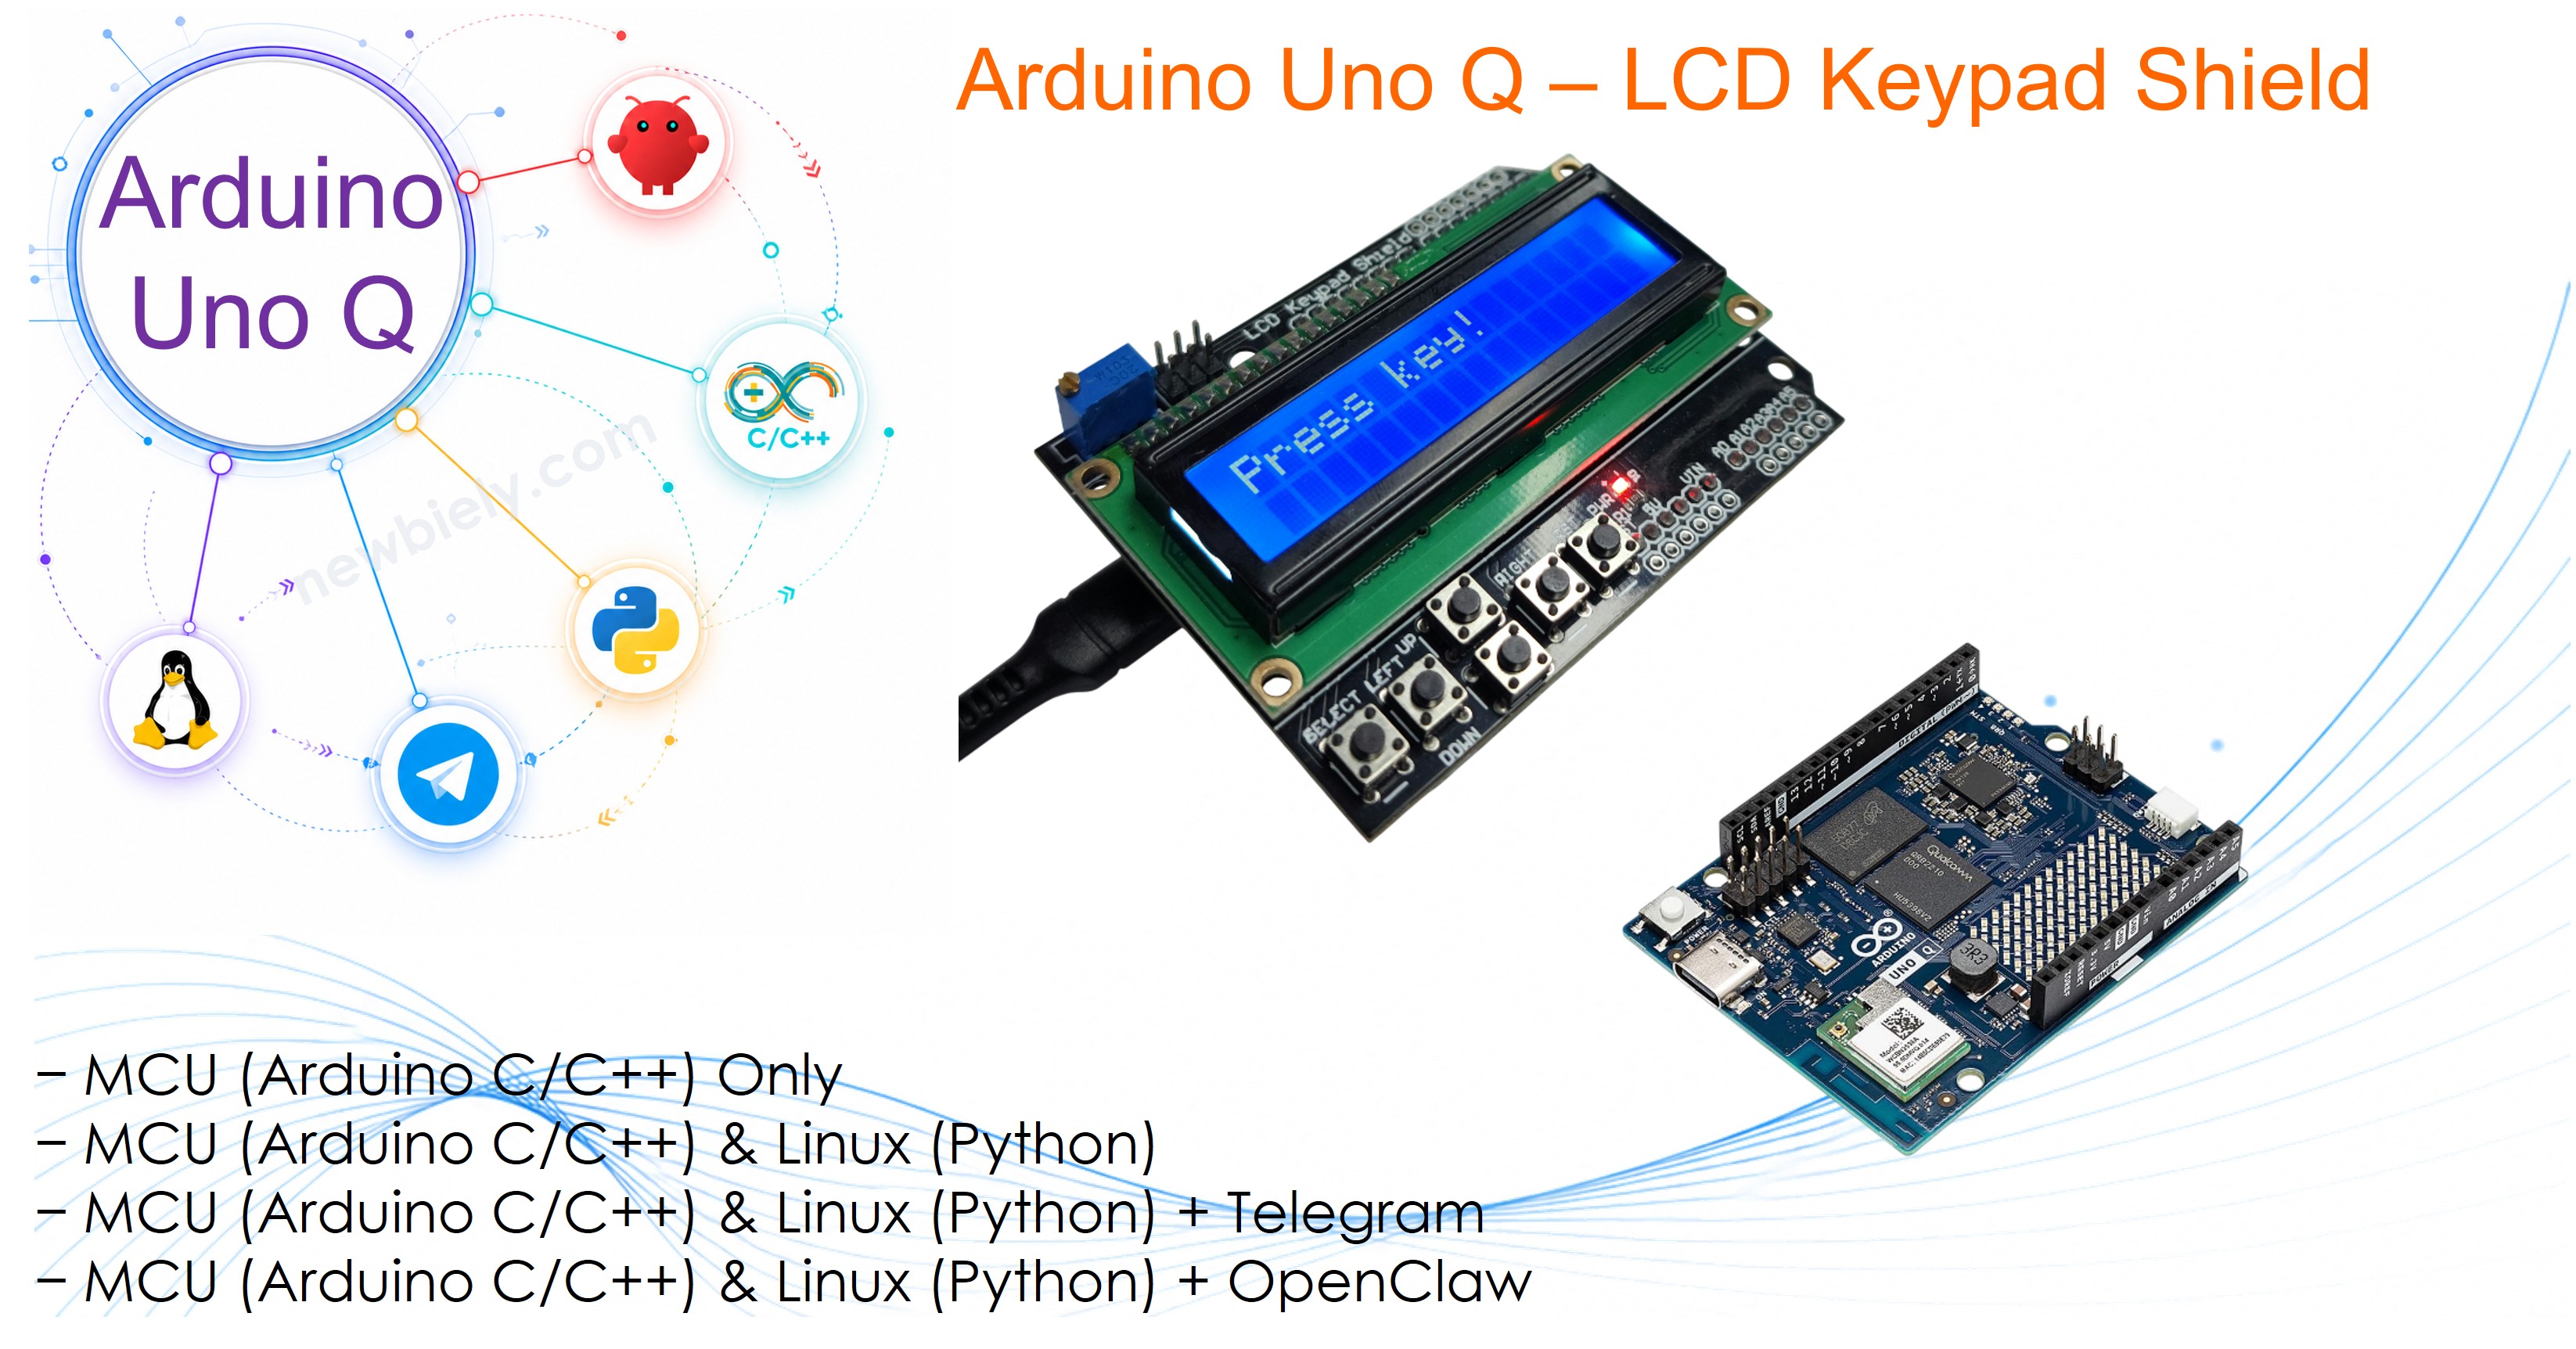
Arduino UNO Q - LCD Keypad Shield
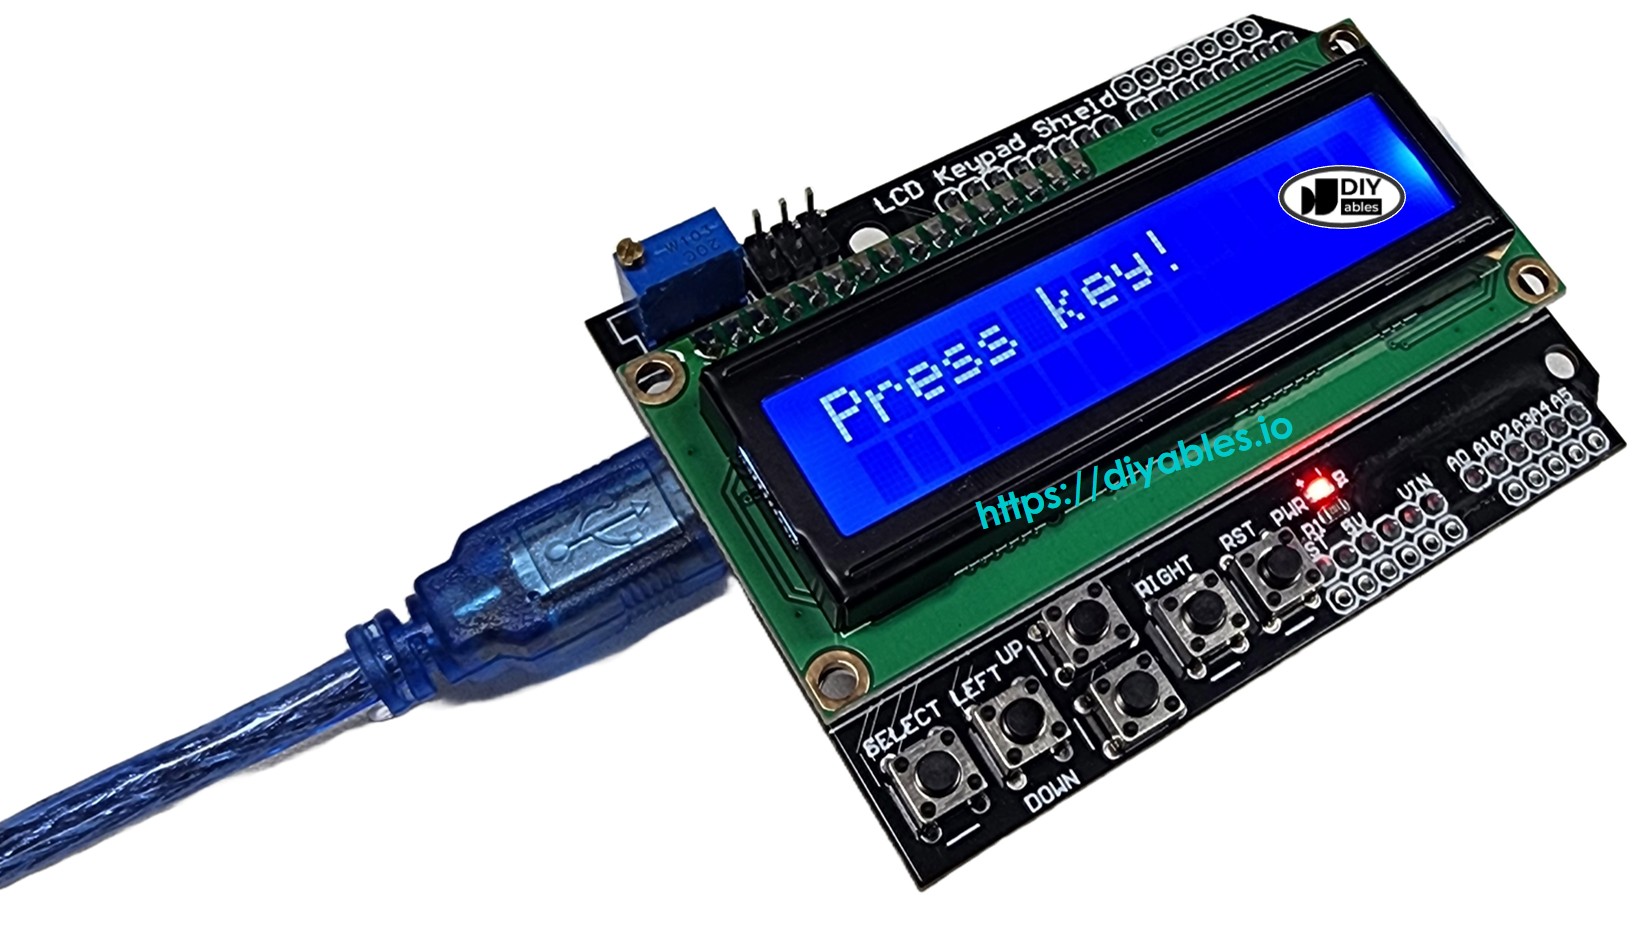
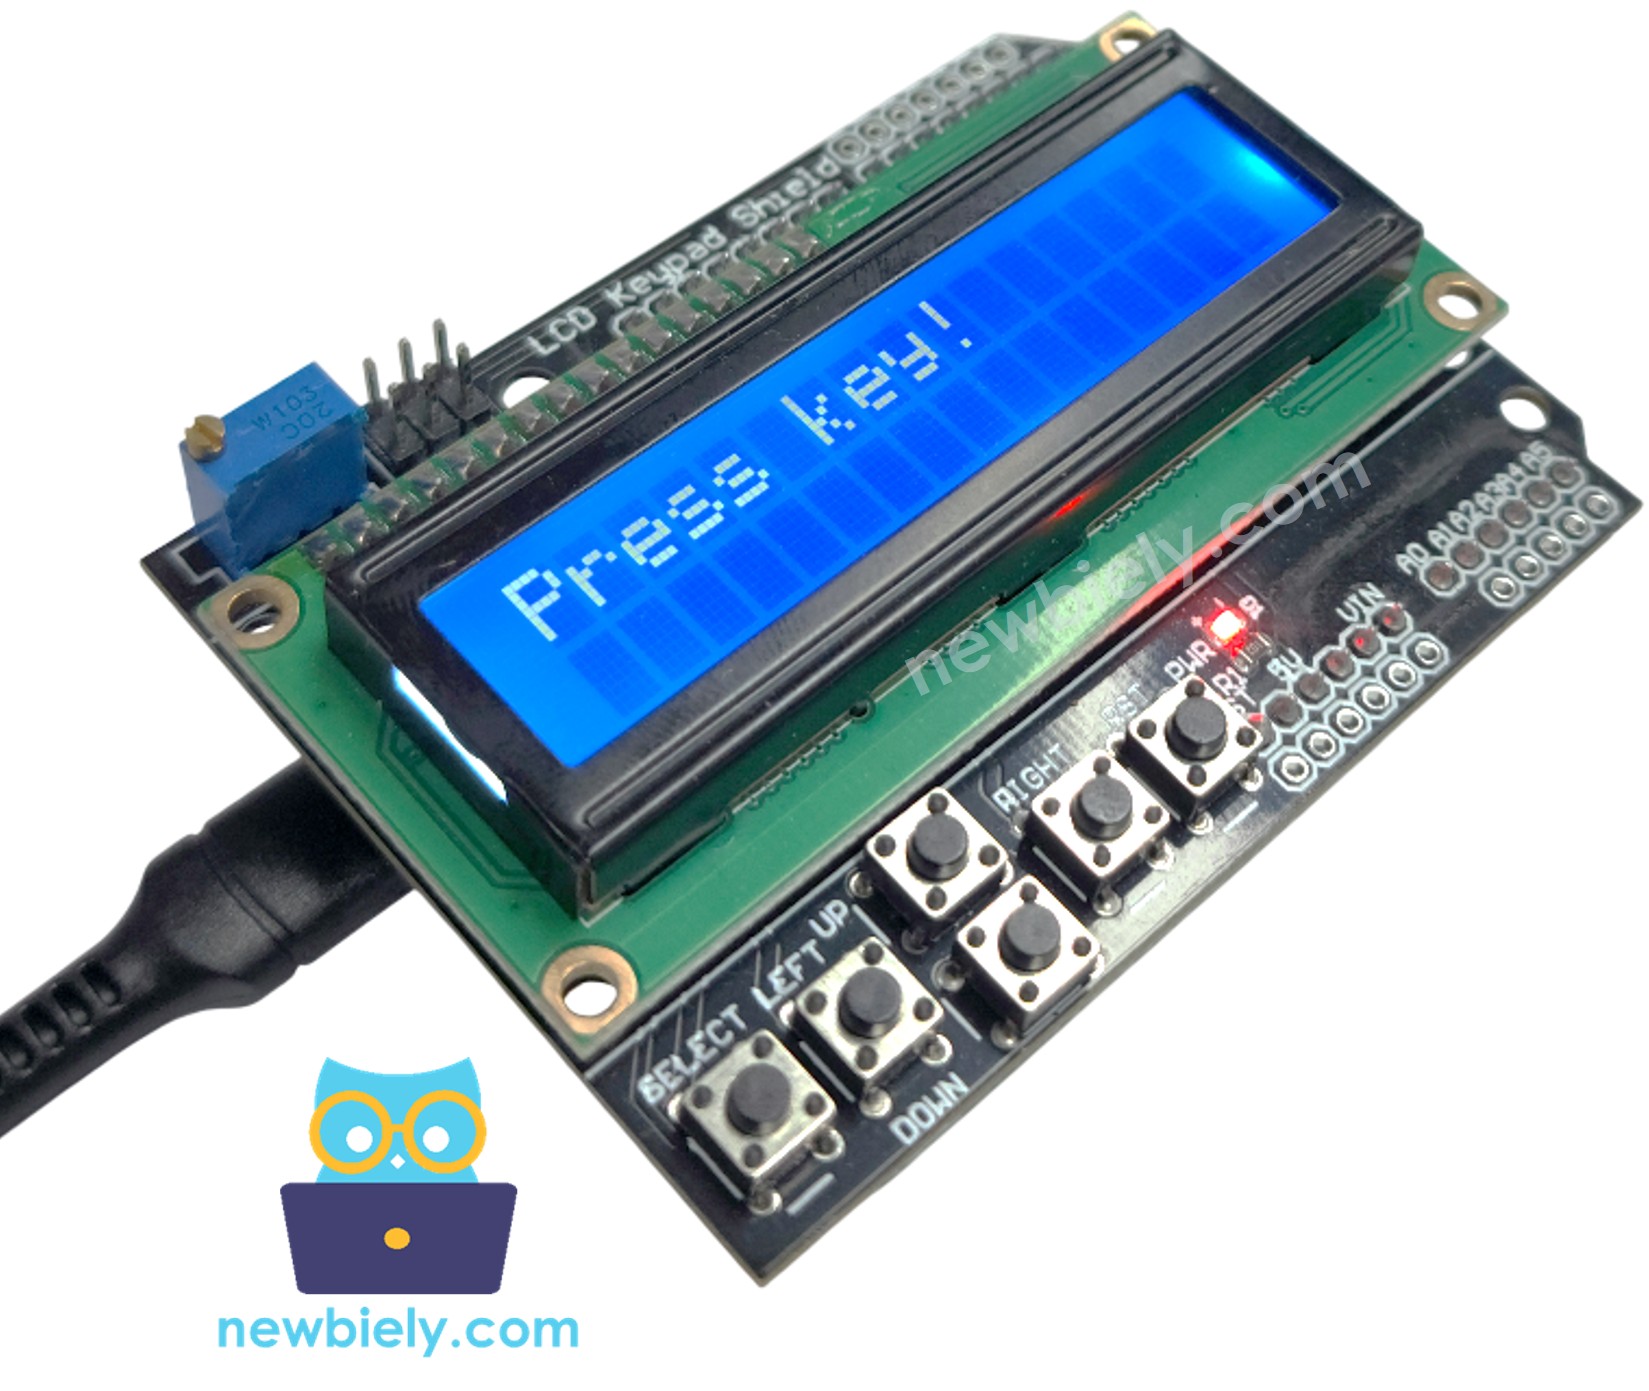
Getting user input and displaying feedback is a core skill in any Arduino project, and the LCD Keypad Shield makes it effortless on Arduino UNO Q. This all-in-one shield stacks directly onto your Arduino UNO Q, giving you a 16×2 LCD display and five input buttons in a single compact board — no extra wiring required!
In this tutorial, you will learn:
- What the LCD Keypad Shield is and how it works
- How to wire (stack) the LCD Keypad Shield to Arduino UNO Q
- How to program the MCU (C/C++ Arduino code) on Arduino UNO Q to directly read buttons and control the LCD
- How to program both the Linux side (Python) and MCU side (C/C++ Arduino code) to make the Linux side interact with the MCU side to control the LCD Keypad Shield
- How to use Telegram to message Arduino UNO Q to display messages on the LCD or read button states
- How to use OpenClaw on Arduino UNO Q to control the LCD Keypad Shield
- How to read which button is pressed and display the result on the LCD screen
Hardware Preparation
Or you can buy the following kits:
| 1 | × | DIYables Sensor Kit (18 sensors/displays) |
Additionally, some of these links are for products from our own brand, DIYables .
Overview of the LCD Keypad Shield
The LCD Keypad Shield is a plug-and-play Arduino shield that combines a 16×2 character LCD display with five input buttons on a single board.
- Display: 16×2 LCD — shows 2 rows of 16 characters, driven by the LiquidCrystal library
- Buttons: 5 input buttons (Right, Up, Down, Left, Select) — all connected to a single analog pin (A0) using a resistor ladder
- Reset: 1 dedicated Reset button to restart the Arduino UNO Q
- Contrast: Built-in potentiometer (knob) to adjust LCD contrast
- Form factor: Standard Arduino shield — stacks directly onto Arduino UNO Q pins, no extra wiring needed
- Why it's great for beginners: Plug-in and go — no soldering, no jumper wires, and you get immediate visual feedback
Pinout
The LCD Keypad Shield connects to Arduino UNO Q through its shield headers. Here is how each pin maps:
| Shield Pin | Function | Arduino UNO Q Pin |
|---|---|---|
| DB4 | LCD Data | 4 |
| DB5 | LCD Data | 5 |
| DB6 | LCD Data | 6 |
| DB7 | LCD Data | 7 |
| RS | Register Select | 8 |
| E | Enable | 9 |
| Analog A0 | Button Input | A0 |
- Reset Button: Restarts the Arduino UNO Q when pressed
- Potentiometer (Knob): Adjusts the LCD contrast — twist it if the screen looks blank or too dark
※ NOTE THAT:
Compatibility Note for Arduino UNO Q:
- LCD display: Works perfectly — the LiquidCrystal library drives all 16×2 display functions without issue.
- Buttons — important: The buttons are all wired to a single analog pin (A0) through a resistor ladder. The shield was designed for a 5V ADC, but the STM32 on Arduino UNO Q uses a 3.3V reference with a 12-bit ADC (0–4095). Different shield manufacturers use different resistor values, so the ADC reading for each button varies between shields. You must calibrate the thresholds for your specific shield (see the Troubleshooting section) — otherwise buttons may be detected incorrectly (for example, LEFT detected as DOWN).
- SELECT button: Depends on your shield variant. On some shields, SELECT produces a voltage above 3.3V, which clips to 4095 (same as "no key") — SELECT cannot be detected. On other shields, SELECT produces a voltage below 3.3V and can be detected. Calibrate first to find out.
The LCD Keypad Shield from DIYables used in this tutorial works well with Arduino UNO Q for all five buttons, including SELECT.
Wiring Diagram
No wiring needed — just stack the LCD Keypad Shield directly onto your Arduino UNO Q and the pins align automatically.
This image is created using Fritzing. Click to enlarge image
- Note: Make sure the shield is pressed down firmly so all pins make solid contact.
MCU Code (Direct Arduino Sketch)
The Arduino UNO Q has two processors — like two brains in one board: the STM32 MCU (handles real-time hardware control) and the Qualcomm MPU (runs Linux). In this section, we program only the STM32 MCU using Arduino C/C++ — the Linux side stays idle. In a later section, we will program both processors and make them interact with each other.
Here is the Arduino sketch that runs directly on the STM32 MCU to detect button presses and show results on the LCD.
- Initializes the 16×2 LCD using the LiquidCrystal library
- Reads the analog value from A0 to detect which button is pressed
- Displays the pressed button's name on the LCD in real time
- Reports button events to the App Lab console via Monitor.println()
Detailed Instructions
- First time with Arduino UNO Q? Follow the Getting Started with Arduino UNO Q tutorial to get your development environment ready before proceeding.
- Stack the shield: Press the LCD Keypad Shield firmly onto your Arduino UNO Q — all pins should align and seat fully.
- Connect: Plug the Arduino UNO Q into your computer with a USB-C cable.
- Open Arduino App Lab: Launch Arduino App Lab and wait until it detects your Arduino UNO Q — this can take several minutes on first launch.
- Create a new App: Click the Create New App button.

- Give the App a name, for example: DIYables_LCD_Keypad_Shield
- Click Create to confirm.
- You will see a set of folders and files generated inside your new App.

- Find the sketch/sketch.ino file — this is where you will paste the MCU sketch.
- Install the library: Click the Add sketch library button (the open book icon with a + sign) in the left sidebar.

- Search for LiquidCrystal created by Arduino, Adafruit and click the Install button.
- Search for Arduino_RouterBridge created by Arduino and click the Install button.
- Upload: Click the Run button in Arduino App Lab to compile and upload to the STM32.

- Test: Press each button (Right, Up, Down, Left, Select) one by one and watch the LCD update.
- Blank screen? Twist the contrast knob on the shield until the text becomes clearly visible.
- Pro Tip: Press the Reset button on the shield to restart your sketch without unplugging the USB-C cable.
App Lab Console Output
Bonus: Cleaner Code
Want your code to look more professional? Here is an advanced version with well-organized functions:
Linux + MCU Bridge Programming
The Arduino UNO Q has two processors that work together: the MPU (Qualcomm, runs Debian Linux) and the MCU (STM32, runs Zephyr OS with your Arduino sketch). They communicate using RPC via the Arduino_RouterBridge library — never via raw serial ports.
- MPU (Linux side): Runs Python to poll button state and send text to the LCD
- MCU (STM32 side): Handles real-time button reading and LCD updates
- Communication: Bridge.call() on the Linux side invokes Bridge.provide() functions on the MCU side
- ⚠️ Reserved: /dev/ttyHS1 (Linux) and Serial1 (MCU) are used by the Arduino Router — never open them directly
MCU sketch — exposes button reading and LCD writing to the Linux side:
Python script (Arduino App Lab) — poll button state and update the LCD from Linux:
- Note: Make sure Bridge.begin() is called in the MCU sketch and the sketch is uploaded before running the Python script on the Linux side.
- ⚠️ Warning: Never directly open /dev/ttyHS1 (on Linux) or use Serial1 (on MCU) in your code — these are reserved by the Arduino Router and accessing them will break the Bridge.
Detailed Instructions
- Upload the MCU sketch: Open Arduino App Lab, create a new App, paste the MCU sketch above into the Sketch tab, and click Run.
- Add the Python script: Paste the Python code above into the Python tab of the same App.
- Run the App: Click Run — the Linux side will start polling the button state every 0.5 seconds.
- Press buttons: Press any of the five buttons and watch both the LCD and the App Lab console update in real time.
- Pro Tip: Increase the time.sleep() value to reduce polling frequency and lower CPU usage on the Linux side.
App Lab Console Output
Telegram Integration
You can control your Arduino UNO Q LCD Keypad Shield remotely over Telegram — display any message on the LCD screen or check which button is being pressed, from anywhere.
If you do not have a Telegram bot yet, see How to Create a Telegram Bot to get your bot token before continuing.
This section covers:
- Running a Python script on the Linux side of Arduino UNO Q to listen for Telegram messages
- Forwarding commands from Telegram to the MCU side to update the LCD or read button state
- Sending the MCU result back as a Telegram reply
MCU sketch: Keep the same MCU sketch from the previous Bridge section — no changes needed. Make sure it is already uploaded and running on the STM32 before proceeding.
Python script (Arduino App Lab) — Telegram bot for LCD Keypad Shield:
- Note: Replace YOUR_BOT_TOKEN with the token obtained from @BotFather on Telegram.
- Send /lcd Hello UNO Q! to display a message on the LCD screen.
- Send /button to check which button is currently being pressed on the shield.
Detailed Instructions
- Create a Telegram bot: Message @BotFather on Telegram, send /newbot, follow the prompts, and copy your bot token.
- Upload the MCU sketch: Use the Bridge MCU sketch from the previous section (upload it first if not already done).
- Paste the Telegram script: Copy the Python code above into the Python tab of your App in Arduino App Lab.
- Set your token: Replace YOUR_BOT_TOKEN in the script with your actual bot token.
- Run the App: Click Run — the bot starts listening for Telegram messages immediately.
- Test it: Send /lcd Hello! to your bot and watch the text appear on the LCD.
- Pro Tip: Use /button to remotely check which shield button a user is pressing — great for remote debugging or game controllers.
App Lab Console Output

ArduinoBot
OpenClaw Integration
You can adapt the OpenClaw to this tutorial by refering the instruction on Arduino Uno Q - OpenClaw Tutorial
Application/Project Ideas
Here are some fun project ideas you can build with the LCD Keypad Shield and Arduino UNO Q:
- Menu-driven system: Use Up/Down buttons to scroll through menu items displayed on the LCD
- Digital scoreboard: Track scores for a two-player game, using the Select button to reset
- PIN code input: Enter a code using the buttons and display masked feedback on the LCD
- Telegram-controlled display: Let anyone message your Arduino UNO Q to update what is shown on the LCD remotely
- Remote sensor dashboard: Display temperature or humidity readings from sensors on the LCD, readable and updatable via Telegram
- Simple stopwatch: Start/Stop with Select, reset with Left, and show elapsed time on the 16×2 display
Need more LCD tricks? Check out the Arduino LiquidCrystal LCD tutorial for more ideas.
Challenge Yourself
Try these challenges with your LCD Keypad Shield and Arduino UNO Q to level up your skills:
- Easy: Make the LCD display a welcome message on line 1 and update line 2 with the name of each button as it is pressed
- Medium: Build a stopwatch — use Select to start/stop and Left to reset, displaying elapsed time on the LCD updated every second
- Advanced: Create a Telegram-controlled multi-level menu where users navigate LCD menus remotely by sending Up/Down/Select commands via the Telegram bot
Troubleshooting
Buttons are detected incorrectly (wrong button name shown):
The button ADC values vary between shield manufacturers. The code is pre-calibrated for Arduino UNO Q, but if your shield uses different resistors, you need to recalibrate. Upload the calibration sketch below, hold each button one at a time, and note the ADC value shown on the LCD and App Lab console:
Write down your results:
| Button | Your ADC value |
|---|---|
| RIGHT | ? |
| UP | ? |
| DOWN | ? |
| LEFT | ? |
| SELECT | ? |
| NONE | ? |
Then set each threshold in your sketch to the midpoint between two adjacent button values. For example, if UP = 590 and DOWN = 1500, the threshold between them is (590 + 1500) / 2 = 1045.
SELECT button does not work:
Some shields use a higher-resistance ladder that pushes the SELECT voltage above 3.3V — the STM32's ADC limit. In this case SELECT clips to 4095 (same as no key pressed) and cannot be detected. Use the calibration sketch to check: if SELECT and NONE both read 4095, SELECT is unusable on your shield.
Blank or garbled LCD screen:
Twist the contrast knob (potentiometer) on the shield until the text becomes clearly visible.