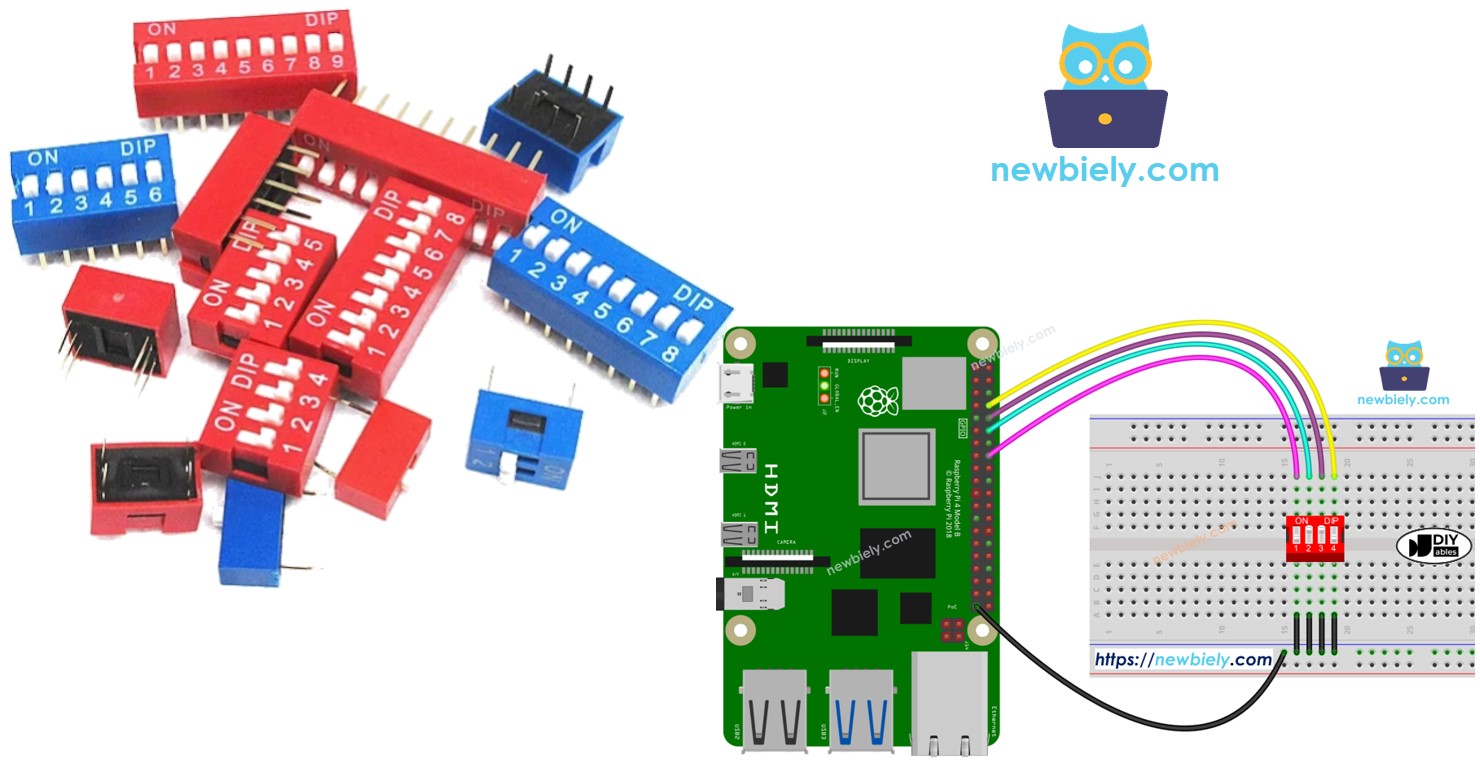
Raspberry Pi - DIP Switch
DIP (Dual In-line Package) switches find widespread application in electronics for configuration tasks like establishing device addresses, toggling features, and more. This tutorial aims to delve into utilizing the DIP switch with Raspberry Pi. Specifically, we'll cover:
- Understanding the DIP switch and how it works
- Connecting the DIP switch to Raspberry Pi
- Programming Raspberry Pi to read the ON/OFF states of the DIP switch
- Programming Raspberry Pi to read the numerical values set by the DIP switch
Hardware Preparation
Or you can buy the following kits:
| 1 | × | DIYables Sensor Kit (18 sensors/displays) |
Additionally, some of these links are for products from our own brand, DIYables .
Overview of DIP Switch
DIP switches are mainly used for configuring devices, allowing users to set parameters like device addresses, communication settings, security codes, operation modes, and system preferences across various industries and applications.
A DIP switch consists of several small slide switches packaged together. Each slide switch is called a "position." DIP switches come in various types depending on the number of positions they have. For example, there are 2-position, 4-position, 5-position, 6-position, 8-position, and 10-position DIP switches.
A DIP switch can represent a configurable number. Each position on the switch corresponds to a bit of the number. By toggling the positions between ON and OFF, we can set the desired number we want.
Pinout
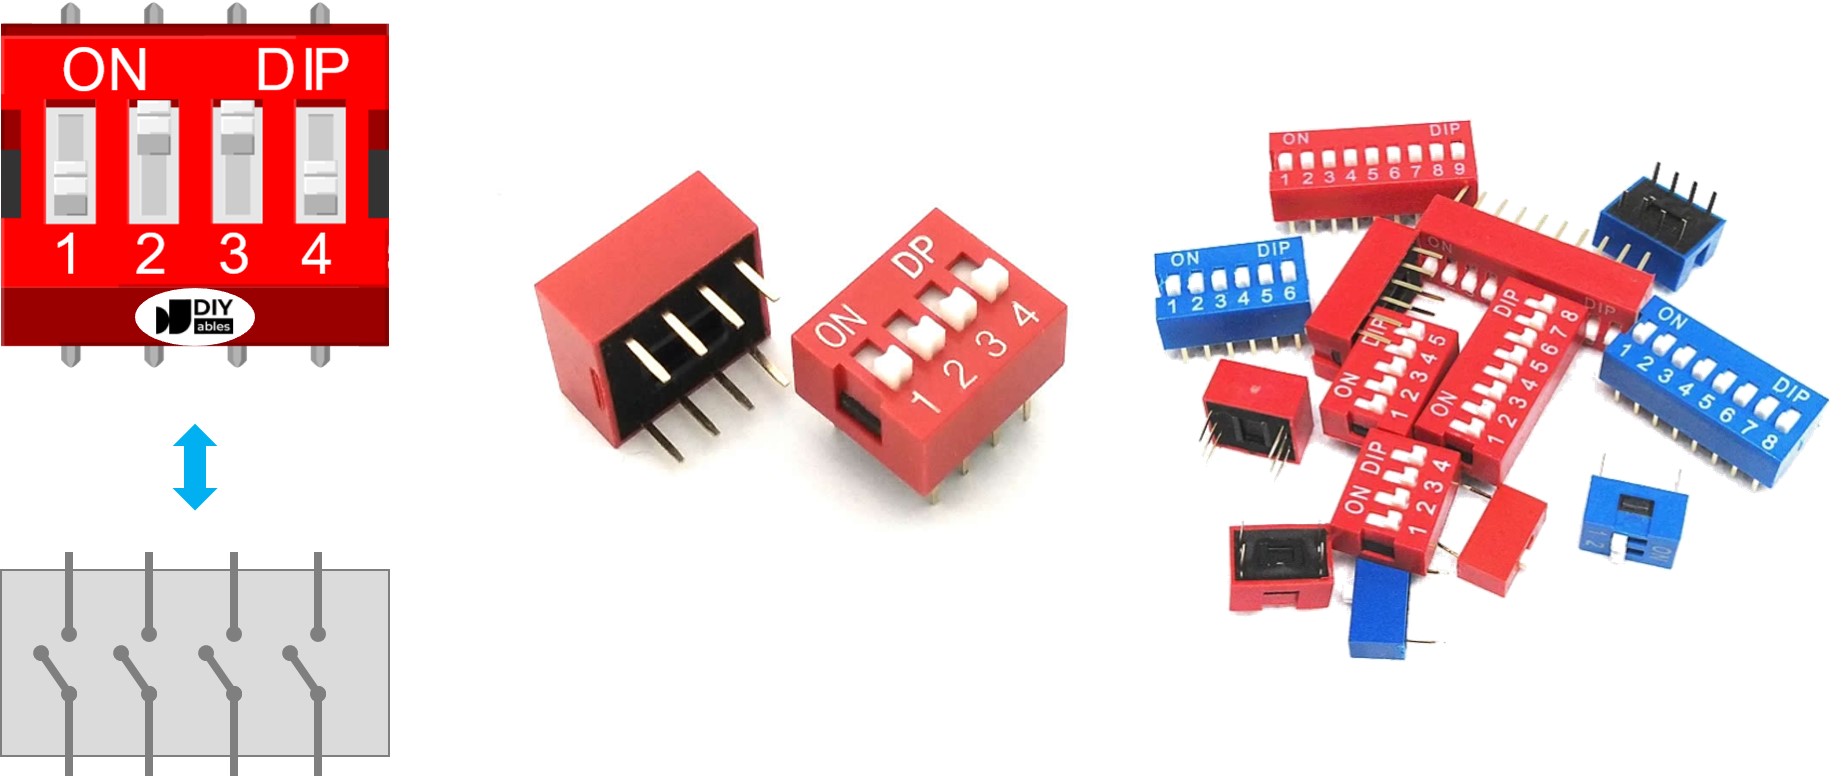
A DIP switch is made up of two rows of pins, with the number of pins in each row matching the available switch positions. For instance, a 4-position DIP switch includes a total of 8 pins, evenly divided with 4 pins on each side. In the DIP switch structure, every pair of pins opposite each other represents a slide switch. Notably, there's no need to differentiate between pins on the two sides as they can be interchanged.
How It Works
In DIP switches, when a switch is in the ON position, it signifies that the switch is engaged or closed. This indicates that an electrical connection is established, enabling the current to pass through the switch.
Conversely, when a switch is in the OFF position, it indicates that the switch is disengaged or open. In this state, the electrical connection is severed, and the current is unable to flow through the switch.
To clarify:
- ON position: Indicates a closed circuit, permitting current flow.
- OFF position: Indicates an open circuit, hindering current flow.
When we connect one side of the switch to GND and the other to a Raspberry Pi pin, then configure the Raspberry Pi pin as a pull-up digital input, the table below illustrates the relationship between the switch position and the values read from the Arduino:
| DIP switch position | Binary representation | Circuit state | Raspberry Pi pin state |
|---|---|---|---|
| ON | 1 | CLOSED | LOW |
| OFF | 0 | OPEN | HIGH |
In the next parts, we will use 4-position DIP switch for example. You can easily to adapt for 2-position DIP switches, 3-position DIP switches, 5-position DIP switches, 6-position DIP switches, 8-position DIP switches, and 10-position DIP switches...
Wiring Diagram
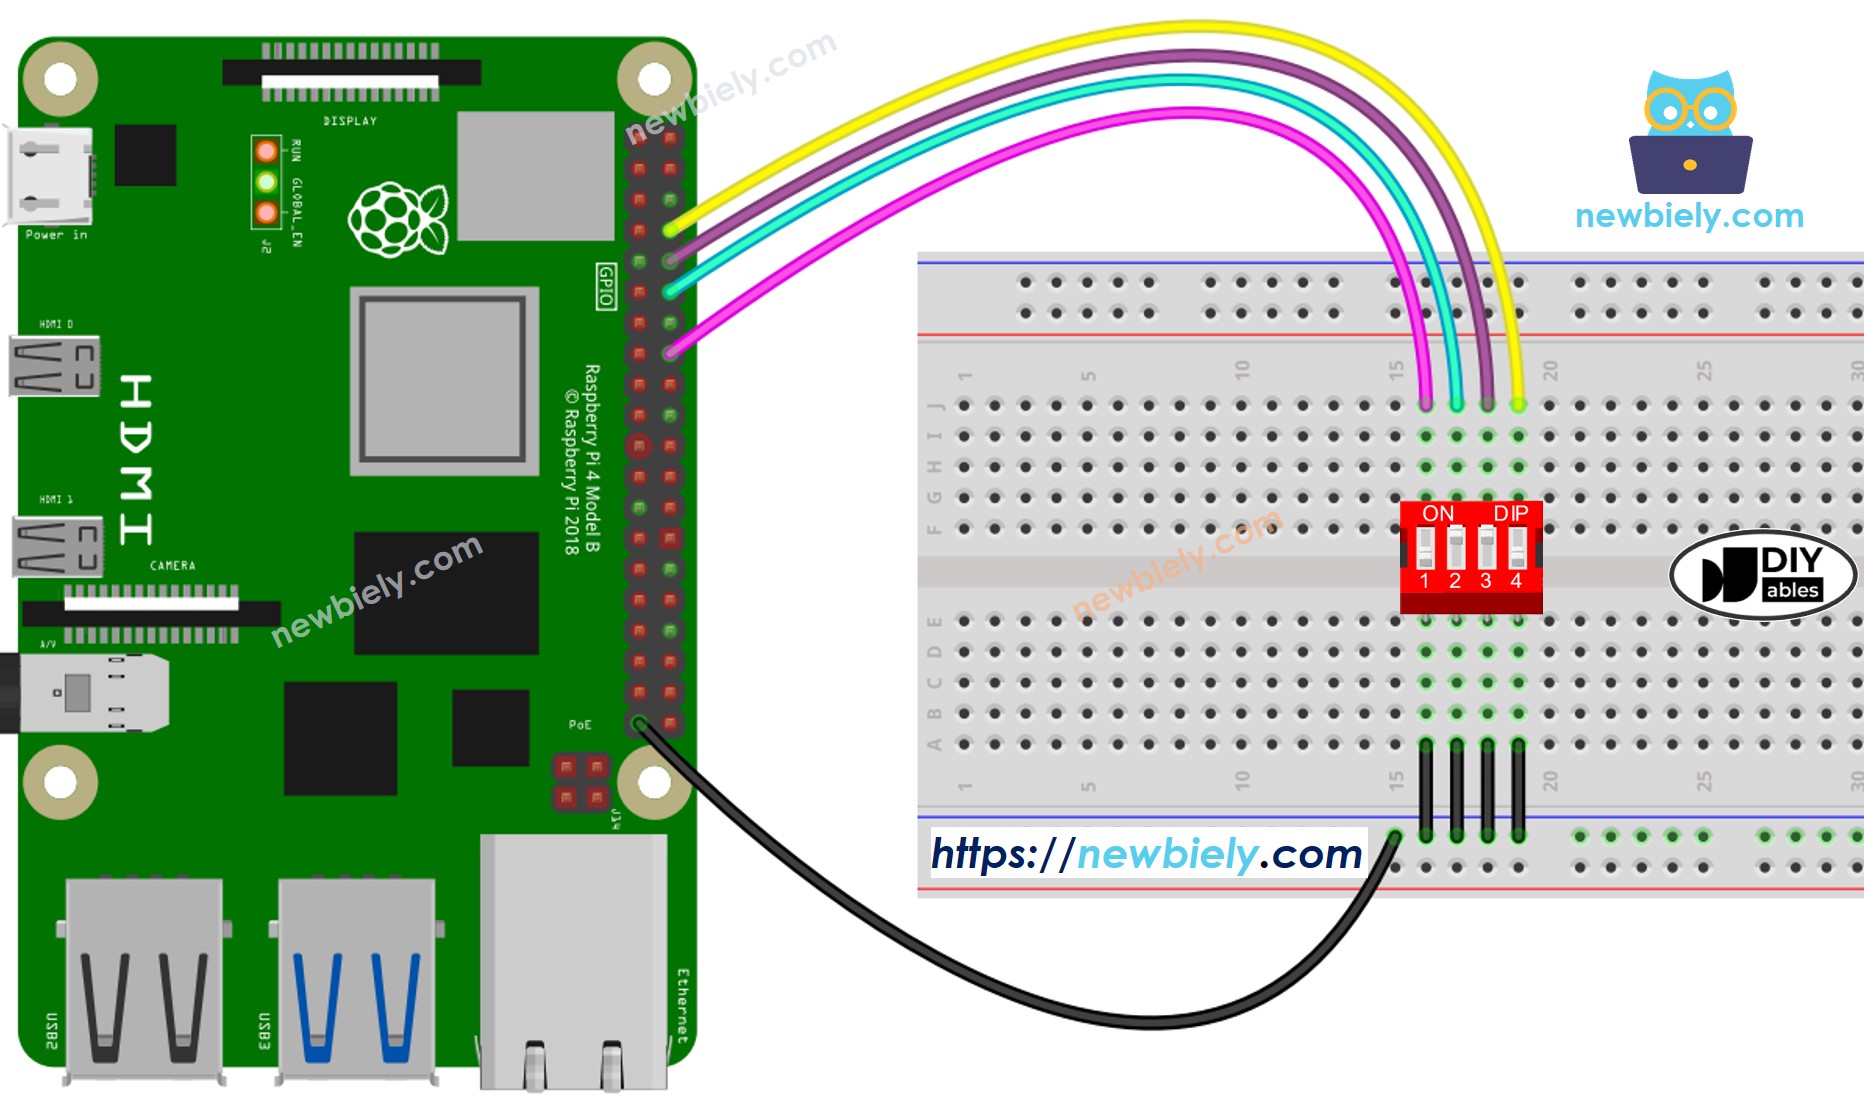
This image is created using Fritzing. Click to enlarge image
To simplify and organize your wiring setup, we recommend using a Screw Terminal Block Shield for Raspberry Pi. This shield ensures more secure and manageable connections, as shown below:

Raspberry Pi Code - DIP Switch
We will learn through two pieces of code:
- Reading the ON/OFF state of individual position on the DIP switch.
- Encoding the positions into a number.
Raspberry Pi code - Reading the ON/OFF state of the DIP switch
Detailed Instructions
- Make sure you have Raspbian or any other Raspberry Pi compatible operating system installed on your Pi.
- Make sure your Raspberry Pi is connected to the same local network as your PC.
- Make sure your Raspberry Pi is connected to the internet if you need to install some libraries.
- If this is the first time you use Raspberry Pi, See how to set up the Raspberry Pi
- Connect your PC to the Raspberry Pi via SSH using the built-in SSH client on Linux and macOS or PuTTY on Windows. See to how connect your PC to Raspberry Pi via SSH.
- Make sure you have the RPi.GPIO library installed. If not, install it using the following command:
- Do wiring as above wiring diagram
- Create a Python script file dip_switch.py and add the following code:
- Save the file and run the Python script by executing the following command in the terminal:
- Switch each position on the DIP Switch to ON one by one.
- See the result on the Terminal.
The script runs in an infinite loop continuously until you press Ctrl + C in the terminal.
Raspberry Pi code - Encoding the states of DIP switch into a number
Detailed Instructions
- Create a Python script file dip_switch_encode.py and add the following code:
- Save the file and run the Python script by executing the following command in the terminal:
- Switch each position on the DIP switch to ON one by one.
- See the result on Serial Monitor, it look like below.
Please note that the value depends on positions of each slide switches. The below table shows the mapping between ON/OFF position and the integer value for 4-position DIP switch:
| Position-1 | Position-2 | Position-3 | Position-4 | Binary Value | Decimal Value |
|---|---|---|---|---|---|
| OFF | OFF | OFF | OFF | 0000 | 0 |
| OFF | OFF | OFF | ON | 0001 | 1 |
| OFF | OFF | ON | OFF | 0010 | 2 |
| OFF | OFF | ON | ON | 0011 | 3 |
| OFF | ON | OFF | OFF | 0100 | 4 |
| OFF | ON | OFF | ON | 0101 | 5 |
| OFF | ON | ON | OFF | 0110 | 6 |
| OFF | ON | ON | ON | 0111 | 7 |
| ON | OFF | OFF | OFF | 1000 | 8 |
| ON | OFF | OFF | ON | 1001 | 9 |
| ON | OFF | ON | OFF | 1010 | 10 |
| ON | OFF | ON | ON | 1011 | 11 |
| ON | ON | OFF | OFF | 1100 | 12 |
| ON | ON | OFF | ON | 1101 | 13 |
| ON | ON | ON | OFF | 1110 | 14 |
| ON | ON | ON | ON | 1111 | 15 |