Raspberry Pi - Motor
This tutorial instructs you how to use Raspberry Pi to control Motor. In detail, we will learn:
- The various motors that can be used with Raspberry Pi
- The distinctions between the different types of motors
- How to manage each type of motor
Motor Types
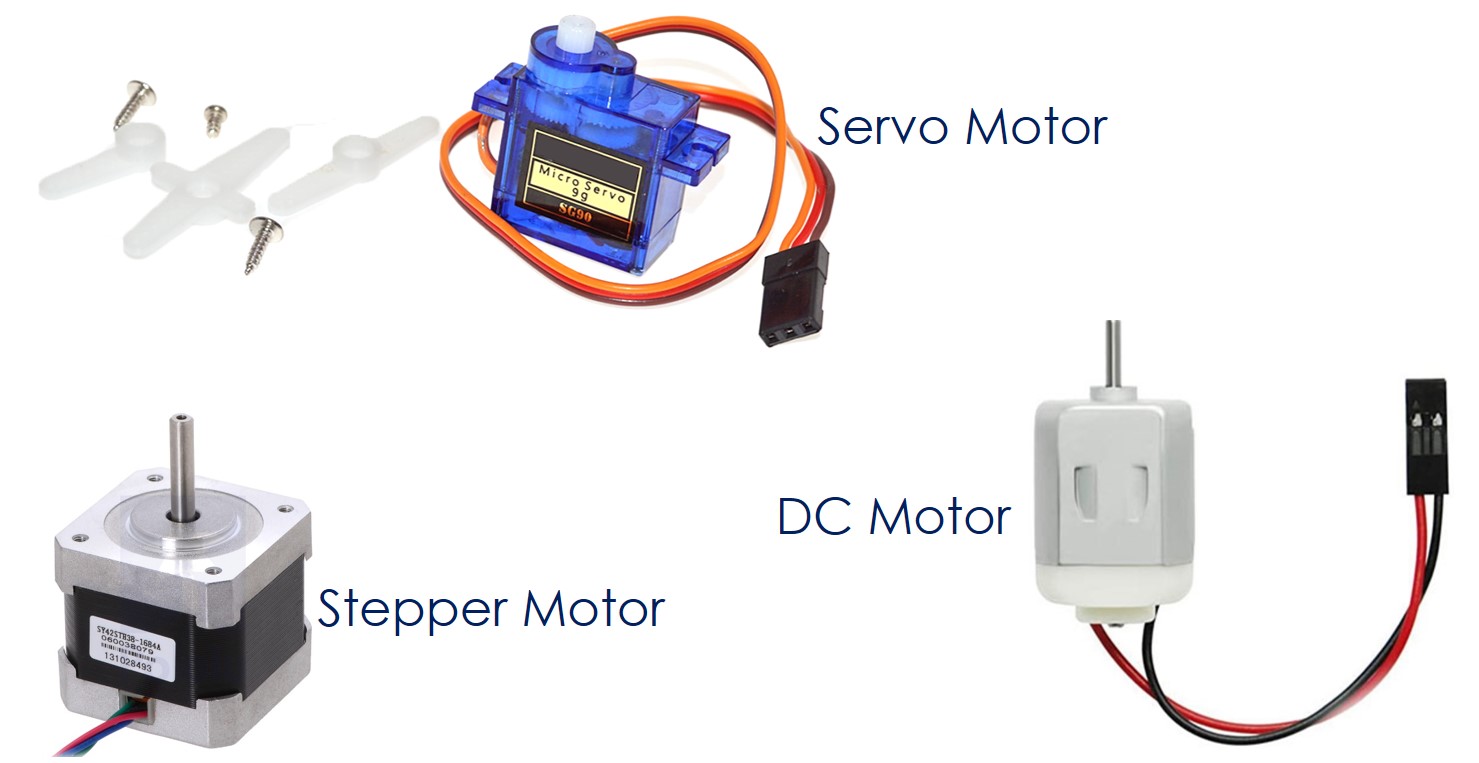
There are three kinds of motors that are commonly used in conjunction with Arduino:
- Servo motor
- Stepper motor
- DC motor
There are two types of servo motors: 180° servo motor and 360° servo motor. Generally, when people think of servo motors, they implicitly assume it to be a 180° servo motor.
A 360° servo motor is similar to a DC motor, however, no hardware driver is necessary.
180° Servo motor
Characteristics
- The rotation is confined between 0° and 180°.
- The direction of rotation can be clockwise or counter-clockwise.
- The position of rotation can be adjusted to any angle between 0° and 180°.
- The speed of rotation can be regulated, but not in a steady manner.
- No extra hardware driver is necessary to control it, just a Raspberry Pi pin.
- An additional power supply is needed.
- Controlling it is simple, with the use of a PWM signal.
Application
- Any application that necessitates only a rotation of an angle between 0° and 180°.
Servo motor Tutorial
Check out our Raspberry Pi - Servo Motor tutorial for more information.
Stepper motor
Characteristics
- The amount of rotation is not restricted.
- The direction of rotation can be either clockwise or counter-clockwise.
- It is possible to precisely control the position of rotation to any angle.
- The speed of rotation can be precisely regulated and acceleration and deacceleration can be precisely controlled.
- An extra hardware driver is necessary.
- An additional power source is also required.
- Controlling it is complicated, so those new to it should use the library.
Application
- Automation and robotics
- Printers, 3D printers, CNCs, X-Y plotters
- Cocktail Machines
Stepper Motor Tutorial
- Raspberry Pi - Stepper Motor tutorial
DC motor
Characteristics
- The amount of rotation is unrestricted.
- The direction of rotation can be either clockwise or counter-clockwise.
- It is very hard to rotate to a precise angle.
- It is easy to control the speed of rotation, but it is difficult to set it to an exact value.
- An extra hardware driver is necessary.
- An additional power source is also required.
- Controlling it is simple; just use a high-voltage PWM signal.
※ NOTE THAT:
- , so it is easier to control the position of DC motor.
- To control the position of a DC motor, extra hardware, such as an encoder, is required, along with a closed-loop control method like PID control. This can be challenging for beginners.
- Speed control is simpler, as it can be adjusted to slow, medium, fast, or very fast, and even to a certain percentage of full speed. However, controlling the number of rounds per second necessitates the use of an encoder and a closed-loop control method such as PID control, which can be difficult for beginners.
- Some DC motors on the market come with a built-in encoder, making it easier to control the position of the motor.
Application
- Previously used to manage something that needs to rotate in a continuous manner, but without the need for a specific speed. Examples include fans, pumps, RC cars, drills, etc.
※ NOTE THAT:
and robotics. There are two primary varieties of DC motors: brushed and brushless. Brushed DC motors are commonly used in DIY projects and robotics.
DC motor Tutorial
Check out this tutorial on Raspberry Pi - DC Motor.
Motor selection guide
When selecting a motor for a project, there are many factors to consider, such as the weight it must carry, the power supply, and the application's characteristics.
- If you need your project to rotate to a specific angle between 0° and 180°, you should look for a 180° servo motor.
- If you require precise rotation to any position, you should find a stepper motor.
- If you need continuous rotation without any specific position, you should look for a DC motor or a 360° servo motor.
Buy Motor
Additionally, some of these links are for products from our own brand, DIYables .