Raspberry Pi - OLED
This tutorial instructs you how to use Raspberry Pi with OLED display. In detail, we will learn:
- How to connect OLED display with Raspberry Pi.
- How to program Raspberry Pi to display text and number on OLED.
- How to program Raspberry Pi to center align text and number vertically and horizontally on OLED.
- How to program Raspberry Pi to draw on OLED.
- How to program Raspberry Pi to display an image on OLED.
Hardware Preparation
Or you can buy the following kits:
| 1 | × | DIYables Sensor Kit (18 sensors/displays) |
Additionally, some of these links are for products from our own brand, DIYables .
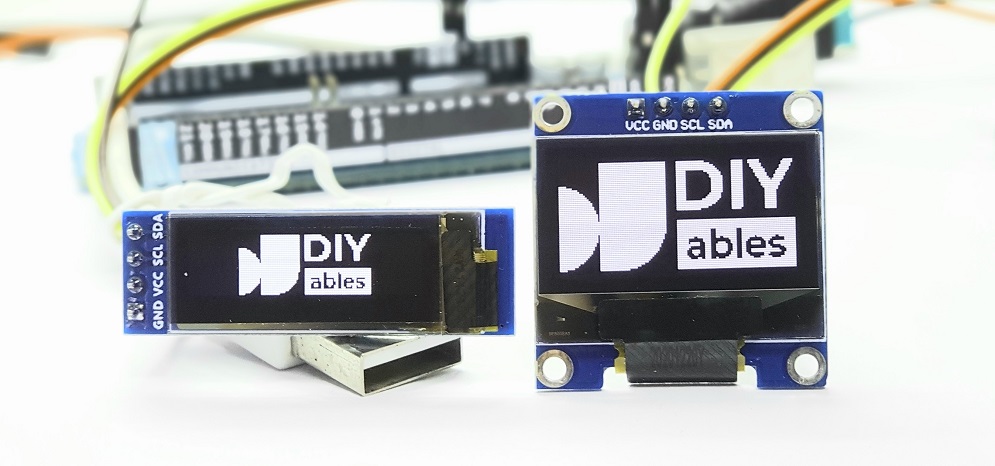
Overview of OLED Display
There are various kinds of OLED displays available. The most common-used OLED with Raspberry Pi is the SSD1306 I2C OLED 128x64 and 128x32 display.
I2C OLED Display Pinout
- GND pin: should be connected to the ground of Raspberry Pi.
- VCC pin: is the power supply for the display which should be connected to the 5 volts pin on the Raspberry Pi.
- SCL pin: is a serial clock pin for I2C interface.
- SDA pin: is a serial data pin for I2C interface.
※ NOTE THAT:
- The pins of an OLED module can be arranged differently depending on the manufacturer and type of module. It is IMPERATIVE to always refer to the labels printed on the OLED module. Pay close attention!
- This tutorial uses an OLED display which utilizes the SSD1306 I2C driver. We have tested it with the OLED display from DIYables and it functions perfectly.
Wiring Diagram
- Wiring diagram between Raspberry Pi and OLED 128x64

This image is created using Fritzing. Click to enlarge image
- Wiring diagram between Raspberry Pi and OLED 128x32
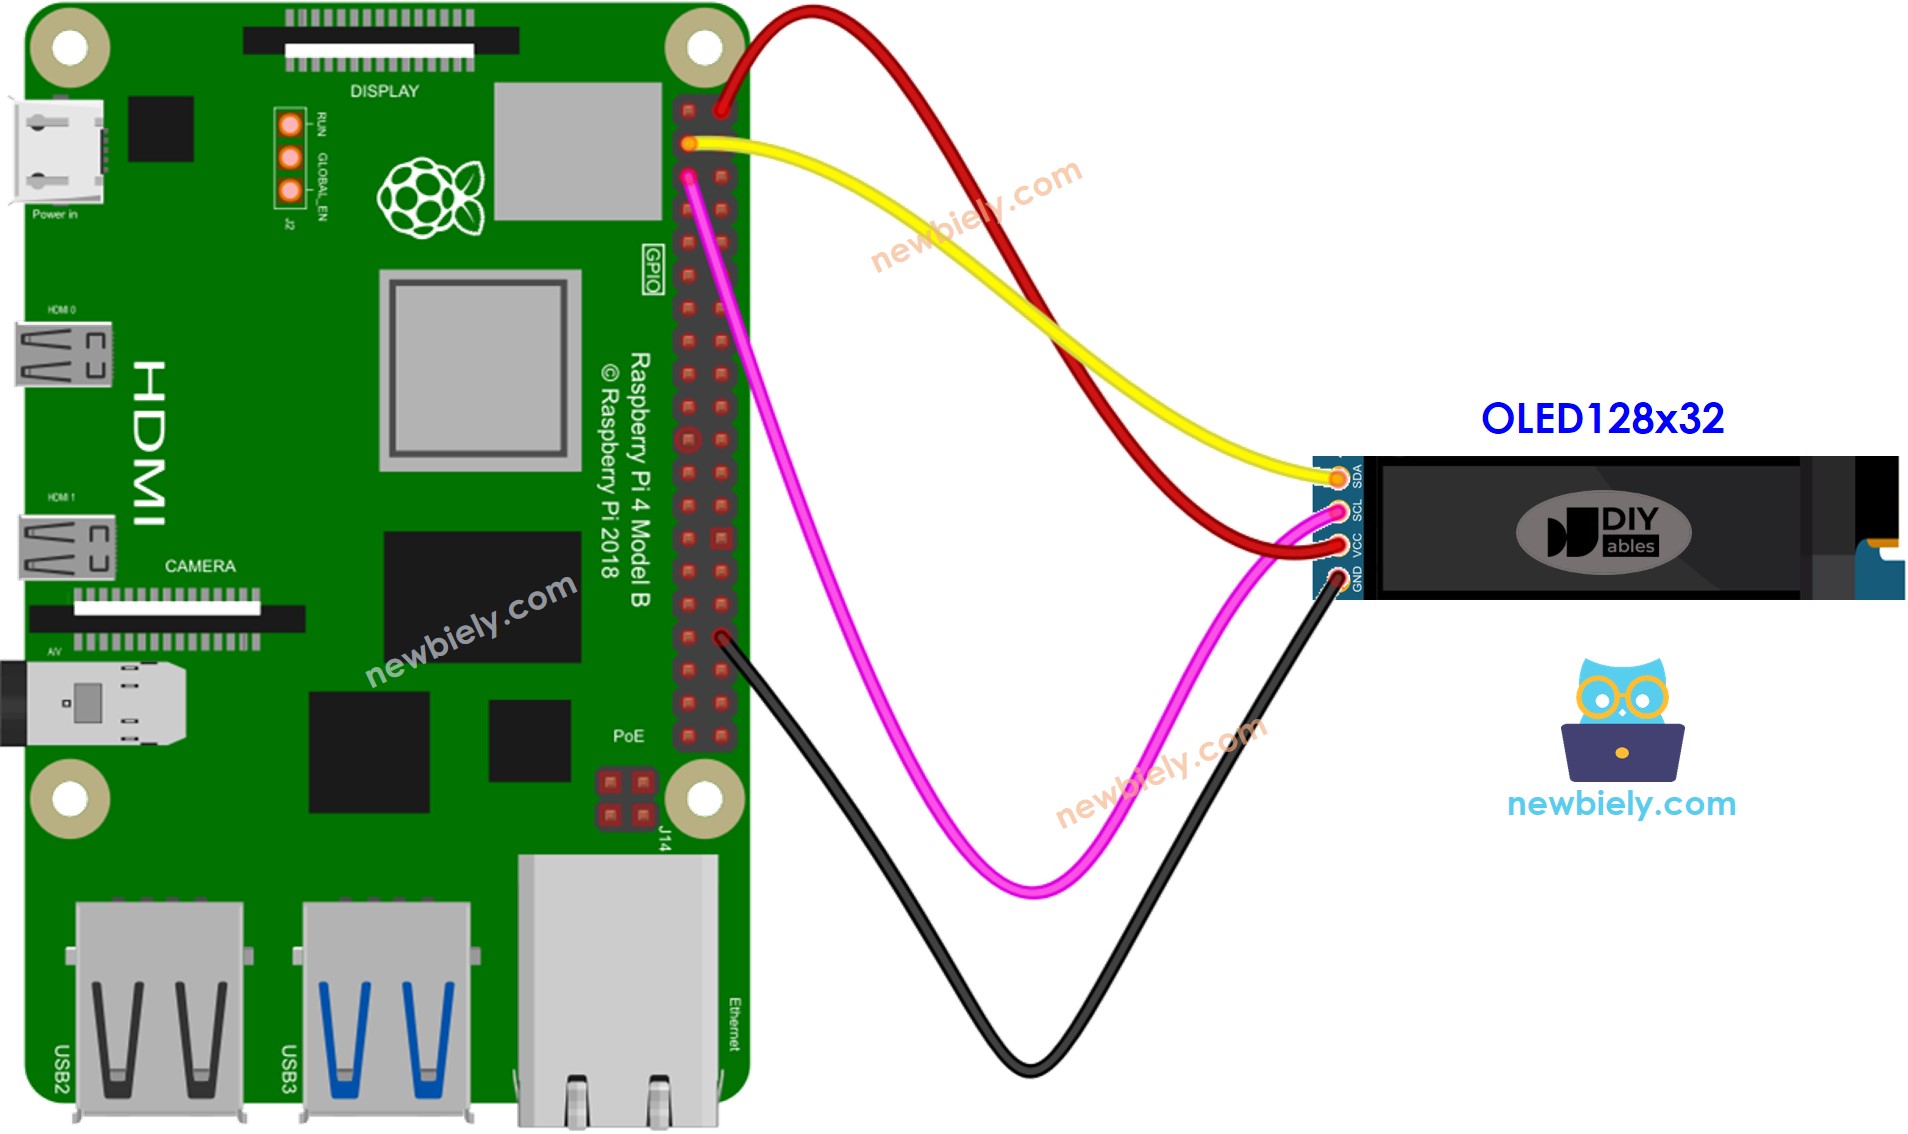
This image is created using Fritzing. Click to enlarge image
To simplify and organize your wiring setup, we recommend using a Screw Terminal Block Shield for Raspberry Pi. This shield ensures more secure and manageable connections, as shown below:

The wiring table between Raspberry Pi and OLED display:
| OLED Module | Raspberry Pi |
|---|---|
| Vin | 5V |
| GND | GND |
| SDA | GPIO2 (pin 3) |
| SCL | GPIO3 (pin 5) |
Raspberry Pi Code - Display Text on OLED
Detailed Instructions
- Make sure you have Raspbian or any other Raspberry Pi compatible operating system installed on your Pi.
- Make sure your Raspberry Pi is connected to the same local network as your PC.
- Make sure your Raspberry Pi is connected to the internet if you need to install some libraries.
- If this is the first time you use Raspberry Pi, See how to set up the Raspberry Pi
- Connect your PC to the Raspberry Pi via SSH using the built-in SSH client on Linux and macOS or PuTTY on Windows. See to how connect your PC to Raspberry Pi via SSH.
- Make sure you have the RPi.GPIO library installed. If not, install it using the following command:
- Prior to utilizing the OLED display with a Raspberry Pi, we need to enable I2C interface on Raspberry Pi. See How to enable I2C interface on Raspberry Pi
- Install the OLED library by running the following command:
- Create a Python script file oled.py and add the following code:
- Save the file and run the Python script by executing the following command in the terminal:
- Check the oled display.
The script runs in an infinite loop continuously until you press Ctrl + C in the terminal.
Raspberry Pi Code – Display Image
In order to display an image on OLED, we must first convert it (regardless of the format) into a bitmap array. This can be done using this online tool. Please refer to the picture below for instructions on how to do this. I have already converted the Raspberry Pi icon into a bitmap array.
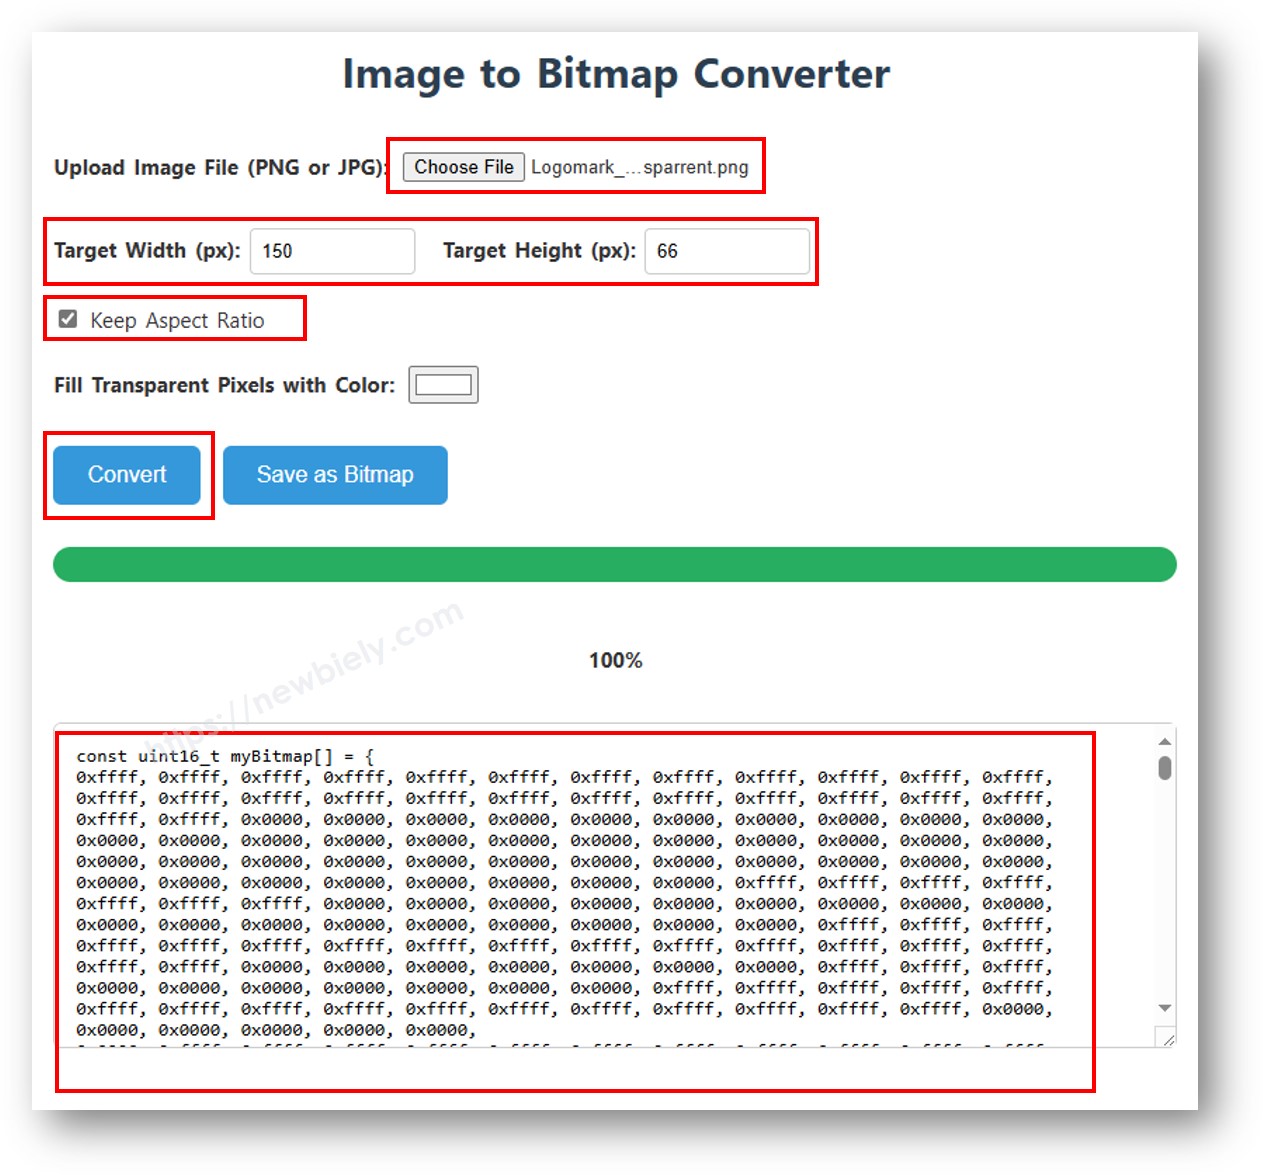
Once the conversion is complete, take the array code and replace the existing ArduinoIcon array code in the following snippet.
※ NOTE THAT:
- The size of the image should not exceed the size of the screen.
- If you want to use the code for an OLED 128x32, you must resize the image and modify the width and height parameters in the oled.drawBitmap(); function.