Arduino UNO R4 - LCD Keypad Shield

In this guide, we’ll explore how to use Arduino Uno R4 with the LCD Keypad Shield, a cool little gadget that mixes a 16x2 LCD screen with six buttons (Right, Up, Down, Left, Select, and Reset). You’ll learn how it works, how to hook it up to your Arduino Uno R4, and how to code it step-by-step. We’ve got wiring image, and code examples to make it super easy to follow!

Hardware Preparation

1×Arduino UNO R4 WiFi or Arduino UNO R4 Minima
1×USB Cable Type-A to Type-C (for USB-A PC)
1×USB Cable Type-C to Type-C (for USB-C PC)
1×LCD Keypad Shield
1×Recommended: Screw Terminal Block Shield for Arduino UNO R4
1×Recommended: Breadboard Shield for Arduino UNO R4
1×Recommended: Enclosure for Arduino UNO R4
1×Recommended: Power Splitter for Arduino UNO R4
1×Recommended: Prototyping Base Plate & Breadboard Kit for Arduino UNO

Or you can buy the following sensor kits:

1×DIYables Sensor Kit (30 sensors/displays)
1×DIYables Sensor Kit (18 sensors/displays)
Disclosure: Some of the links provided in this section are Amazon affiliate links. We may receive a commission for any purchases made through these links at no additional cost to you.
Additionally, some of these links are for products from our own brand, DIYables .

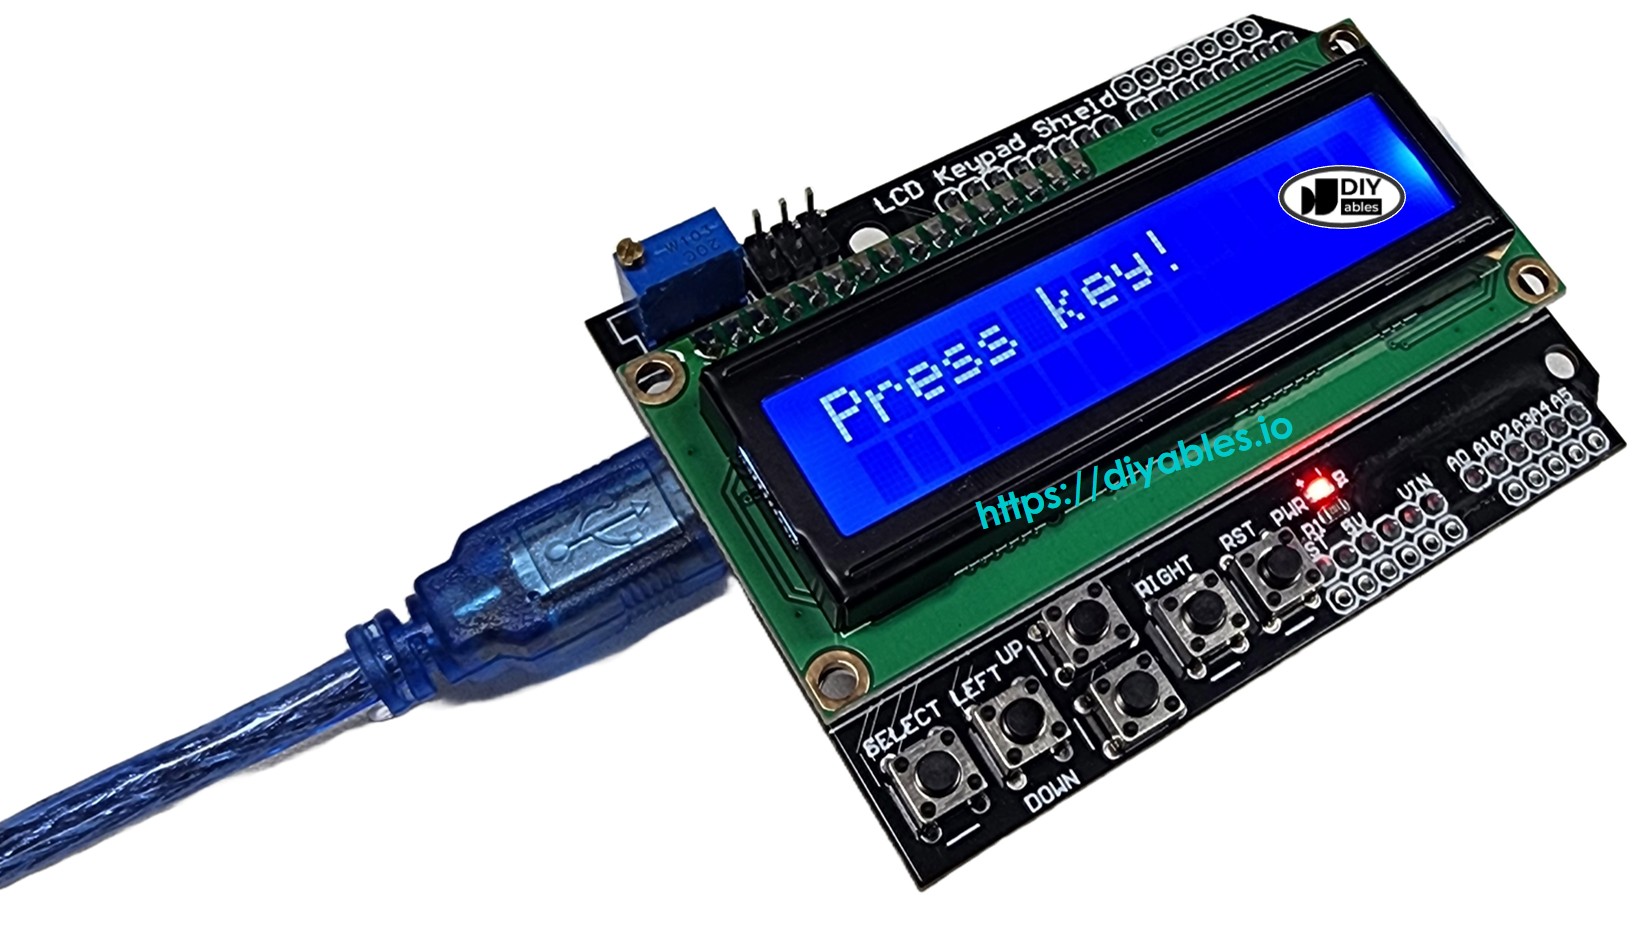
What’s the LCD Keypad Shield?

This LCD Keypad shield is a combo of:

  • A 16x2 LCD (shows 2 rows of 16 characters) that uses the LiquidCrystal library.
  • 5 buttons (Up, Down, Left, Right, Select) all wired to one pin (A0).
  • A Reset button to restart your Arduino Uno R4.
  • A tiny knob (potentiometer) to tweak the screen’s contrast.

Pinout

LCD Keypad Shield Pinout

The following table shows how the LCD Keypad Shield connects to the Arduino Uno R4 when stacked on top of it.

Shield Pin Function Arduino Uno R4 Pin
DB4 Data 4
DB5 Data 5
DB6 Data 6
DB7 Data 7
RS Register Select 8
E Enable 9
Analog A0 Button Input A0

Reset Button: Press it, and your Arduino Uno R4 starts over.

Knob (Potentiometer): Twist it if the screen’s too faint or too dark.

Wiring Diagram

No complicated wiring here! Just stack the LCD Keypad Shield right onto your Arduino Uno R4. The pins match up on their own.

The wiring diagram between Arduino Uno R4 LCD Keypad Shield

This image is created using Fritzing. Click to enlarge image

See The best way to supply power to the Arduino Uno R4 and other components.

Arduino Uno R4 Code

/* * This Arduino UNO R4 code was developed by newbiely.com * * This Arduino UNO R4 code is made available for public use without any restriction * * For comprehensive instructions and wiring diagrams, please visit: * https://newbiely.com/tutorials/arduino-uno-r4/arduino-uno-r4-lcd-keypad-shield */ #include <LiquidCrystal.h> LiquidCrystal lcd(8, 9, 4, 5, 6, 7); void setup() { Serial.begin(9600); Serial.println("Started"); // Debugging lcd.begin(16, 2); lcd.print("Hello!"); delay(3000); } void loop() { int key = analogRead(A0); //Serial.println(key); // Debugging lcd.clear(); if (key < 50) lcd.print("RIGHT"); else if (key < 200) lcd.print("UP"); else if (key < 400) lcd.print("DOWN"); else if (key < 600) lcd.print("LEFT"); else if (key < 800) lcd.print("SELECT"); else if (key < 1000) lcd.print("RST"); // If RST has a value, add here else lcd.print("Press key!"); delay(200); }

Detailed Instructions

  • Stack the LCD Keypad Shield on your Arduino Uno R4
  • Plug the Arduino Uno R4 into your computer with the USB cable.
  • Open Arduino IDE, pick your board and port in the IDE.
  • Copy the code above, paste it in to the Arduino IDE
  • Click Upload button on Arduino IDE to upload code to Arduino Uno R4
  • Press the shield’s buttons one by one.
  • Watch the LCD show which one you pressed

If Blank Screen? Try This:

  • Double-check the shield’s plugged in tight.
  • Twist the knob to fix the contrast.
  • Make sure the code’s right and the Arduino Uno R4’s powered up.

Bonus: Cleaner Code

Want your code to look pro? Here’s a fancier version with neat functions:

/* * This Arduino UNO R4 code was developed by newbiely.com * * This Arduino UNO R4 code is made available for public use without any restriction * * For comprehensive instructions and wiring diagrams, please visit: * https://newbiely.com/tutorials/arduino-uno-r4/arduino-uno-r4-lcd-keypad-shield */ #include <LiquidCrystal.h> // Define constants for key representations const int KEY_RIGHT = 0; const int KEY_UP = 1; const int KEY_DOWN = 2; const int KEY_LEFT = 3; const int KEY_SELECT = 4; const int KEY_NONE = 5; LiquidCrystal lcd(8, 9, 4, 5, 6, 7); int getKey() { int analogValue = analogRead(A0); //Serial.println(analogValue); // Debugging if (analogValue < 50) return KEY_RIGHT; else if (analogValue < 200) return KEY_UP; else if (analogValue < 400) return KEY_DOWN; else if (analogValue < 600) return KEY_LEFT; else if (analogValue < 800) return KEY_SELECT; else return KEY_NONE; } void setup() { Serial.begin(9600); Serial.println("Started"); // Debugging lcd.begin(16, 2); lcd.print("Hello!"); delay(3000); } void loop() { lcd.clear(); int key = getKey(); switch (key) { case KEY_RIGHT: lcd.print("RIGHT"); break; case KEY_UP: lcd.print("UP"); break; case KEY_DOWN: lcd.print("DOWN"); break; case KEY_LEFT: lcd.print("LEFT"); break; case KEY_SELECT: lcd.print("SELECT"); break; default: lcd.print("Press key!"); break; } delay(200); }

Extra Help

Need more LCD tricks? Check out this Arduino LiquidCrystal LCD tutorial for more cool ideas.

That’s it! You’re ready to play with your LCD Keypad Shield. Have fun building!

※ OUR MESSAGES

  • As freelancers, We are AVAILABLE for HIRE. See how to outsource your project to us
  • Please feel free to share the link of this tutorial. However, Please do not use our content on any other websites. We invested a lot of effort and time to create the content, please respect our work!