How to Upgrade the Firmware on Arduino Nano 33 IoT
How to Upgrade the Firmware on Arduino Nano 33 IoT
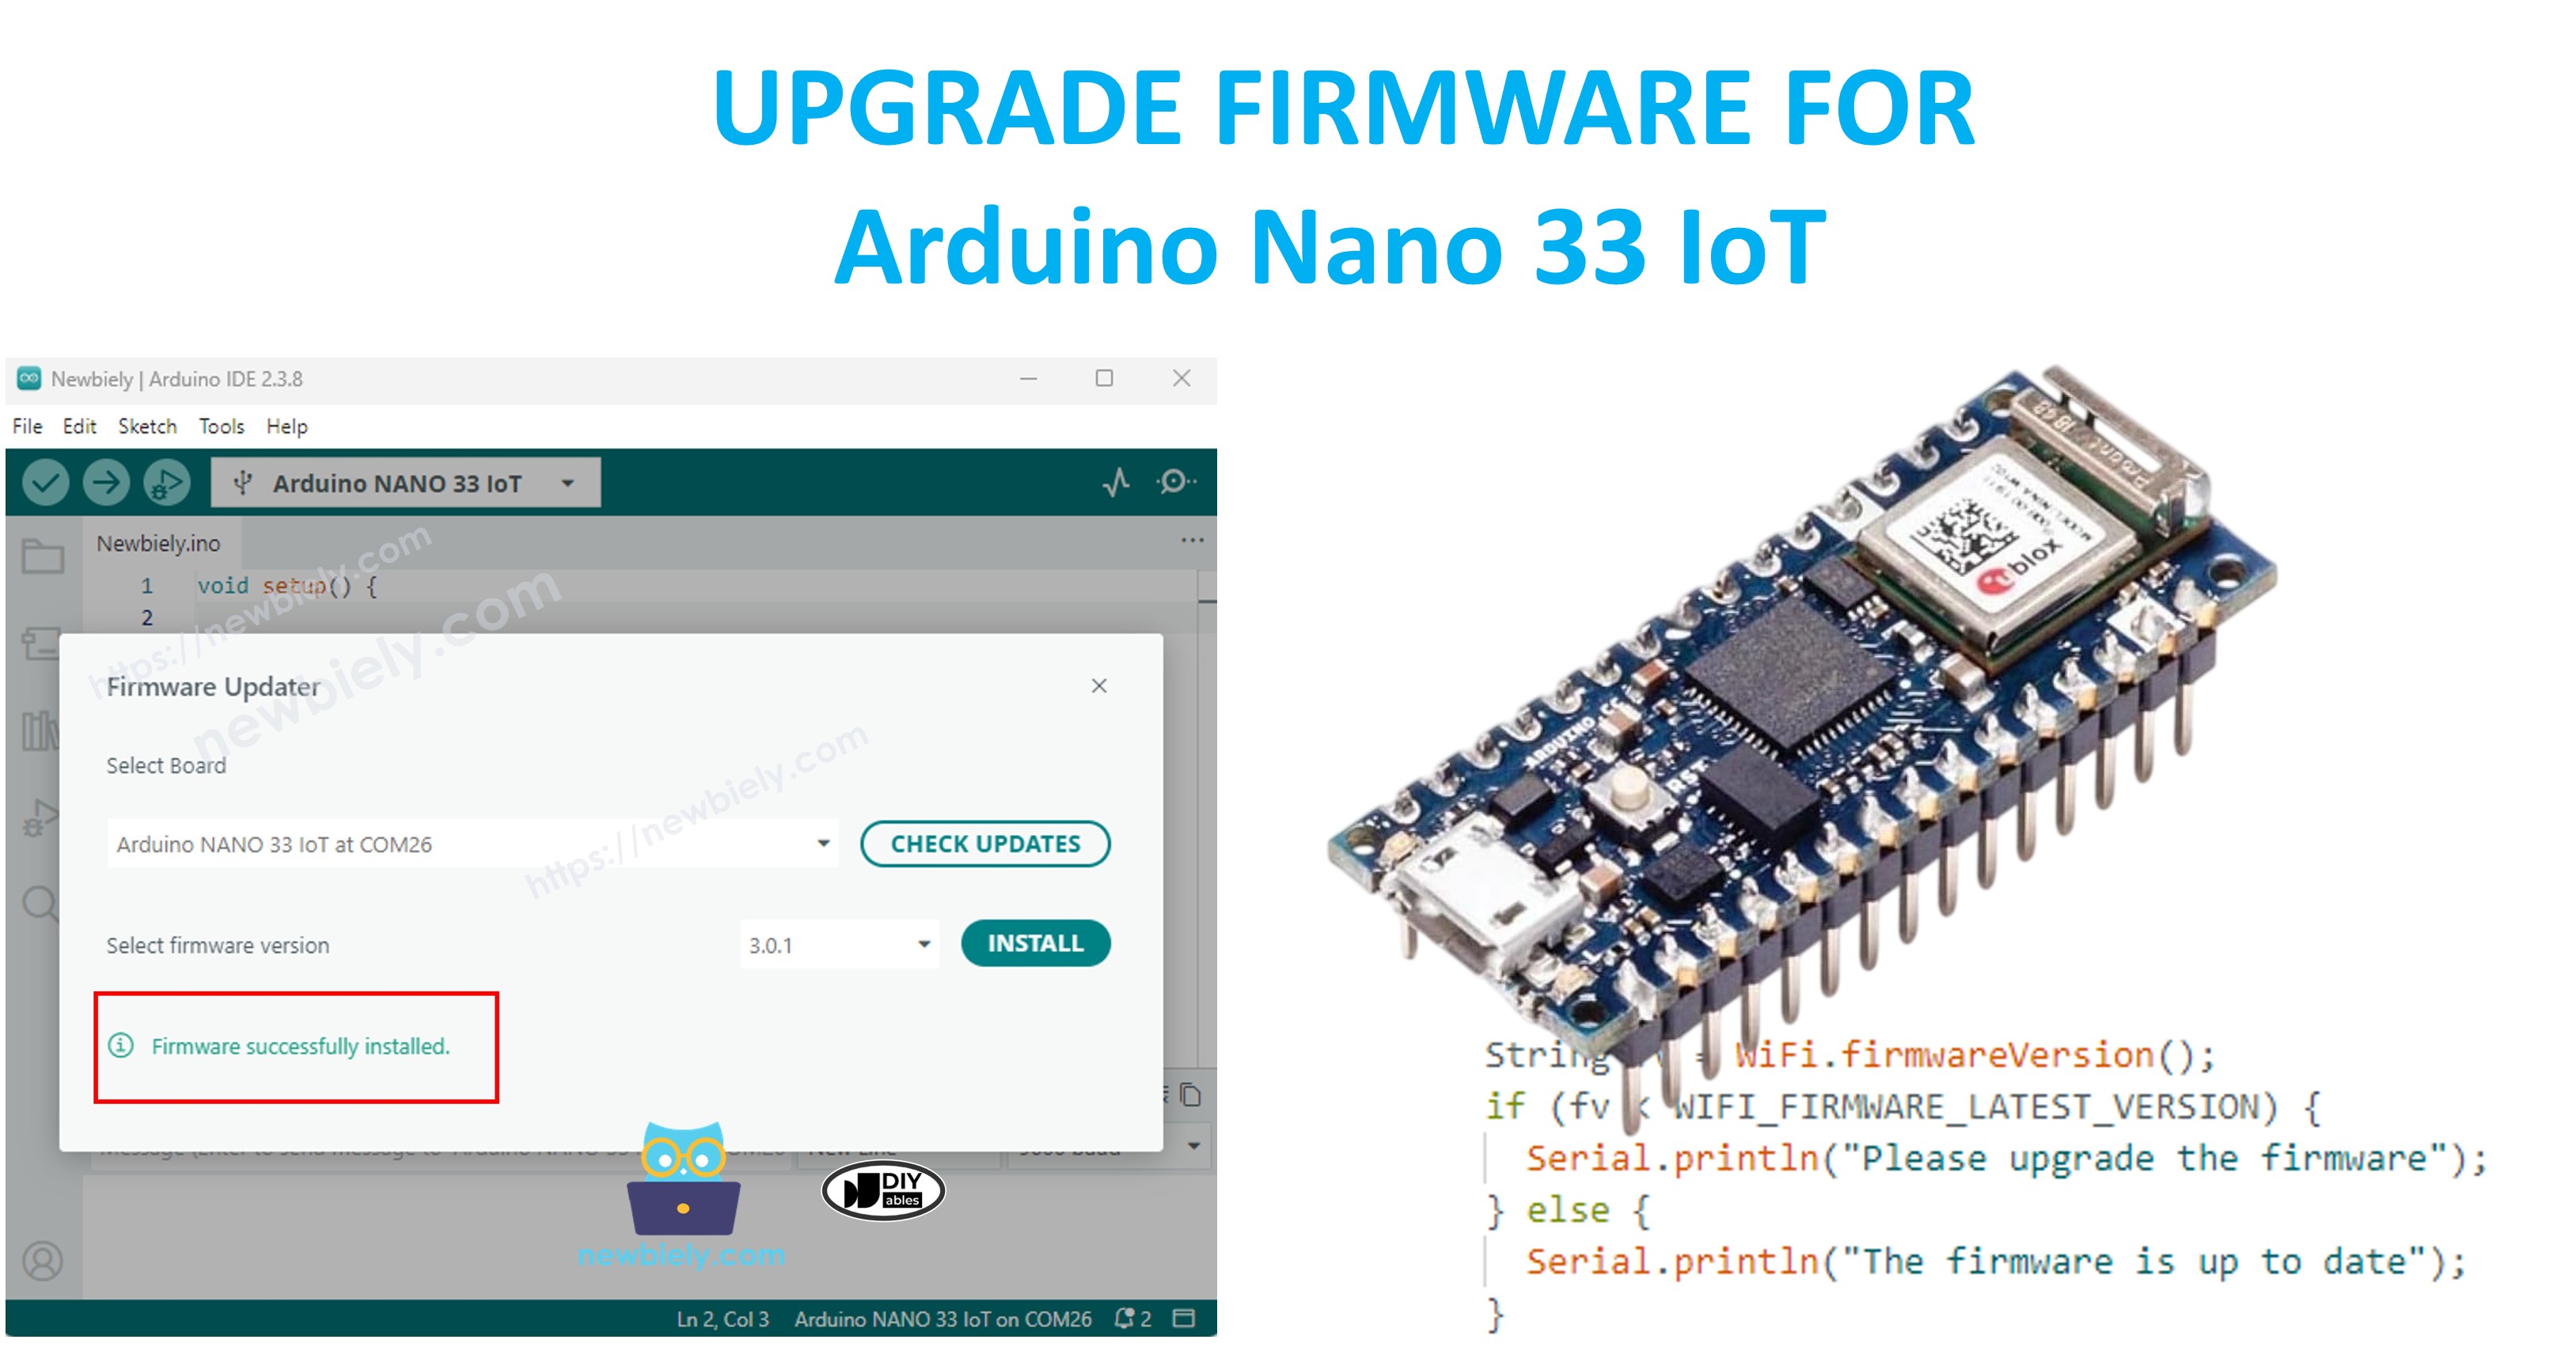
The Arduino Nano 33 IoT uses a NINA-W102 wireless module for WiFi and Bluetooth connectivity. Keeping this module firmware up to date improves connection reliability, security, and compatibility with Arduino IoT Cloud. In this tutorial, you will learn the exact steps to upgrade Nano 33 IoT firmware using the Firmware Updater in Arduino IDE 2.x.
This guide covers:
- Prerequisites before you begin
- Step-by-step Nano 33 IoT firmware upgrade
- Firmware verification after update
- Troubleshooting common update problems
Hardware Preparation
Or you can buy the following kits:
| 1 | × | DIYables Sensor Kit (18 sensors/displays) |
Additionally, some of these links are for products from our own brand, DIYables .
Important Considerations:
- Always use a proper USB data cable (charging-only cables will not work for firmware updates).
- Ensure all serial monitor applications and programs accessing the COM port are closed before starting.
- Following the firmware update, you may need to disconnect and reconnect the board to resume normal operation.
- Should the update process fail, attempt these steps: press the board's RESET button, refresh the available port list in the IDE, or try an alternative USB cable or port. Occasionally, Linux systems provide better compatibility than Windows.
Prerequisites
- Download and install the current Arduino IDE (version 2.3.0 or higher is recommended).
- Install the most recent "Arduino SAMD Boards (32-bits ARM Cortex-M0+)" package through Tools > Board > Boards Manager (search for "Arduino SAMD").

- Connect your Nano 33 IoT board to your computer using a USB cable.
Verify Current Firmware Status on Your Arduino Nano 33 IoT
- Upload the following code to your Arduino Nano 33 IoT board:
- Launch the Serial Monitor within the IDE.
- Examine the messages displayed in the Serial Monitor.
- If you see the following message, your firmware is already current and no update is necessary:
- If you see this message instead, proceed with the firmware upgrade instructions below:
Step-by-Step Instructions
Step 1: Upload a Simple Sketch
To avoid potential conflicts with running programs, upload a minimal sketch that puts the board in a neutral state:
- Launch the Arduino IDE.
- Navigate to File > Examples > 01.Basics > BareMinimum. Or simply copy this code:
- Choose your board (Tools > Board > Arduino SAMD Boards (32-bits ARM Cortex-M0+) > Arduino Nano 33 IoT) and select the appropriate port.
- Click the Upload button to flash the sketch.
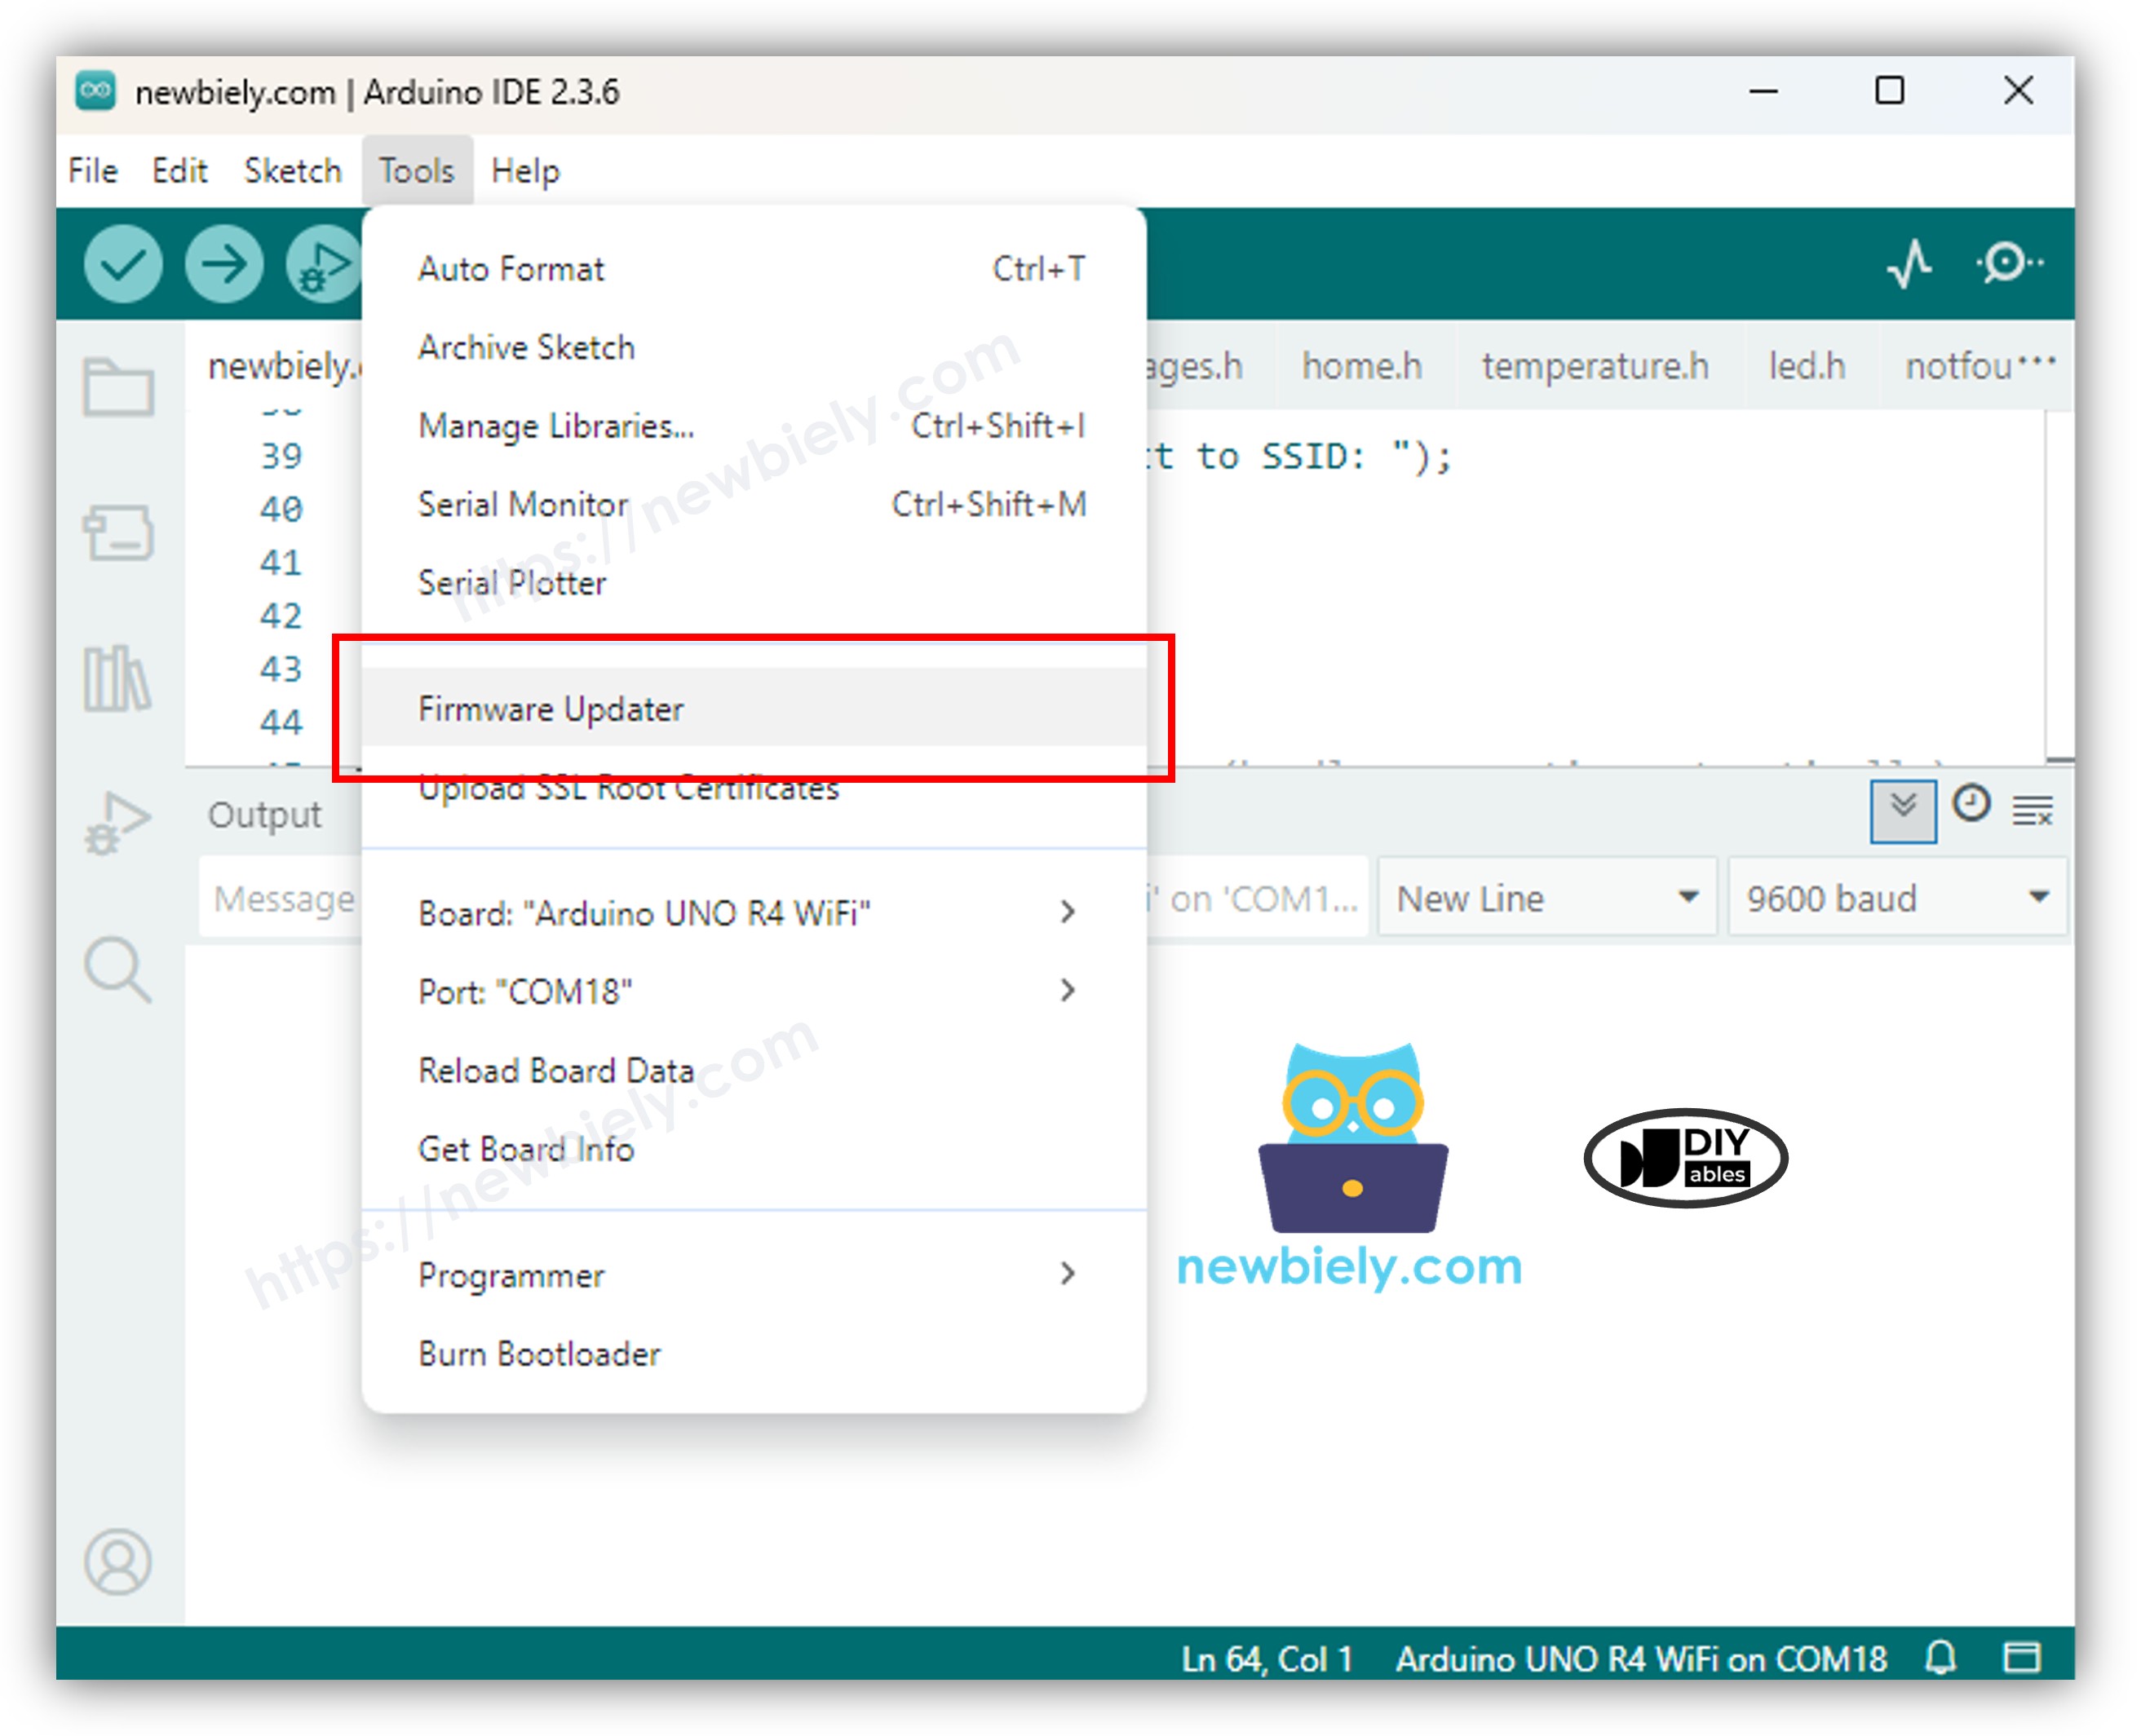
Step 2: Access the Firmware Updater Tool
- In the Arduino IDE, navigate to Tools > Firmware Updater to launch the updater dialog.
Step 3: Choose Your Board Model
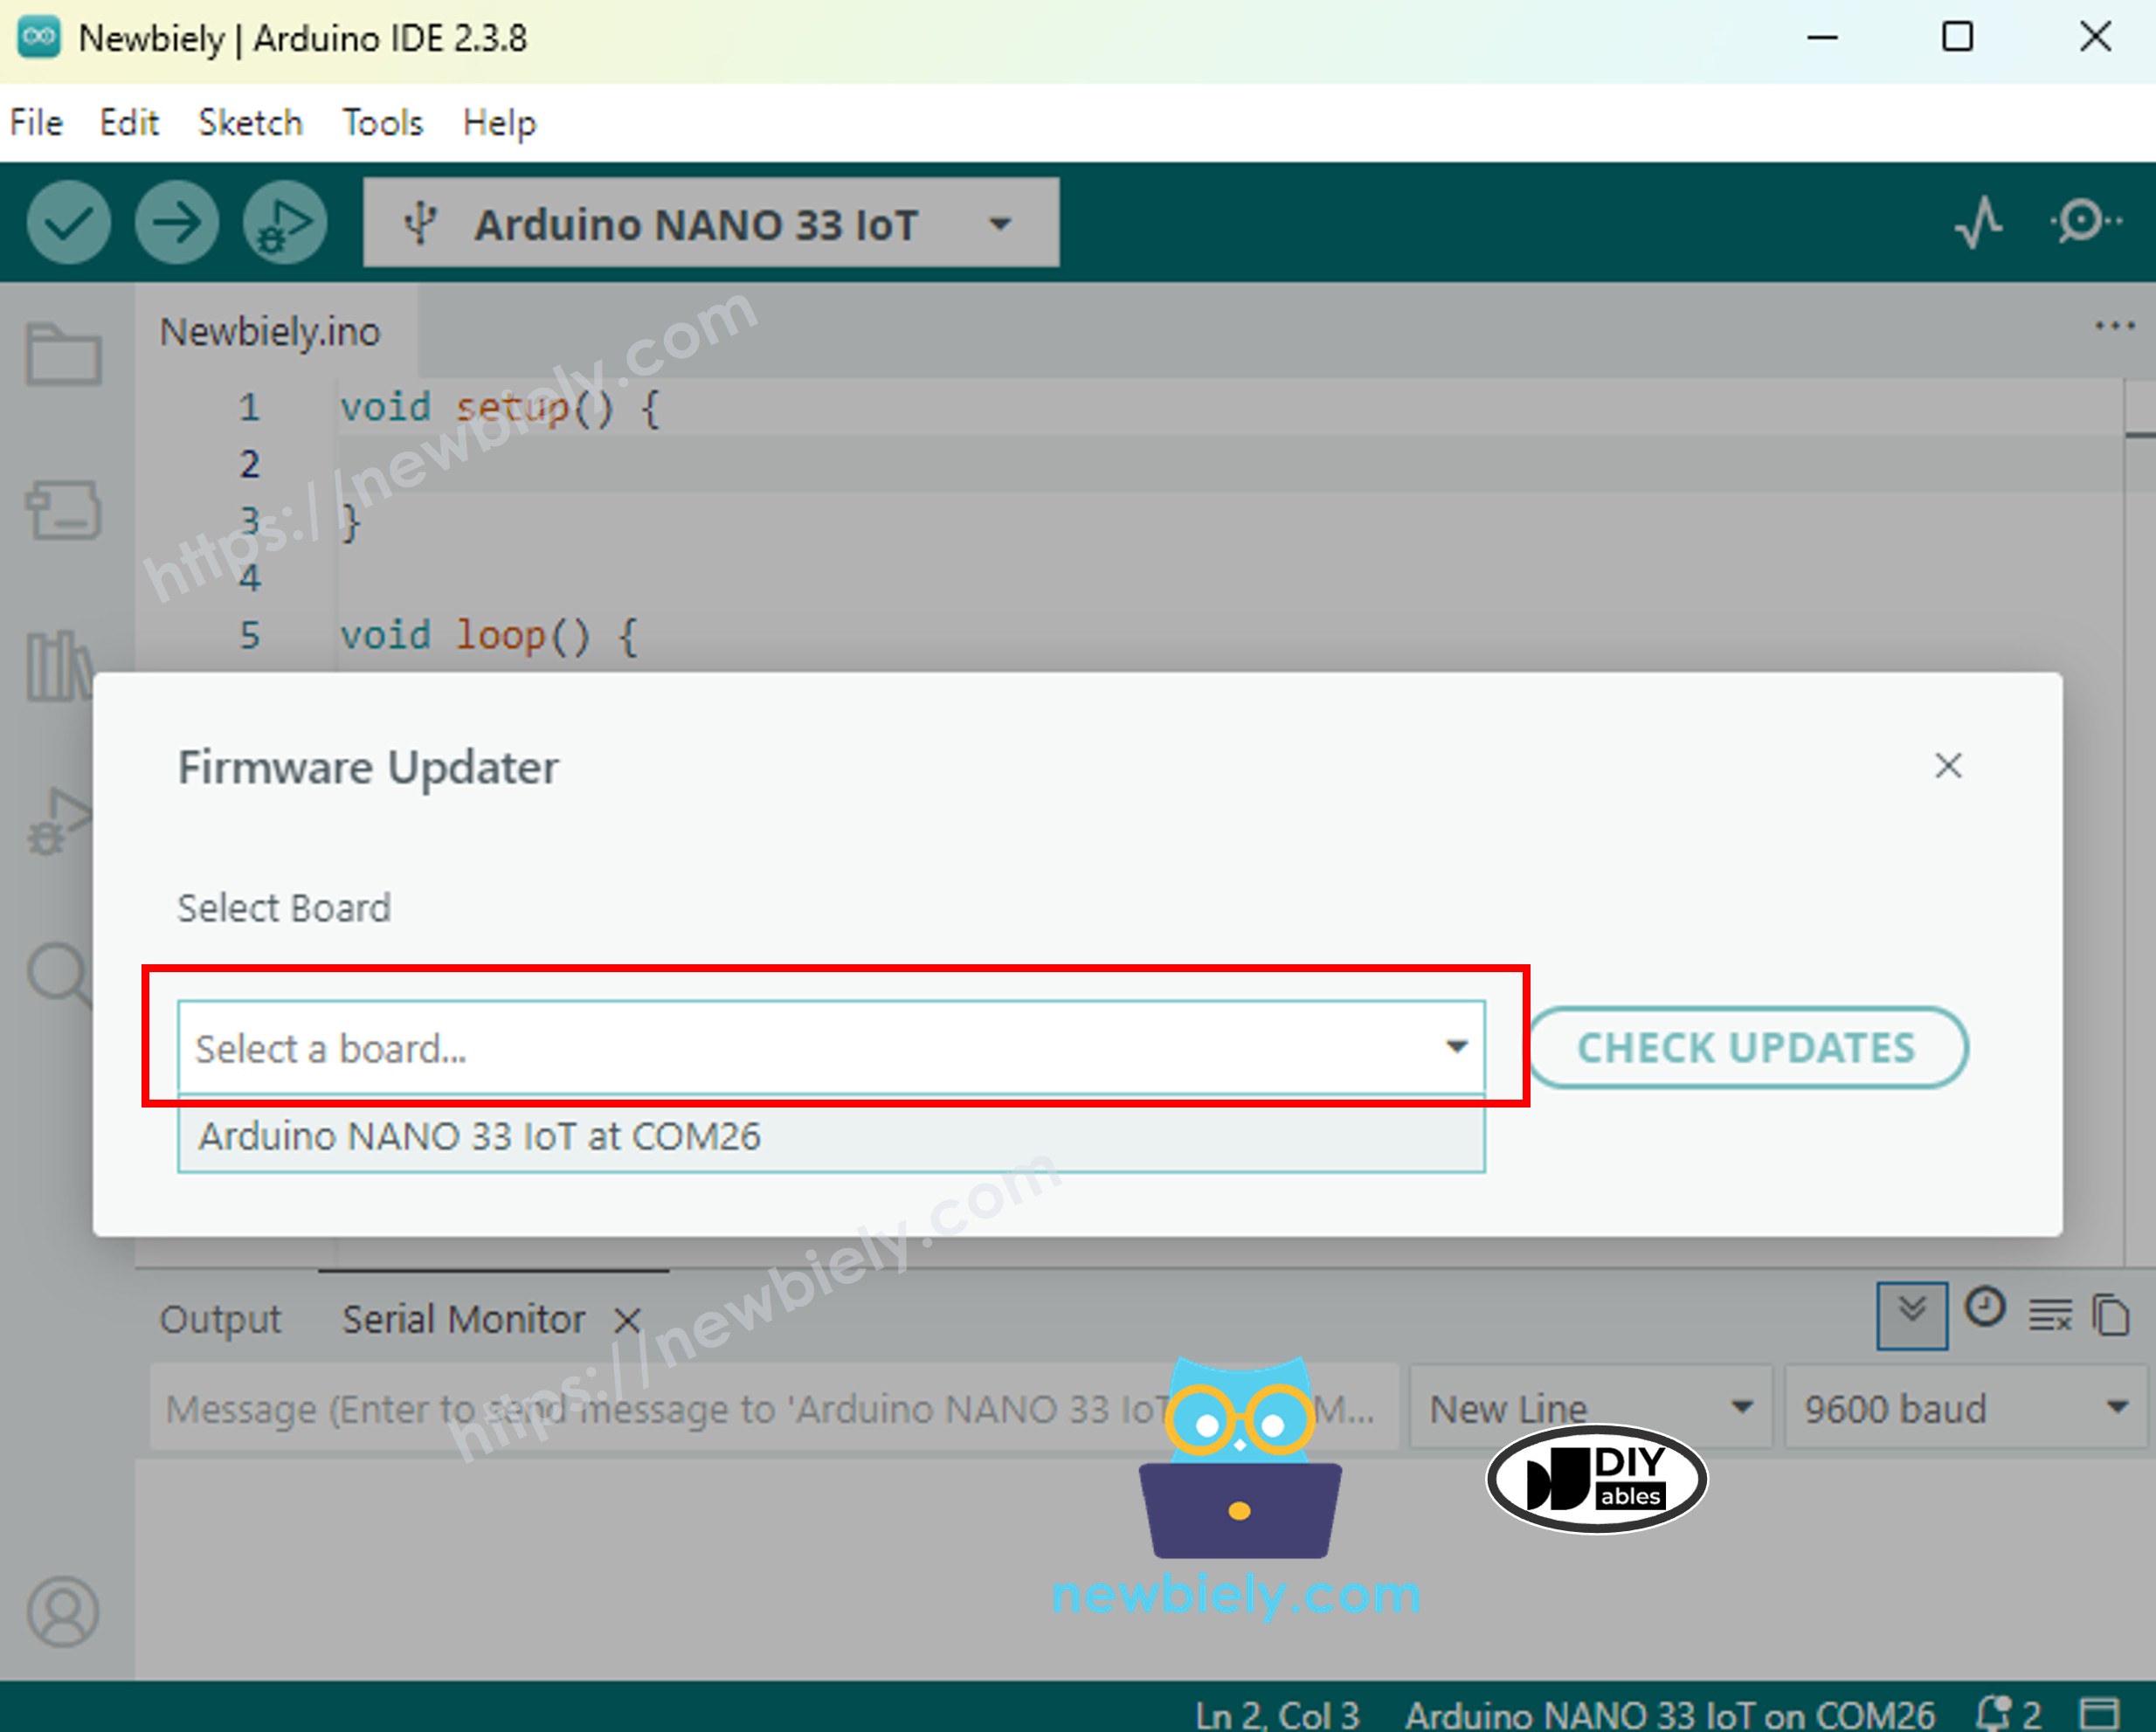
From the "Select Board" dropdown menu, select Arduino Nano 33 IoT. If your board doesn't appear in the list:
- Verify the USB connection and try using a different cable or port.
- Press the board's RESET button.
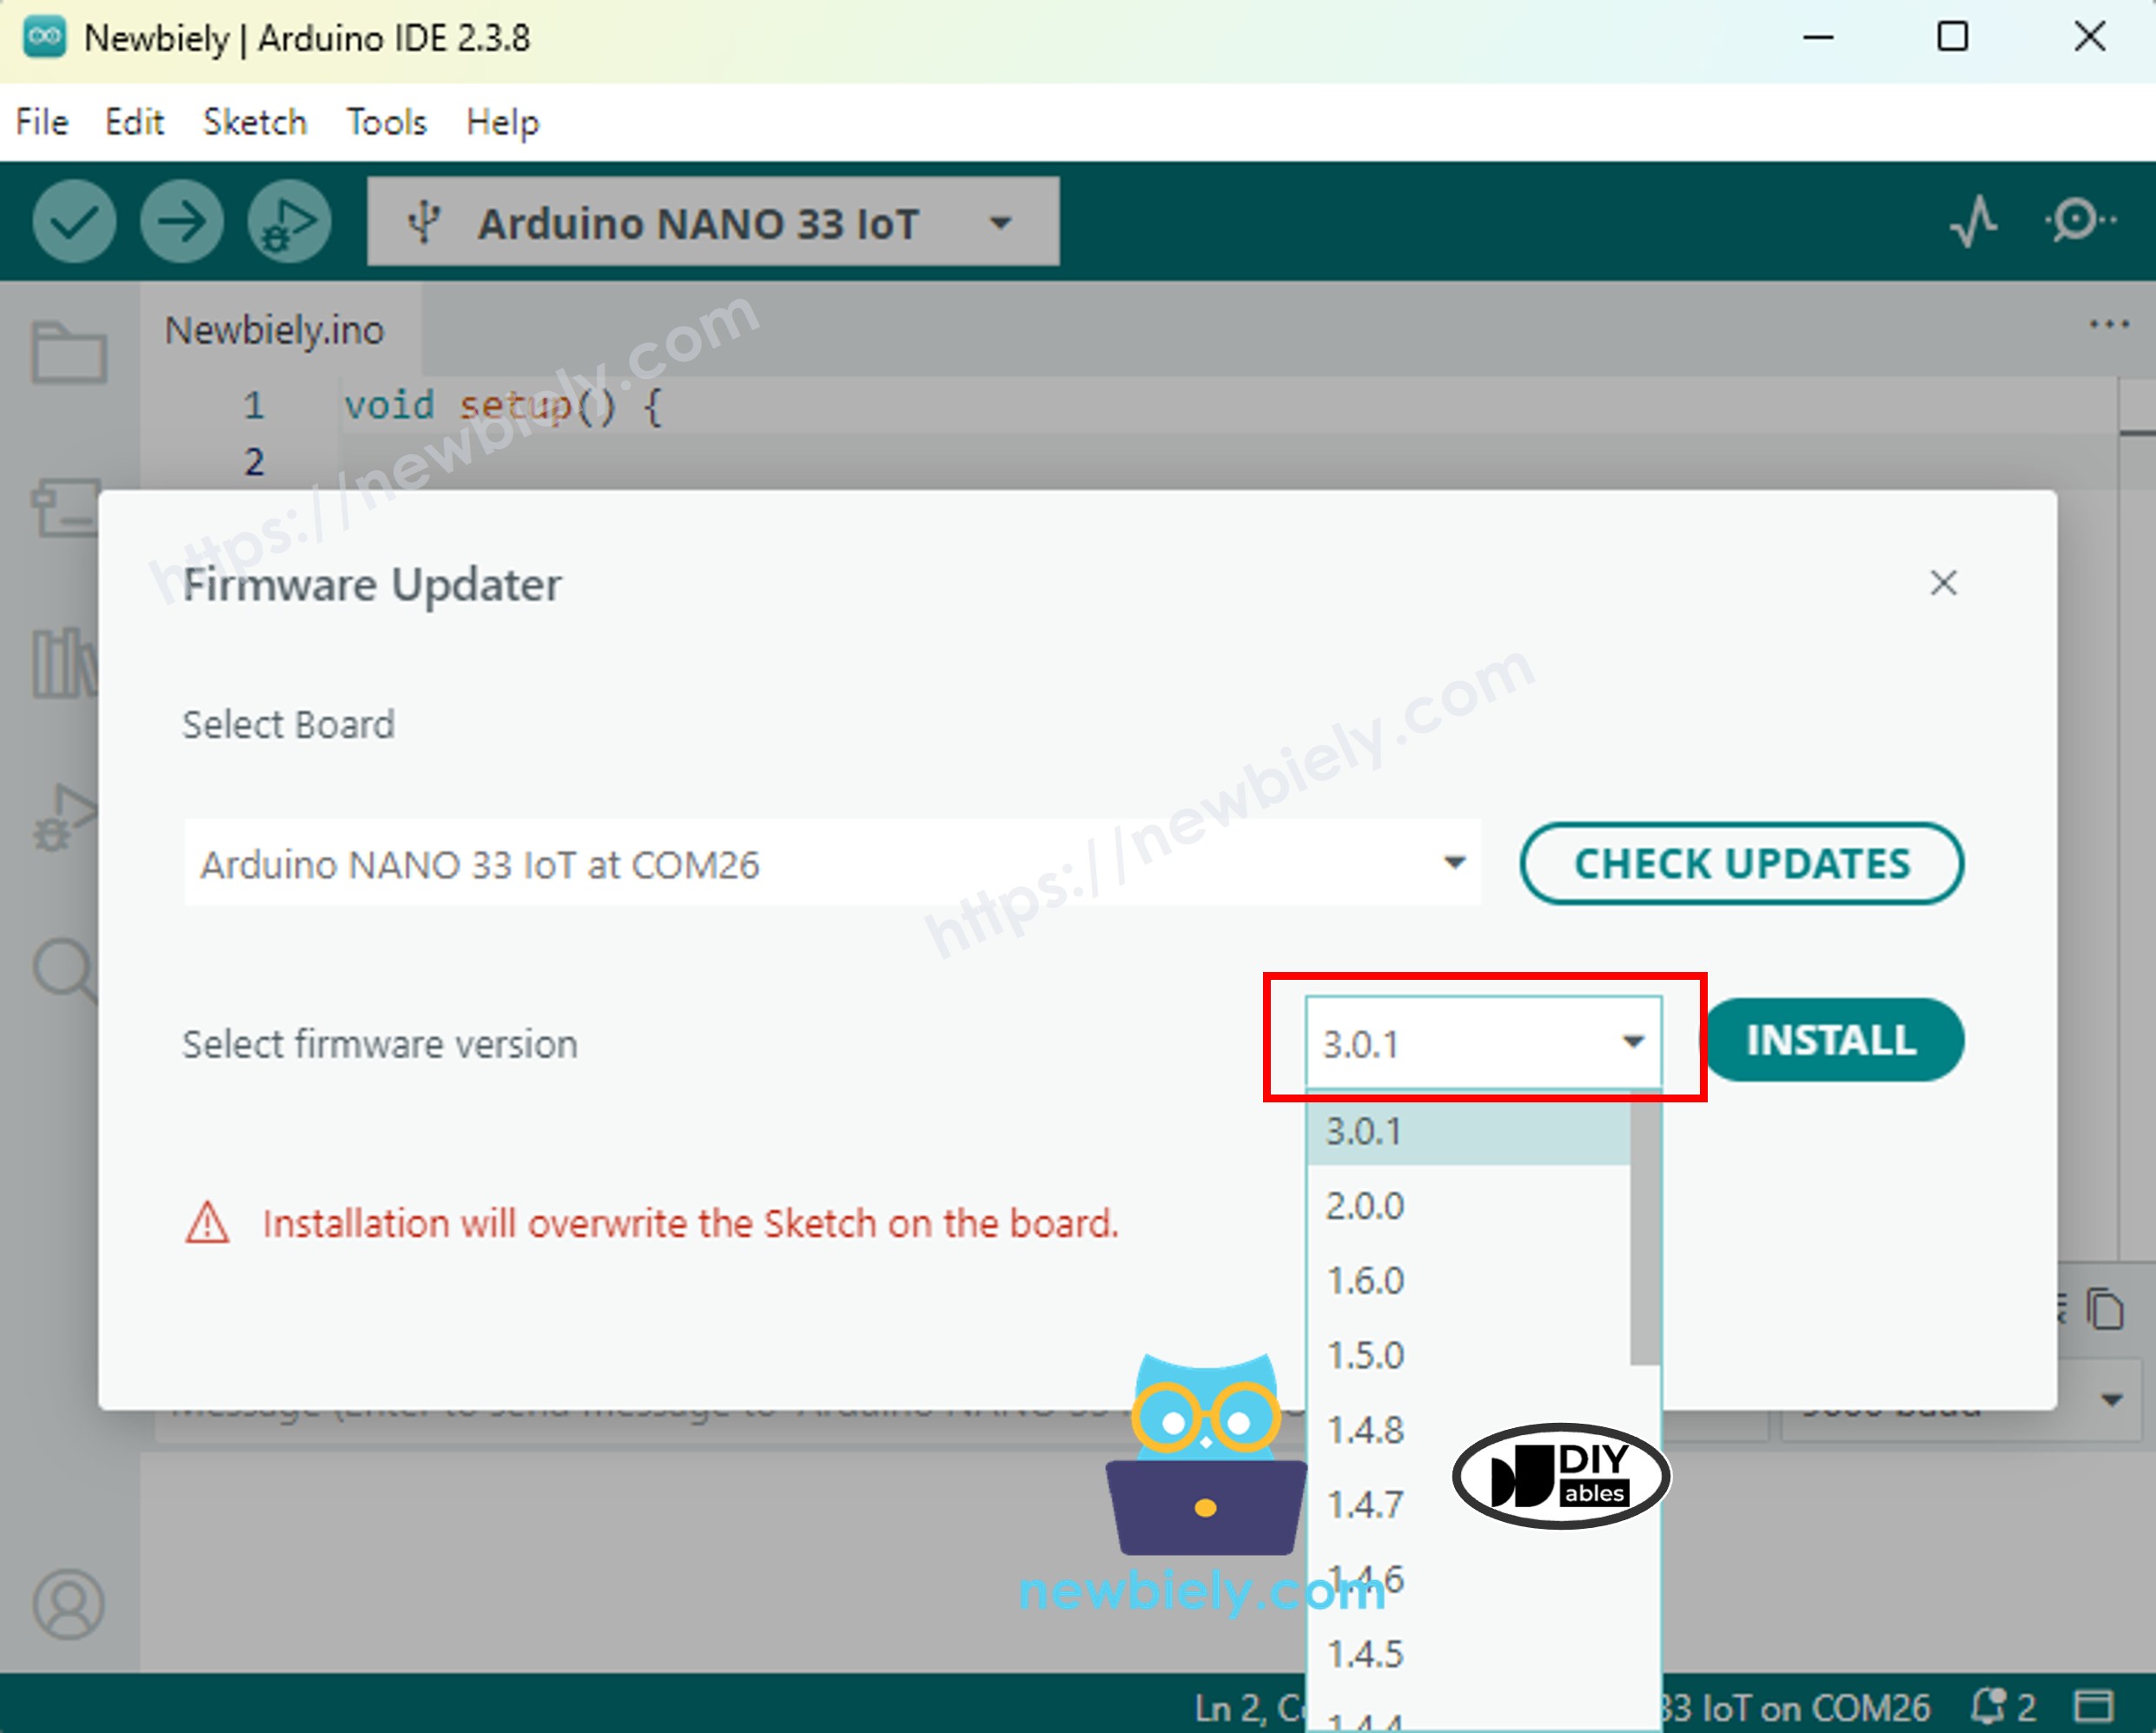
Step 4: Search for Available Updates
- Click the Check Updates button to scan for new firmware releases.
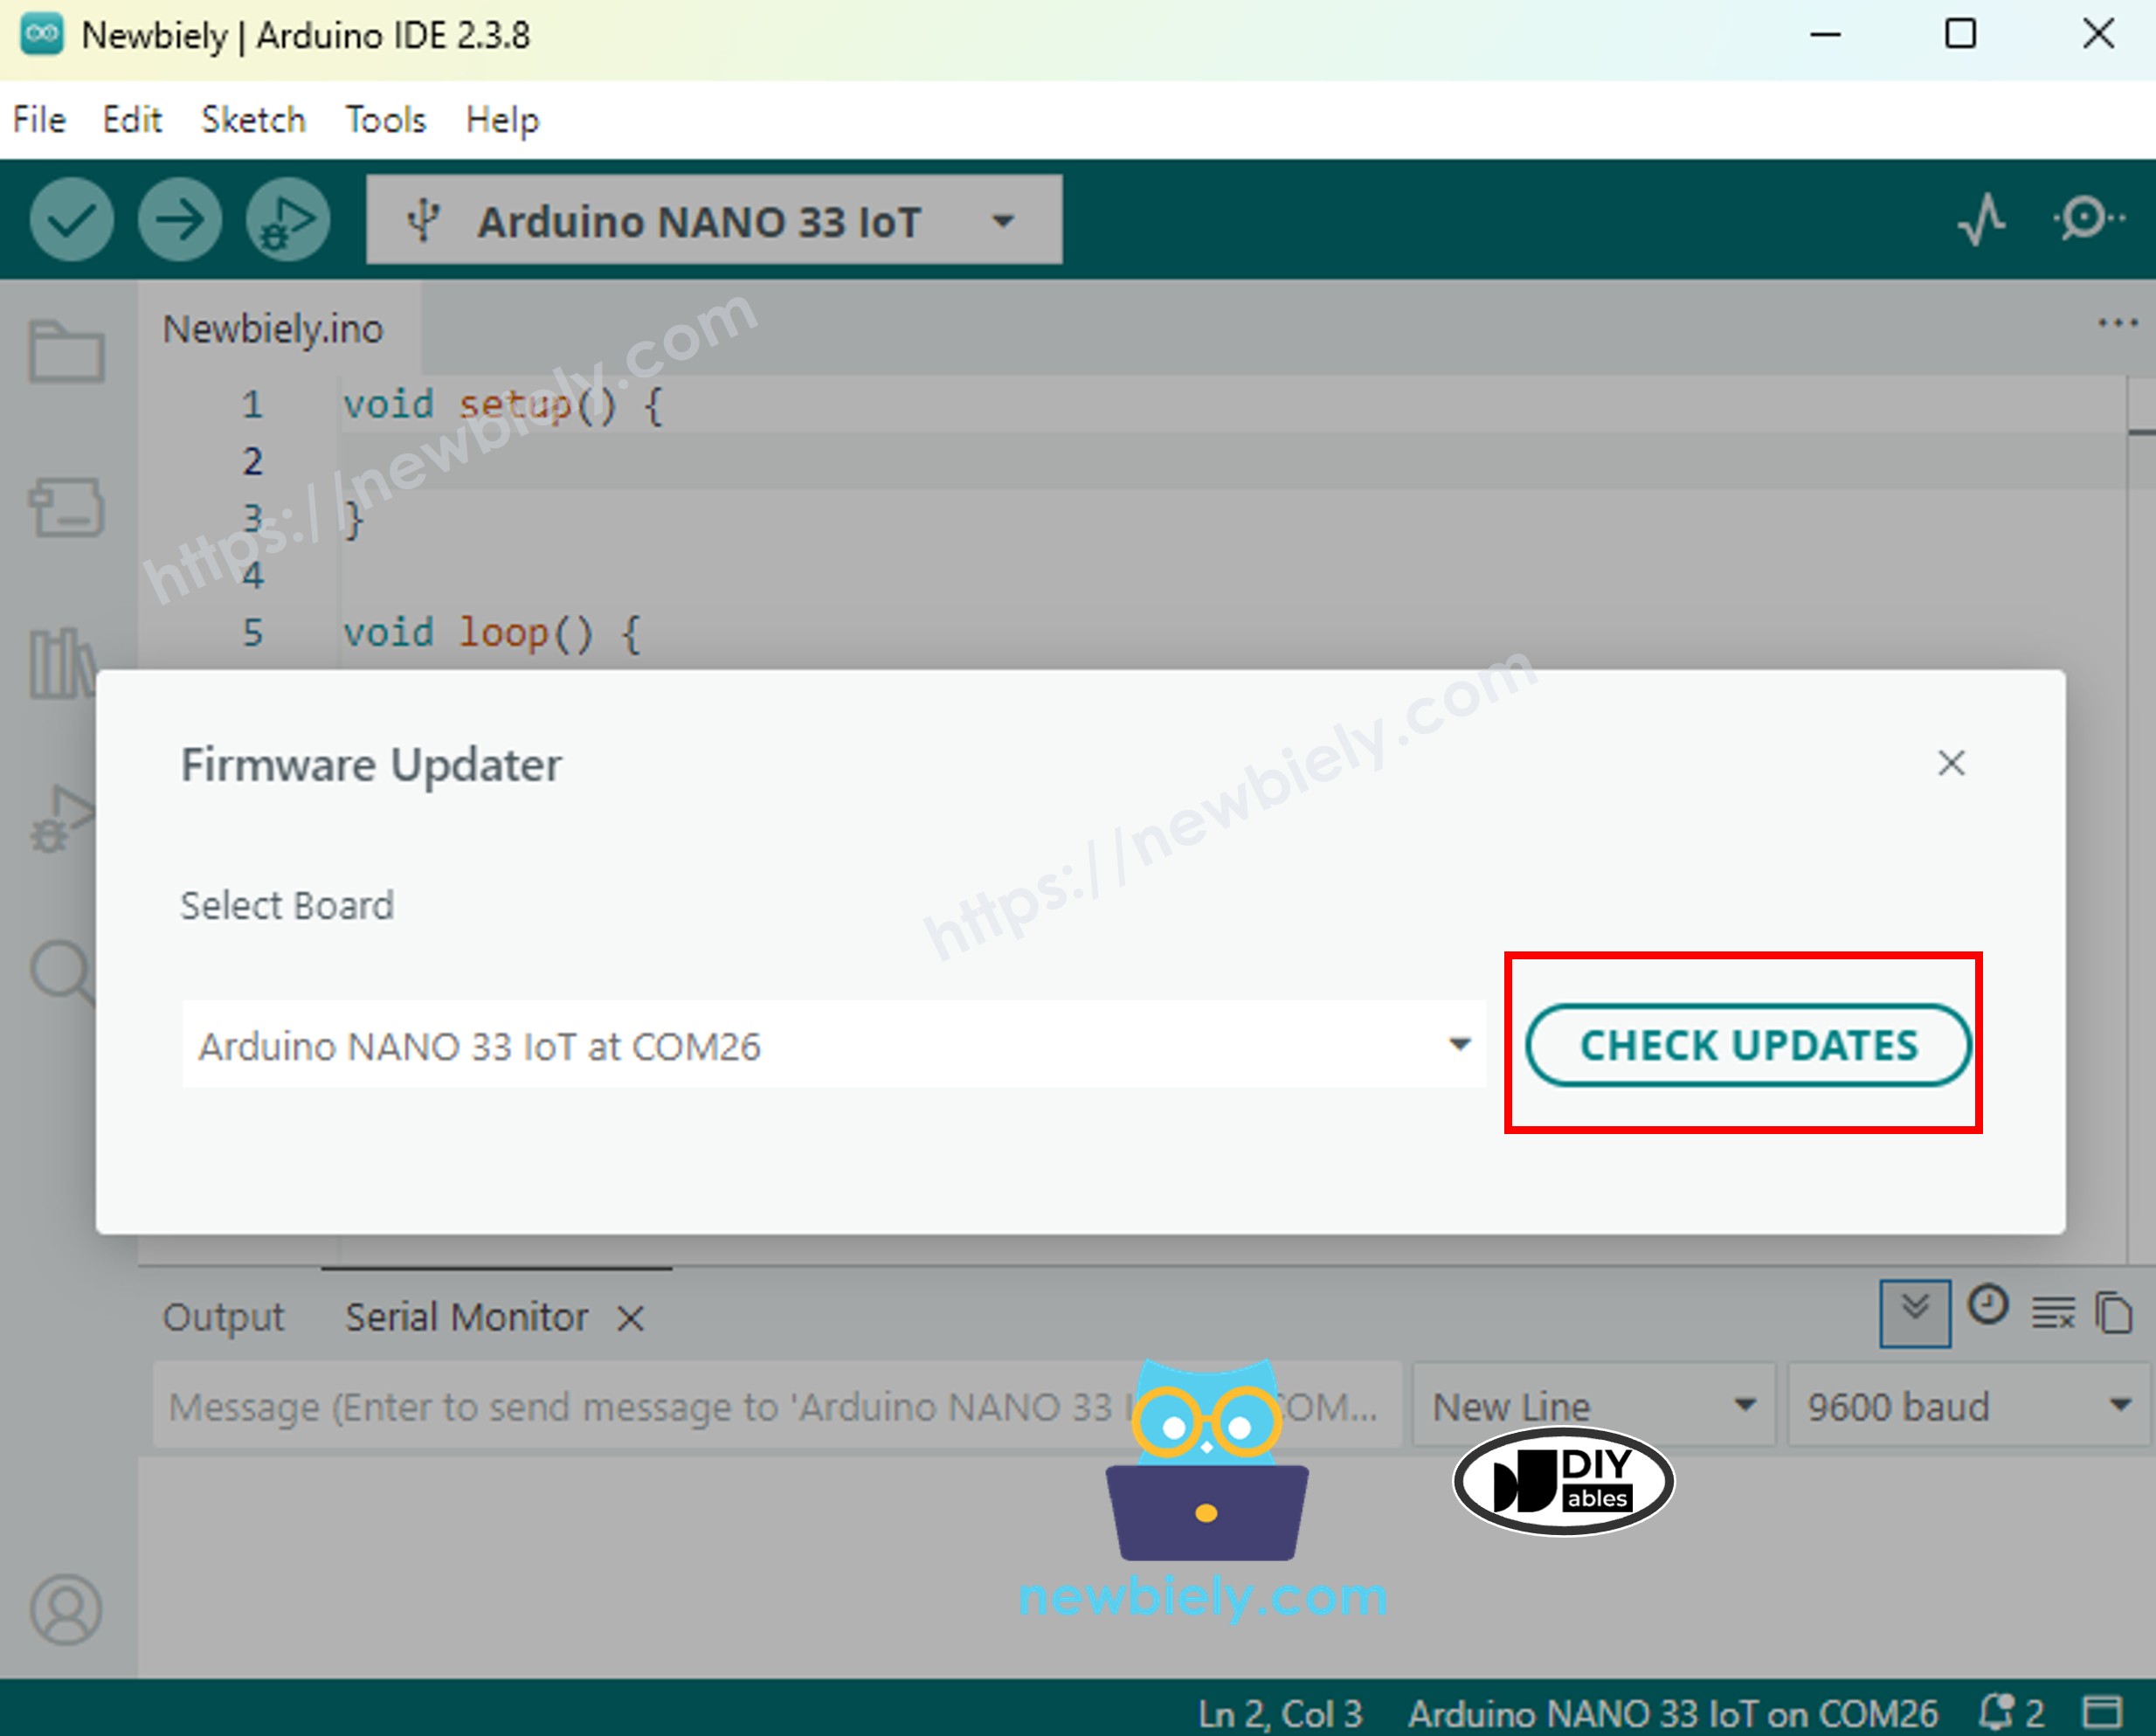
- If multiple firmware versions are available, choose the most recent one from the dropdown menu.
Step 5: Perform the Firmware Installation
- Click the Install button (or Update Firmware).
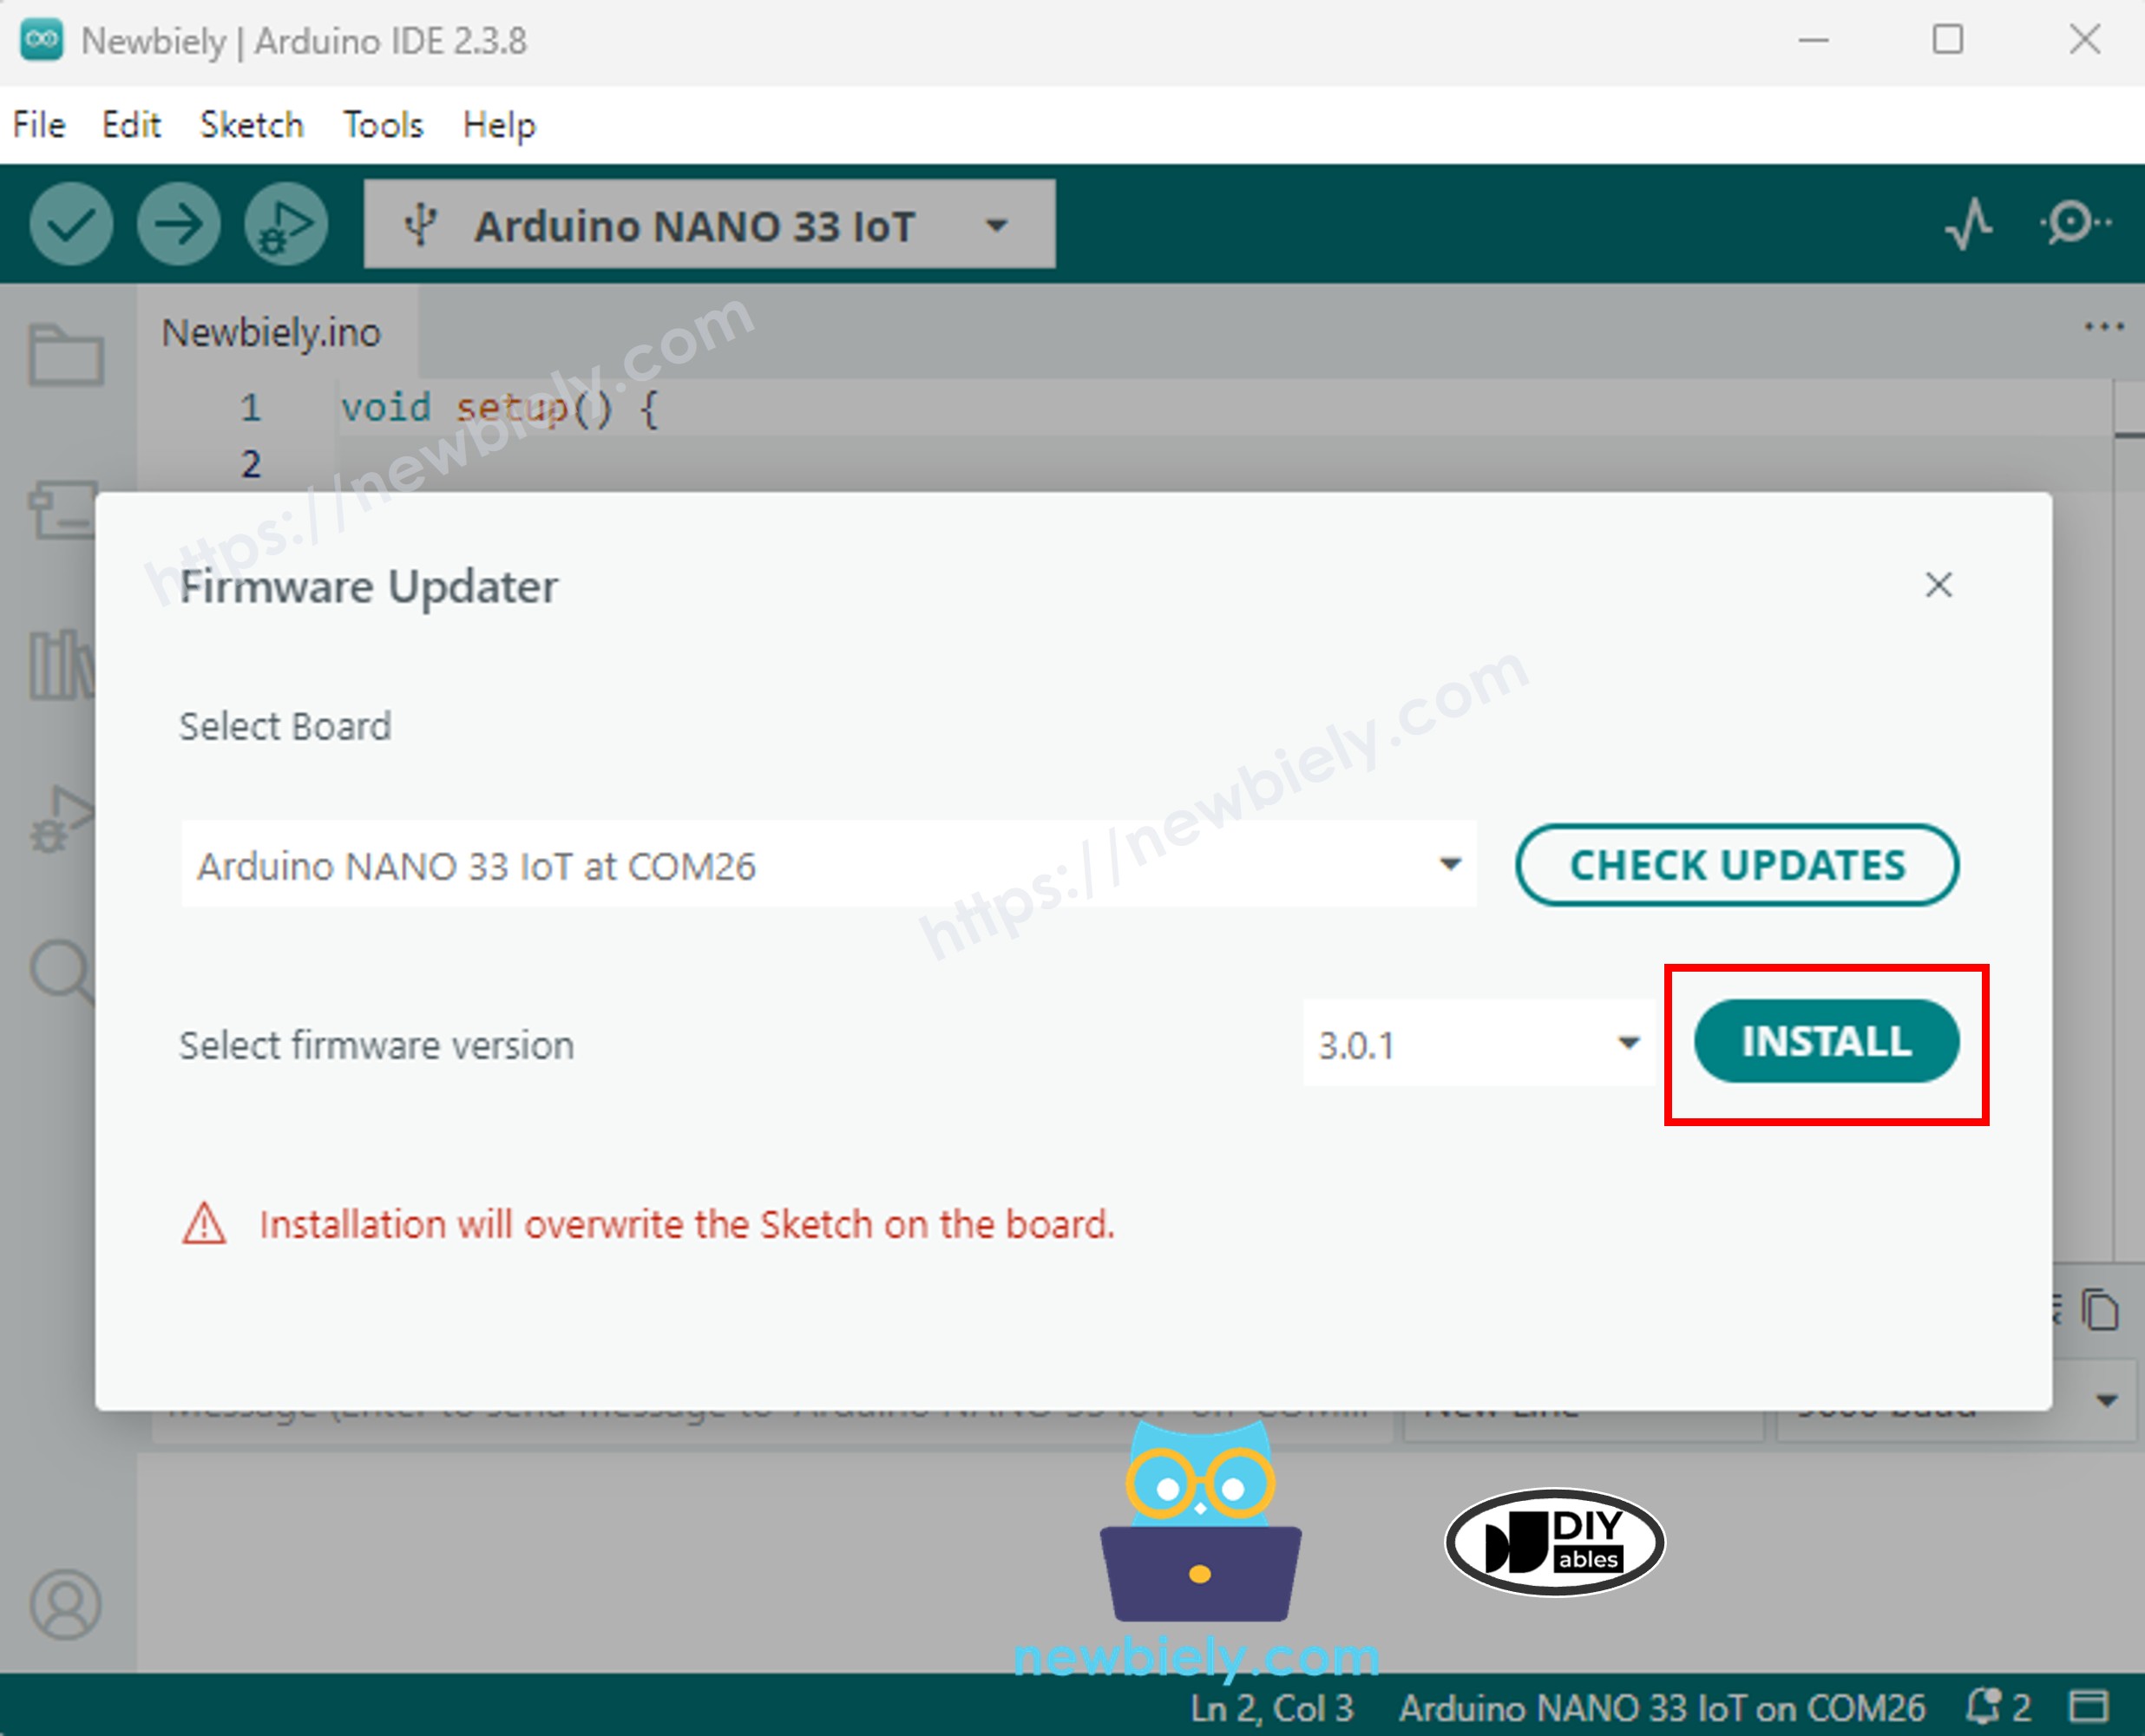
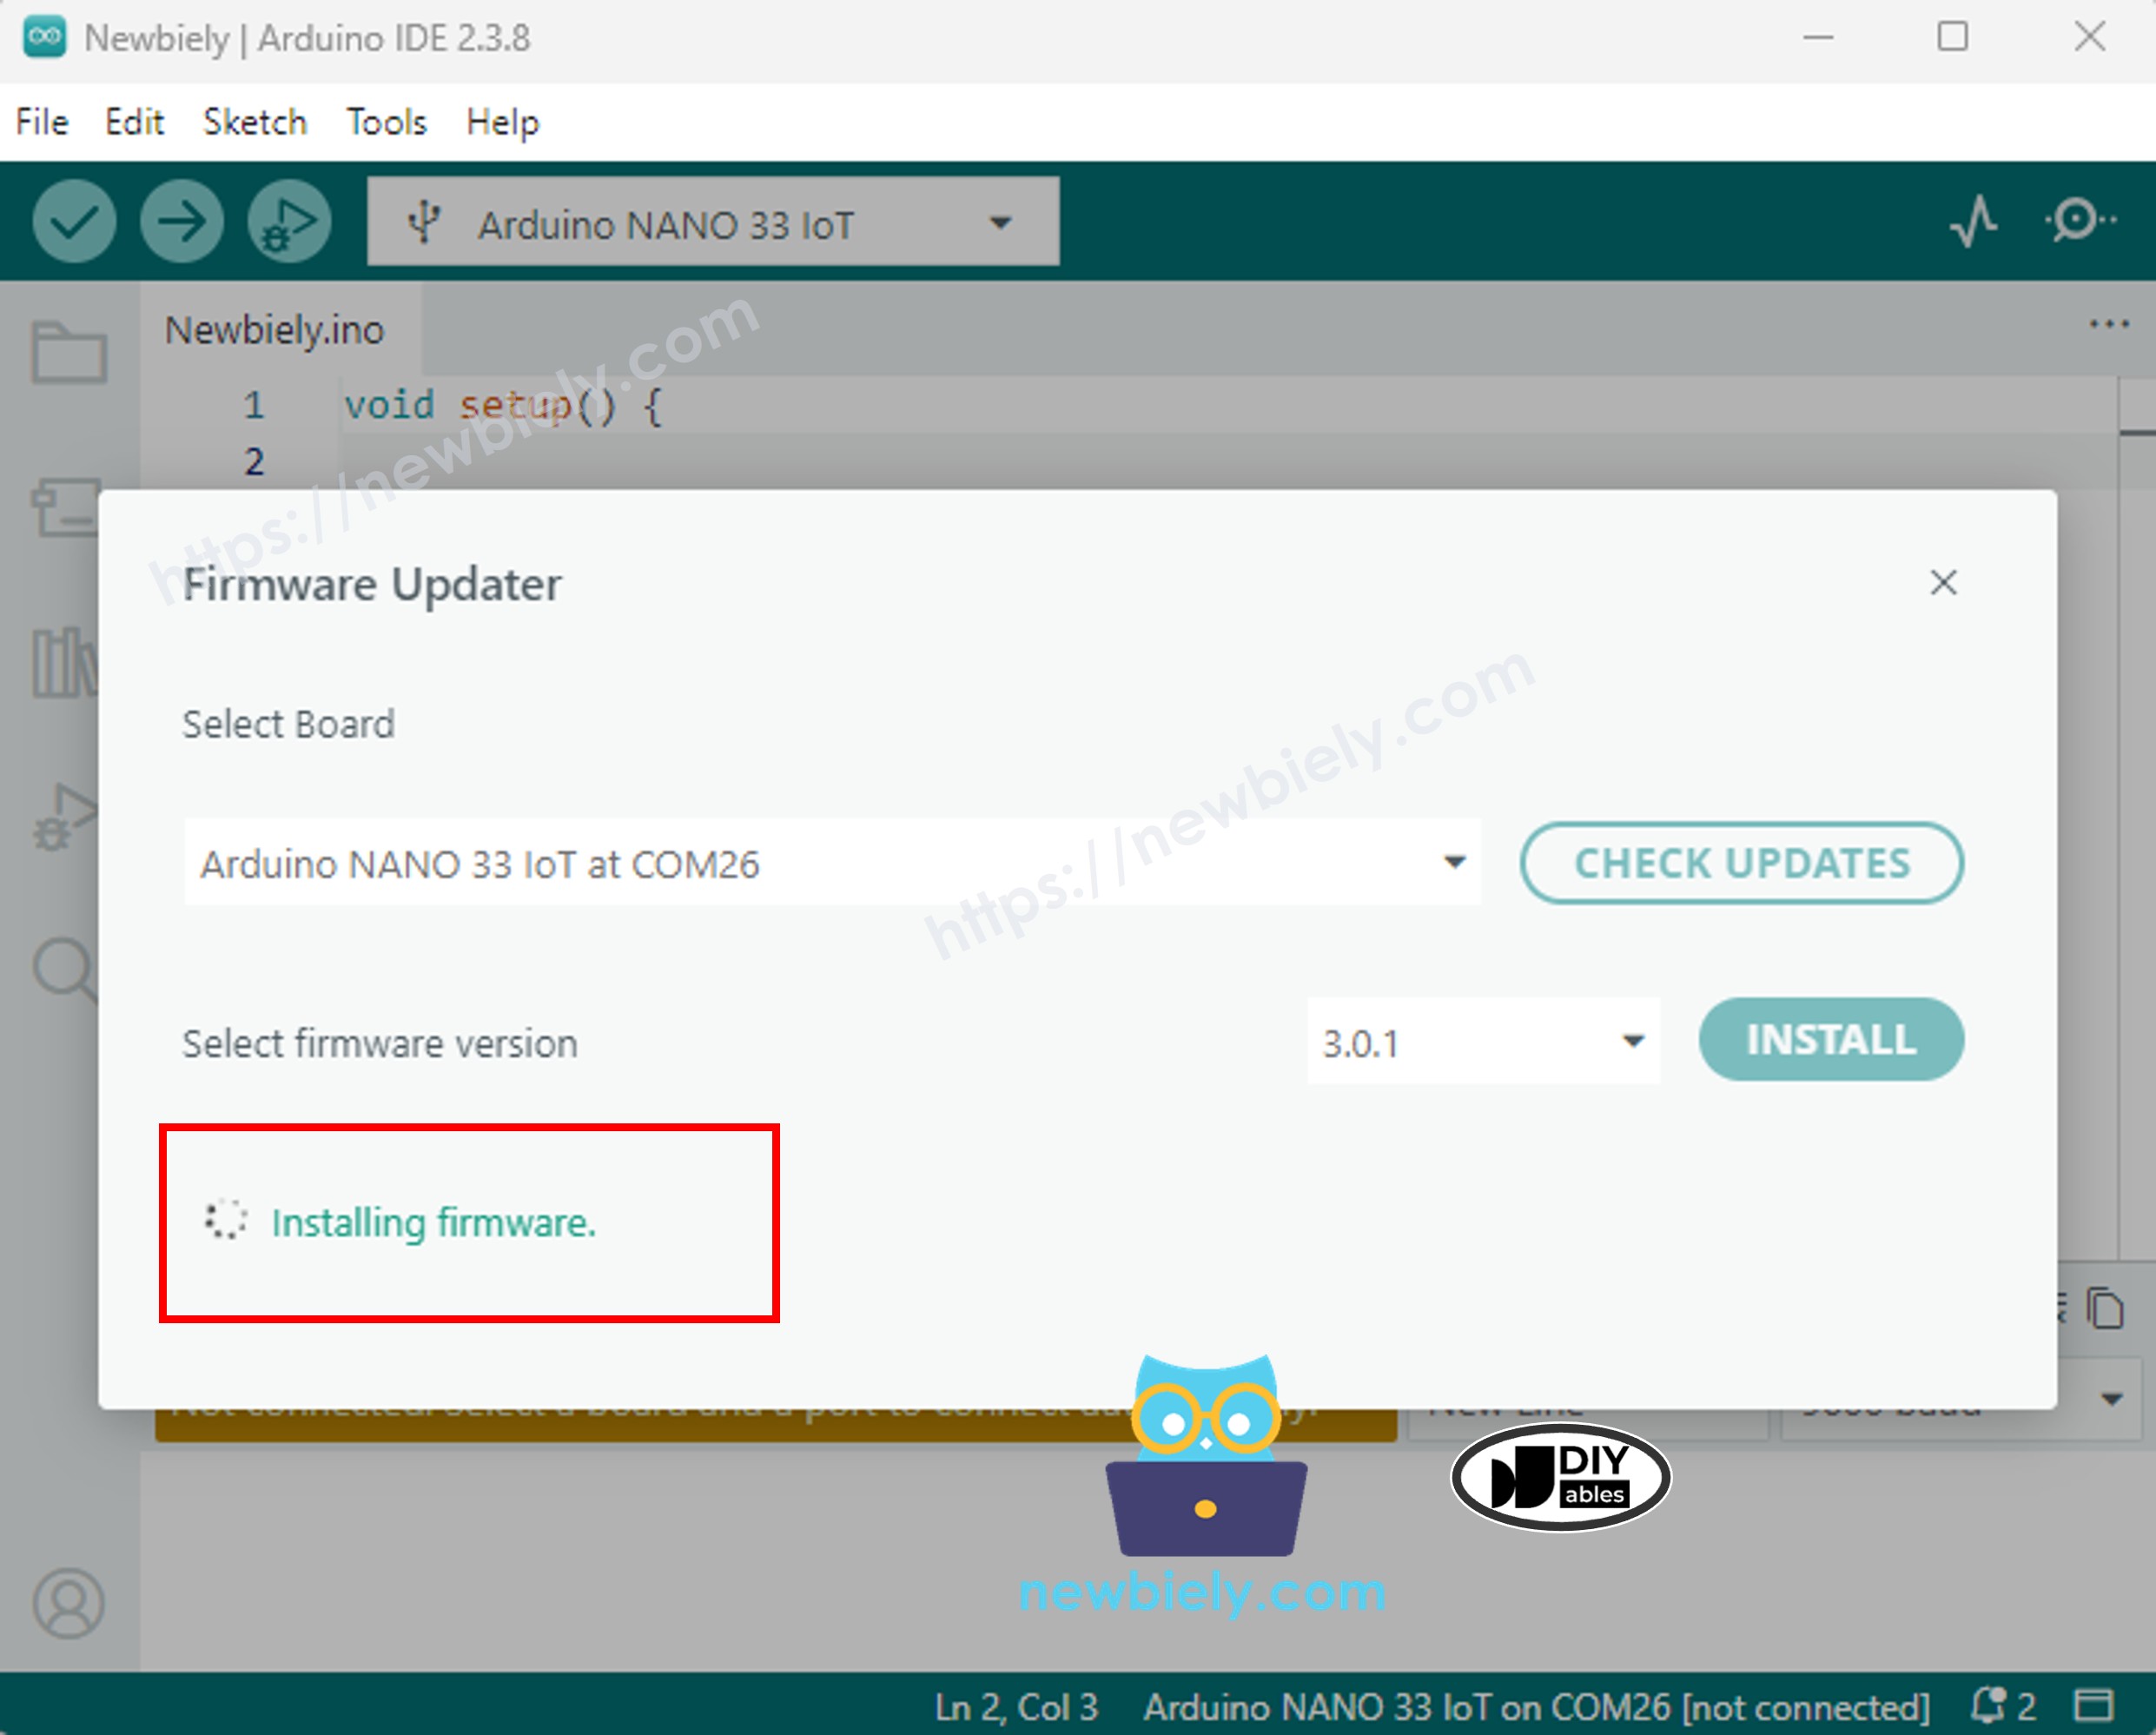
- Allow the installation to complete (typically 1-2 minutes). The progress bar will fill, or the "Installing firmware" message will disappear.
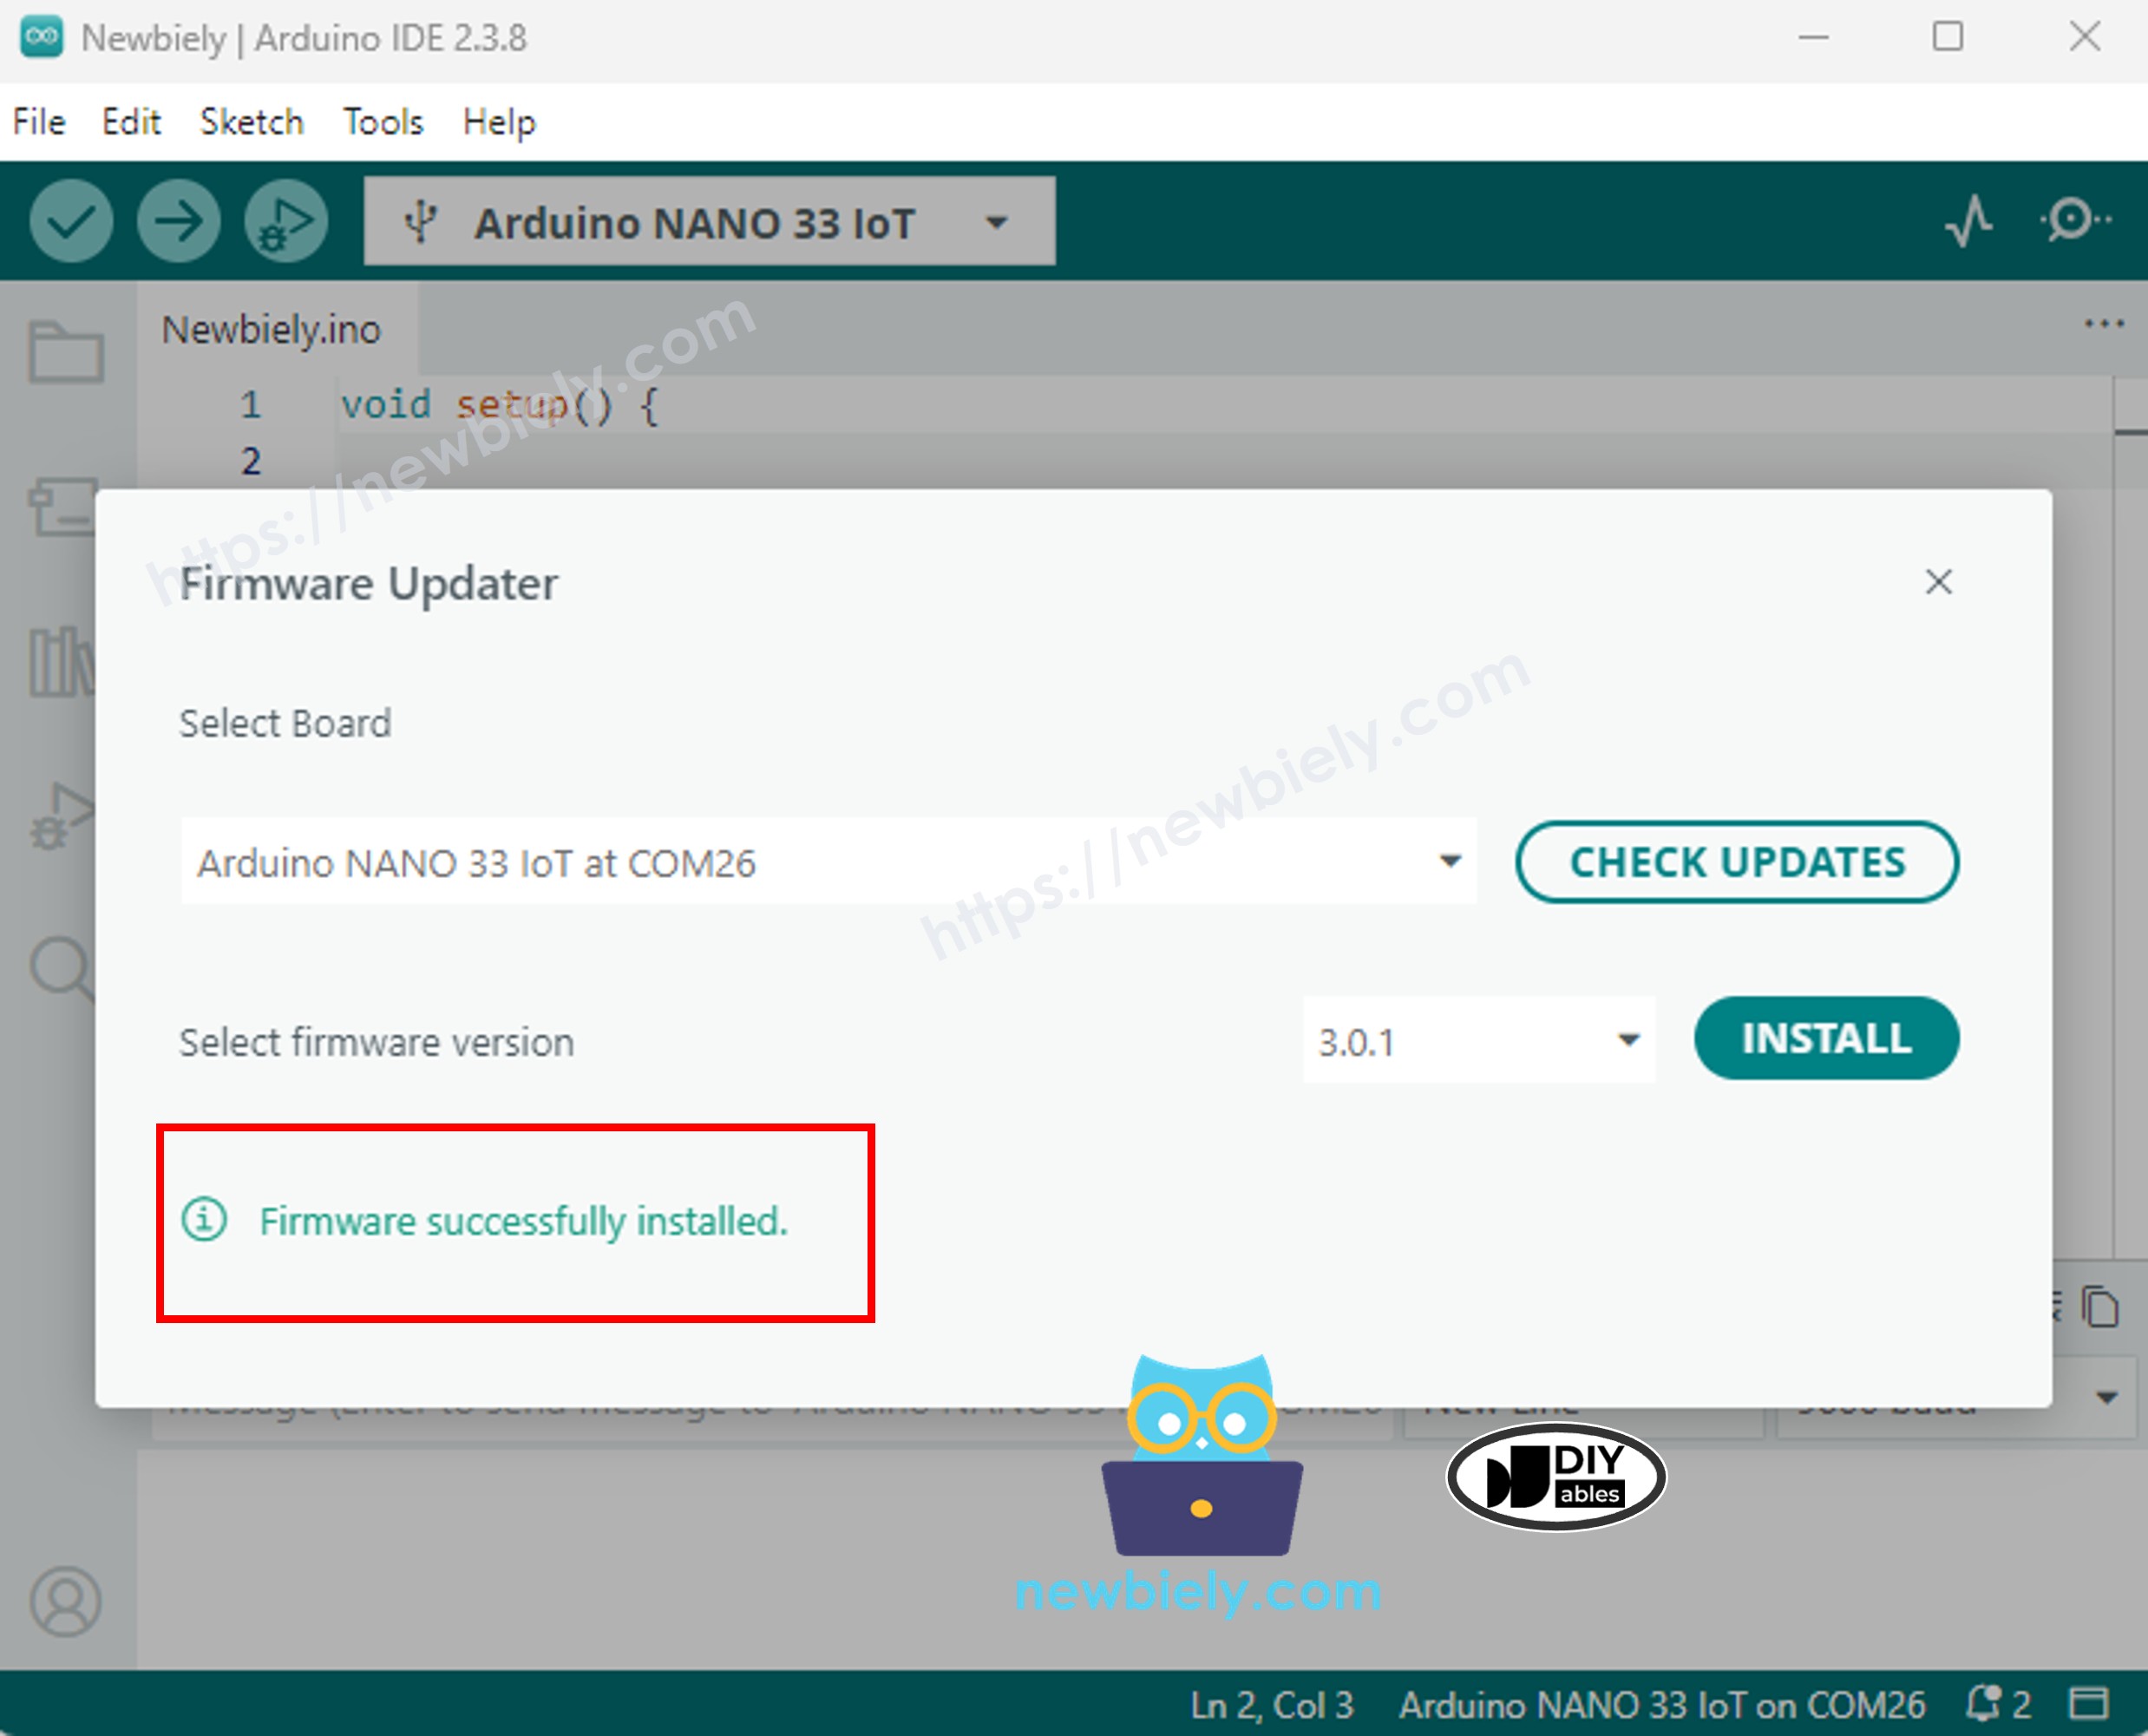
You may see a "Firmware successfully installed" confirmation, or the updater may return to its initial state.
Step 6: Complete the Update Process
- Close the Firmware Updater dialog.
- Unplug the USB cable from the Arduino Nano 33 IoT.
- Reconnect the board to exit any special programming mode.
- Confirm successful update by uploading this verification code and checking the Serial Monitor:
Troubleshooting
| Issue | Cause | Solution |
|---|---|---|
| Board not appearing | Cable/port issue | Use a proper data cable; test different ports; press RESET button. |
| Update process fails quickly | Driver/system incompatibility | Update USB drivers; try on Linux; restart the IDE. |
| "Firmware update required" still shows | Update didn't complete | Repeat the update procedure; verify board is in normal mode before uploading sketches. |
| IDE version compatibility error | Using outdated IDE | Download and install Arduino IDE 2.x. |
| WiFi module unresponsive | Corrupted firmware | Check Arduino forums for recovery procedures specific to NINA-W102 module. |