Arduino Nano ESP32 - Code Structure
To learn how to program for ESP32, you need to learn the structure of Arduino Nano ESP32 code. This tutorial provides and explains the structure of Arduino Nano ESP32 code.
Hardware Preparation
Or you can buy the following kits:
| 1 | × | DIYables Sensor Kit (18 sensors/displays) |
Additionally, some of these links are for products from our own brand, DIYables .
Basic Code Structure
Arduino Nano ESP32 code (also called Arduino Nano ESP32 sketch) has the same structure as Arduino Code. It includes two main parts: setup code and loop code.
Setup Code
- Setup code is code in setup() function.
- Setup code is executed right after power-up or reset
- Setup code is executed only one time.
- Setup code is used to initialize variables, pin modes, start using libraries,
Loop Code
- Loop code is code in loop() function.
- Loop code is executed right after setup code.
- Loop code is executed repeatedly (infinitely).
- Loop code is used to do the main task of application
Example
Detailed Instructions
- If this is the first time you use Arduino Nano ESP32, see how to setup environment for Arduino Nano ESP32 on Arduino IDE.
- Copy the above code and paste it to Arduino IDE.
- Compile and upload code to Arduino Nano ESP32 board by clicking Upload button on Arduino IDE
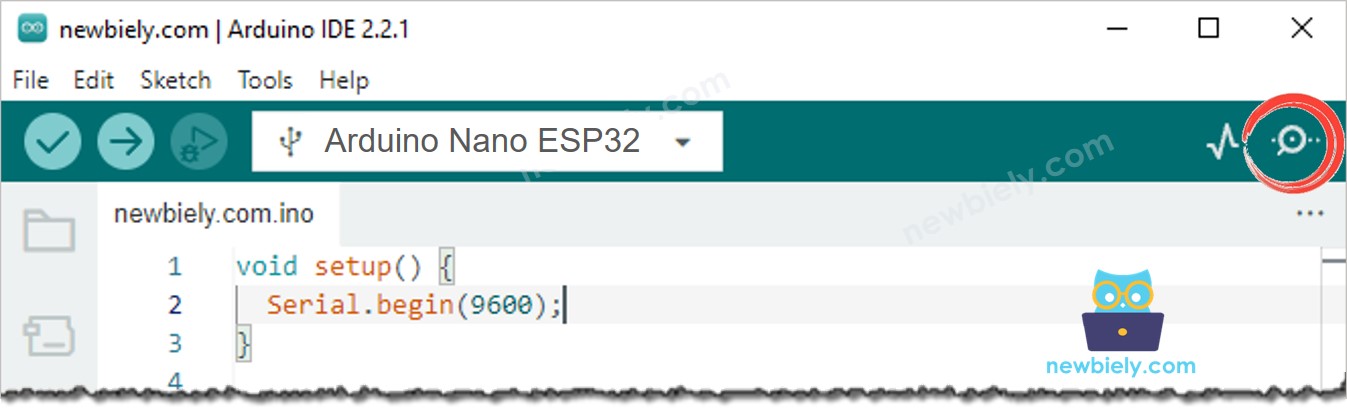
- Open Serial Monitor on Arduino IDE
- See the output on Serial Monitor
As you can see on Serial Monitor, “This is Arduino Nano ESP32 the setup code” is printed once, but “This is Arduino Nano ESP32 loop code” is printed many times. It means the Arduino Nano ESP32 setup code is executed once, the Arduino Nano ESP32 loop code is executed repeatedly. The setup code is executed first.
※ NOTE THAT:
setup() and loop() functions MUST be used in Arduino Nano ESP32 code. If not, it generates an error.
Other Parts
Apart from setup and loop code, an Arduino Nano ESP32 sketch can include some of the following parts:
- Block comment: usually used to write some information about the author, the wiring instruction, the license ... Arduino Nano ESP32 will ignore this part.
- Libraries inclusion: is used to include libraries into the sketch.
- Constant definition: used to define constant
- Global variables declaration
For example:
Detailed Instructions
- If this is the first time you use Arduino Nano ESP32, see how to setup environment for Arduino Nano ESP32 on Arduino IDE.
- Copy the above code and paste it to Arduino IDE.
- Compile and upload code to Arduino Nano ESP32 board by clicking Upload button on Arduino IDE
- Open Serial Monitor on Arduino IDE
- See the output on Serial Monitor
We do NOT need to understand code line by line now. We just need to know about code structure. The line-by-line code will be explained in the next tutorials.