Arduino Nano ESP32 - Serial Plotter

This tutorial provides instructions on how to use Serial Plotter on Arduino IDE with Arduino Nano ESP32

Hardware Preparation

1×Arduino Nano ESP32
1×USB Cable Type-C
1×(Optional) DC Power Jack
1×Breadboard
1×Jumper Wires
1×(Recommended) Screw Terminal Adapter for Arduino Nano

Or you can buy the following sensor kits:

1×DIYables Sensor Kit (30 sensors/displays)
1×DIYables Sensor Kit (18 sensors/displays)
Disclosure: Some of the links provided in this section are Amazon affiliate links. We may receive a commission for any purchases made through these links at no additional cost to you. We appreciate your support.

Overview of Serial Plotter

The Serial Plotter is a tool on Arduino IDE the can receive data from Arduino Nano ESP32 via Serial and plot it on a graph. The Serial Plotter can plot multiple sensor's data in the same screen.

To receive the data from ESP32, It needs to use a USB cable between Arduino Nano ESP32 and PC

Serial Plotter is composed of two components:

  • a selection box: used to select the serial baudrate
  • a graph:: a screen that shows the visualized data
    • X-axis: presents the time. It has 500 points. The time between each point is the time between two consecutive Serial.println() function calls.
    • Y-axis: presents the data values received from Arduino Nano ESP32. The Y-axis automatically scales when the data's value increases or decreases.

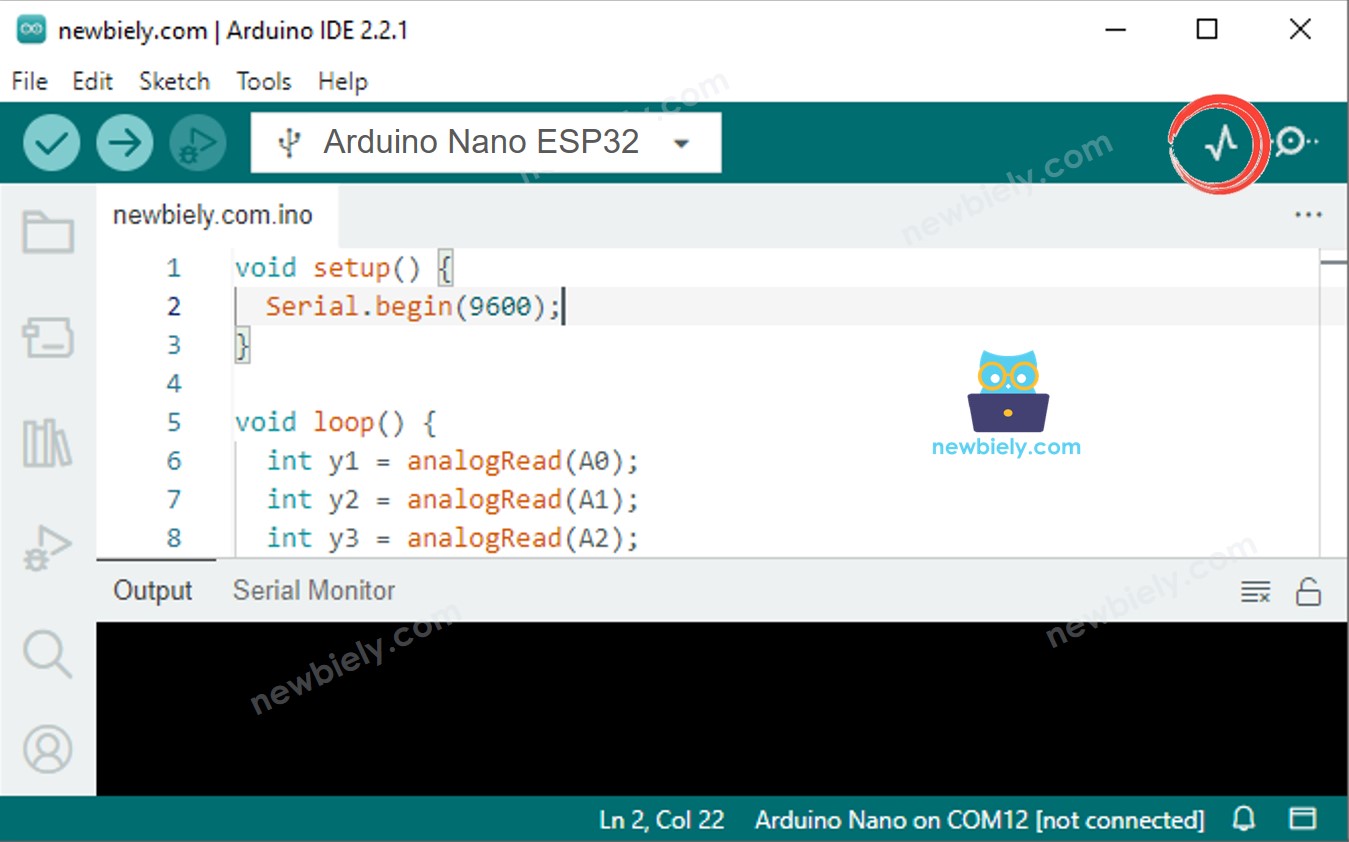
How To Open Serial Plotter

On Arduino IDE, Navigate to Tools Serial Plotter

how to open serial plotter

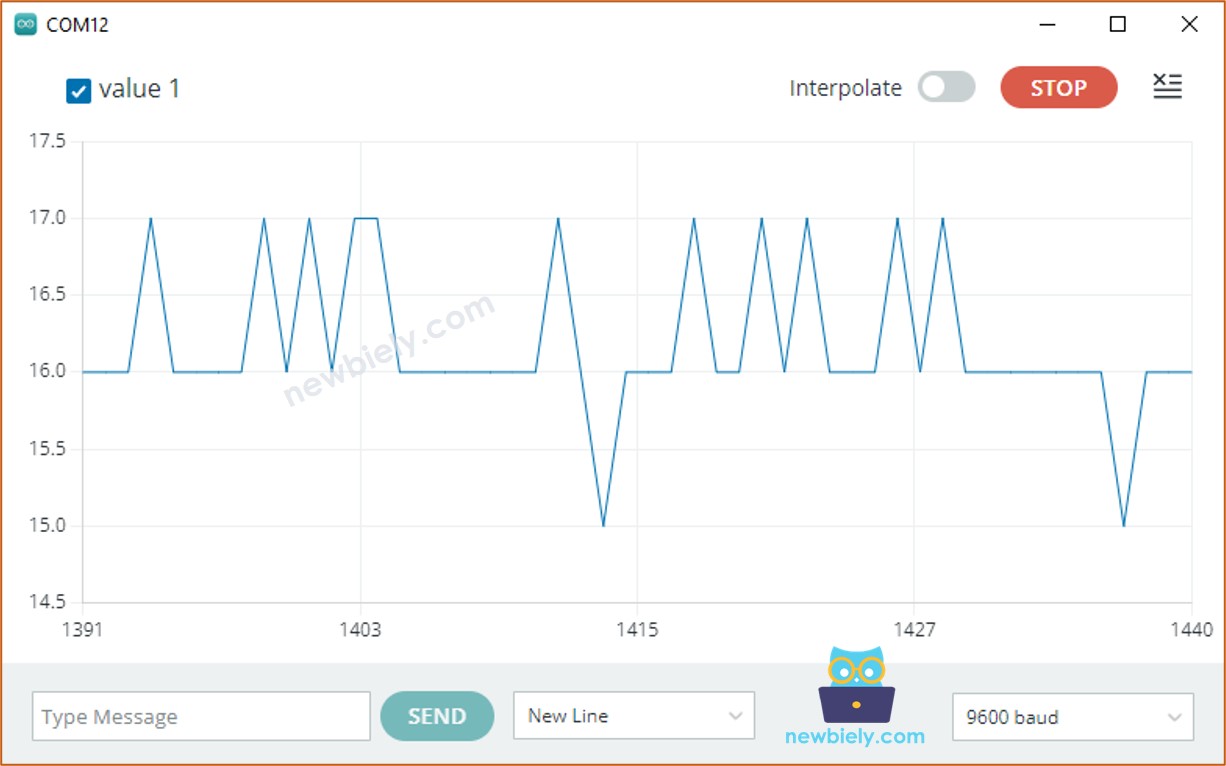
How to plot a Single Line on Graph

To plot a single line on graph, we just need to send the data terminated by “\r\n” character. We can use Serial.println() function

Serial.println(variable);

※ NOTE THAT:

Serial.println() automatically appends “\r\n” characters to data.

Example Code

The below Arduino Nano ESP32 example code reads the value of an analog input pin and send it to Serial Plotter

/* * This Arduino Nano ESP32 code was developed by newbiely.com * * This Arduino Nano ESP32 code is made available for public use without any restriction * * For comprehensive instructions and wiring diagrams, please visit: * https://newbiely.com/tutorials/arduino-nano-esp32/arduino-nano-esp32-serial-plotter */ void setup() { Serial.begin(9600); } void loop() { int variable_1 = analogRead(A0); Serial.println(variable_1); delay(100); }

Detailed Instructions

  • If this is the first time you use Arduino Nano ESP32, see how to setup environment for Arduino Nano ESP32 on Arduino IDE.
  • Copy the above code and paste it to Arduino IDE.
  • Compile and upload code to Arduino Nano ESP32 board by clicking Upload button on Arduino IDE
  • Open Serial Plotter
  • Select baurate 9600
  • See graph on Serial Plotter
serial plotter example single line

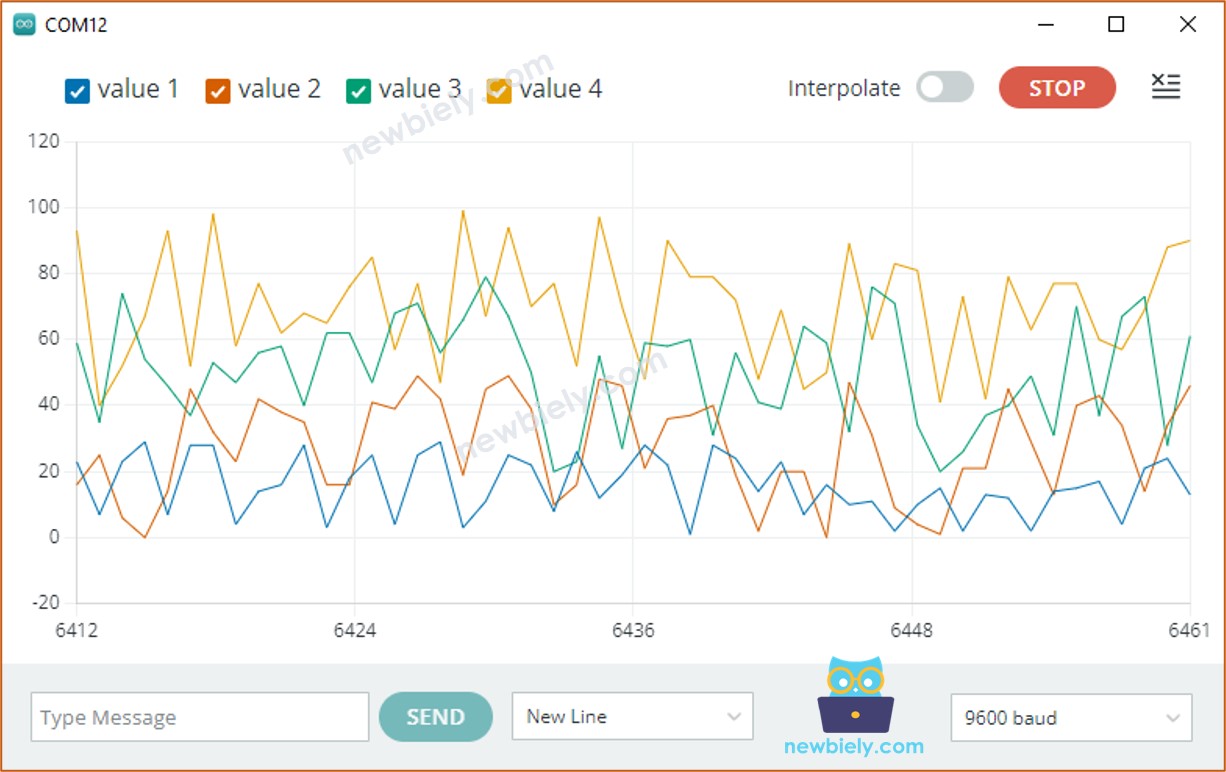
How to plot multiple lines on Graph

To plot multiple variables, we need to separate variables from each other by “\t” or " " character. The last value MUST be terminated by “\r\n” characters.

In detail:

  • The first variable
Serial.print(variable_first);
  • The middle variables
Serial.print("\t"); // or Serial.print(" ") Serial.print(variable_nth);
  • The last variable
Serial.print("\t"); // or Serial.print(" ") Serial.println(variable_last);

Example Code

The below Arduino Nano ESP32 example code reads the value from 4 analog input pins and sends them to Serial Plotter

/* * This Arduino Nano ESP32 code was developed by newbiely.com * * This Arduino Nano ESP32 code is made available for public use without any restriction * * For comprehensive instructions and wiring diagrams, please visit: * https://newbiely.com/tutorials/arduino-nano-esp32/arduino-nano-esp32-serial-plotter */ void setup() { Serial.begin(9600); } void loop() { int variable_1 = analogRead(A0); int variable_2 = analogRead(A1); int variable_3 = analogRead(A2); int variable_4 = analogRead(A3); Serial.print(variable_1); Serial.print(" "); // a tab '\t' or space ' ' character is printed between the two values. Serial.print(variable_2); Serial.print(" "); // a tab '\t' or space ' ' character is printed between the two values. Serial.print(variable_3); Serial.print(" "); // a tab '\t' or space ' ' character is printed between the two values. Serial.println(variable_4); // the last value is terminated by a carriage return and a newline characters. delay(100); }

The result on Serial Monitor:

serial plotter multiple lines

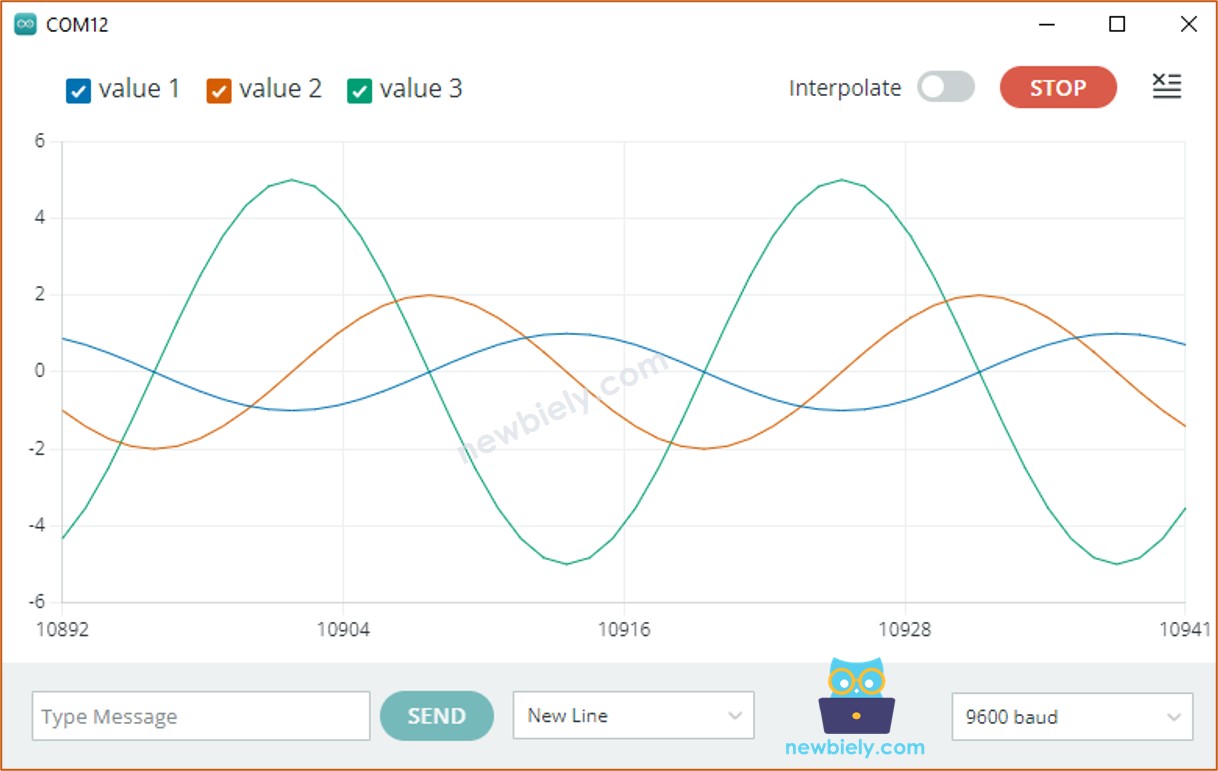
Example of 3 Sine Waveforms

The below Arduino Nano ESP32 example code print three sine waveform's value to Serial Plotter

/* * This Arduino Nano ESP32 code was developed by newbiely.com * * This Arduino Nano ESP32 code is made available for public use without any restriction * * For comprehensive instructions and wiring diagrams, please visit: * https://newbiely.com/tutorials/arduino-nano-esp32/arduino-nano-esp32-serial-plotter */ void setup() { Serial.begin(9600); } void loop() { for (int i = 0; i < 360; i += 5) { float sine_1 = 1 * sin(i * M_PI / 180); float sine_2 = 2 * sin((i + 90) * M_PI / 180); float sine_3 = 5 * sin((i + 180) * M_PI / 180); Serial.print(sine_1); Serial.print("\t"); // a tab '\t' or space ' ' character is printed between the two values. Serial.print(sine_2); Serial.print("\t"); // a tab '\t' or space ' ' character is printed between the two values. Serial.println(sine_3); // the last value is terminated by a carriage return and a newline characters. delay(100); } }

The result on Serial Plotter:

serial plotter sine wave

If you want to view this plotter on Smartphone or PC, check out Arduino Nano ESP32 - Web Plotter tutorial.

Video Tutorial

※ OUR MESSAGES

  • As freelancers, We are AVAILABLE for HIRE. See how to outsource your project to us
  • Please feel free to share the link of this tutorial. However, Please do not use our content on any other websites. We invested a lot of effort and time to create the content, please respect our work!