Arduino Nano ESP32 - LED - Fade
This tutorial provides instructions on how to use:
- Arduino Nano ESP32 fades LED by using delay() function
- Arduino Nano ESP32 fades LED by using millis() function
- Arduino Nano ESP32 fades LED by using ezLED library
Hardware Preparation
Or you can buy the following kits:
| 1 | × | DIYables Sensor Kit (18 sensors/displays) |
Additionally, some of these links are for products from our own brand, DIYables .
Buy Note: Use the LED Module for easier wiring. It includes an integrated resistor.
Overview of LED
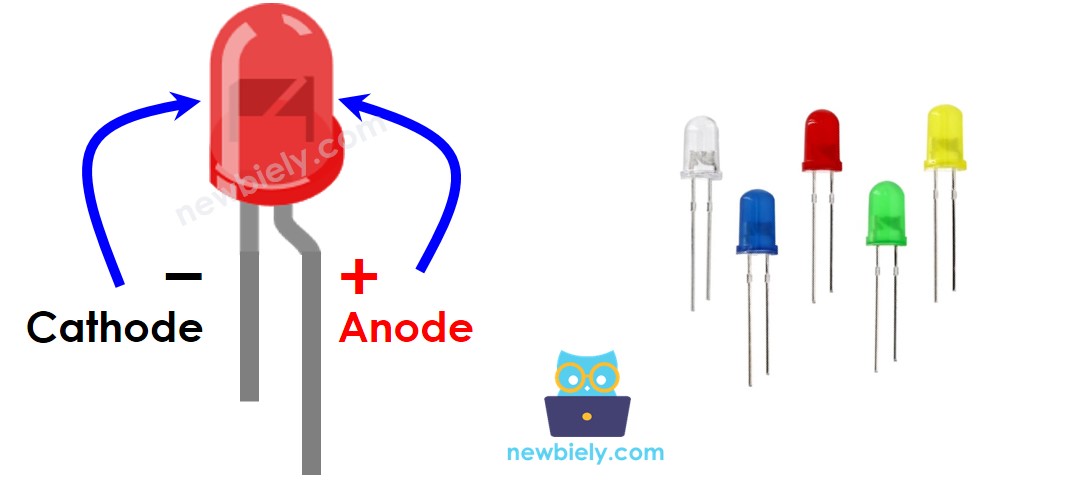
LED Pinout
LED includes two pins:
- Cathode(-) pin: connect this pin to GND (0V)
- Anode(+) pin: is used to control LED's state
How LED Works
After connecting the cathode(-) to GND:
- If We connect GND to the anode(+), LED is OFF.
- If We connect VCC to the anode(+), LED is ON.
- If We generate a PWM signal to the anode(+) pin, the LED's brightness is in proportion to PWM duty cycle. PWM duty cycle varies from 0 to 255. The bigger the PWM duty cycle is, the brighter the LED is.
- If PWM value is 0, it is equivalent to GND ⇒ LED is OFF
- If PWM value is 255, it is equivalent to VCC ⇒ LED is ON at the highest brightness.
※ NOTE THAT:
Usually, it requires a resistor to protect LED from burning. The resistance's value depends on the LED's specification.
Arduino Nano ESP32 - fade LED
The ESP32's digital output pins can be programmed to generate PWM signal. By connecting LED's anode(+) pin to an Arduino Nano ESP32's pin, LED's cathode(-) to GND, and then programming Arduino Nano ESP32 to change the duty cytle of PWM, we We can fade LED.
Wiring Diagram between LED and Arduino Nano ESP32
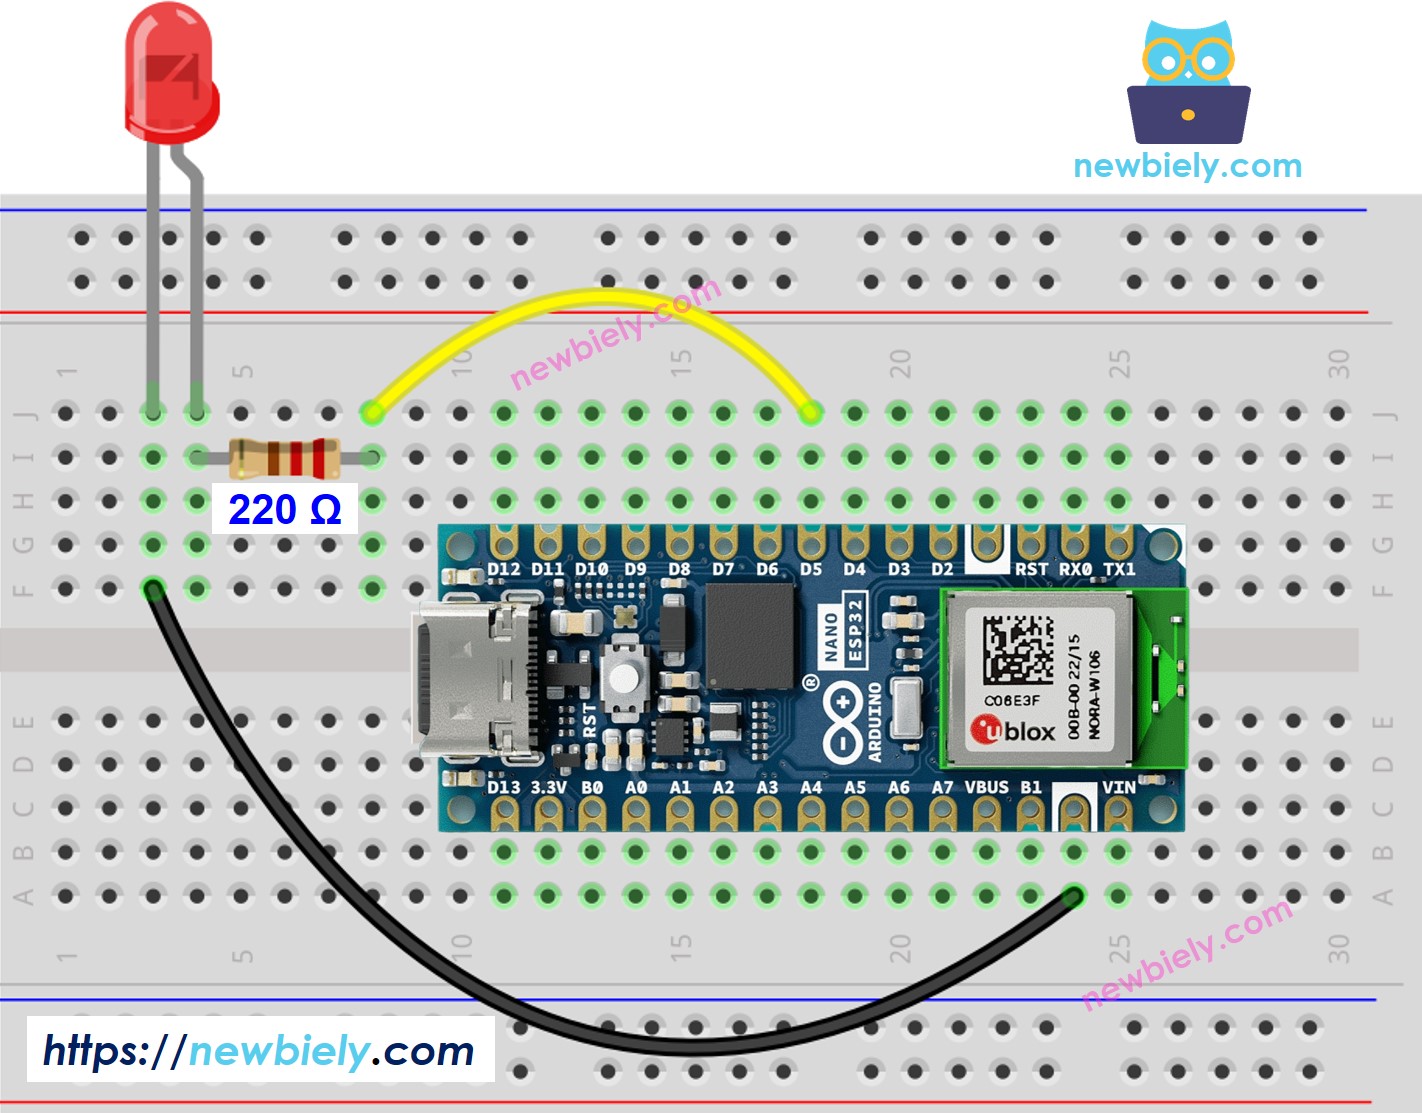
This image is created using Fritzing. Click to enlarge image
How To Program
- Configure an Arduino Nano ESP32's pin as a digital output pin by using pinMode() function. For example, pin D5:
- Set brightness of LED by generating PWM signal with corresponding duty cycle by using analogWrite() function:
Where brightness is a value from 0 to 255.
Arduino Nano ESP32 Code - Simple Fade Example
Detailed Instructions
To get started with Arduino Nano ESP32, follow these steps:
- If you are new to Arduino Nano ESP32, refer to the tutorial on how to set up the environment for Arduino Nano ESP32 in the Arduino IDE.
- Wire the components according to the provided diagram.
- Connect the Arduino Nano ESP32 board to your computer using a USB cable.
- Launch the Arduino IDE on your computer.
- Select the Arduino Nano ESP32 board and its corresponding COM port.
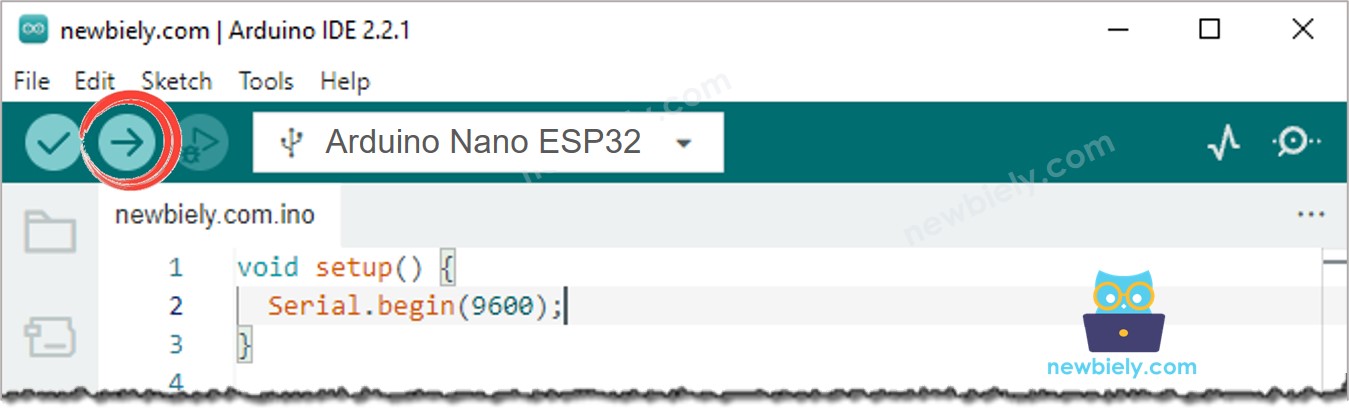
- Copy the below code and paste it to Arduino IDE.
- Compile and upload code to Arduino Nano ESP32 board by clicking Upload button on Arduino IDE
- See the brightness of LED
Line-by-line Code Explanation
The above Arduino Nano ESP32 code contains line-by-line explanation. Please read the comments in the code!