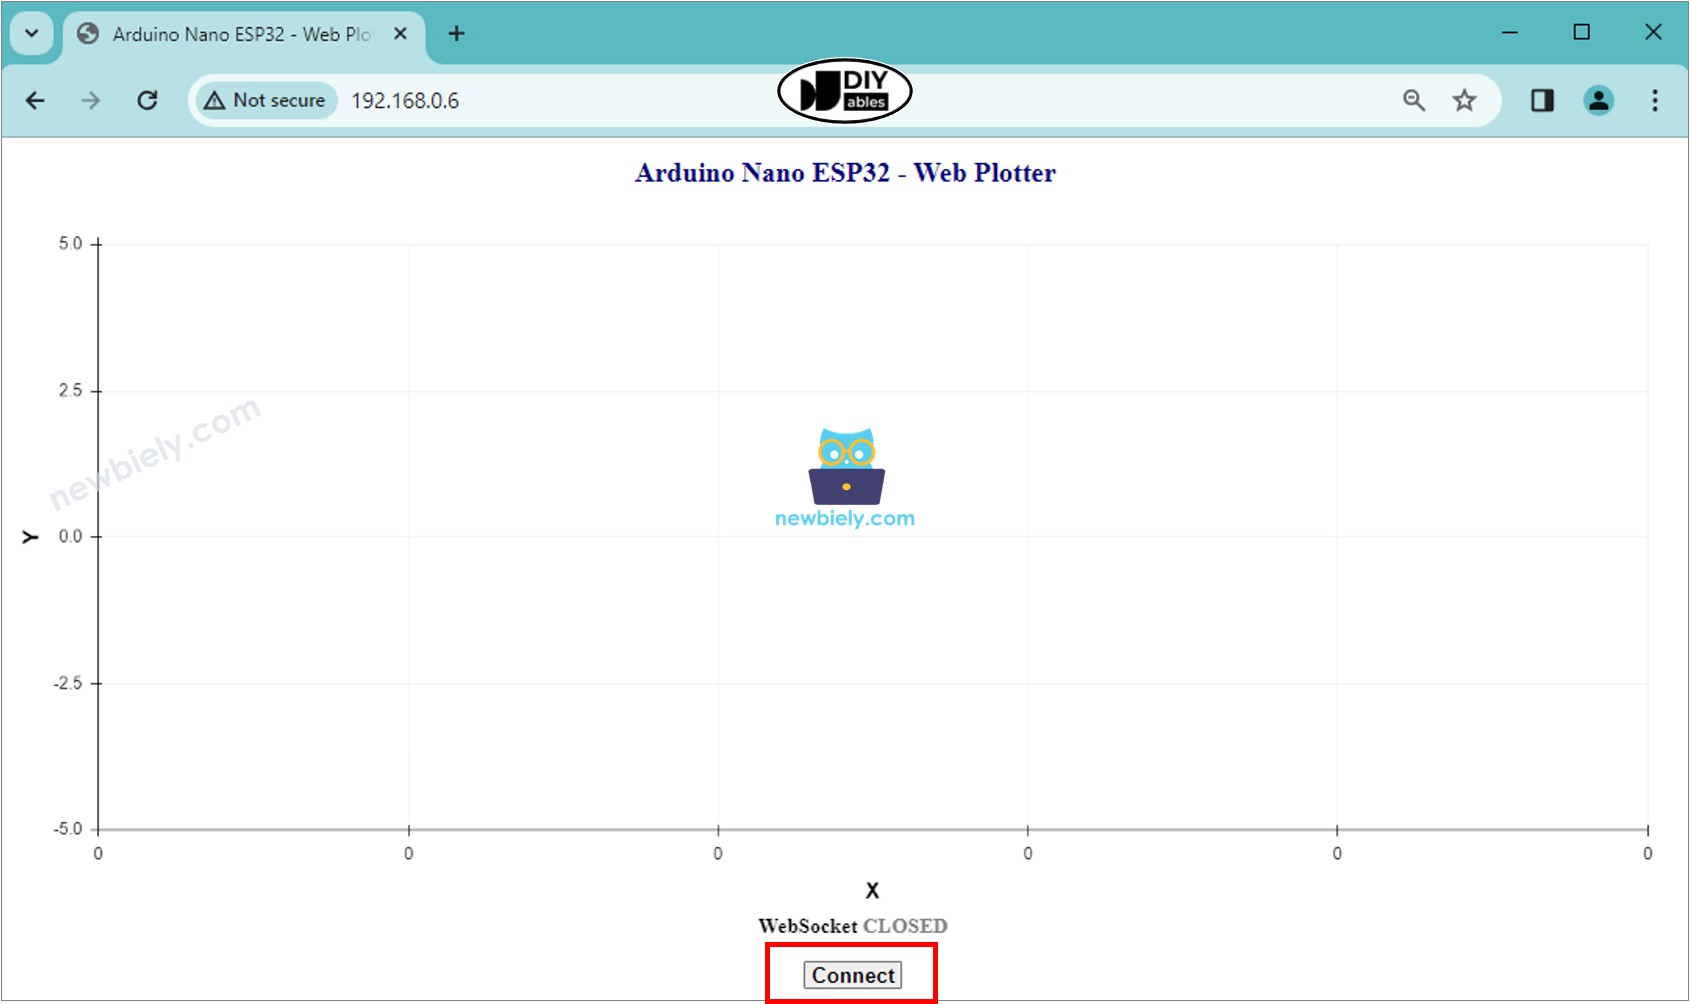
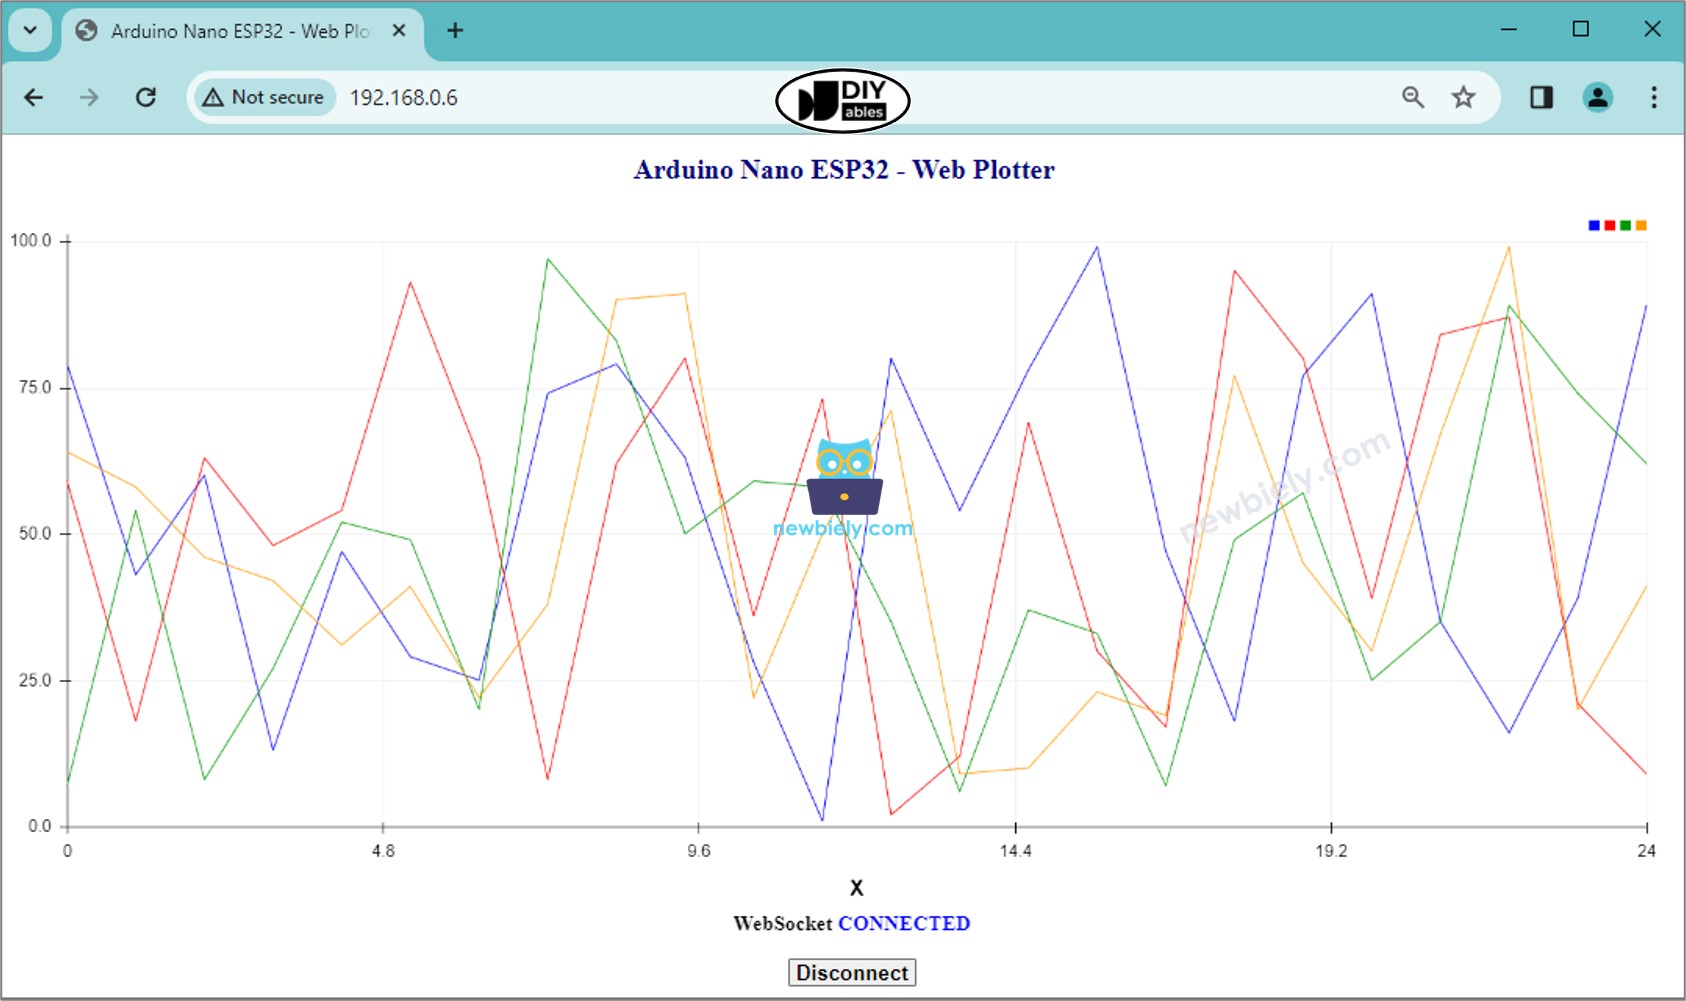
const char *HTML_CONTENT = R"=====(
<!DOCTYPE html>
<html>
<head>
<title>Arduino Nano ESP32 - Web Plotter</title>
<meta name="viewport" content="width=device-width, initial-scale=0.7">
<style>
body {text-align: center; height: 750px; }
h1 {font-weight: bold; font-size: 20pt; padding-bottom: 5px; color: navy; }
h2 {font-weight: bold; font-size: 15pt; padding-bottom: 5px; }
button {font-weight: bold; font-size: 15pt; }
#footer {width: 100%; margin: 0px; padding: 0px 0px 10px 0px; bottom: 0px; }
.sub-footer {margin: 0 auto; position: relative; width:400px; }
.sub-footer a {position: absolute; font-size: 10pt; top: 3px; }
</style>
<script>
var COLOR_BACKGROUND = "#FFFFFF";
var COLOR_TEXT = "#000000";
var COLOR_BOUND = "#000000";
var COLOR_GRIDLINE = "#F0F0F0";
var COLOR_LINE = ["#0000FF", "#FF0000", "#009900", "#FF9900", "#CC00CC", "#666666", "#00CCFF", "#000000"];
var LEGEND_WIDTH = 10;
var X_TITLE_HEIGHT = 40;
var Y_TITLE_WIDTH = 40;
var X_VALUE_HEIGHT = 40;
var Y_VALUE_WIDTH = 50;
var PLOTTER_PADDING_TOP = 30;
var PLOTTER_PADDING_RIGHT = 30;
var X_GRIDLINE_NUM = 5;
var Y_GRIDLINE_NUM = 4;
var WSP_WIDTH = 400;
var WSP_HEIGHT = 200;
var MAX_SAMPLE = 50;
var X_MIN = 0;
var X_MAX = MAX_SAMPLE;
var Y_MIN = -5;
var Y_MAX = 5;
var X_TITLE = "X";
var Y_TITLE = "Y";
var plotter_width;
var plotter_height;
var plotter_pivot_x;
var plotter_pivot_y;
var sample_count = 0;
var buffer = "";
var data = [];
var webSocket;
var canvas;
var ctx;
function init(){
canvas = document.getElementById("graph");
canvas.style.backgroundColor = COLOR_BACKGROUND;
ctx = canvas.getContext("2d");
canvas_resize();
setInterval(update_plotter, 1000 / 60);
}
function connect_to_esp32(){
if(webSocket == null){
webSocket = new WebSocket("ws:
document.getElementById("ws_state").innerHTML = "CONNECTING";
webSocket.onopen = ws_onopen;
webSocket.onclose = ws_onclose;
webSocket.onmessage = ws_onmessage;
webSocket.binaryType = "arraybuffer";
}
else
webSocket.close();
}
function ws_onopen(){
document.getElementById("ws_state").innerHTML = "<span style='color: blue'>CONNECTED</span>";
document.getElementById("btn_connect").innerHTML = "Disconnect";
}
function ws_onclose(){
document.getElementById("ws_state").innerHTML = "<span style='color: gray'>CLOSED</span>";
document.getElementById("btn_connect").innerHTML = "Connect";
webSocket.onopen = null;
webSocket.onclose = null;
webSocket.onmessage = null;
webSocket = null;
}
function ws_onmessage(e_msg){
e_msg = e_msg || window.event;
console.log(e_msg.data);
buffer += e_msg.data;
buffer = buffer.replace(/\r\n/g, "\n");
buffer = buffer.replace(/\r/g, "\n");
while(buffer.indexOf("\n") == 0)
buffer = buffer.substr(1);
if(buffer.indexOf("\n") <= 0)
return;
var pos = buffer.lastIndexOf("\n");
var str = buffer.substr(0, pos);
var new_sample_arr = str.split("\n");
buffer = buffer.substr(pos + 1);
for(var si = 0; si < new_sample_arr.length; si++) {
var str = new_sample_arr[si];
var arr = [];
if(str.indexOf("\t") > 0)
arr = str.split("\t");
else
arr = str.split(" ");
for(var i = 0; i < arr.length; i++){
var value = parseFloat(arr[i]);
if(isNaN(value))
continue;
if(i >= data.length) {
var new_line = [value];
data.push(new_line);
}
else
data[i].push(value);
}
sample_count++;
}
for(var line = 0; line < data.length; line++){
while(data[line].length > MAX_SAMPLE)
data[line].splice(0, 1);
}
auto_scale();
}
function map(x, in_min, in_max, out_min, out_max){
return (x - in_min) * (out_max - out_min) / (in_max - in_min) + out_min;
}
function get_random_color(){
var letters = '0123456789ABCDEF';
var _color = '#';
for (var i = 0; i < 6; i++)
_color += letters[Math.floor(Math.random() * 16)];
return _color;
}
function update_plotter(){
if(sample_count <= MAX_SAMPLE)
X_MAX = sample_count;
else
X_MAX = 50;
ctx.clearRect(0, 0, WSP_WIDTH, WSP_HEIGHT);
ctx.save();
ctx.translate(plotter_pivot_x, plotter_pivot_y);
ctx.font = "bold 20px Arial";
ctx.textBaseline = "middle";
ctx.textAlign = "center";
ctx.fillStyle = COLOR_TEXT;
if(X_TITLE != "")
ctx.fillText(X_TITLE, plotter_width / 2, X_VALUE_HEIGHT + X_TITLE_HEIGHT / 2);
if(Y_TITLE != ""){
ctx.rotate(-90 * Math.PI / 180);
ctx.fillText(Y_TITLE, plotter_height / 2, -Y_VALUE_WIDTH - Y_TITLE_WIDTH / 2);
ctx.rotate(90 * Math.PI / 180);
}
ctx.font = "16px Arial";
ctx.textAlign = "right";
ctx.strokeStyle = COLOR_BOUND;
for(var i = 0; i <= Y_GRIDLINE_NUM; i++){
var y_gridline_px = -map(i, 0, Y_GRIDLINE_NUM, 0, plotter_height);
y_gridline_px = Math.round(y_gridline_px) + 0.5;
ctx.beginPath();
ctx.moveTo(0, y_gridline_px);
ctx.lineTo(plotter_width, y_gridline_px);
ctx.stroke();
ctx.strokeStyle = COLOR_BOUND;
ctx.beginPath();
ctx.moveTo(-7 , y_gridline_px);
ctx.lineTo(4, y_gridline_px);
ctx.stroke();
var y_gridline_value = map(i, 0, Y_GRIDLINE_NUM, Y_MIN, Y_MAX);
y_gridline_value = y_gridline_value.toFixed(1);
ctx.fillText(y_gridline_value + "", -15, y_gridline_px);
ctx.strokeStyle = COLOR_GRIDLINE;
}
ctx.strokeStyle = COLOR_BOUND;
ctx.textAlign = "center";
ctx.beginPath();
ctx.moveTo(0.5, y_gridline_px - 7);
ctx.lineTo(0.5, y_gridline_px + 4);
ctx.stroke();
for(var i = 0; i <= X_GRIDLINE_NUM; i++){
var x_gridline_px = map(i, 0, X_GRIDLINE_NUM, 0, plotter_width);
x_gridline_px = Math.round(x_gridline_px) + 0.5;
ctx.beginPath();
ctx.moveTo(x_gridline_px, 0);
ctx.lineTo(x_gridline_px, -plotter_height);
ctx.stroke();
ctx.strokeStyle = COLOR_BOUND;
ctx.beginPath();
ctx.moveTo(x_gridline_px, 7);
ctx.lineTo(x_gridline_px, -4);
ctx.stroke();
var x_gridline_value;
if(sample_count <= MAX_SAMPLE)
x_gridline_value = map(i, 0, X_GRIDLINE_NUM, X_MIN, X_MAX);
else
x_gridline_value = map(i, 0, X_GRIDLINE_NUM, sample_count - MAX_SAMPLE, sample_count);;
ctx.fillText(x_gridline_value.toString(), x_gridline_px, X_VALUE_HEIGHT / 2 + 5);
ctx.strokeStyle = COLOR_GRIDLINE;
}
var line_num = data.length;
for(var line = 0; line < line_num; line++){
var sample_num = data[line].length;
if(sample_num >= 2){
var y_value = data[line][0];
var x_px = 0;
var y_px = -map(y_value, Y_MIN, Y_MAX, 0, plotter_height);
if(line == COLOR_LINE.length)
COLOR_LINE.push(get_random_color());
ctx.strokeStyle = COLOR_LINE[line];
ctx.beginPath();
ctx.moveTo(x_px, y_px);
for(var i = 0; i < sample_num; i++){
y_value = data[line][i];
x_px = map(i, X_MIN, X_MAX -1, 0, plotter_width);
y_px = -map(y_value, Y_MIN, Y_MAX, 0, plotter_height);
ctx.lineTo(x_px, y_px);
}
ctx.stroke();
}
var x = plotter_width - (line_num - line) * LEGEND_WIDTH - (line_num - line - 1) * LEGEND_WIDTH / 2;
var y = -plotter_height - PLOTTER_PADDING_TOP / 2 - LEGEND_WIDTH / 2;
ctx.fillStyle = COLOR_LINE[line];
ctx.beginPath();
ctx.rect(x, y, LEGEND_WIDTH, LEGEND_WIDTH);
ctx.fill();
}
ctx.restore();
}
function canvas_resize(){
canvas.width = 0;
canvas.height = 0;
document.getElementById('footer').style.position = "fixed";
var width = window.innerWidth - 20;
var height = window.innerHeight - 20;
WSP_WIDTH = width;
WSP_HEIGHT = height - document.getElementById('header').offsetHeight - document.getElementById('footer').offsetHeight;
canvas.width = WSP_WIDTH;
canvas.height = WSP_HEIGHT;
ctx.font = "16px Arial";
var y_min_text_size = ctx.measureText(Y_MIN.toFixed(1) + "").width;
var y_max_text_size = ctx.measureText(Y_MAX.toFixed(1) + "").width;
Y_VALUE_WIDTH = Math.round(Math.max(y_min_text_size, y_max_text_size)) + 15;
plotter_width = WSP_WIDTH - Y_VALUE_WIDTH - PLOTTER_PADDING_RIGHT;
plotter_height = WSP_HEIGHT - X_VALUE_HEIGHT - PLOTTER_PADDING_TOP;
plotter_pivot_x = Y_VALUE_WIDTH;
plotter_pivot_y = WSP_HEIGHT - X_VALUE_HEIGHT;
if(X_TITLE != "") {
plotter_height -= X_TITLE_HEIGHT;
plotter_pivot_y -= X_TITLE_HEIGHT;
}
if(Y_TITLE != "") {
plotter_width -= Y_TITLE_WIDTH;
plotter_pivot_x += Y_TITLE_WIDTH;
}
ctx.lineWidth = 1;
}
function auto_scale(){
if(data.length >= 1){
var max_arr = [];
var min_arr = [];
for(var i = 0; i < data.length; i++){
if(data[i].length >= 1){
var max = Math.max.apply(null, data[i]);
var min = Math.min.apply(null, data[i]);
max_arr.push(max);
min_arr.push(min);
}
}
var max = Math.max.apply(null, max_arr);
var min = Math.min.apply(null, min_arr);
var MIN_DELTA = 10.0;
if((max - min) < MIN_DELTA){
var mid = (max + min) / 2;
max = mid + MIN_DELTA / 2;
min = mid - MIN_DELTA / 2;
}
var range = max - min;
var exp;
if (range == 0.0)
exp = 0;
else
exp = Math.floor(Math.log10(range / 4));
var scale = Math.pow(10, exp);
var raw_step = (range / 4) / scale;
var step;
potential_steps =[1.0, 1.5, 2.0, 2.5, 3.0, 4.0, 5.0, 6.0, 8.0, 10.0];
for (var i = 0; i < potential_steps.length; i++) {
if (potential_steps[i] < raw_step)
continue;
step = potential_steps[i] * scale;
Y_MIN = step * Math.floor(min / step);
Y_MAX = Y_MIN + step * (4);
if (Y_MAX >= max)
break;
}
var count = 5 - Math.floor((Y_MAX - max) / step);
Y_MAX = Y_MIN + step * (count - 1);
ctx.font = "16px Arial";
var y_min_text_size = ctx.measureText(Y_MIN.toFixed(1) + "").width;
var y_max_text_size = ctx.measureText(Y_MAX.toFixed(1) + "").width;
Y_VALUE_WIDTH = Math.round(Math.max(y_min_text_size, y_max_text_size)) + 15;
plotter_width = WSP_WIDTH - Y_VALUE_WIDTH - PLOTTER_PADDING_RIGHT;
plotter_pivot_x = Y_VALUE_WIDTH;
}
}
window.onload = init;
</script>
</head>
<body onresize="canvas_resize()">
<h1 id="header">Arduino Nano ESP32 - Web Plotter</h1>
<canvas id="graph"></canvas>
<br>
<div id="footer">
<div class="sub-footer">
<h2>WebSocket <span id="ws_state"><span style="color: gray">CLOSED</span></span></h2>
</div>
<button id="btn_connect" type="button" onclick="connect_to_esp32();">Connect</button>
</div>
</body>
</html>
)=====";
The above Arduino Nano ESP32 code contains line-by-line explanation. Please read the comments in the code!
