Arduino Nano ESP32 - Ultrasonic Sensor - Servo Motor
This tutorial instructs you how to use Arduino Nano ESP32 with the potentiometer to control servo motor. In detail:
- The Arduino Nano ESP32 automatically rotates a servo motor to 90° if an object is close to ultrasonic sensor
- The Arduino Nano ESP32 automatically rotates a servo motor to back to 0° if an object is far from ultrasonic sensor
Hardware Preparation
Or you can buy the following kits:
| 1 | × | DIYables Sensor Kit (18 sensors/displays) |
Disclosure: Some of the links provided in this section are Amazon affiliate links. We may receive a commission for any purchases made through these links at no additional cost to you.
Additionally, some of these links are for products from our own brand, DIYables .
Additionally, some of these links are for products from our own brand, DIYables .
Buy Note: For controlling multiple servo motors, use the PCA9685 16 Channel PWM Servo Driver Module to save MCU pins and simplify wiring.
Overview of Servo Motor and Ultrasonic Sensor
We have specific tutorials about servo motor and ultrasonic sensor. Each tutorial contains detailed information and step-by-step instructions about hardware pinout, working principle, wiring connection to ESP32, Arduino Nano ESP32 code... Learn more about them at the following links:
Wiring Diagram
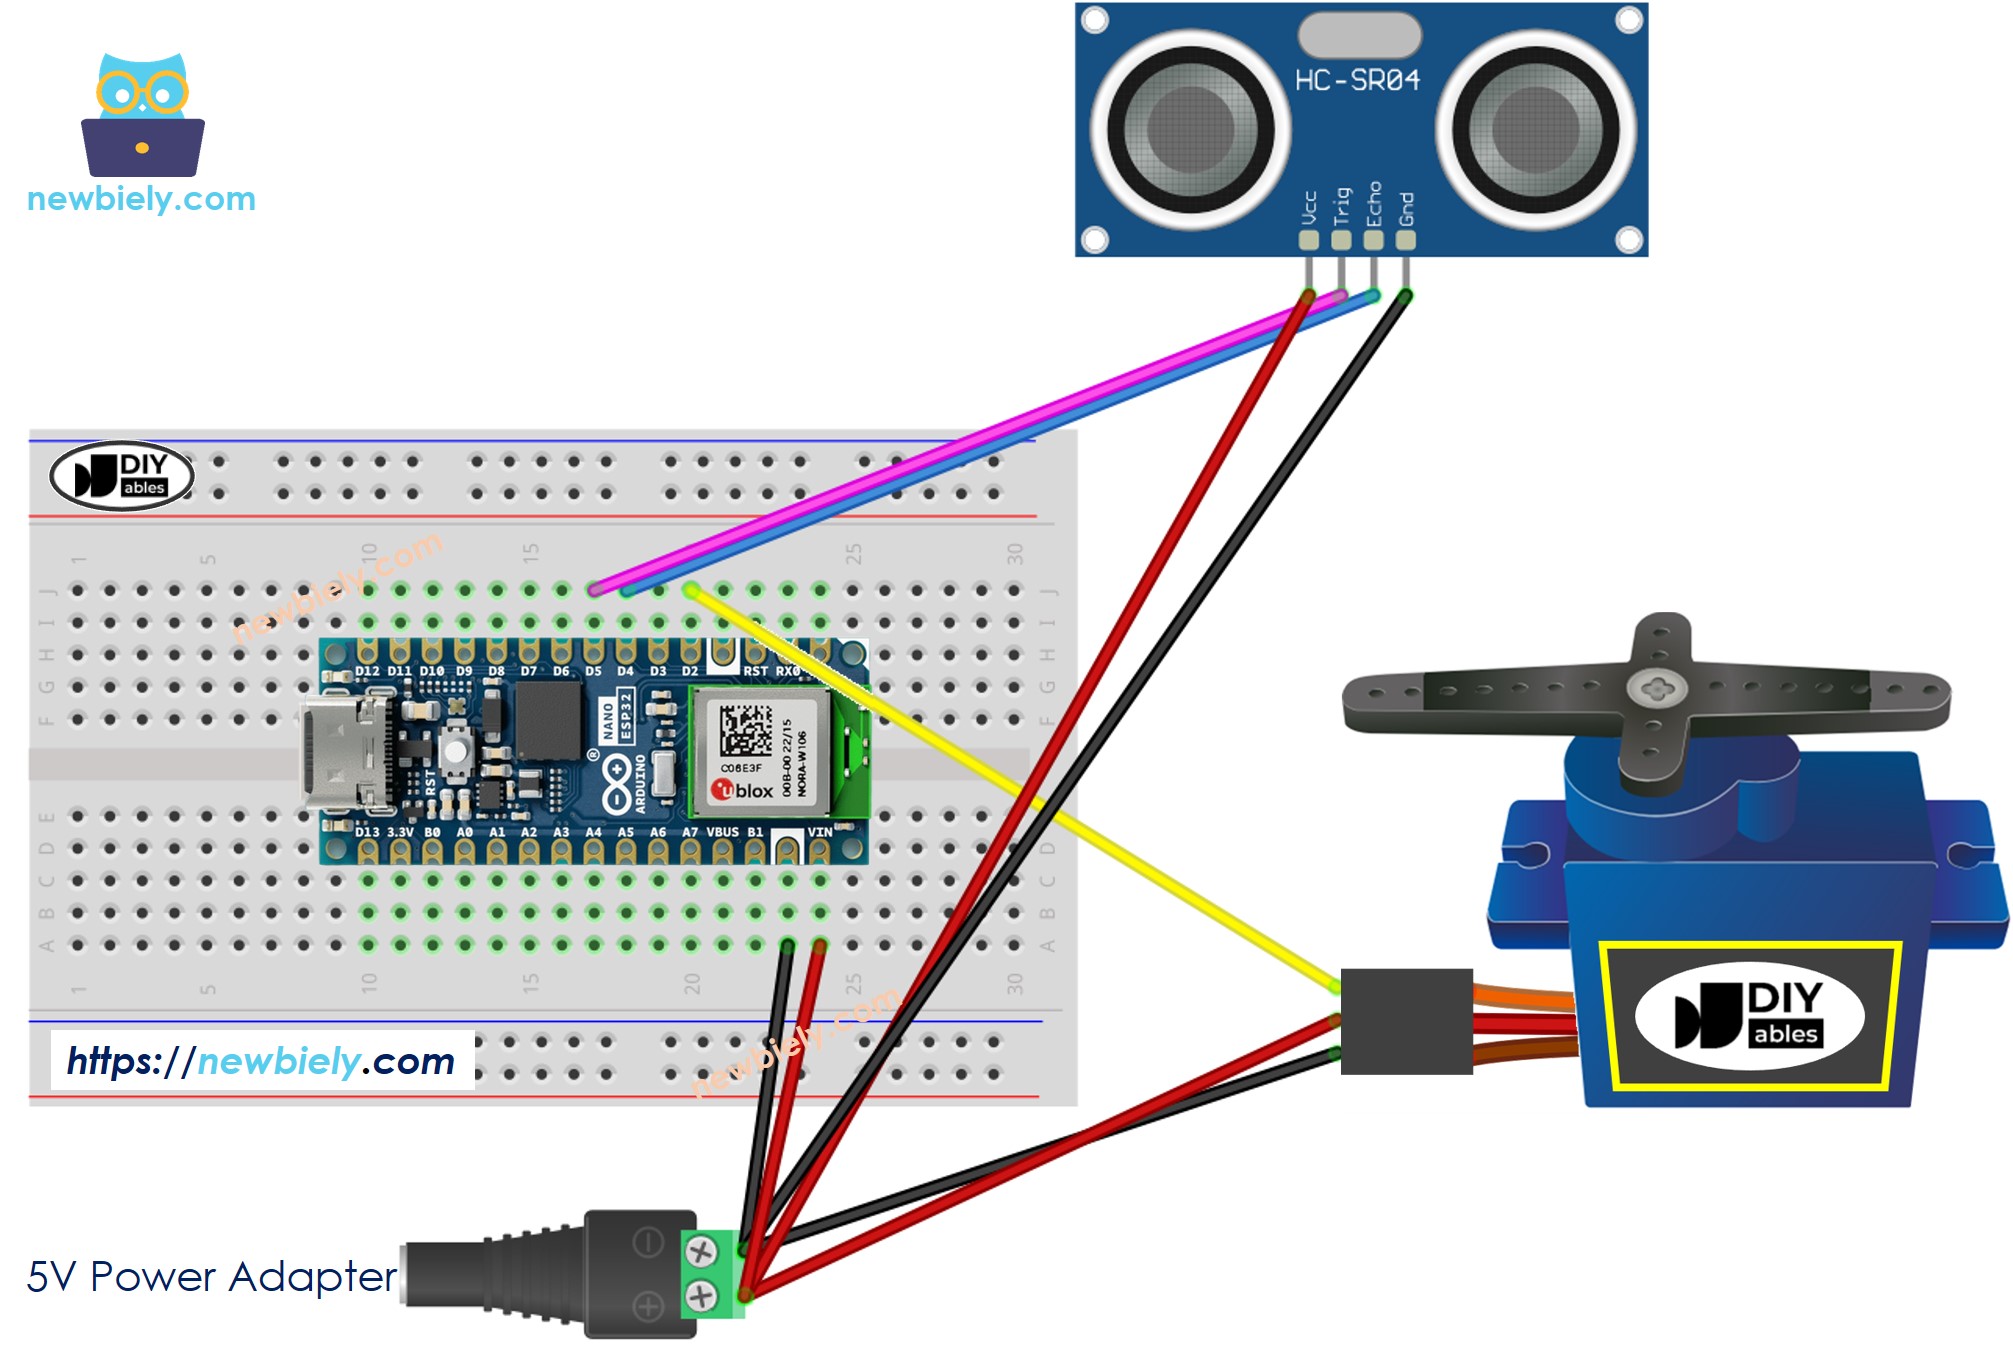
This image is created using Fritzing. Click to enlarge image
Arduino Nano ESP32 Code - Ultrasonic Sensor Controls Servo Motor
/*
* This Arduino Nano ESP32 code was developed by newbiely.com
*
* This Arduino Nano ESP32 code is made available for public use without any restriction
*
* For comprehensive instructions and wiring diagrams, please visit:
* https://newbiely.com/tutorials/arduino-nano-esp32/arduino-nano-esp32-ultrasonic-sensor-servo-motor
*/
#include <ESP32Servo.h>
#define TRIG_PIN D5 // The Arduino Nano ESP32 pin connected to Ultrasonic Sensor's TRIG pin
#define ECHO_PIN D4 // The Arduino Nano ESP32 pin connected to Ultrasonic Sensor's ECHO pin
#define SERVO_PIN D2 // The Arduino Nano ESP32 pin connected to Servo Motor's pin
#define DISTANCE_THRESHOLD 50 // centimeters
Servo servo; // create servo object to control a servo
// variables will change:
float duration_us, distance_cm;
void setup() {
Serial.begin (9600); // initialize serial port
pinMode(TRIG_PIN, OUTPUT); // set ESP32 pin to output mode
pinMode(ECHO_PIN, INPUT); // set ESP32 pin to input mode
servo.attach(SERVO_PIN); // attaches the servo on pin 9 to the servo object
servo.write(0);
}
void loop() {
// generate 10-microsecond pulse to TRIG pin
digitalWrite(TRIG_PIN, HIGH);
delayMicroseconds(10);
digitalWrite(TRIG_PIN, LOW);
// measure duration of pulse from ECHO pin
duration_us = pulseIn(ECHO_PIN, HIGH);
// calculate the distance
distance_cm = 0.017 * duration_us;
if (distance_cm < DISTANCE_THRESHOLD)
servo.write(90); // rotate servo motor to 90 degree
else
servo.write(0); // rotate servo motor to 0 degree
// print the value to Serial Monitor
Serial.print("distance: ");
Serial.print(distance_cm);
Serial.println(" cm");
delay(500);
}
Detailed Instructions
To get started with Arduino Nano ESP32, follow these steps:
- If you are new to Arduino Nano ESP32, refer to the tutorial on how to set up the environment for Arduino Nano ESP32 in the Arduino IDE.
- Wire the components according to the provided diagram.
- Connect the Arduino Nano ESP32 board to your computer using a USB cable.
- Launch the Arduino IDE on your computer.
- Select the Arduino Nano ESP32 board and its corresponding COM port.
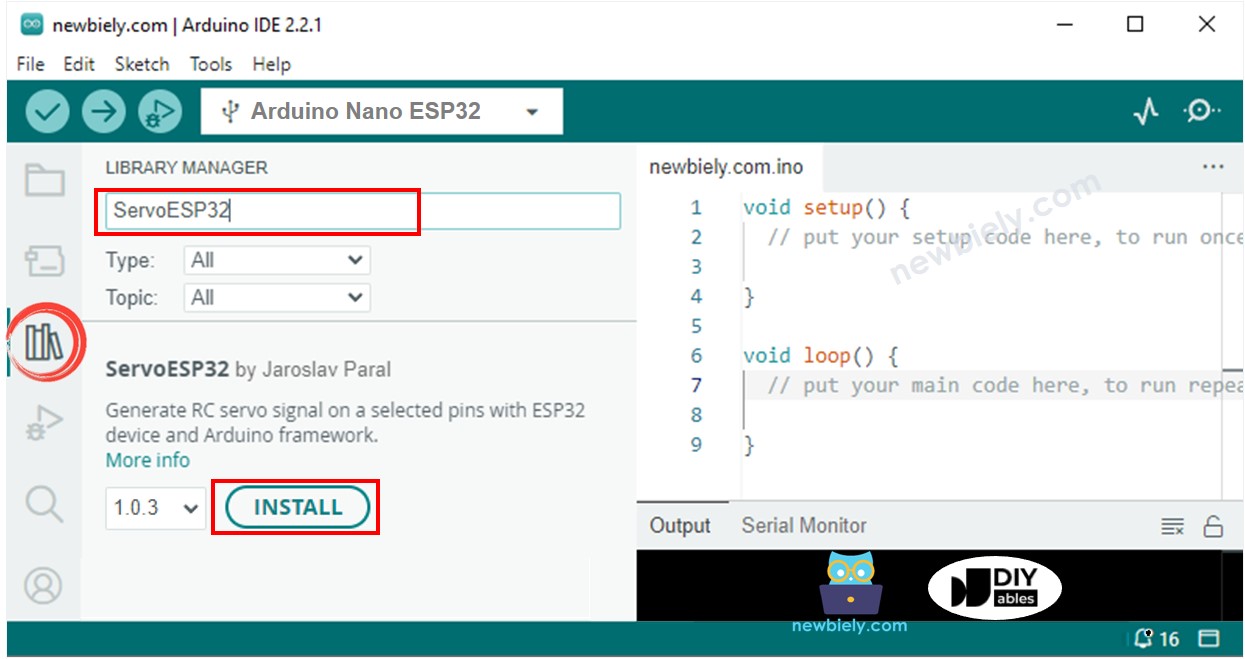
- Click to the Libraries icon on the left bar of the Arduino IDE.
- Type ESP32Servo on the search box, then look for the servo library by Kevin Harrington,John K. Bennett.
- Click Install button to install servo motor library for ESP32.
- Copy the above code and paste it to Arduino IDE.
- Compile and upload code to Arduino Nano ESP32 board by clicking Upload button on Arduino IDE
- Move your hand in front of sensor
- See the change of servo motor