Arduino Nano ESP32 - Door Open Email Notification
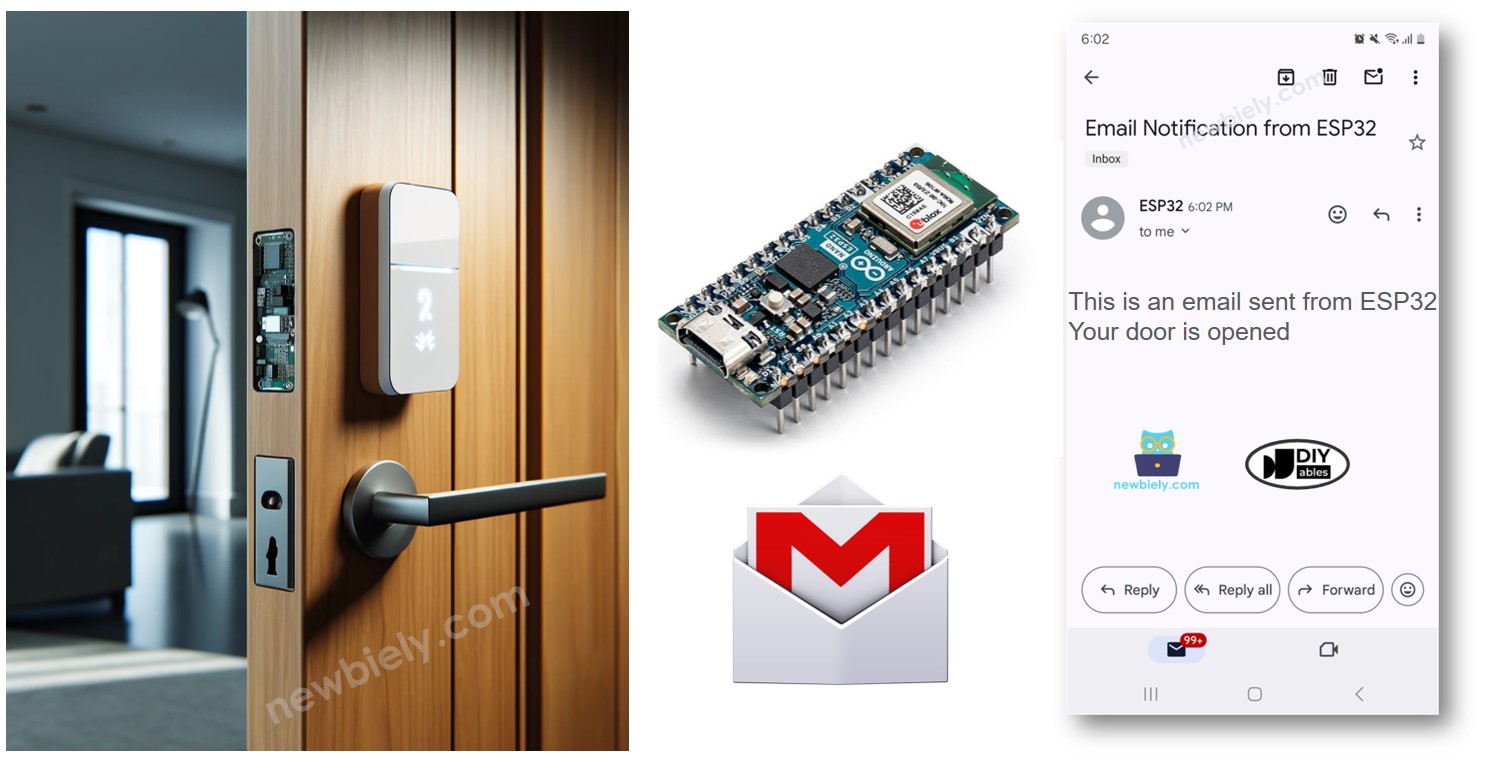
This guide will show you how to set up an Arduino Nano ESP32 to send emails when a door opens. We'll discuss what components are necessary, how to set them up, and provide step-by-feira-step instructions on connecting an Arduino Nano ESP32 to a door sensor and an email service. This will help you receive immediate email notifications whenever the door is opened, enhancing your home security.
Or you can buy the following kits:
Disclosure: Some of the links provided in this section are Amazon affiliate links. We may receive a commission for any purchases made through these links at no additional cost to you.
Additionally, some of these links are for products from our own brand,
DIYables .
We provide detailed guides on Door Sensors and Gmail. Each guide gives thorough information and easy, step-by-step instructions for setting up the hardware, understanding how it works, and connecting and programming the Arduino Nano ESP32. Learn more about these guides by following these links.

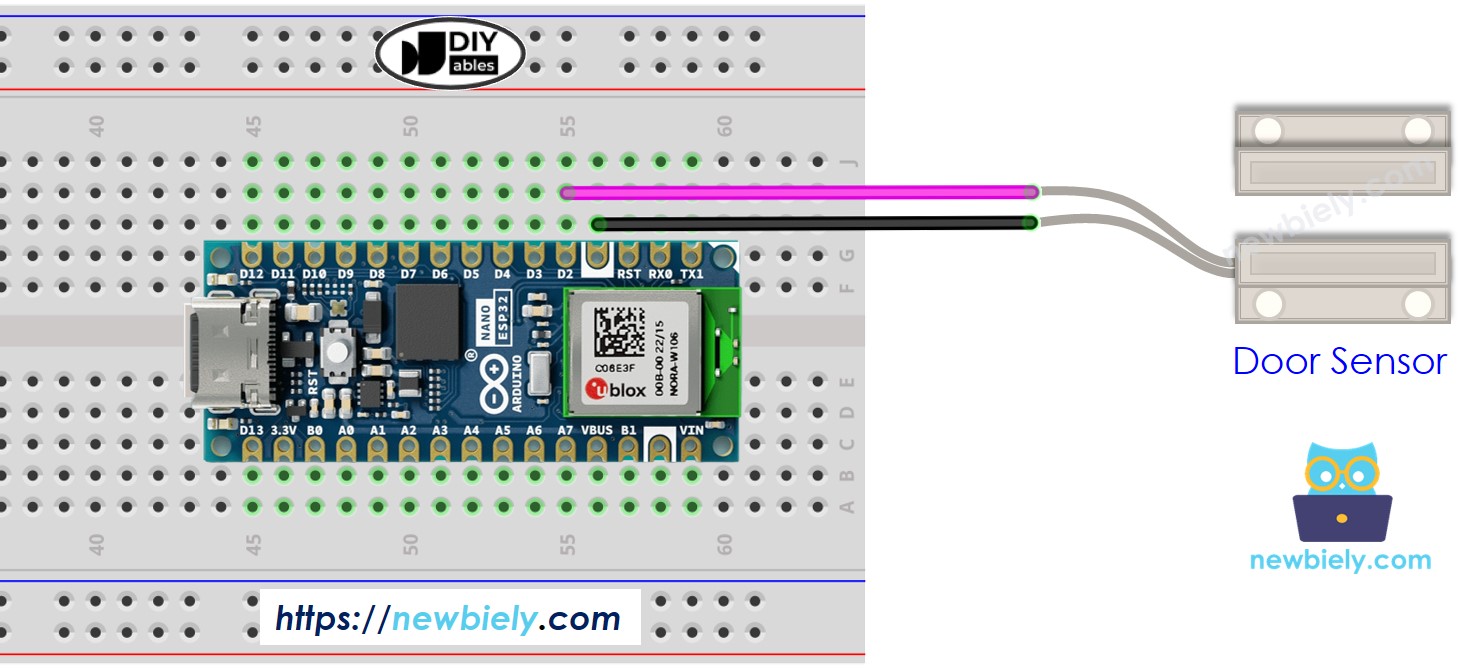
This image is created using Fritzing. Click to enlarge image
#include <WiFi.h>
#include <ESP_Mail_Client.h>
#define WIFI_SSID "YOUR_WIFI_SSID"
#define WIFI_PASSWORD "YOUR_WIFI_PASSWORD"
#define SENDER_EMAIL "xxxxxx@gmail.com"
#define SENDER_PASSWORD "xxxx xxxx xxxx xxxx"
#define RECIPIENT_EMAIL "xxxxxx@gmail.com"
#define SMTP_HOST "smtp.gmail.com"
#define SMTP_PORT 587
#define DOOR_SENSOR_PIN D2
int door_state;
int prev_door_state;
SMTPSession smtp;
void setup() {
Serial.begin(9600);
WiFi.begin(WIFI_SSID, WIFI_PASSWORD);
Serial.print("Connecting to Wi-Fi");
while (WiFi.status() != WL_CONNECTED) {
Serial.print(".");
delay(300);
}
Serial.println();
Serial.print("Connected with IP: ");
Serial.println(WiFi.localIP());
Serial.println();
pinMode(DOOR_SENSOR_PIN, INPUT_PULLUP);
door_state = digitalRead(DOOR_SENSOR_PIN);
}
void loop() {
prev_door_state = door_state;
door_state = digitalRead(DOOR_SENSOR_PIN);
if (prev_door_state == LOW && door_state == HIGH) {
Serial.println("The door is opened");
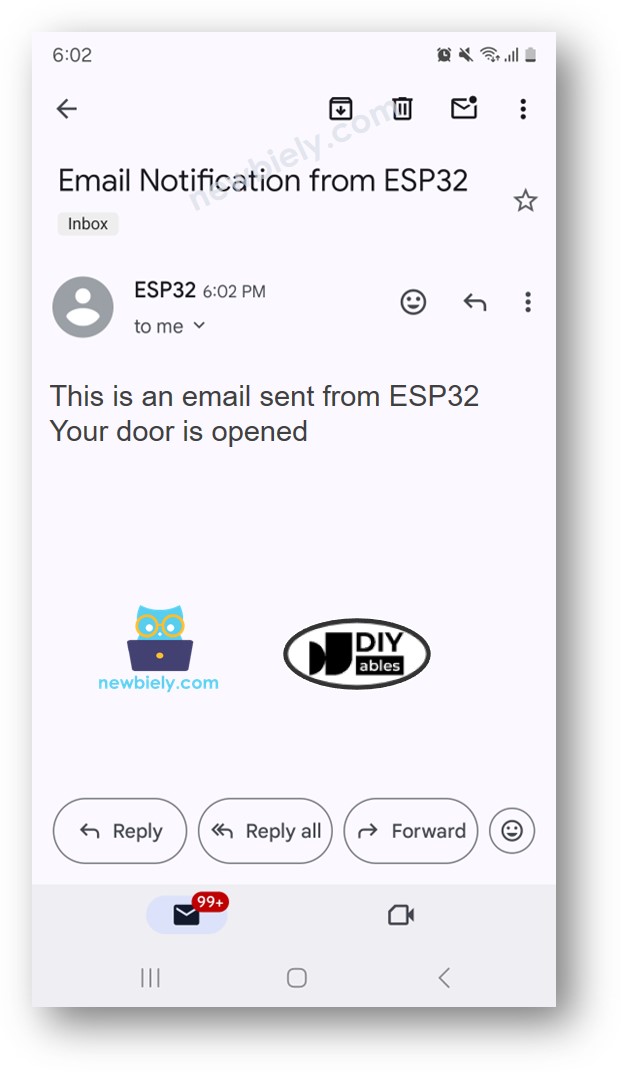
String subject = "Email Notification from ESP32";
String textMsg = "This is an email sent from ESP32.\n";
textMsg += "Your door is opened";
gmail_send(subject, textMsg);
} else if (prev_door_state == HIGH && door_state == LOW) {
Serial.println("The door is closed");
}
}
void gmail_send(String subject, String textMsg) {
MailClient.networkReconnect(true);
smtp.debug(1);
smtp.callback(smtpCallback);
Session_Config config;
config.server.host_name = SMTP_HOST;
config.server.port = SMTP_PORT;
config.login.email = SENDER_EMAIL;
config.login.password = SENDER_PASSWORD;
config.login.user_domain = F("127.0.0.1");
config.time.ntp_server = F("pool.ntp.org,time.nist.gov");
config.time.gmt_offset = 3;
config.time.day_light_offset = 0;
SMTP_Message message;
message.sender.name = F("ESP32");
message.sender.email = SENDER_EMAIL;
message.subject = subject;
message.addRecipient(F("To Whom It May Concern"), RECIPIENT_EMAIL);
message.text.content = textMsg;
message.text.transfer_encoding = "base64";
message.text.charSet = F("utf-8");
message.priority = esp_mail_smtp_priority::esp_mail_smtp_priority_low;
message.addHeader(F("Message-ID: <abcde.fghij@gmail.com>"));
if (!smtp.connect(&config)) {
Serial.printf("Connection error, Status Code: %d, Error Code: %d, Reason: %s\n", smtp.statusCode(), smtp.errorCode(), smtp.errorReason().c_str());
return;
}
if (!smtp.isLoggedIn()) {
Serial.println("Not yet logged in.");
} else {
if (smtp.isAuthenticated())
Serial.println("Successfully logged in.");
else
Serial.println("Connected with no Auth.");
}
if (!MailClient.sendMail(&smtp, &message))
Serial.printf("Error, Status Code: %d, Error Code: %d, Reason: %s\n", smtp.statusCode(), smtp.errorCode(), smtp.errorReason().c_str());
}
void smtpCallback(SMTP_Status status) {
Serial.println(status.info());
if (status.success()) {
Serial.println("----------------");
Serial.printf("Email sent success: %d\n", status.completedCount());
Serial.printf("Email sent failed: %d\n", status.failedCount());
Serial.println("----------------\n");
for (size_t i = 0; i < smtp.sendingResult.size(); i++) {
SMTP_Result result = smtp.sendingResult.getItem(i);
Serial.printf("Message No: %d\n", i + 1);
Serial.printf("Status: %s\n", result.completed ? "success" : "failed");
Serial.printf("Date/Time: %s\n", MailClient.Time.getDateTimeString(result.timestamp, "%B %d, %Y %H:%M:%S").c_str());
Serial.printf("Recipient: %s\n", result.recipients.c_str());
Serial.printf("Subject: %s\n", result.subject.c_str());
}
Serial.println("----------------\n");
smtp.sendingResult.clear();
}
}
To get started with Arduino Nano ESP32, follow these steps:
Connect the Arduino Nano ESP32 board to the door sensor according to the provided diagram.
Attach the door sensor to your door.
Connect the Arduino Nano ESP32 board to your computer using a USB cable.
Launch the Arduino IDE on your computer.
Select the Arduino Nano ESP32 board and its corresponding COM port.
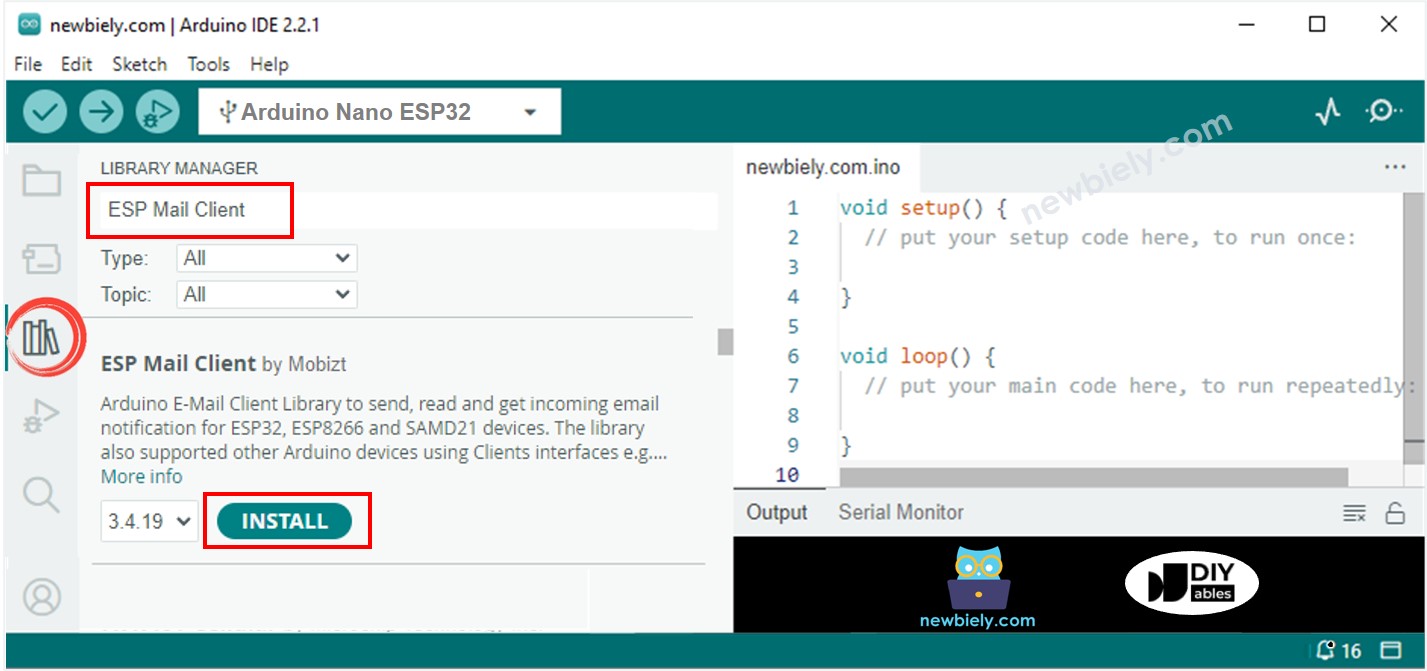
In the Arduino IDE, click on the Library Manager icon on the left menu to open it.
In the search box, enter ESP Mail Client and find ESP Mail Client by Mobizt.
Click the Install button to add the ESP Mail Client library.

Copy the given code and open it in the Arduino IDE.
Enter your WiFi details in the code. Replace WIFI_SSID and WIFI_PASSWORD with your network name and password.
Change the sender's email and password in the code. Change SENDER_EMAIL and SENDER_PASSWORD to your own email and password.
Update RECIPIENT_EMAIL to the email address where you want to receive messages. This can be your own email if necessary.
※ NOTE THAT:
Ensure the sender's email comes from Gmail. Use the App password you got earlier as the sender's password. The recipient's email can be from any email provider.
The door is opened
#### Email sent successfully
> C: Email sent successfully
----------------
Message sent success: 1
Message sent failed: 0
----------------
Message No: 1
Status: success
Date/Time: May 27, 2024 04:42:50
Recipient: xxxxxx@gmail.com
Subject: Email Notification from Arduino Nano ESP32
----------------


