Arduino Nano ESP32 - Water Leak Detector
In this guide, we will learn how to use the Arduino Nano ESP32 and a water leak sensor to detect water leakage.
Hardware Preparation
Or you can buy the following kits:
| 1 | × | DIYables Sensor Kit (18 sensors/displays) |
Additionally, some of these links are for products from our own brand, DIYables .
Overview of Water Leak Detector
The water leak detector helps us discover unwanted water early to prevent damage.
Water Leak Detector Pinout
The water leak detector includes two wires:
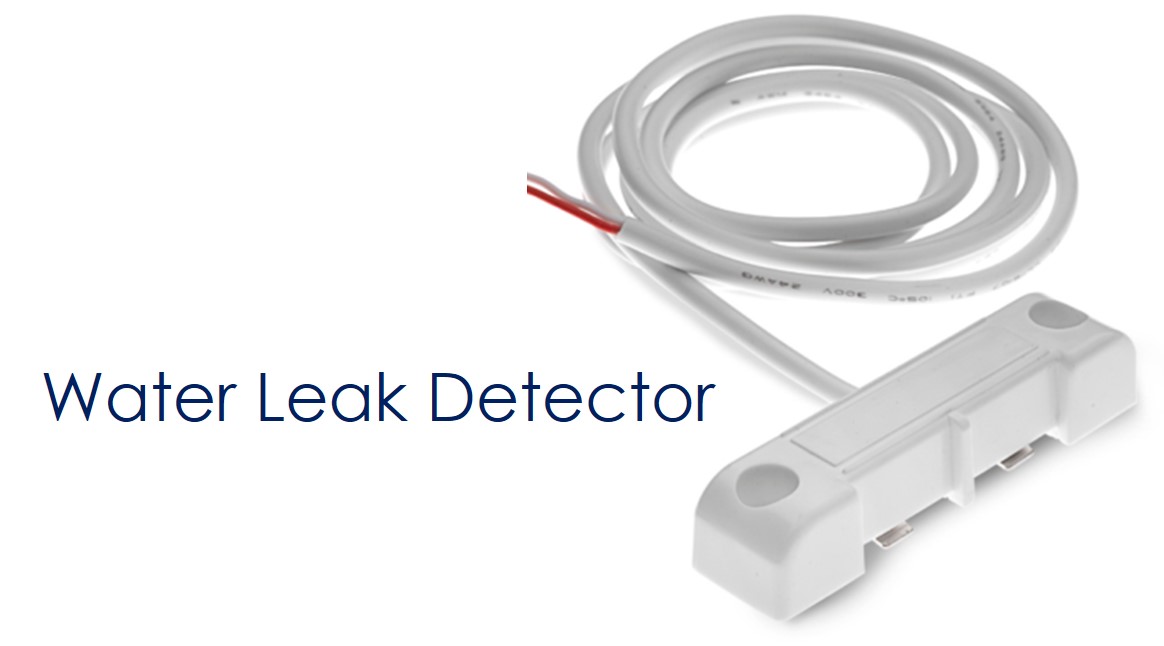
Just like a switch or button, we don't need to distinguish between the two wires of the water leak detector.
How the Water Leak Detector Works
When water is present, the circuit is closed. When there is no water, the circuit remains open.
To connect the water leak detector to an Arduino Nano ESP32, attach one wire to the GND and the other wire to an input pin on the Arduino Nano ESP32 set as a digital input pull-up. When water is present, the Arduino Nano ESP32 pin will indicate a LOW value. When there is no water, it will indicate a HIGH value.
※ NOTE THAT:
The water leak detector does not work with pure water, which does not conduct electricity. To fix this, sprinkle some salt close to the sensor. The salt will mix with the water and allow the detector to sense the water.
Wiring Diagram between Water Leak Detector and Arduino Nano ESP32
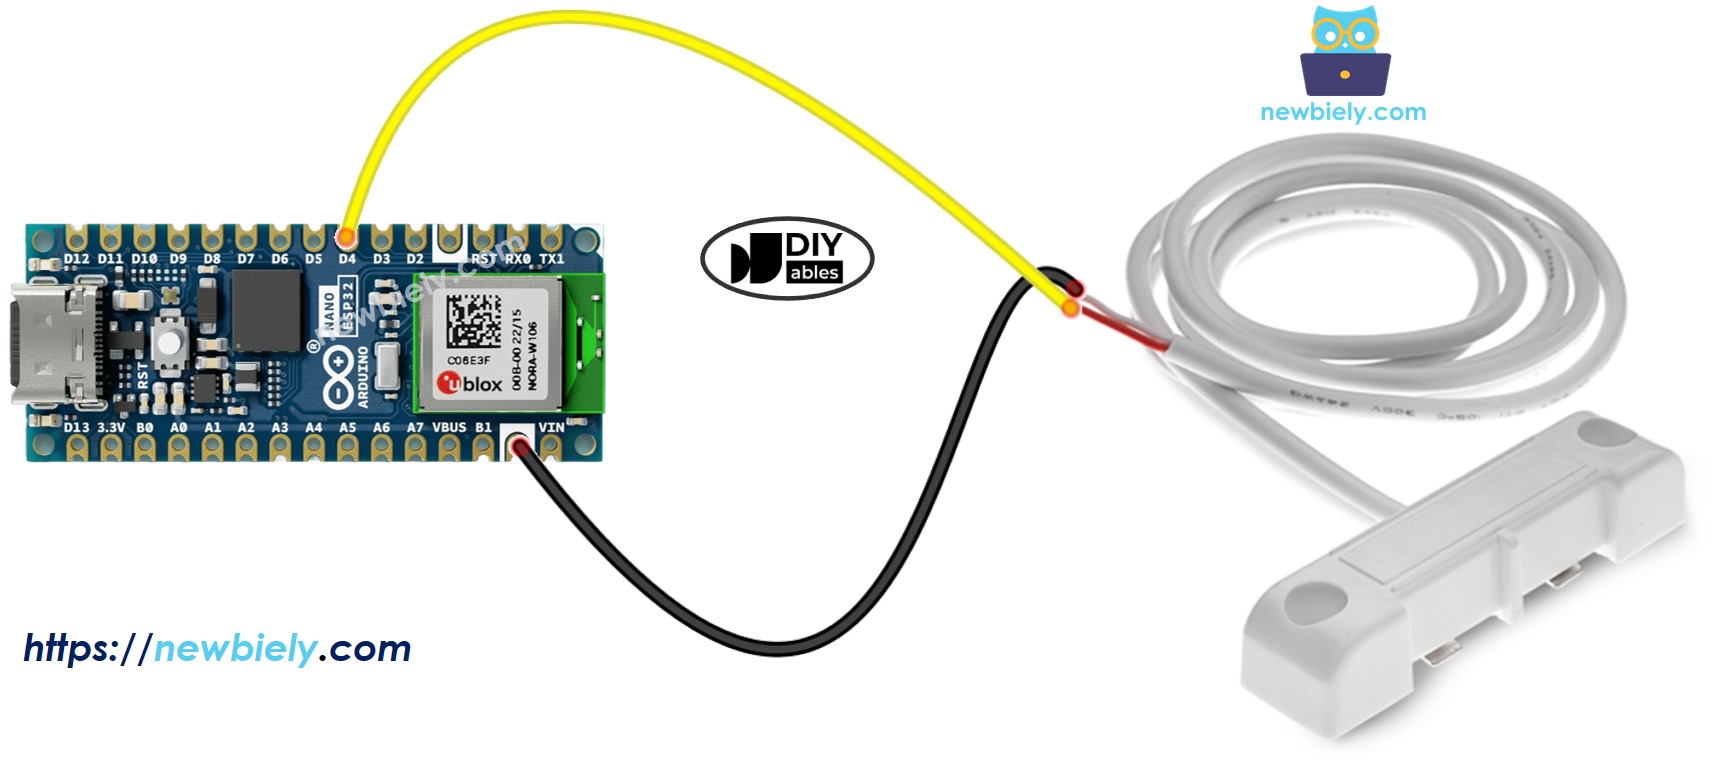
This image is created using Fritzing. Click to enlarge image
How To Program Arduino Nano ESP32 to read value from Water Leak Detector
- Configure the Arduino Nano ESP32 pin for digital input by applying the pinMode() function. For example, use this function for D4 pin.
- Checks the condition of the Arduino Nano ESP32 pin using the digitalRead() function.
Arduino Nano ESP32 Code - Detecting Water Leakage
Detailed Instructions
To get started with Arduino Nano ESP32, follow these steps:
- If you are new to Arduino Nano ESP32, refer to the tutorial on how to set up the environment for Arduino Nano ESP32 in the Arduino IDE.
- Wire the components according to the provided diagram.
- Connect the Arduino Nano ESP32 board to your computer using a USB cable.
- Launch the Arduino IDE on your computer.
- Select the Arduino Nano ESP32 board and its corresponding COM port.
- Copy the above code and paste it into the Arduino IDE.
- Click the Upload button in the Arduino IDE to upload the code to your Arduino Nano ESP32 board.
- Pour water close to the water leak detector.
- Look at the results on the Serial Monitor. They will show up like this: