Arduino Nano ESP32 - Ultrasonic Sensor
This tutorial provides instructions on how to use Arduino Nano ESP32 with the ultrasonic sensor HC-SR04 to measure the distance to an object.
Hardware Preparation
Or you can buy the following kits:
| 1 | × | DIYables Sensor Kit (18 sensors/displays) |
Disclosure: Some of the links provided in this section are Amazon affiliate links. We may receive a commission for any purchases made through these links at no additional cost to you.
Additionally, some of these links are for products from our own brand, DIYables .
Additionally, some of these links are for products from our own brand, DIYables .
Overview of Ultrasonic Sensor
The ultrasonic sensor HC-SR04 is used to measure the distance from the sensor to an object by using ultrasonic waves.
Ultrasonic Sensor Pinout
The ultrasonic sensor HC-SR04 includes four pins:
- VCC pin: connect this pin to VCC (5V)
- GND pin: connect this pin to GND (0V)
- TRIG pin: this pin receives a control pulse from Arduino Nano ESP32.
- ECHO pin: this pin generates a pulse corresponding to the measured distance to Arduino Nano ESP32.
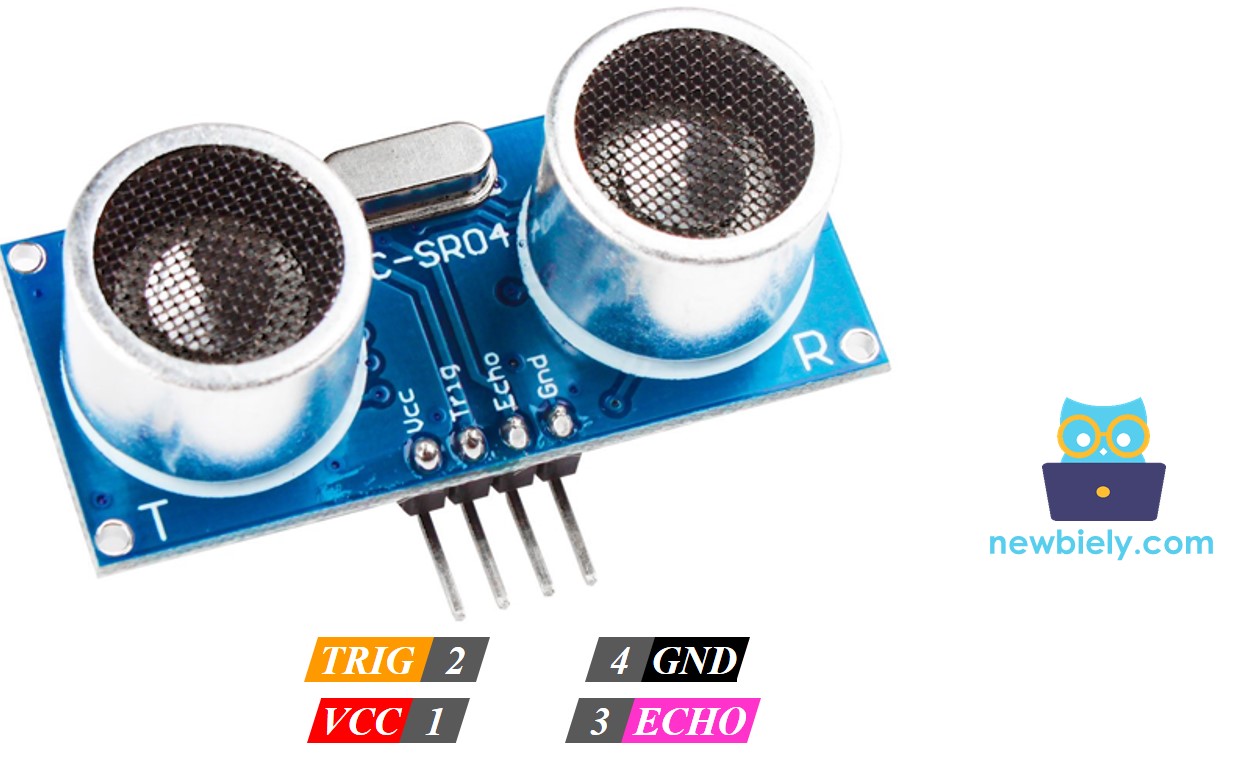
image source: diyables.io
How Ultrasonic Sensor Works
Wiring Diagram between Ultrasonic Sensor and Arduino Nano ESP32
- The wiring diagram when powering the Arduino Nano ESP32 board via USB port.
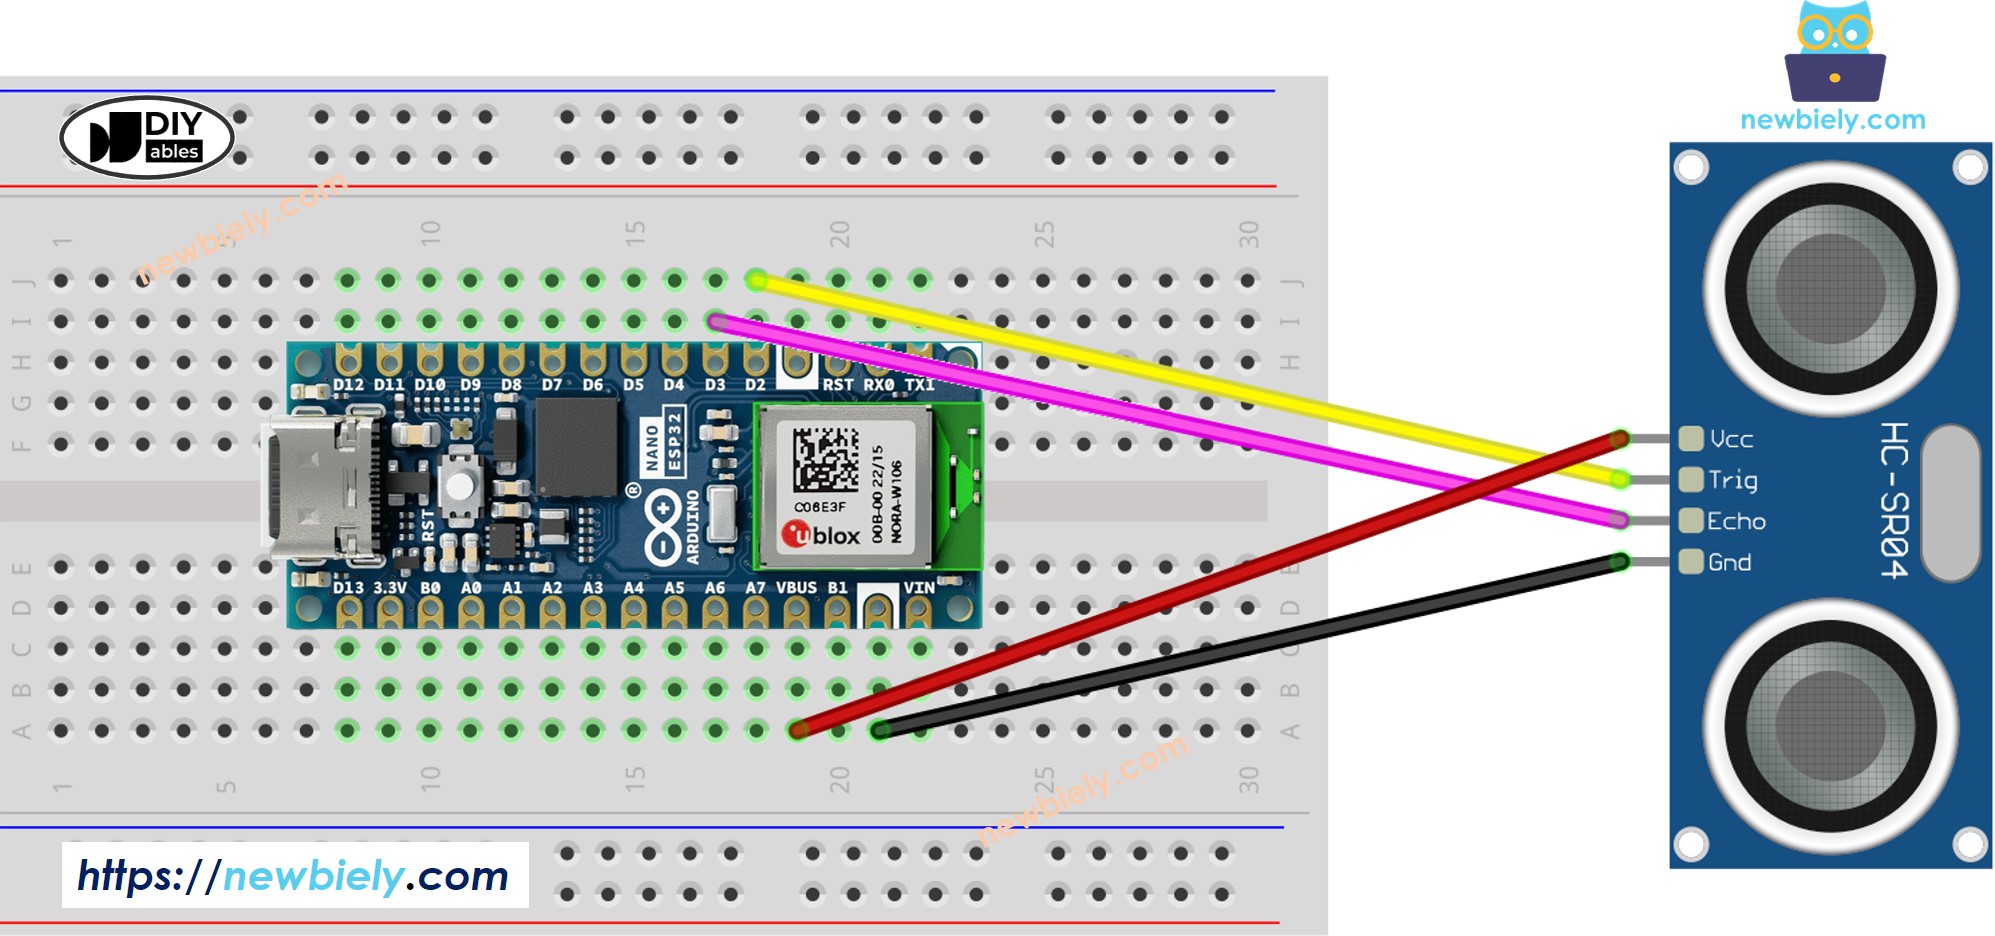
This image is created using Fritzing. Click to enlarge image
- The wiring diagram when powering the Arduino Nano ESP32 board via Vin pin.
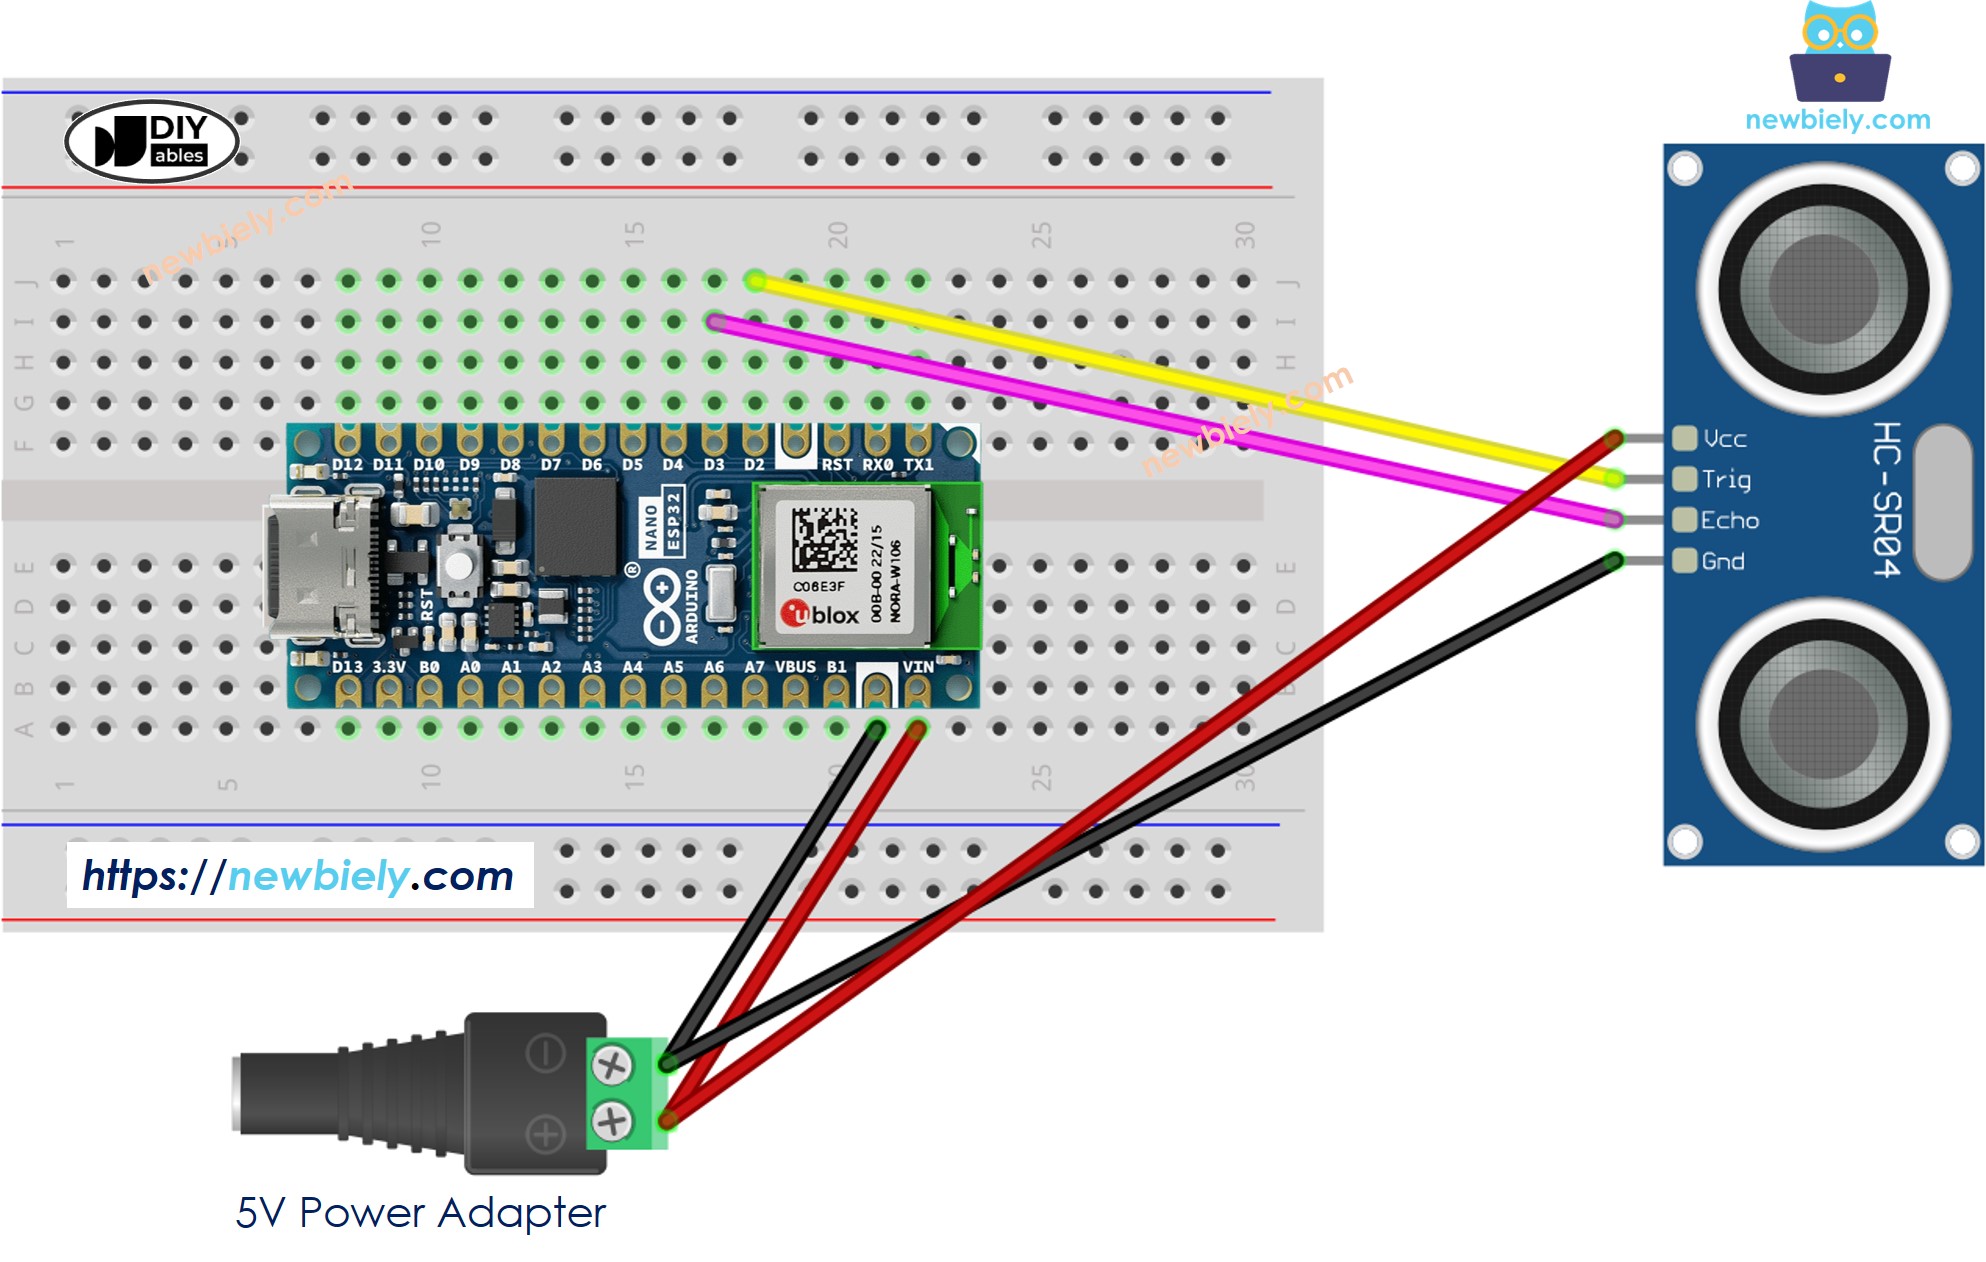
This image is created using Fritzing. Click to enlarge image
How To Program Ultrasonic Sensor
- Generate a 10-microsecond pulse in ESP32's pin by using digitalWrite() and delayMicroseconds() functions. For example, pin D2:
digitalWrite(D2, HIGH);
delayMicroseconds(10);
digitalWrite(D2, LOW);
- Measures the pulse duration (µs) in ESP32's pin by using pulseIn() function. For example, pin D3:
duration_us = pulseIn(D3, HIGH);
- Calculate distance (cm):
distance_cm = 0.017 * duration_us;
Arduino Nano ESP32 Code
/*
* This Arduino Nano ESP32 code was developed by newbiely.com
*
* This Arduino Nano ESP32 code is made available for public use without any restriction
*
* For comprehensive instructions and wiring diagrams, please visit:
* https://newbiely.com/tutorials/arduino-nano-esp32/arduino-nano-esp32-ultrasonic-sensor
*/
#define TRIG_PIN D2 // The Arduino Nano ESP32 pin connected to Ultrasonic Sensor's TRIG pin
#define ECHO_PIN D3 // The Arduino Nano ESP32 pin connected to Ultrasonic Sensor's ECHO pin
float duration_us, distance_cm;
void setup() {
// begin serial port
Serial.begin (9600);
// Configure the trigger pin to output mode
pinMode(TRIG_PIN, OUTPUT);
// Configure the echo pin to input mode
pinMode(ECHO_PIN, INPUT);
}
void loop() {
// Produce a 10-microsecond pulse to the TRIG pin.
digitalWrite(TRIG_PIN, HIGH);
delayMicroseconds(10);
digitalWrite(TRIG_PIN, LOW);
// Measure the pulse duration from the ECHO pin
duration_us = pulseIn(ECHO_PIN, HIGH);
// calculate the distance
distance_cm = 0.017 * duration_us;
// print the value to Serial Monitor
Serial.print("distance: ");
Serial.print(distance_cm);
Serial.println(" cm");
delay(500);
}
Detailed Instructions
- If this is the first time you use Arduino Nano ESP32, see how to setup environment for Arduino Nano ESP32 on Arduino IDE.
- Copy the above code and paste it to Arduino IDE.
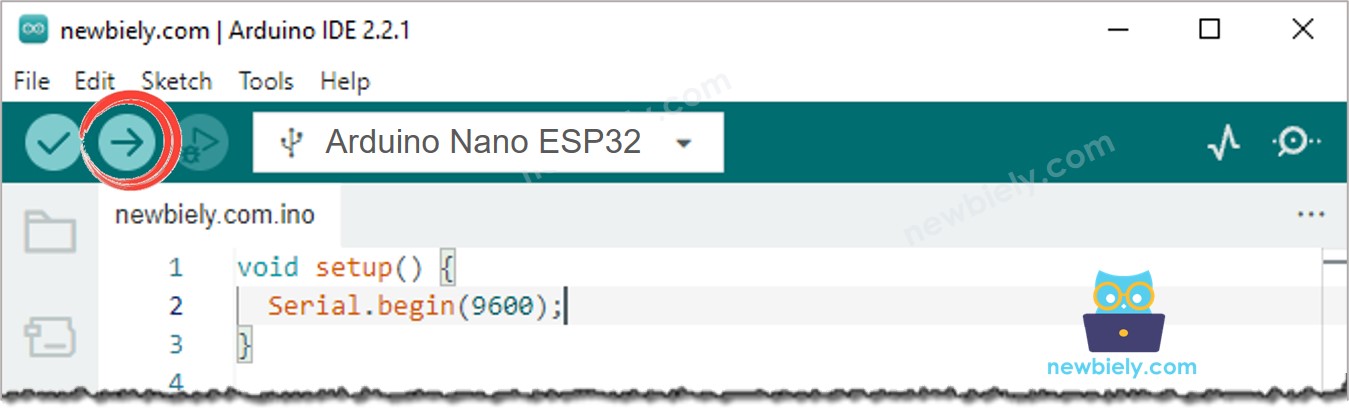
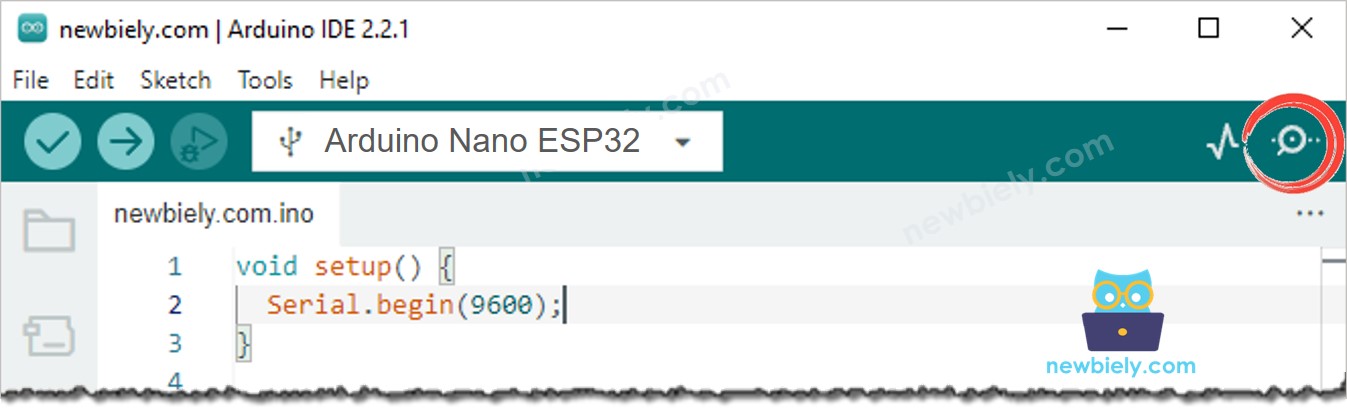
- Compile and upload code to Arduino Nano ESP32 board by clicking Upload button on Arduino IDE
- Open Serial Monitor on Arduino IDE
- Move your hand in front of ultrasonic sensor
- See the distance from the sensor to your hand on Serial Monitor
8
Serial.println("Hello World!");
Message (Enter to send message to 'Arduino Nano ESP32' on 'COM15')
New Line
9600 baud
distance: 19.4 cm
distance: 17.6 cm
distance: 16.9 cm
distance: 27.4 cm
distance: 26.9 cm
distance: 24.3 cm
distance: 25.6 cm
distance: 23.1 cm
Line-by-line Code Explanation
The above Arduino Nano ESP32 code contains line-by-line explanation. Please read the comments in the code!
How to Filter Noise from Distance Measurements of Ultrasonic Sensor
See How to Filter Noise from Distance Measurements of Ultrasonic Sensor