
ESP32 S3 UNO - MQTT
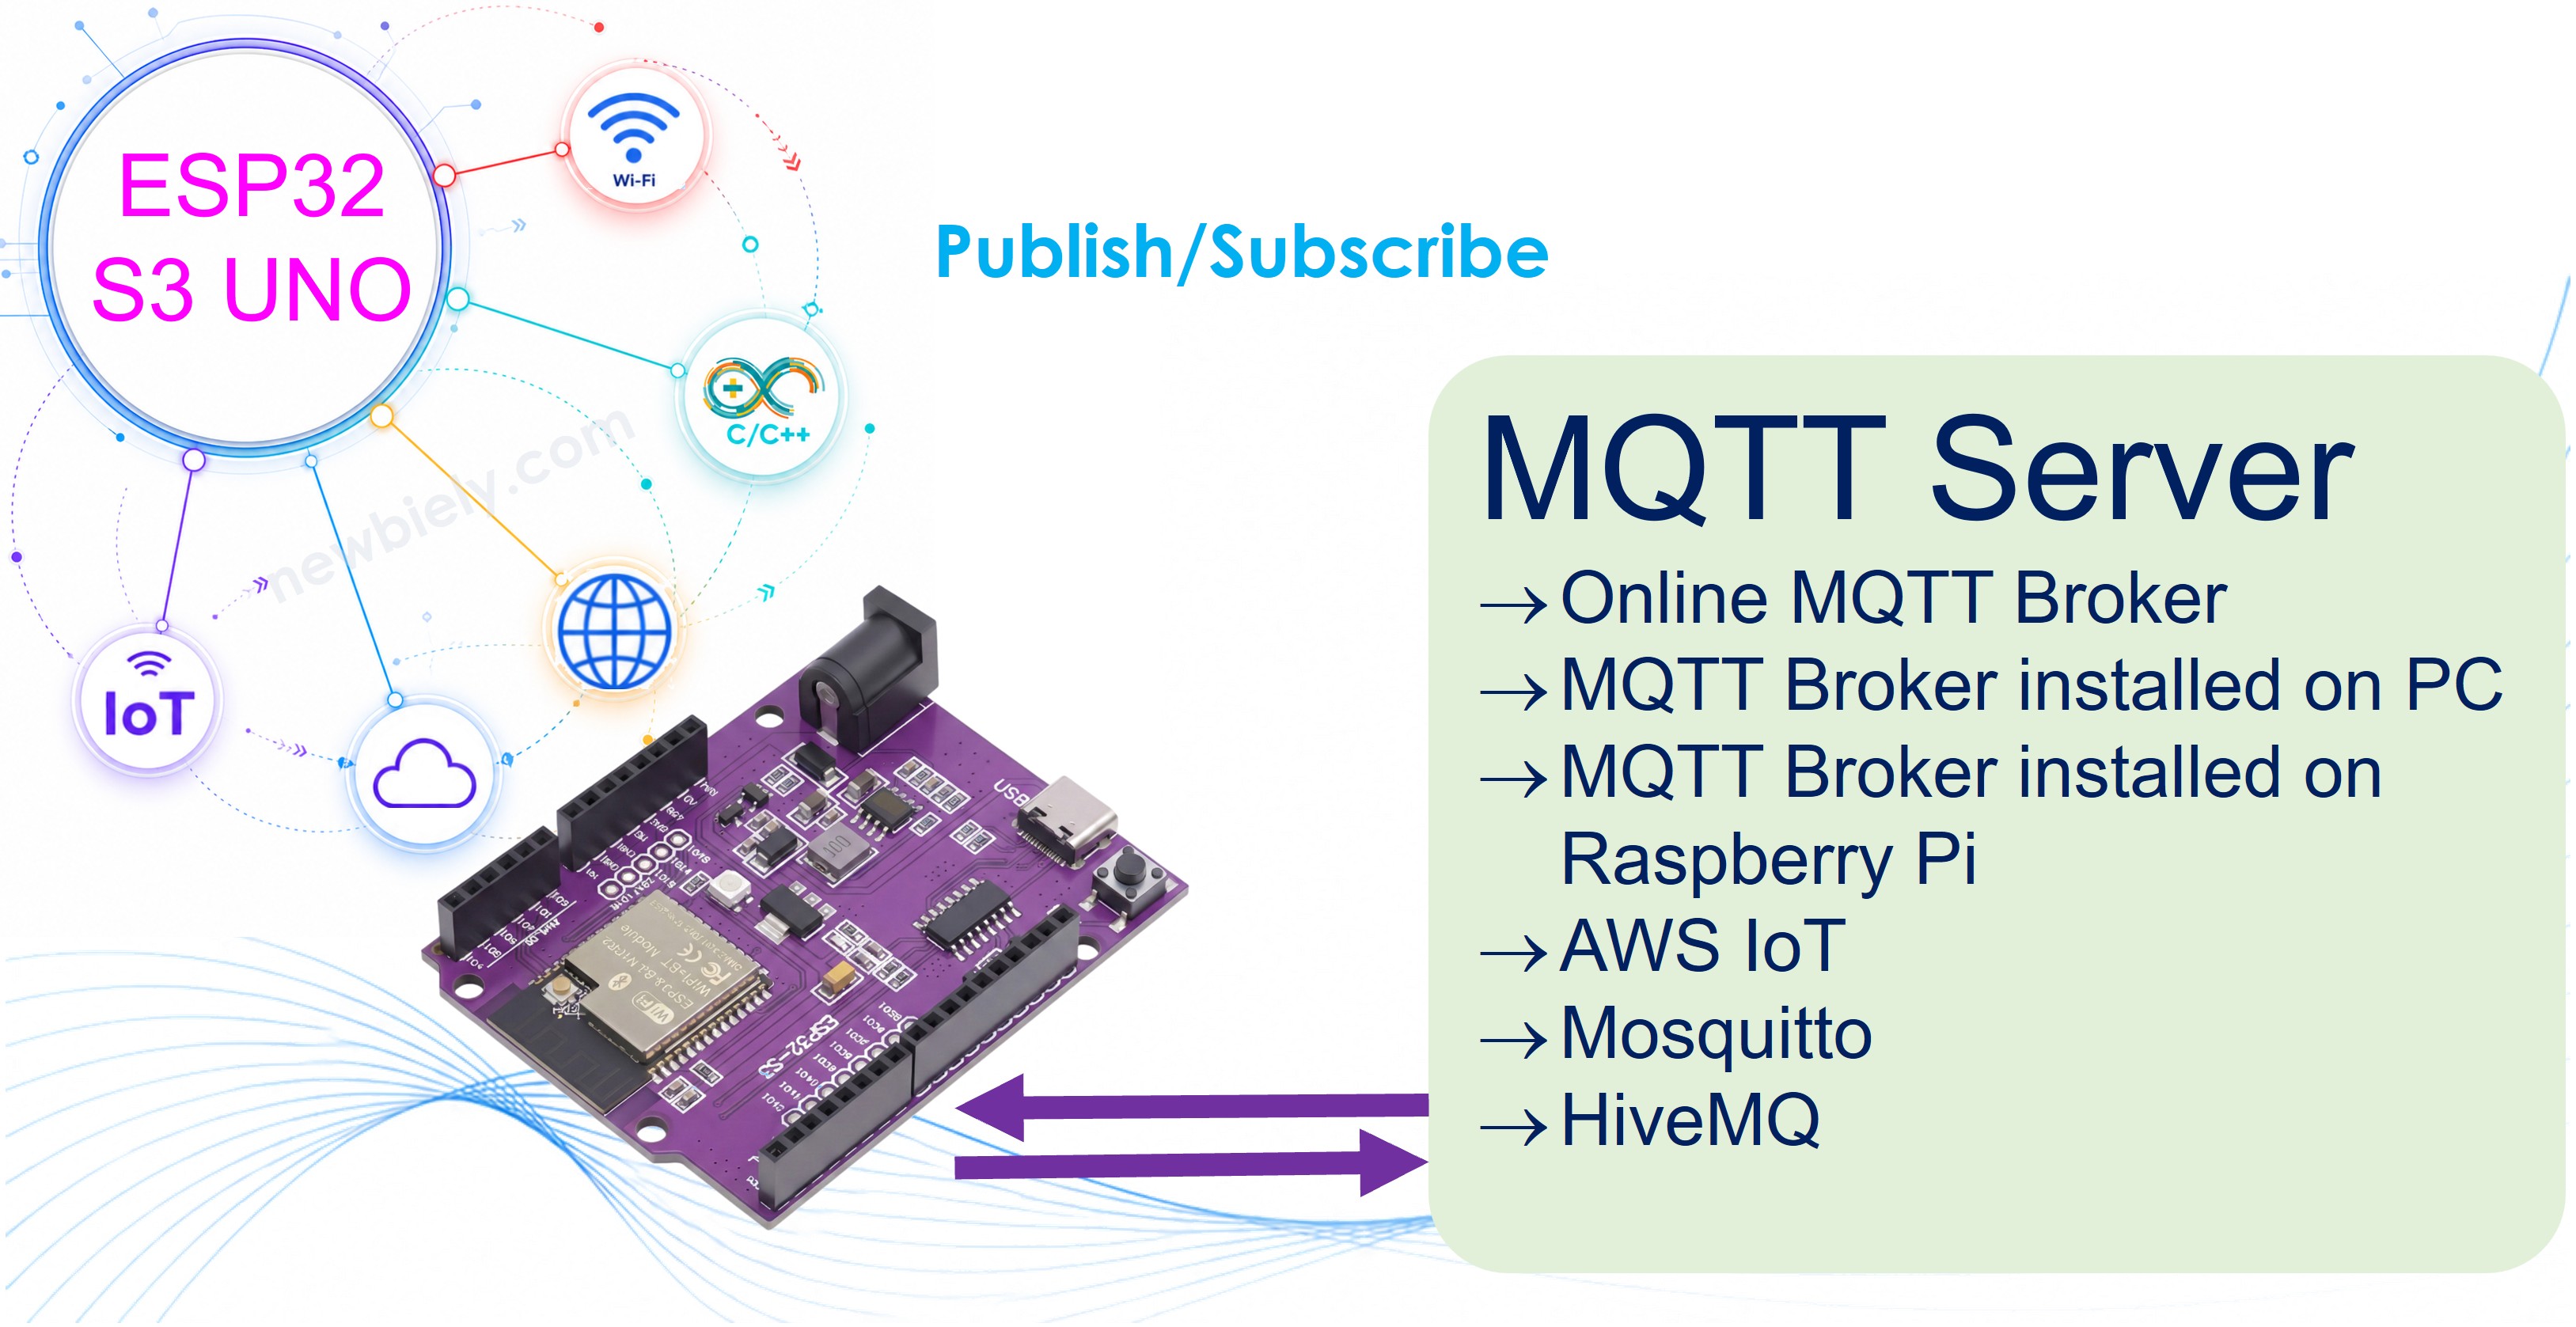
This ESP32 S3 Uno MQTT tutorial shows you how to connect the ESP32 S3 Uno form board to an MQTT broker over WiFi. You will publish JSON messages to a topic and subscribe to a topic to get messages back. You will try two brokers: the free online Mosquitto test server, and a Mosquitto broker that runs on your own PC.
In this tutorial, you will:
- Connect the ESP32 S3 Uno to an online MQTT broker
- Publish data to an MQTT topic with the MQTT library
- Subscribe to a topic and print the received messages
- Install and run the Mosquitto broker on a Windows PC
- Send messages between your PC and the board in both directions
Hardware Preparation
| 1 | × | ESP32 S3 Uno-form Board | |
| 1 | × | USB Cable Type-A to Type-C (for USB-A PC) | |
| 1 | × | USB Cable Type-C to Type-C (for USB-C PC) |
Or you can buy the following kits:
| 1 | × | DIYables Sensor Kit (18 sensors/displays) |
Additionally, some of these links are for products from our own brand, DIYables .
Overview of ESP32 S3 Uno and MQTT
MQTT is the most common way for small IoT boards to talk to each other and to the cloud. It is light, fast, and easy to use. Once you know the basics, you can plug your ESP32 S3 Uno into dashboards, home automation systems, and cloud services.
MQTT (Message Queuing Telemetry Transport) is a small publish/subscribe protocol. It was made for devices with little memory and for slow or unstable networks. The ESP32 S3 Uno joins a broker as a client. It can send data to topics and listen to topics at the same time.
The broker (also called the MQTT server) can run in many places. It can be an online service such as Mosquitto or AWS IoT. It can be a program on your computer, such as Mosquitto or HiveMQ. It can also run on a Raspberry Pi, or on a cloud server such as AWS EC2.
Key Concepts
The broker is the central server. It passes messages from one client to another.
A topic is a text string that names a channel, for example esp32-s3-uno-001/send. The broker uses it to decide who gets each message.
To publish means to send a message to a topic. To subscribe means to tell the broker "send me every message on this topic".
In this guide, you first test the board with an online Mosquitto broker. Then you install Mosquitto on your PC and use it as a local broker.
ESP32 S3 Uno Pinout
The image below shows the pinout diagram of the ESP32 S3 Uno form board. This project needs no wiring, but the sample code reads the A0 pin (GPIO2) as test data, so you can use this image to find it if you want to connect a sensor later.

Connect ESP32 S3 Uno to an Online MQTT Broker
The fastest way to test MQTT is a public broker, because you do not need to install anything. Here you will use test.mosquitto.org, a free broker from the Mosquitto project. It is only for testing, so do not use it for real products.
ESP32 S3 Uno Code
This sketch joins your WiFi network, connects to the online broker, and subscribes to a loopback topic. Every 5 seconds it publishes a small JSON message to the same topic, so you see each message go out and come back.
The JSON message holds the time (millis()) and the value read from A0 (GPIO2). The sketch calls analogSetAttenuation(ADC_11db) in setup(). By default, the ESP32 S3 Uno ADC can only measure a small voltage. With 11 dB attenuation, the analog pin reads the full range from 0V up to about 3.3V, so the value goes from 0 to 4095 and does not hit 4095 too early.
Detailed Instructions
- New to the ESP32 S3 Uno? Follow ESP32 S3 Uno - Getting Started first.
- Connect the board to your computer with a USB Type-C cable.
- Open Arduino IDE, choose the ESP32S3 Dev Module board and the correct COM port.
- Open the Library Manager by clicking the Library Manager icon on the left side of Arduino IDE.
- Find the MQTT library: type MQTT in the search box and look for the MQTT library by Joel Gaehwiler.
- Install it by clicking Install.
- Search for MQTT created by Joel Gaehwiler
- Find the JSON library: type ArduinoJson in the search box and look for the ArduinoJson library by Benoit Blanchon.
- Install it by clicking Install.
- Search for ArduinoJson created by Benoit Blanchon
and click the Install button.
- Copy the code above and open it in Arduino IDE.
- Set your WiFi: replace YOUR_WIFI_SSID and YOUR_WIFI_PASSWORD with your own network name and password.
- Make the names unique: the code has YOUR-NAME three times. Change it to your name or some random letters (no spaces). Many people test with the same public broker, so the client ID and topic must be unique.
- Upload the code by clicking Upload in Arduino IDE.
- Open the Serial Monitor and set it to 9600 baud.
- Tip: If the board never connects to the broker, check your WiFi details and make sure your network does not block port 1883.
Serial Monitor Output
After the board connects, you will see each message being sent and then received again:
The board gets back every message it sends. This is because it subscribes to the same topic that it publishes to. If you do not want this, use one topic for publishing and a different topic for subscribing.
Connect ESP32 S3 Uno to the MQTT Broker Installed on Your PC
A local broker gives you full control. It works without the internet, it is private, and you can watch every message on your PC. This part sets up Mosquitto on Windows and then connects the ESP32 S3 Uno to it.
Installing Mosquitto MQTT Broker
- Download the Mosquitto MQTT Broker.
- Install it on the D: drive, not the C: drive. This avoids file permission problems.
Run Mosquitto MQTT Broker
First, start the broker and check that it runs.
- Go to the folder where you installed Mosquitto, for example D:\Draft\mosquitto.
- Make a new file named test.conf in that folder, paste the lines below into it, and save it.
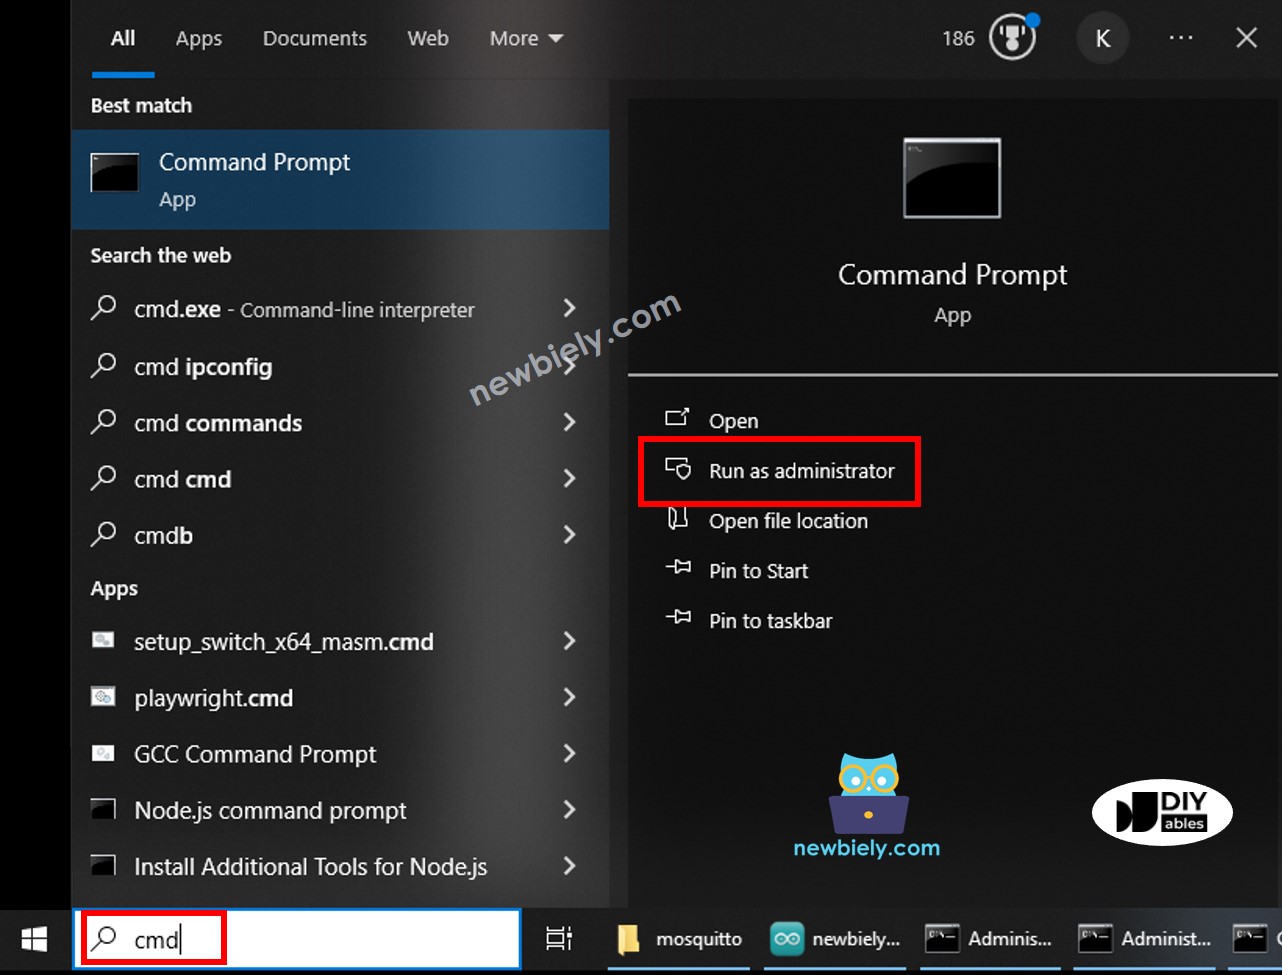
- Open a Command Prompt as Administrator. We call it the Broker Window. Keep it open until you finish the tutorial.
- Run these commands one by one:
- The broker starts and shows this:
- Open another Command Prompt as Administrator.
- Find your PC's IP address with this command:
- Write down the IP address. You need it later. In this example it is 192.168.0.26.
Test if the Mosquitto Broker Works
Before you add the board, check the broker with two more windows on your PC.
- Open another Command Prompt as Administrator. We call it the Subscriber Window.
- Subscribe to a topic with these commands (use your own IP address):
- Open one more Command Prompt as Administrator. We call it the Publisher Window.
- Publish a message to the same topic with these commands (use your own IP address):
- The Publisher Window shows:
The broker passes the message on, and it appears in the Subscriber Window:
Your local Mosquitto broker works. Do NOT close the three windows: Broker Window, Subscriber Window and Publisher Window. You will use them in the next steps.
ESP32 S3 Uno Code
This sketch connects the ESP32 S3 Uno to the broker on your PC. It subscribes to the topic esp32-s3-uno-001/receive and publishes a JSON message to esp32-s3-uno-001/send every 5 seconds. Because the two topics are different, data flows both ways without the loopback.
Like the first sketch, it reads A0 (GPIO2) as sample data and uses analogSetAttenuation(ADC_11db) so the reading covers 0V to about 3.3V (0 to 4095).
Detailed Instructions
- New to the ESP32 S3 Uno? Follow ESP32 S3 Uno - Getting Started first.
- Copy the code above and open it in Arduino IDE.
- Set your WiFi: replace YOUR_WIFI_SSID and YOUR_WIFI_PASSWORD with your own details.
- Set the broker address: change MQTT_BROKER_ADRRESS to your PC's IP address (or a domain name).
- Upload the code by clicking Upload in Arduino IDE.
- Tip: Your PC firewall must allow incoming connections on port 1883. If it blocks them, the board cannot reach the local broker.
Send Message from ESP32 S3 Uno to PC via MQTT
The board publishes to the topic esp32-s3-uno-001/send. The Subscriber Window on your PC listens to that topic, so it gets every message. Open the Serial Monitor to see the board send a message every few seconds:
Now look at the Subscriber Window. The same messages show up there:
Send Message from PC to ESP32 S3 Uno via MQTT
The board subscribes to the topic esp32-s3-uno-001/receive. When the Publisher Window sends a message to that topic, the broker forwards it to the board.
- Run this command in the Publisher Window:
- The message appears on the Serial Monitor:
Applications
MQTT with the ESP32 S3 Uno is the base of many IoT projects. Once the board can publish and subscribe, you only need to change what it sends and what it does with the messages it gets.
Remote Sensor Monitoring
Publish temperature, humidity or air quality readings to a dashboard such as Node-RED or Grafana.
Remote Device Control
Send commands from a phone app over MQTT to switch a relay, move a servo, or change LED colors.
Multi-Board Projects
Let several ESP32 S3 Uno boards share one broker, so they can work together, for example to turn on lights in many rooms at once.
Home Automation
Connect the board to Home Assistant or openHAB through MQTT and control your home with your own firmware.
Cloud Pipelines
Forward messages from a local broker to AWS IoT Core or Azure IoT Hub to store and analyze the data.
Alerts
Subscribe the board to a motion or water-leak topic and turn on a buzzer or relay when an alert arrives.
Video Tutorial
Watch the video below to see this ESP32 S3 Uno project step by step.
Challenges
These small tasks help you practice what you just learned. Start with the easy ones and move up.
- Beginner, change the publish interval: Make the board publish every 2 seconds instead of 5. Watch the faster messages in the Serial Monitor and the Subscriber Window.
- Beginner, add a second topic: Subscribe to another topic, such as esp32-s3-uno-001/config. Publish a value to it from the PC and print it on the Serial Monitor.
- Intermediate, send real sensor data: Connect a DHT22 sensor to the ESP32 S3 Uno and publish its temperature and humidity as JSON every 5 seconds.
- Intermediate, control an LED: Subscribe to esp32-s3-uno-001/led. Turn an external LED on D13 (GPIO12) on when the payload is "ON" and off when it is "OFF". Test it from the Publisher Window.
- Advanced, retained messages: Set the retain flag to true when you publish. Restart the board and see that it gets the last message right after it reconnects.
- Advanced, TLS: Give your local Mosquitto broker a self-signed TLS certificate. Change the code to connect on port 8883 with SSL, and check that plain connections are refused.
FAQ
Do I need any extra hardware to use MQTT on the ESP32 S3 Uno?
No. The ESP32 S3 Uno has WiFi built in, so the board and a USB Type-C cable are enough. You only need extra parts when you want to send real sensor data or control something.
Why does the code call analogSetAttenuation(ADC_11db)?
It sets the ESP32 S3 Uno ADC input range to about 0 to 3.3V, so the full signal maps to 0 to 4095. Without it, the range is smaller and readings reach 4095 too early. The UNO R4 does not need this line, because it is only for ESP32 boards. Keep any sensor output at 3.3V or less.
Why is the "data" value much bigger than on the UNO R4?
The ESP32 S3 Uno ADC is 12-bit, so analogRead() gives 0 to 4095 instead of 0 to 1023. Nothing is connected to A0 in this example, so the pin floats and the value moves around. Connect a sensor to A0 (GPIO2) to send real data.
Why does the code use analogRead(2) and not analogRead(0)?
On the ESP32 S3 Uno, the number in analogRead() is a GPIO number. The A0 header pin is GPIO2, so you write 2. GPIO0 is a boot pin and is not on the Uno headers.
Can I use a different MQTT library, such as PubSubClient?
Yes. PubSubClient also works with the ESP32 S3 Uno and the WiFi.h library. This tutorial uses the MQTT library by Joel Gaehwiler because its message handler is simple. The broker setup stays the same.
What if my project needs more pins than the Uno headers give?
The ESP32 S3 Uno has two extra rows of holes with more GPIOs: GPIO15 and GPIO16 (I/O, PWM, analog), GPIO45 and GPIO35 to GPIO42 (I/O, PWM), and GPIO47/GPIO48 (output only, PWM). Solder pin headers to use them and write the GPIO number in code. For an MQTT project, GPIO15/GPIO16 are good for extra analog sensors, and GPIO35 to GPIO42 are good for buttons or relays. Be careful with two groups. GPIO47 and GPIO48 may run at 1.8V instead of 3.3V on some modules (mostly ones with "V" in the name, like R8V or R16V), so 3.3V devices can be damaged or act strangely. GPIO0, GPIO3 (D6), GPIO45 and GPIO46 (D9) are boot strapping pins, and a wrong connection can stop the board from booting or uploading code. Use the other extra pins first.
Troubleshooting
| Problem | Possible Cause | Solution |
|---|---|---|
| No COM port in Arduino IDE | USB driver missing or board not in upload mode | Install the CP210x or CH340 driver, try another cable, or hold BOOT while you press RESET |
| Board does not power on or keeps restarting | Bad USB cable or weak USB port | Use a data USB Type-C cable and plug it straight into the computer |
| Serial Monitor prints only dots after Connecting to Wi-Fi | Wrong SSID or password, or a 5 GHz only network | Check the WiFi details and use a 2.4 GHz network |
| Stuck at Connecting to MQTT broker | Wrong broker address or port 1883 is blocked | Check the address in the code and allow port 1883 on the network and the PC firewall |
| Messages from other people appear | Topic name is not unique on the public broker | Replace YOUR-NAME with your own unique text |
| Board disconnects again and again | Two devices use the same client ID | Give each board its own client ID |
| Compile error MQTTClient.h or ArduinoJson.h not found | Library not installed | Install the MQTT library by Joel Gaehwiler and ArduinoJson by Benoit Blanchon |
| Serial Monitor shows strange characters | Baud rate does not match | Set the Serial Monitor to 9600 baud |