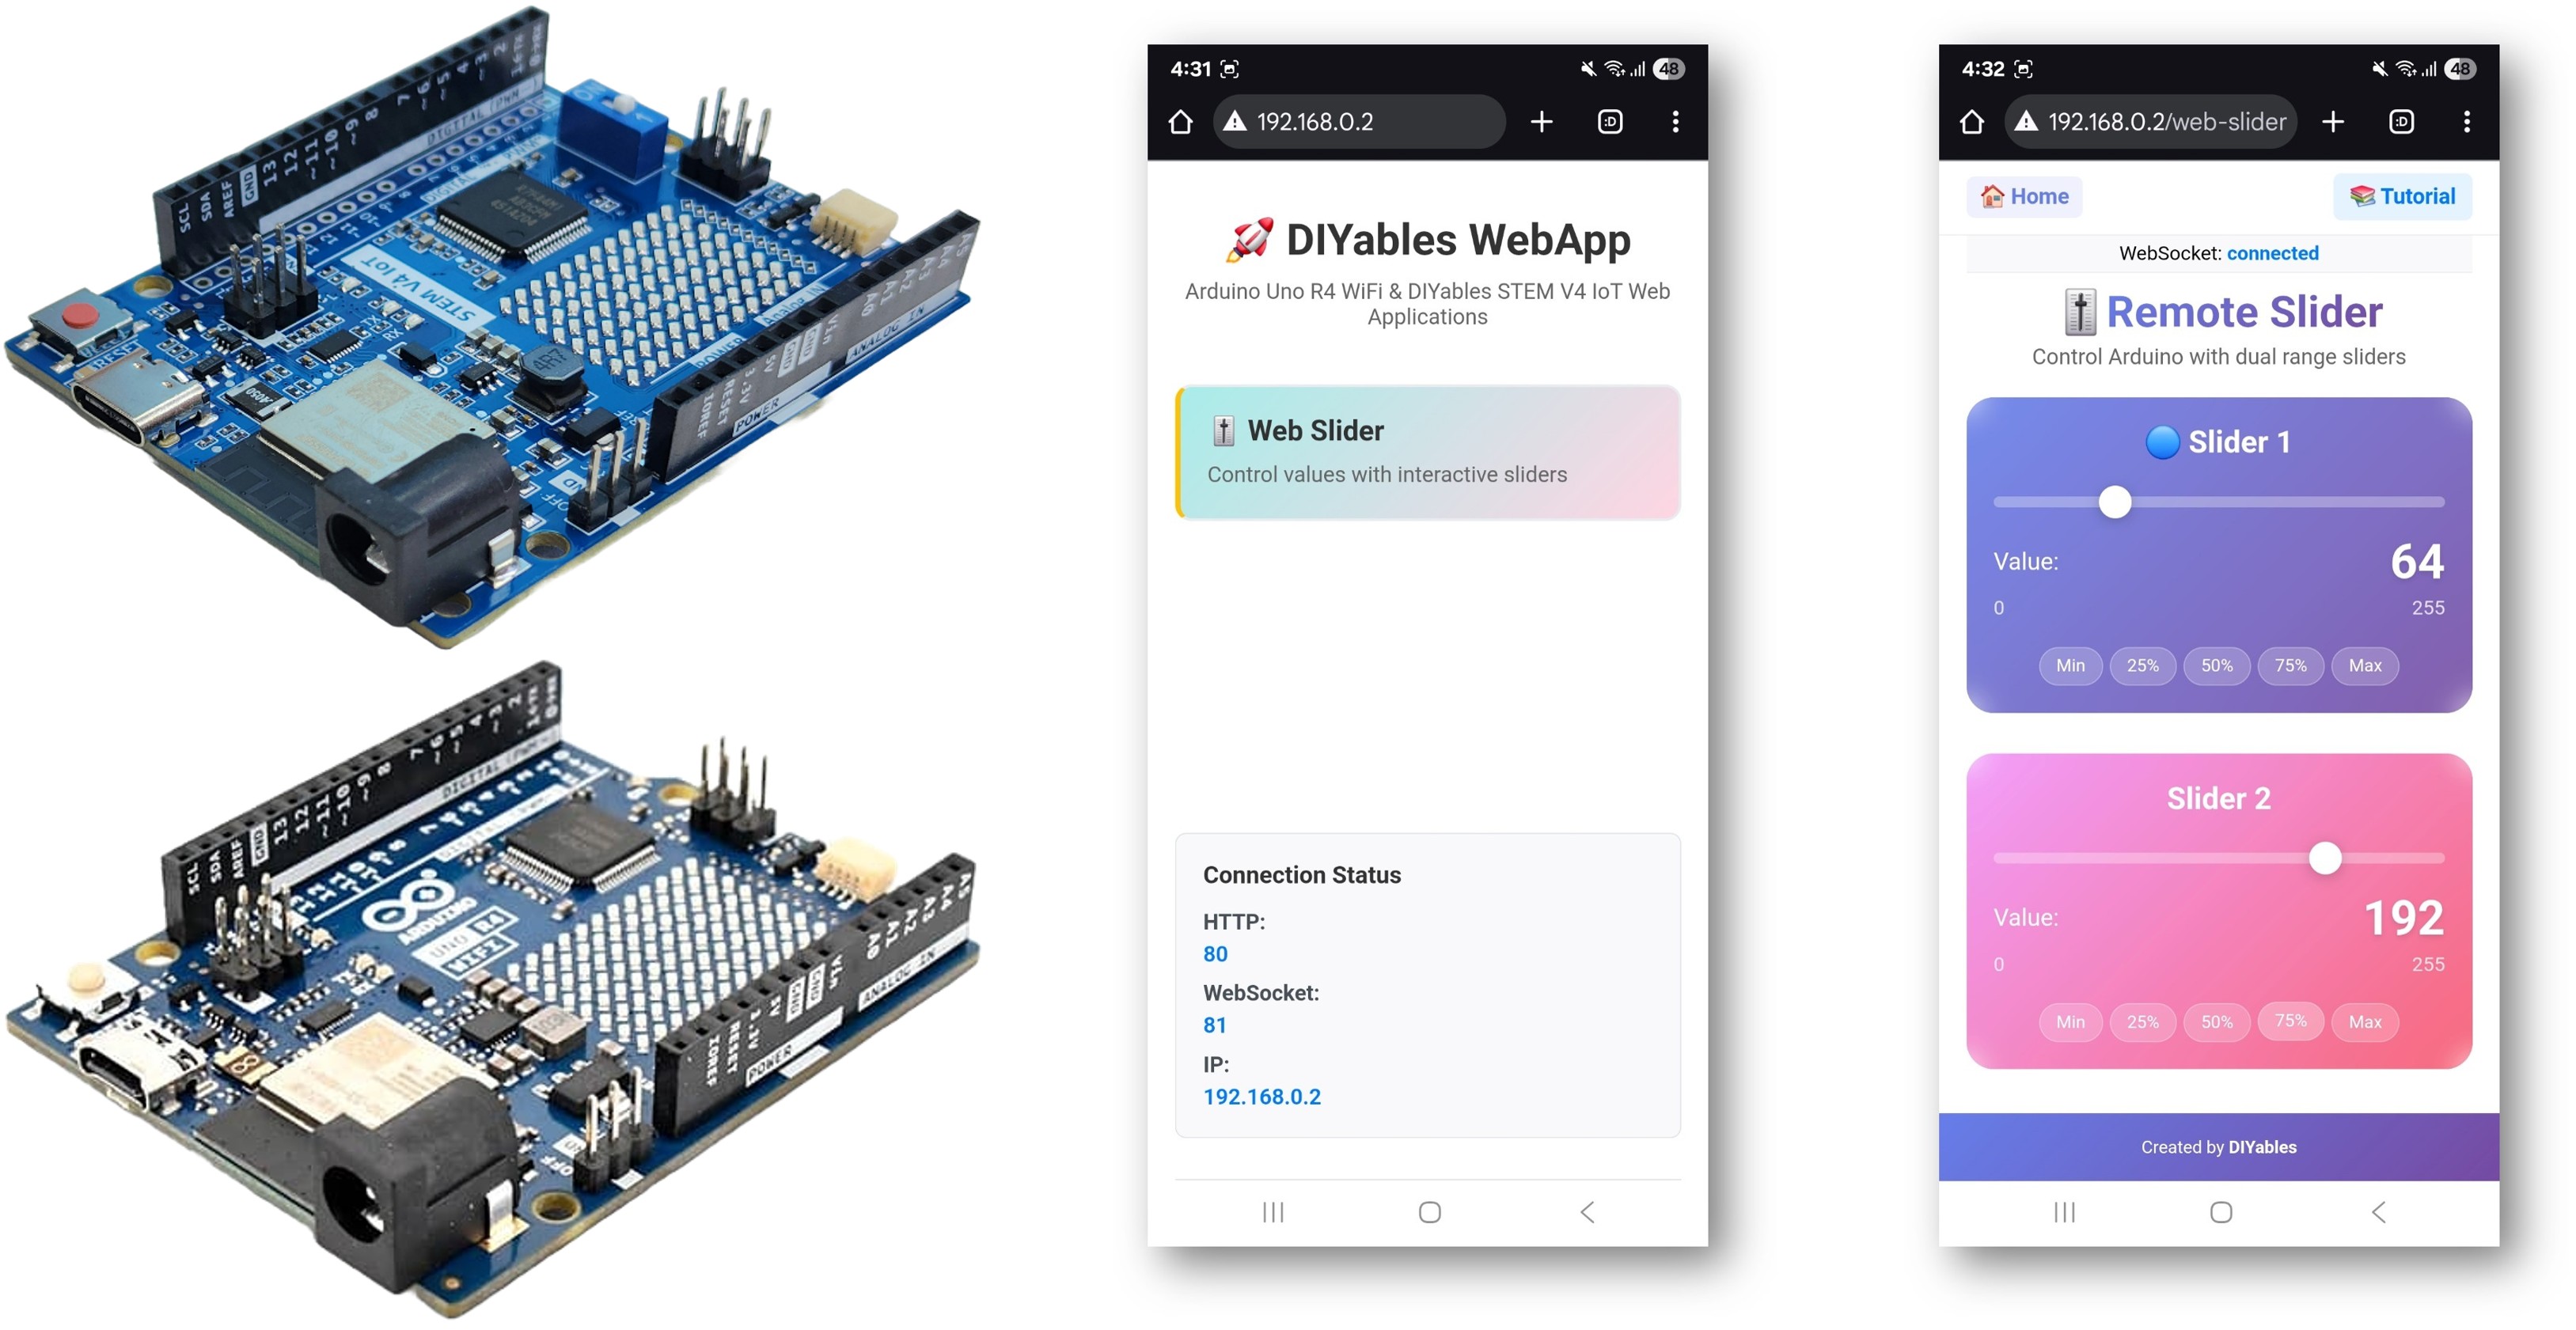
DIYables Web Apps Web Slider
The WebSlider example provides two independent slider controls accessible through a web browser. Designed for Arduino Uno R4 WiFi and DIYables STEM V4 IoT educational platform with enhanced analog capabilities, precision control features, and built-in educational modules for learning PWM and analog electronics. Each slider offers values from 0-255, making them perfect for PWM control, brightness adjustment, motor speed control, and any application requiring analog-like control values.
Dual Sliders: Two independent slider controls (0-255 range each)
Real-time Values: Instant value updates via WebSocket communication
PWM Compatible: 8-bit values (0-255) perfect for analogWrite() functions
Visual Feedback: Real-time value display for each slider
Preset Buttons: Quick preset values for common configurations
Touch & Mouse Support: Works on desktop, tablet, and mobile devices
Responsive Design: Adapts to different screen sizes
Value Persistence: Sliders remember last position when page reloads
Platform Extensible: Currently implemented for Arduino Uno R4 WiFi, but can be extended for other hardware platforms. See
DIYables_WebApps_ESP32
Or you can buy the following kits:
Disclosure: Some of the links provided in this section are Amazon affiliate links. We may receive a commission for any purchases made through these links at no additional cost to you.
Additionally, some of these links are for products from our own brand,
DIYables .
Follow these instructions step by step:
Connect the Arduino Uno R4/DIYables STEM V4 IoT board to your computer using a USB cable.
Launch the Arduino IDE on your computer.
Select the appropriate Arduino Uno R4 board (e.g., Arduino Uno R4 WiFi) and COM port.
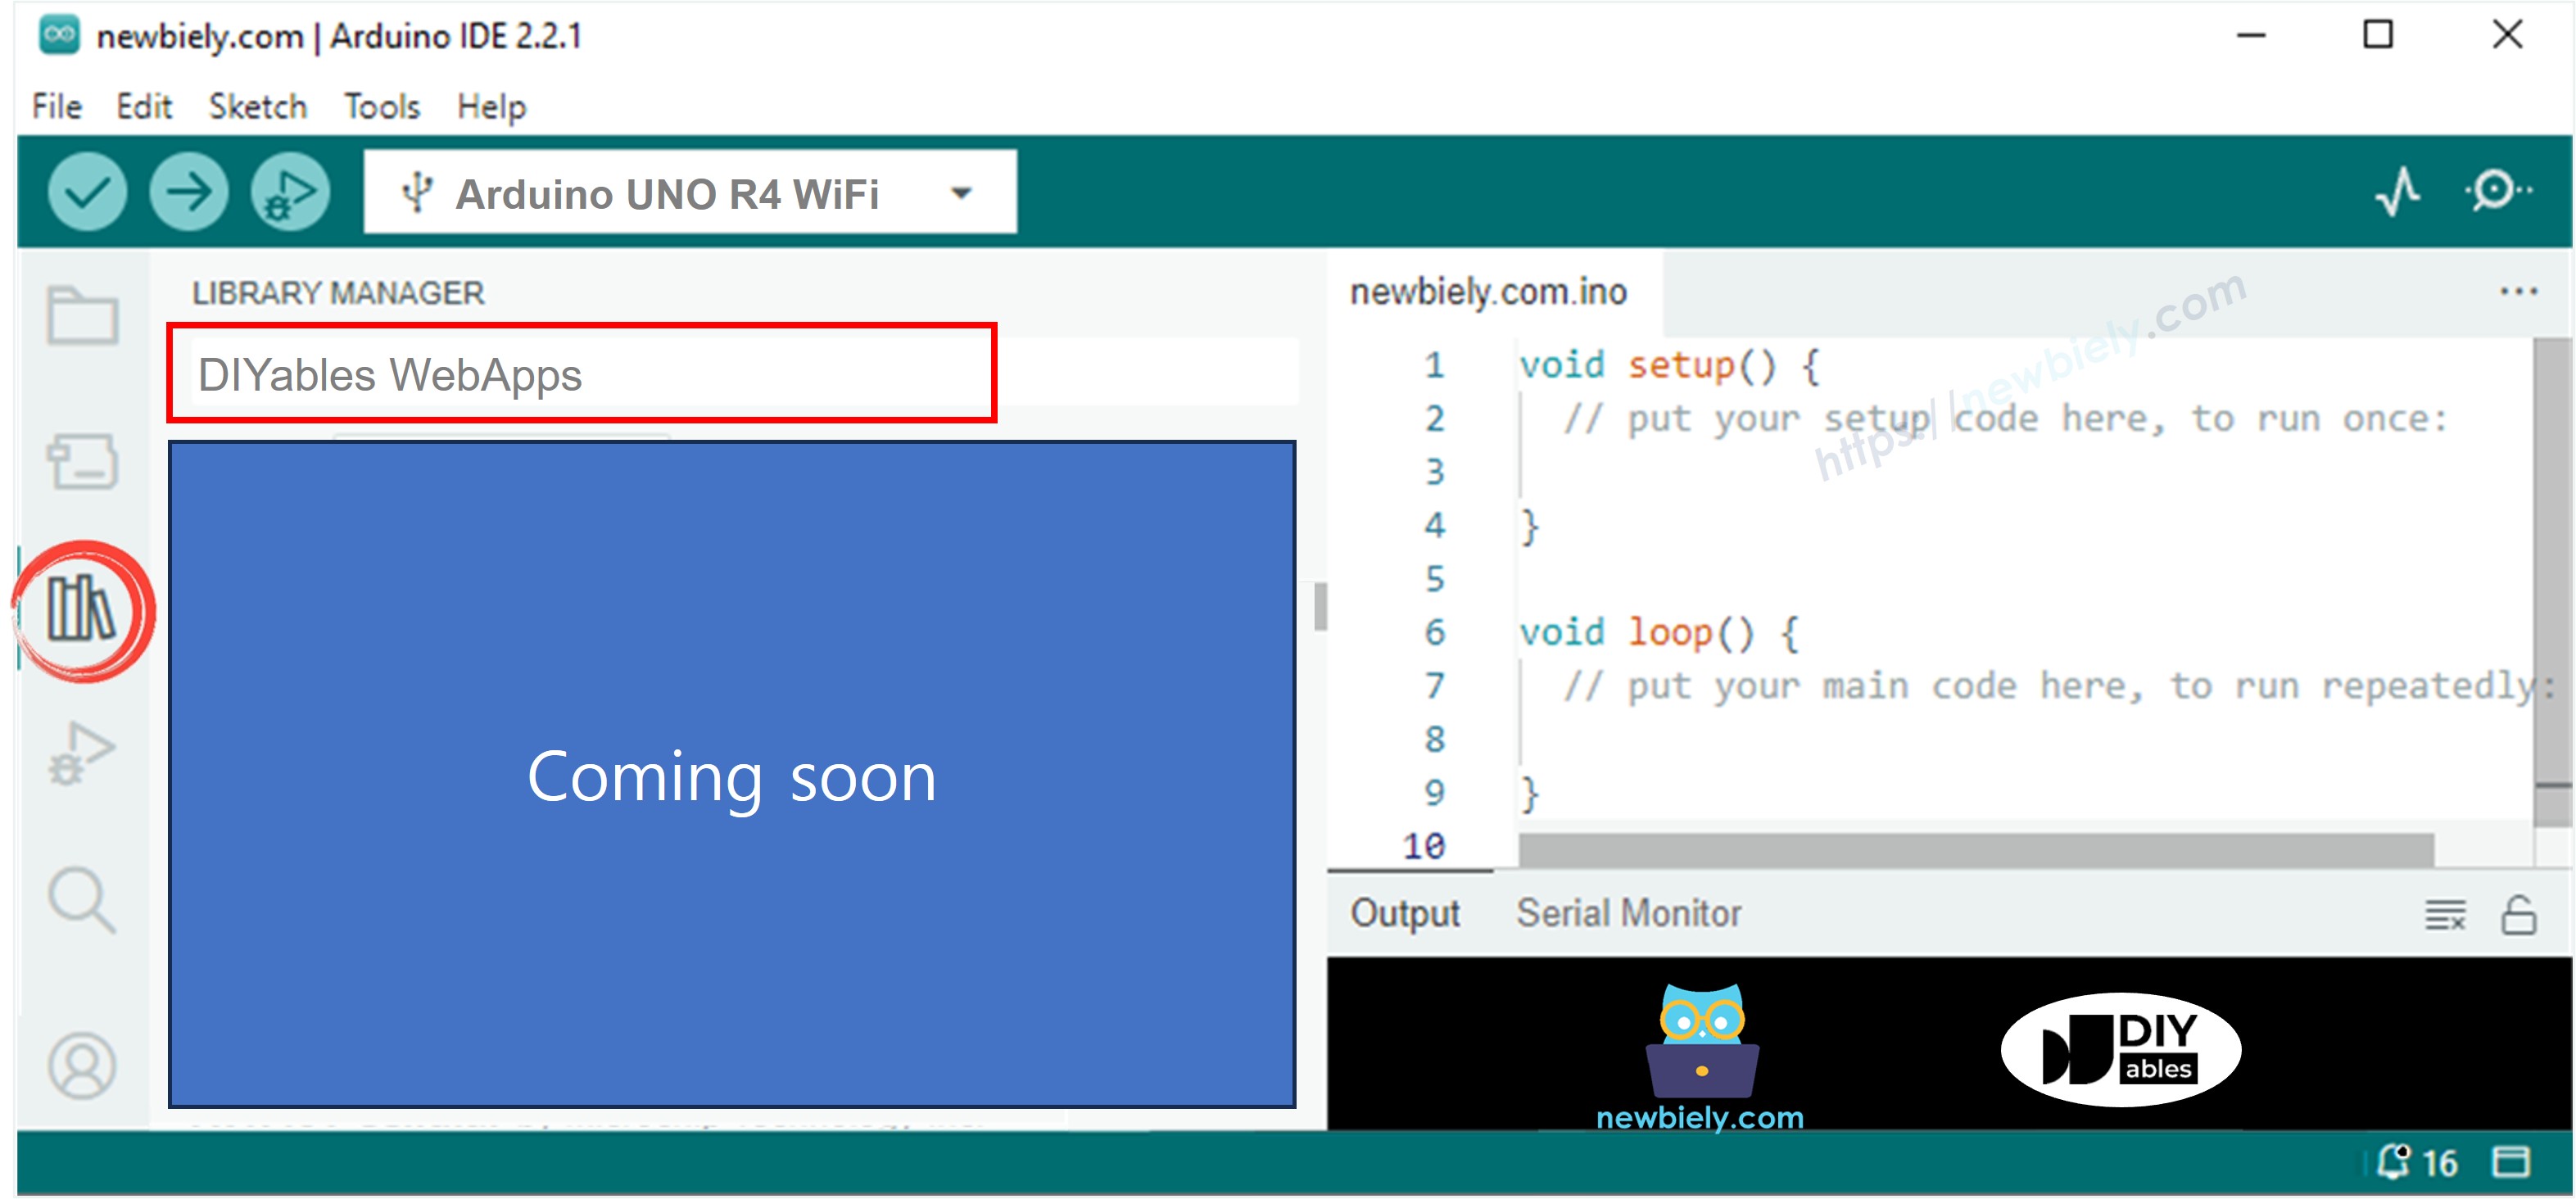
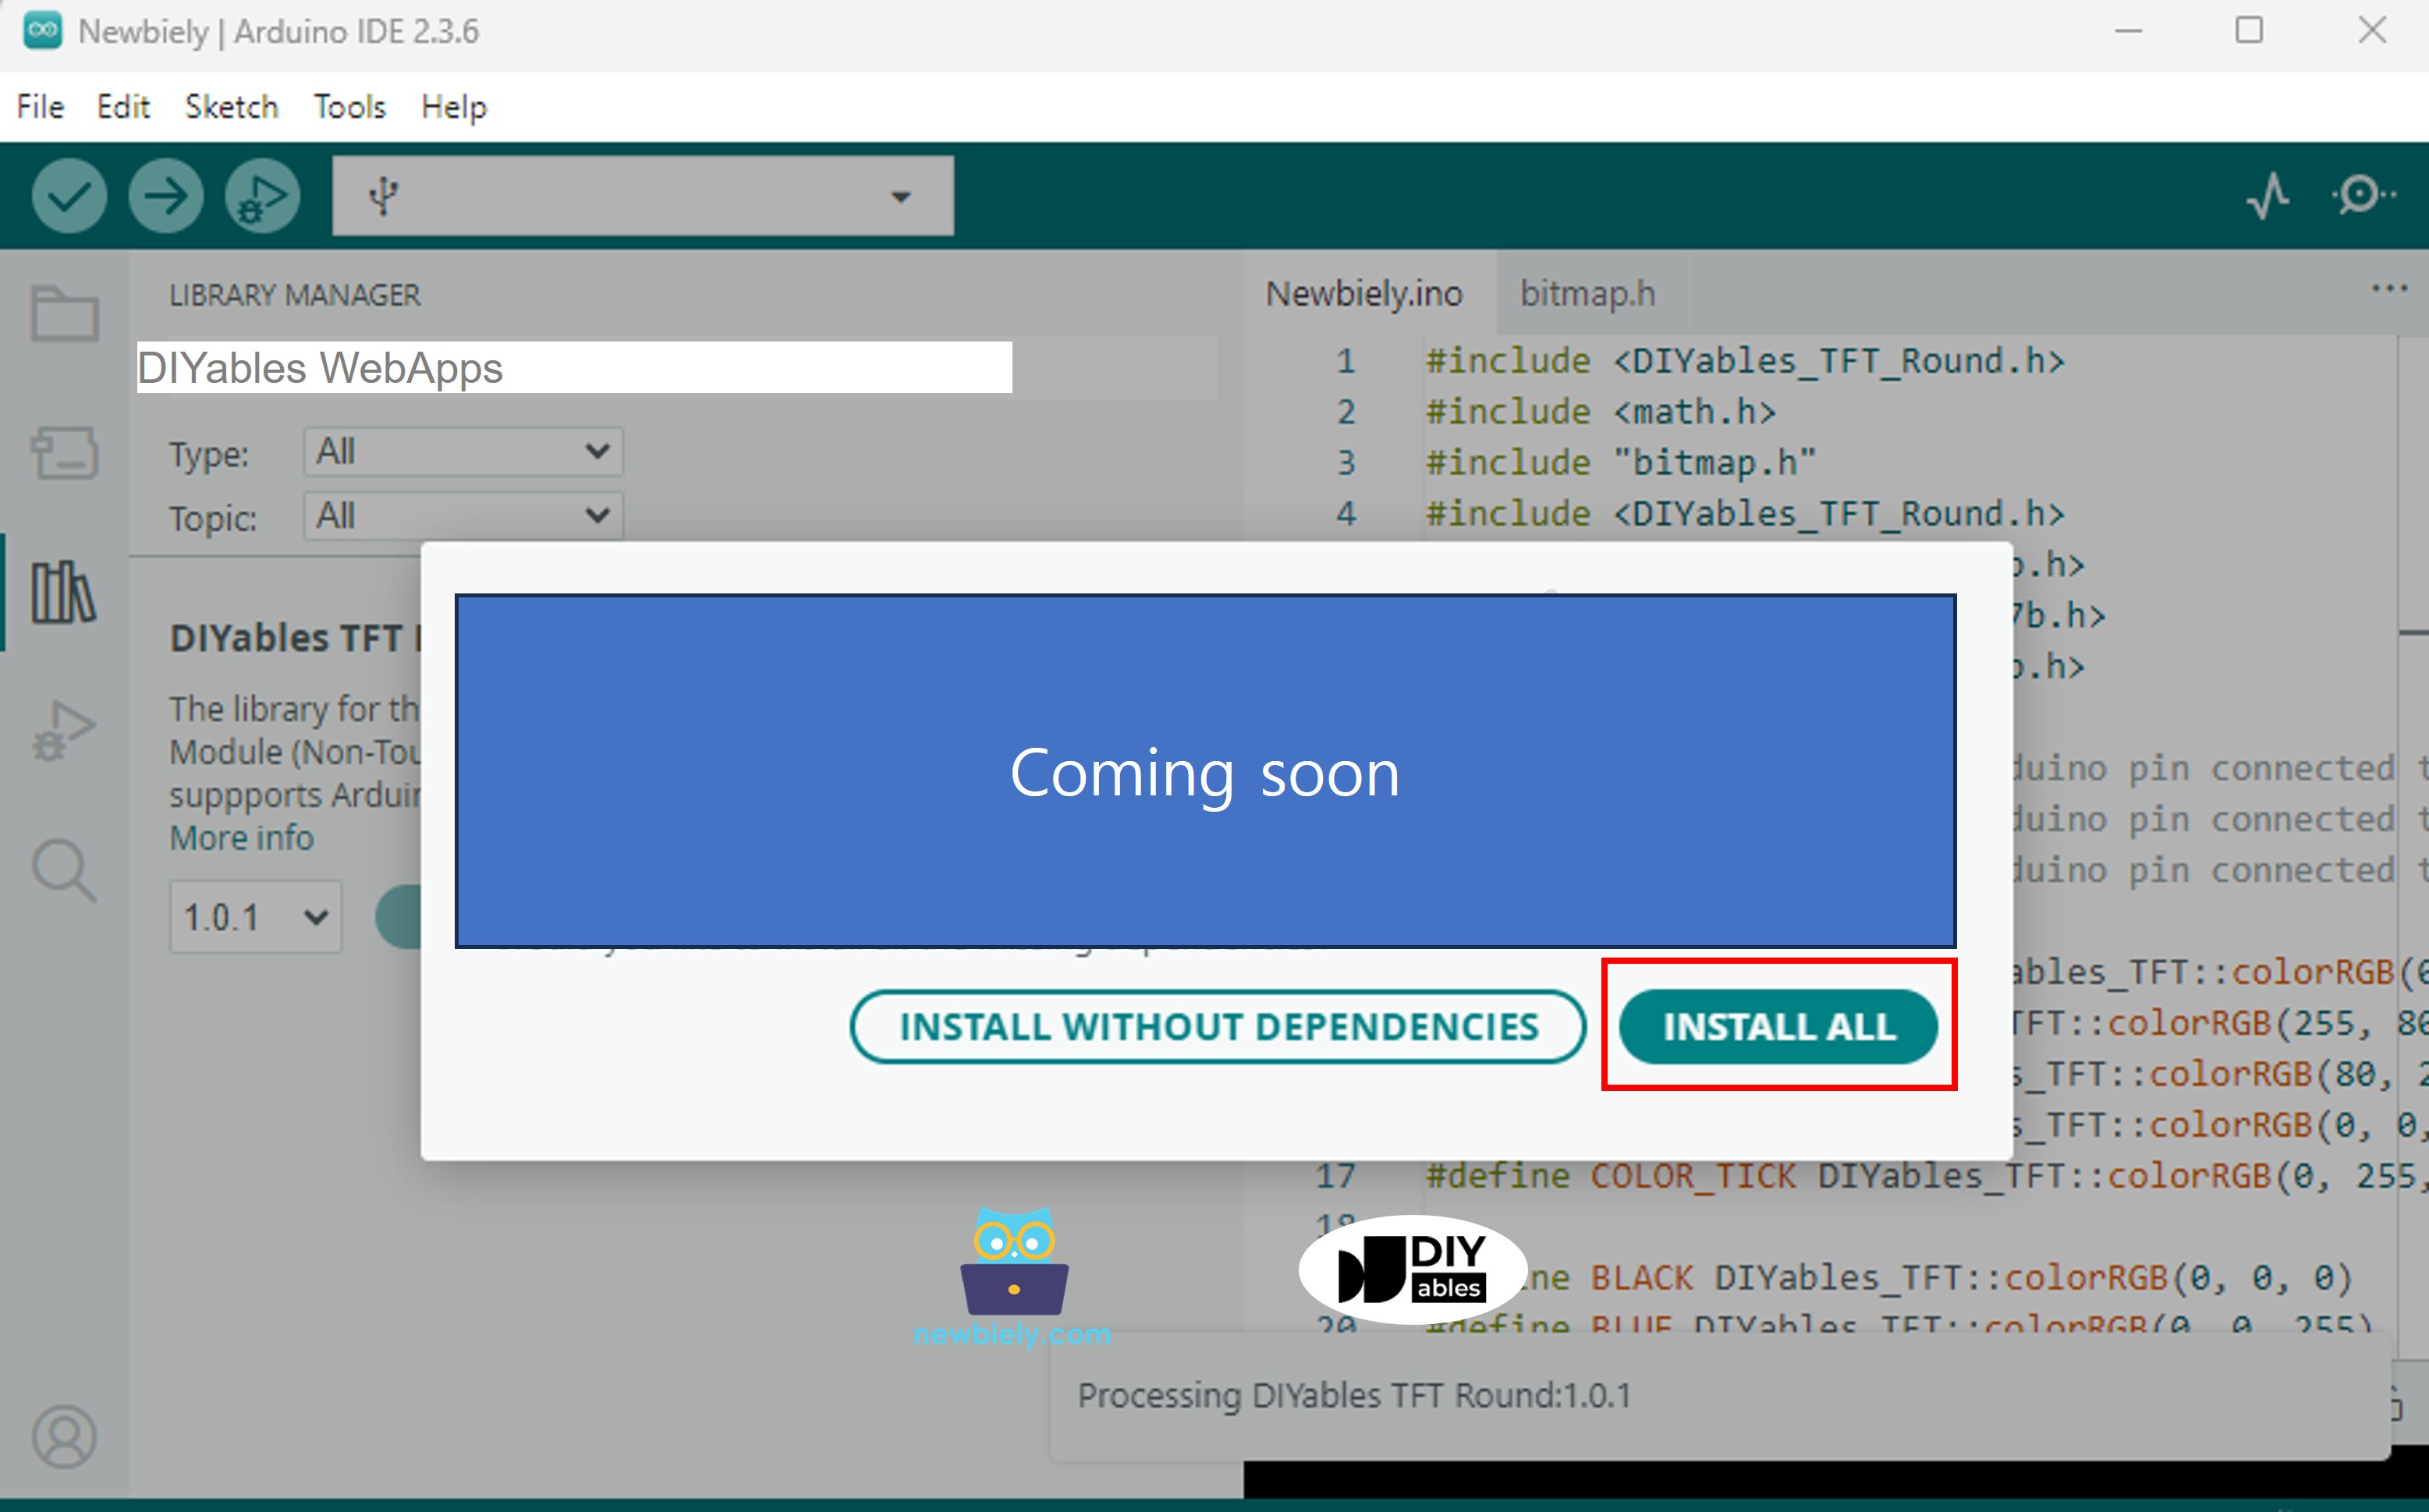
Navigate to the Libraries icon on the left bar of the Arduino IDE.
Search "DIYables WebApps", then find the DIYables WebApps library by DIYables
Click Install button to install the library.
#include <DIYablesWebApps.h>
const char WIFI_SSID[] = "YOUR_WIFI_SSID";
const char WIFI_PASSWORD[] = "YOUR_WIFI_PASSWORD";
UnoR4ServerFactory serverFactory;
DIYablesWebAppServer webAppsServer(serverFactory, 80, 81);
DIYablesHomePage homePage;
DIYablesWebSliderPage webSliderPage;
int slider1Value = 64;
int slider2Value = 128;
void setup() {
Serial.begin(9600);
delay(1000);
Serial.println("DIYables WebApp - Web Slider Example");
webAppsServer.addApp(&homePage);
webAppsServer.addApp(&webSliderPage);
webAppsServer.setNotFoundPage(DIYablesNotFoundPage());
if (!webAppsServer.begin(WIFI_SSID, WIFI_PASSWORD)) {
while (1) {
Serial.println("Failed to start WebApp server!");
delay(1000);
}
}
webSliderPage.onSliderValueFromWeb([](int slider1, int slider2) {
slider1Value = slider1;
slider2Value = slider2;
Serial.println("Slider 1: " + String(slider1) + ", Slider 2: " + String(slider2));
});
webSliderPage.onSliderValueToWeb([]() {
webSliderPage.sendToWebSlider(slider1Value, slider2Value);
Serial.println("Web client requested values - Sent: Slider1=" + String(slider1Value) + ", Slider2=" + String(slider2Value));
});
}
void loop() {
webAppsServer.loop();
delay(10);
}
const char WIFI_SSID[] = "YOUR_WIFI_NETWORK";
const char WIFI_PASSWORD[] = "YOUR_WIFI_PASSWORD";
DIYables WebApp - Web Slider Example
INFO: Added app /
INFO: Added app /web-slider
DIYables WebApp Library
Platform: Arduino Uno R4 WiFi
Network connected!
IP address: 192.168.0.2
HTTP server started on port 80
Configuring WebSocket server callbacks...
WebSocket server started on port 81
WebSocket URL: ws://192.168.0.2:81
WebSocket server started on port 81
==========================================
DIYables WebApp Ready!
==========================================
📱 Web Interface: http://192.168.0.2
🔗 WebSocket: ws://192.168.0.2:81
📋 Available Applications:
🏠 Home Page: http://192.168.0.2/
🎚️ Web Slider: http://192.168.0.2/web-slider
==========================================
If you do not see anything, reboot Arduino board.
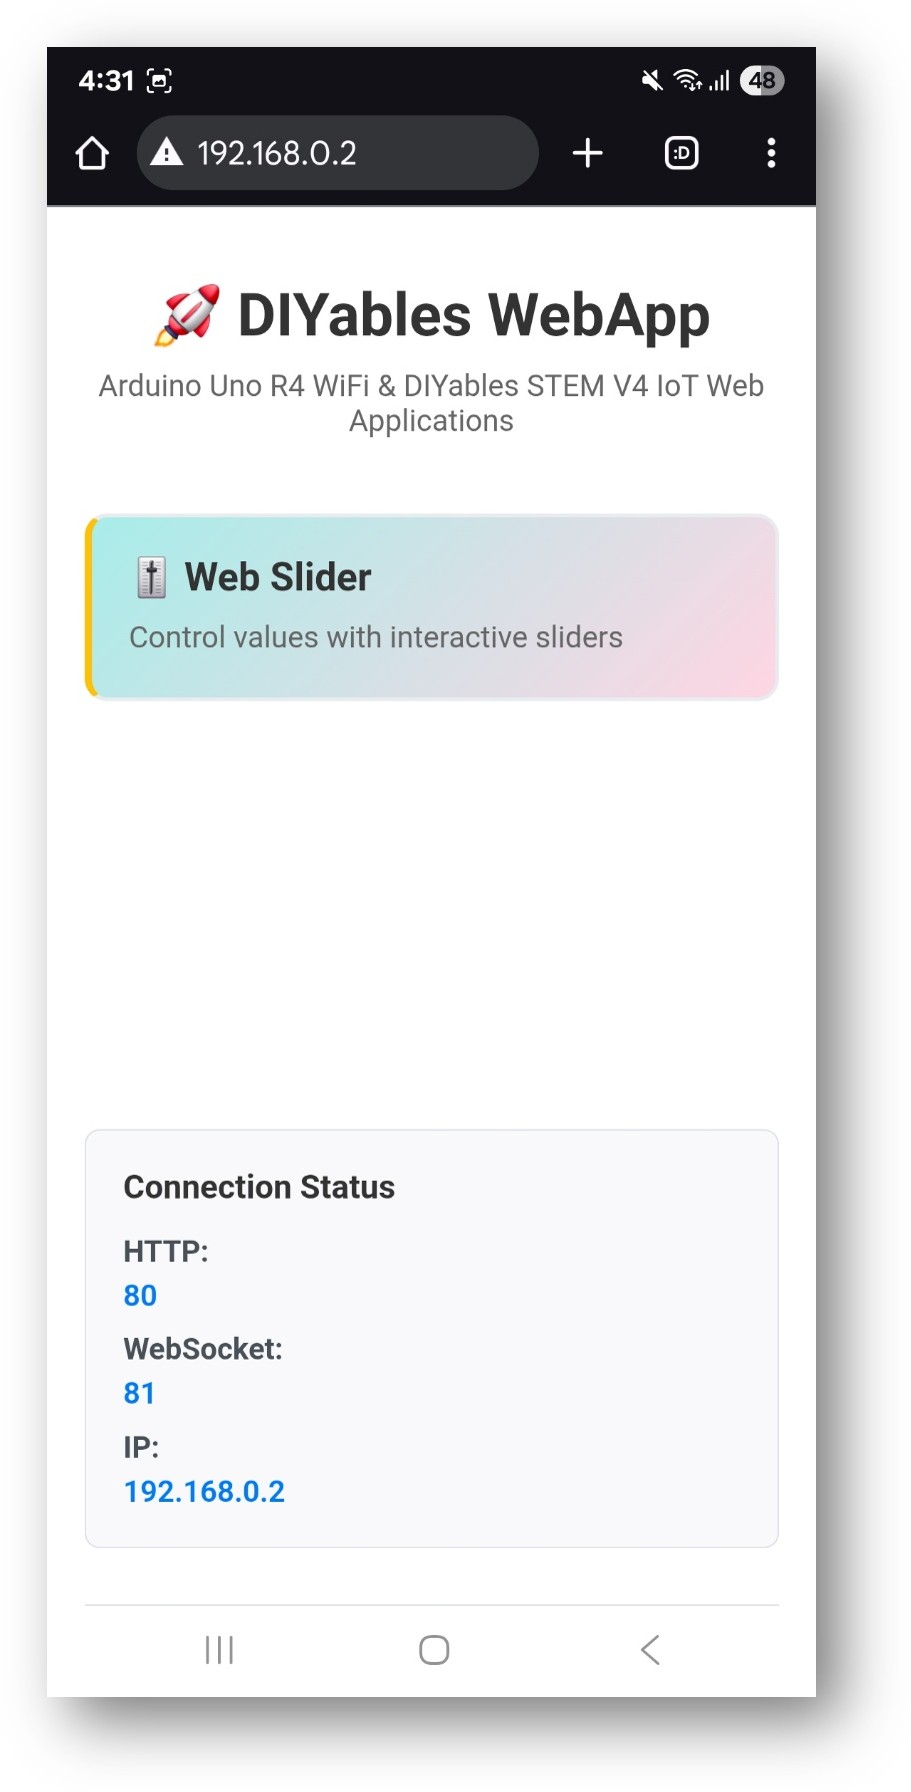
Take note of the IP address displayed, and enter this address into the address bar of a web browser on your smartphone or PC.
Example: http://192.168.0.2
You will see the home page like below image:
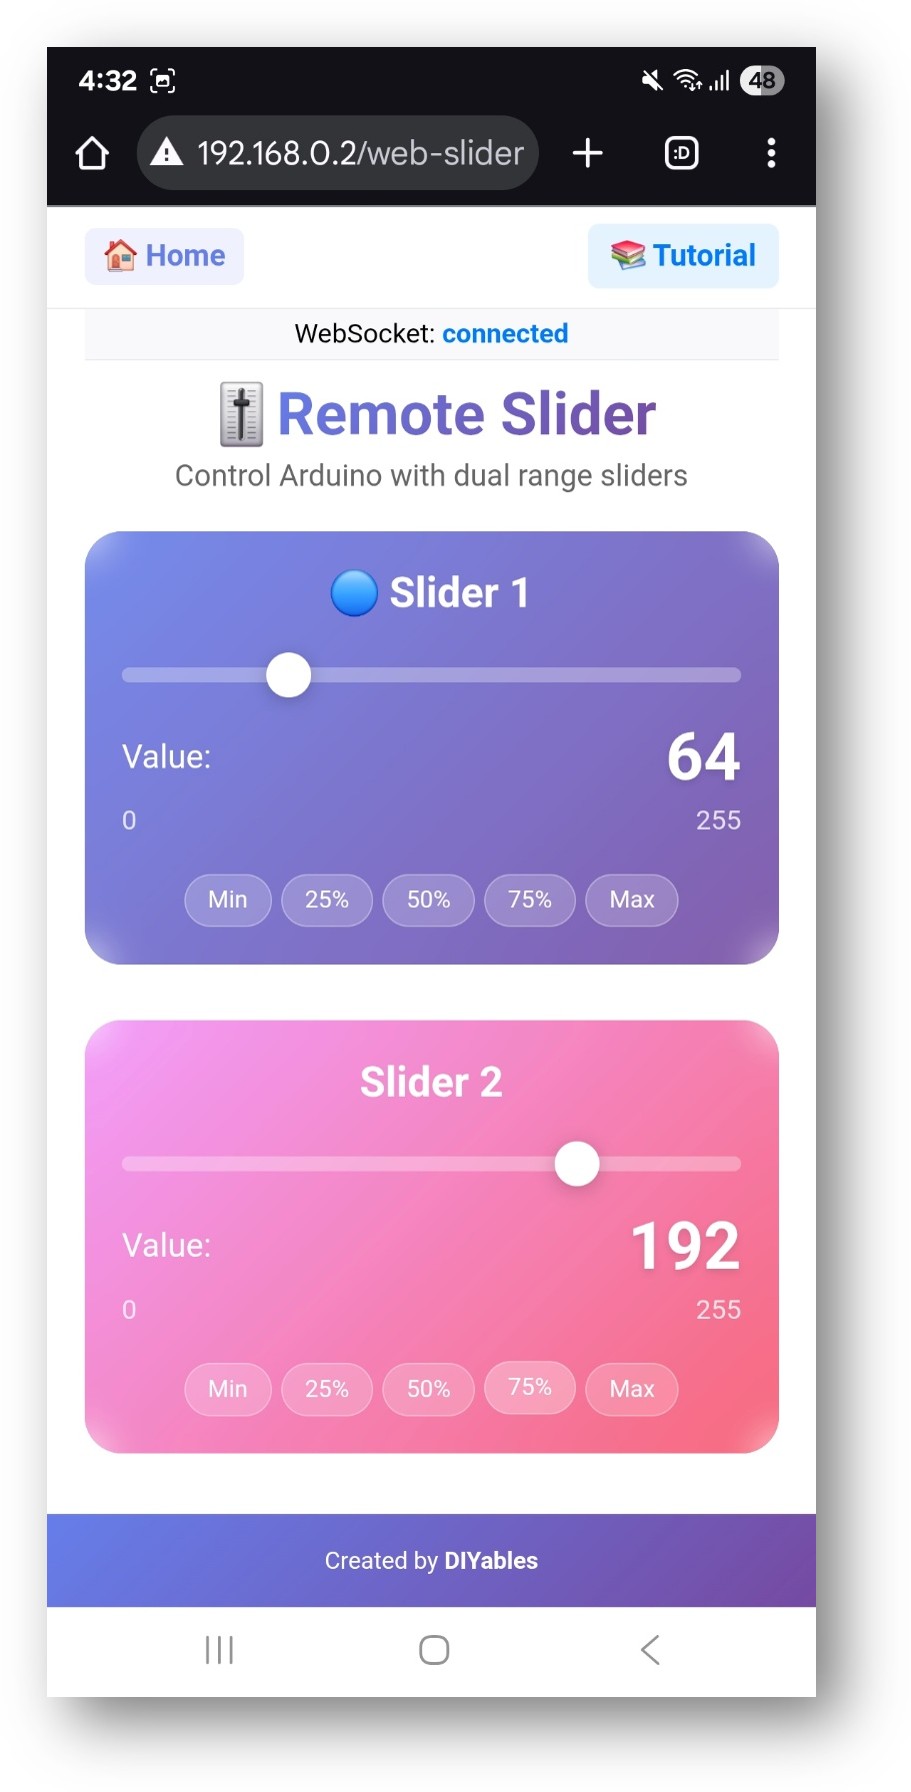
Or you can also access the page directly by IP address followed by /web-slider. For example: http://192.168.0.2/web-slider
Try moving the two sliders to control analog values (0-255) and watch the real-time feedback in the Serial Monitor.
Configure initial slider positions:
int slider1Value = 64;
int slider2Value = 128;
The slider interface provides:
Slider 1: First control slider with value display (0-255)
Slider 2: Second control slider with value display (0-255)
Value Display: Real-time numeric values for both sliders
Preset Buttons: Quick access to common values (0%, 25%, 50%, 75%, 100%)
Click and Drag: Click on slider handle and drag to adjust value
Click Position: Click anywhere on slider track to jump to that value
Fine Control: Use small mouse movements for precise adjustment
Touch and Drag: Touch slider handle and drag to new position
Tap Position: Tap on slider track to set value
Smooth Control: Finger dragging provides smooth value changes
Each slider provides:
Minimum Value: 0 (0% - completely off)
Maximum Value: 255 (100% - maximum intensity)
Resolution: 256 discrete steps (8-bit precision)
PWM Compatibility: Direct use with analogWrite() function
void setup() {
webSliderPage.onSliderValueFromWeb([](int slider1, int slider2) {
slider1Value = slider1;
slider2Value = slider2;
Serial.println("Slider 1: " + String(slider1) + ", Slider 2: " + String(slider2));
});
}
const int LED1_PIN = 9;
const int LED2_PIN = 10;
void setup() {
pinMode(LED1_PIN, OUTPUT);
pinMode(LED2_PIN, OUTPUT);
analogWrite(LED1_PIN, slider1Value);
analogWrite(LED2_PIN, slider2Value);
webSliderPage.onSliderValueFromWeb([](int slider1, int slider2) {
slider1Value = slider1;
slider2Value = slider2;
analogWrite(LED1_PIN, slider1);
analogWrite(LED2_PIN, slider2);
Serial.println("LED1 Brightness: " + String(slider1) +
", LED2 Brightness: " + String(slider2));
});
}
#include <Servo.h>
Servo servo1, servo2;
void setup() {
servo1.attach(9);
servo2.attach(10);
servo1.write(map(slider1Value, 0, 255, 0, 180));
servo2.write(map(slider2Value, 0, 255, 0, 180));
webSliderPage.onSliderValueFromWeb([](int slider1, int slider2) {
slider1Value = slider1;
slider2Value = slider2;
int angle1 = map(slider1, 0, 255, 0, 180);
int angle2 = map(slider2, 0, 255, 0, 180);
servo1.write(angle1);
servo2.write(angle2);
Serial.println("Servo1: " + String(angle1) + "°, Servo2: " + String(angle2) + "°");
});
}
const int MOTOR1_PWM = 9;
const int MOTOR1_DIR1 = 2;
const int MOTOR1_DIR2 = 3;
const int MOTOR2_PWM = 10;
const int MOTOR2_DIR1 = 4;
const int MOTOR2_DIR2 = 5;
void setup() {
pinMode(MOTOR1_PWM, OUTPUT);
pinMode(MOTOR1_DIR1, OUTPUT);
pinMode(MOTOR1_DIR2, OUTPUT);
pinMode(MOTOR2_PWM, OUTPUT);
pinMode(MOTOR2_DIR1, OUTPUT);
pinMode(MOTOR2_DIR2, OUTPUT);
digitalWrite(MOTOR1_DIR1, HIGH);
digitalWrite(MOTOR1_DIR2, LOW);
digitalWrite(MOTOR2_DIR1, HIGH);
digitalWrite(MOTOR2_DIR2, LOW);
webSliderPage.onSliderValueFromWeb([](int slider1, int slider2) {
slider1Value = slider1;
slider2Value = slider2;
analogWrite(MOTOR1_PWM, slider1);
analogWrite(MOTOR2_PWM, slider2);
int speed1Percent = map(slider1, 0, 255, 0, 100);
int speed2Percent = map(slider2, 0, 255, 0, 100);
Serial.println("Motor1: " + String(speed1Percent) + "%, " +
"Motor2: " + String(speed2Percent) + "%");
});
}
const int RED_PIN = 9;
const int GREEN_PIN = 10;
const int BLUE_PIN = 11;
void setup() {
pinMode(RED_PIN, OUTPUT);
pinMode(GREEN_PIN, OUTPUT);
pinMode(BLUE_PIN, OUTPUT);
webSliderPage.onSliderValueFromWeb([](int slider1, int slider2) {
slider1Value = slider1;
slider2Value = slider2;
int redValue = slider1;
int blueValue = slider2;
int greenValue = (slider1 + slider2) / 2;
analogWrite(RED_PIN, redValue);
analogWrite(GREEN_PIN, greenValue);
analogWrite(BLUE_PIN, blueValue);
Serial.println("RGB - R:" + String(redValue) +
" G:" + String(greenValue) +
" B:" + String(blueValue));
});
}
class SliderSmoother {
private:
int currentValue = 0;
int targetValue = 0;
unsigned long lastUpdate = 0;
const int SMOOTH_RATE = 5;
public:
void setTarget(int target) {
targetValue = target;
}
int getCurrentValue() {
return currentValue;
}
bool update() {
if (millis() - lastUpdate > 10) {
bool changed = false;
if (currentValue < targetValue) {
currentValue = min(currentValue + SMOOTH_RATE, targetValue);
changed = true;
} else if (currentValue > targetValue) {
currentValue = max(currentValue - SMOOTH_RATE, targetValue);
changed = true;
}
lastUpdate = millis();
return changed;
}
return false;
}
};
SliderSmoother smoother1, smoother2;
void setup() {
webSliderPage.onSliderValueFromWeb([](int slider1, int slider2) {
smoother1.setTarget(slider1);
smoother2.setTarget(slider2);
});
}
void loop() {
server.loop();
bool changed1 = smoother1.update();
bool changed2 = smoother2.update();
if (changed1 || changed2) {
analogWrite(9, smoother1.getCurrentValue());
analogWrite(10, smoother2.getCurrentValue());
}
}
void setupThresholdControl() {
webSliderPage.onSliderValueFromWeb([](int slider1, int slider2) {
slider1Value = slider1;
slider2Value = slider2;
const int LOW_THRESHOLD = 85;
const int MEDIUM_THRESHOLD = 170;
if (slider1 < LOW_THRESHOLD) {
digitalWrite(2, LOW);
digitalWrite(3, LOW);
digitalWrite(4, LOW);
} else if (slider1 < MEDIUM_THRESHOLD) {
digitalWrite(2, HIGH);
digitalWrite(3, LOW);
digitalWrite(4, LOW);
} else {
digitalWrite(2, HIGH);
digitalWrite(3, HIGH);
digitalWrite(4, HIGH);
}
analogWrite(9, slider2);
});
}
const int PRESETS[][2] = {
{0, 0},
{64, 128},
{128, 128},
{255, 128},
{255, 255}
};
void applyPreset(int presetNumber) {
if (presetNumber >= 0 && presetNumber < 5) {
slider1Value = PRESETS[presetNumber][0];
slider2Value = PRESETS[presetNumber][1];
analogWrite(9, slider1Value);
analogWrite(10, slider2Value);
webSliderPage.sendToWebSlider(slider1Value, slider2Value);
Serial.println("Applied preset " + String(presetNumber) +
": " + String(slider1Value) + ", " + String(slider2Value));
}
}
void setupPresetSystem() {
webSliderPage.onSliderValueFromWeb([](int slider1, int slider2) {
slider1Value = slider1;
slider2Value = slider2;
analogWrite(9, slider1);
analogWrite(10, slider2);
});
}
void loop() {
server.loop();
static bool lastButton = false;
bool currentButton = digitalRead(7);
if (currentButton && !lastButton) {
static int currentPreset = 0;
applyPreset(currentPreset);
currentPreset = (currentPreset + 1) % 5;
}
lastButton = currentButton;
}
const int LED_STRIP_PIN = 6;
const int NUM_LEDS = 30;
void setupLEDStrip() {
webSliderPage.onSliderValueFromWeb([](int slider1, int slider2) {
slider1Value = slider1;
slider2Value = slider2;
uint8_t brightness = slider1;
uint8_t hue = slider2;
Serial.println("LED Strip - Brightness: " + String(brightness) +
", Hue: " + String(hue));
});
}
const int FAN1_PIN = 9;
const int FAN2_PIN = 10;
void setupFanControl() {
pinMode(FAN1_PIN, OUTPUT);
pinMode(FAN2_PIN, OUTPUT);
webSliderPage.onSliderValueFromWeb([](int slider1, int slider2) {
slider1Value = slider1;
slider2Value = slider2;
int fan1Speed = (slider1 > 50) ? map(slider1, 50, 255, 100, 255) : 0;
int fan2Speed = (slider2 > 50) ? map(slider2, 50, 255, 100, 255) : 0;
analogWrite(FAN1_PIN, fan1Speed);
analogWrite(FAN2_PIN, fan2Speed);
Serial.println("Fan1: " + String(map(fan1Speed, 0, 255, 0, 100)) + "%, " +
"Fan2: " + String(map(fan2Speed, 0, 255, 0, 100)) + "%");
});
}
const int VOLUME1_PIN = 9;
const int VOLUME2_PIN = 10;
void setupAudioControl() {
pinMode(VOLUME1_PIN, OUTPUT);
pinMode(VOLUME2_PIN, OUTPUT);
webSliderPage.onSliderValueFromWeb([](int slider1, int slider2) {
slider1Value = slider1;
slider2Value = slider2;
float volume1 = pow(slider1 / 255.0, 2) * 255;
float volume2 = pow(slider2 / 255.0, 2) * 255;
analogWrite(VOLUME1_PIN, (int)volume1);
analogWrite(VOLUME2_PIN, (int)volume2);
Serial.println("Volume1: " + String((int)volume1) +
", Volume2: " + String((int)volume2));
});
}
1. Sliders not responding
Check WebSocket connection in browser console
Verify network connectivity between device and Arduino
Refresh browser page to reset connection
Check Serial Monitor for connection errors
2. Values not reaching full range
Verify slider range settings in web interface
Check for value mapping issues in callback function
Test with different browsers or devices
3. Jerky or inconsistent control
Implement value smoothing for gradual changes
Check for network latency issues
Add debouncing for rapid value changes
4. PWM output not working
Verify pins support PWM (check Arduino pinout)
Ensure analogWrite() is called with correct pin numbers
Check hardware connections and load requirements
Add comprehensive debugging:
void debugSliderValues(int slider1, int slider2) {
Serial.println("=== Slider Debug ===");
Serial.println("Slider 1: " + String(slider1) + " (" + String(map(slider1, 0, 255, 0, 100)) + "%)");
Serial.println("Slider 2: " + String(slider2) + " (" + String(map(slider2, 0, 255, 0, 100)) + "%)");
Serial.println("PWM Pin 9: " + String(slider1));
Serial.println("PWM Pin 10: " + String(slider2));
Serial.println("===================");
}
Room lighting brightness control
RGB color mixing interface
LED strip animation speed control
Stage lighting intensity control
Robot speed control
Fan speed regulation
Pump flow control
Conveyor belt speed
Climate control (heating/cooling intensity)
Window blind position control
Irrigation system flow control
Smart device brightness/volume
Use sliders for speed limits and joystick for direction:
int maxSpeed = 255;
webSliderPage.onSliderValueFromWeb([](int slider1, int slider2) {
maxSpeed = slider1;
});
webJoystickPage.onJoystickValueFromWeb([](int x, int y) {
int scaledX = map(x, -100, 100, -maxSpeed, maxSpeed);
int scaledY = map(y, -100, 100, -maxSpeed, maxSpeed);
controlRobot(scaledX, scaledY);
});
Use sliders to control PWM and digital pins for on/off:
webSliderPage.onSliderValueFromWeb([](int slider1, int slider2) {
if (webDigitalPinsPage.getPinState(2)) {
analogWrite(9, slider1);
} else {
analogWrite(9, 0);
}
if (webDigitalPinsPage.getPinState(3)) {
analogWrite(10, slider2);
} else {
analogWrite(10, 0);
}
});
After mastering the WebSlider example, try:
WebJoystick - For 2D directional control
WebDigitalPins - For discrete on/off control
WebMonitor - For debugging slider values
MultipleWebApps - Combining sliders with other controls
